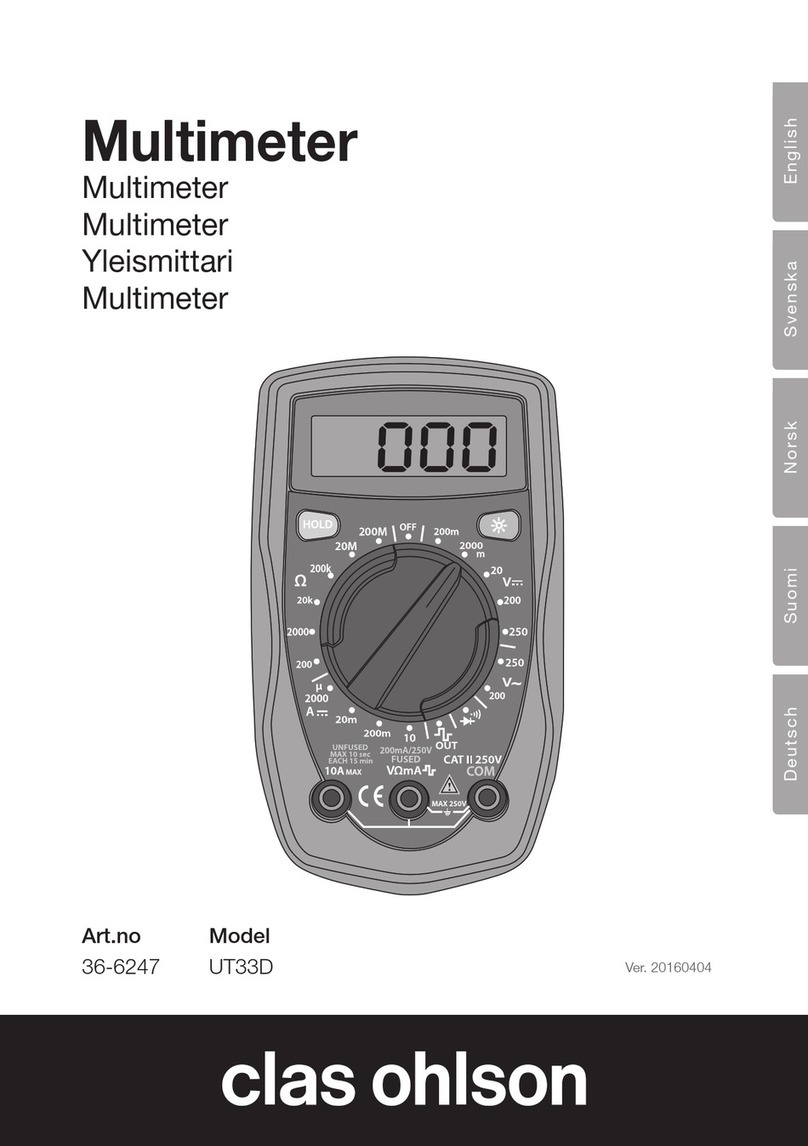
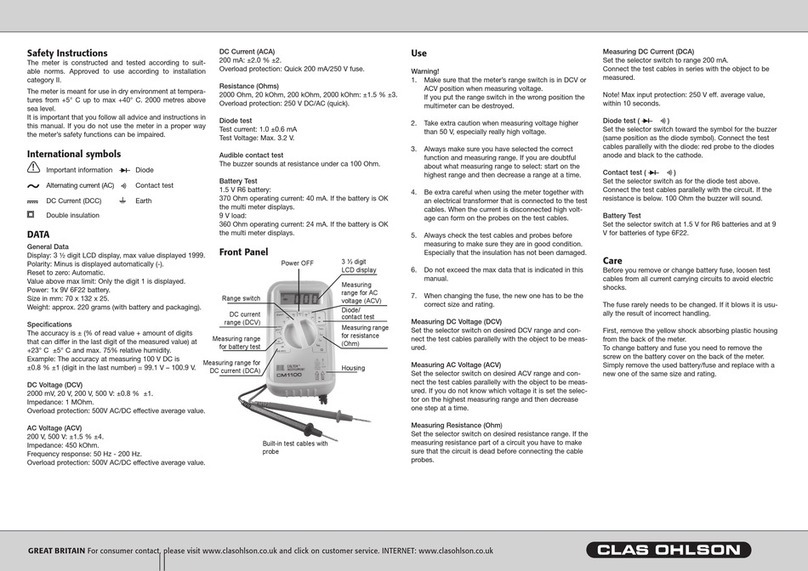
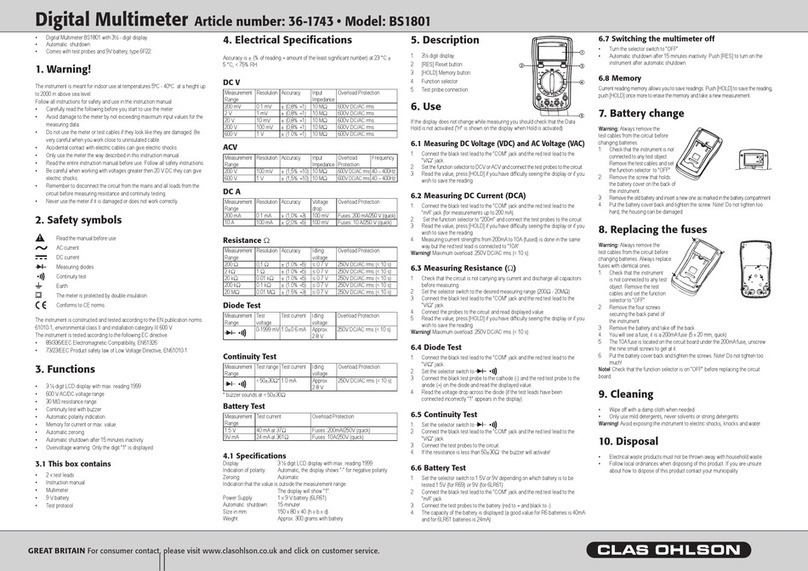
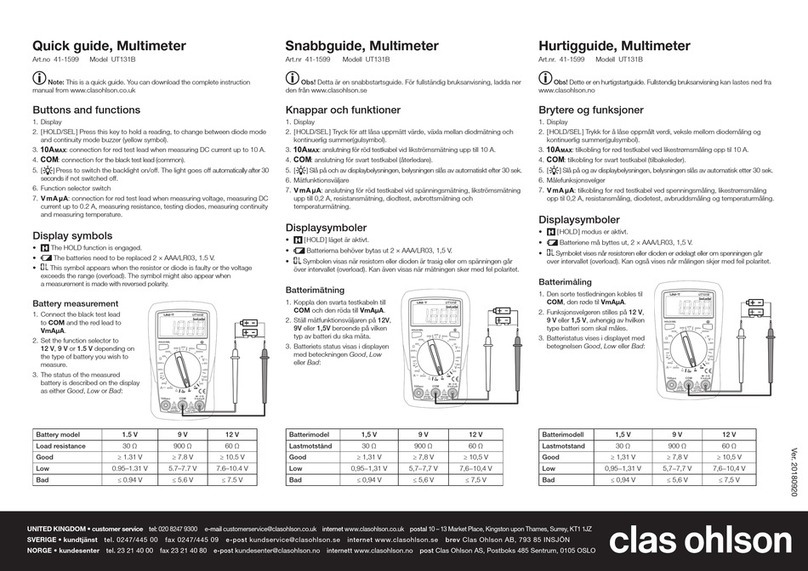
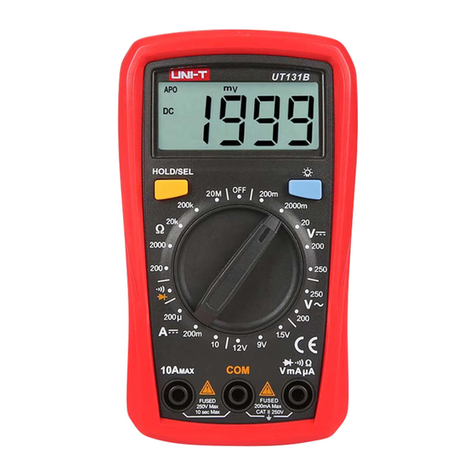
Clas Ohlson UNI-T UT133B User manual

EnglishSvenskaNorskSuomiDeutsch
UNI-T UT133B
Multimeter
Multimeter UNI-T UT133B
UNI-T UT133B multimeter
Yleismittari UNI-T UT133B
Art.no. Model
36-7745 UT133B Ver. 20190705

2

3
English
UNI-T Multimeter
Art.no 36-7745 Model UT133B
Please read theentire instruction manual before using theproduct and then save
it for future reference. We reserve theright for any errors in text or images and any
necessary changes made to technicaldata. In theevent of technical problems
or other queries, please contact our Customer Services (see address details on
theback).
Information about this measuring instrument
This multimeter has been constructed and tested in accordance with therequirements
of Measurement Category III (CAT III) up to 600 V nominal voltage and Pollution
Degree2.
Categorisation
Measuring instruments are classified into categories according to what kind of
electrical environment they can be used in and how safe/protective they are at
withstanding overvoltages.
The Measurement Category of theinstrument will be marked on theratingplate.
The Measurement Category indicates how capable theinstrument is of withstanding
overvoltages which could be dangerous for theuser.
In brief, thecategorisation can be described like this:
• In theevent of asudden overvoltage on thepower grid (atransient energy spike
from alightning strike for example) thedanger is greatest at thepoint where
thepower supply service cable enters abuilding.
• Further in thebuilding, theresistance (impedance) in themains supply
cables increases and connected appliances and devices reduce and divide
theovervoltage. Therefore, theMeasurement Category (also called Overvoltage
Installation Category) of themeasuring instrument indicates which electrical
environment theinstrument is designed to be usedin.
The categories that measuring instruments are classified into are:
• CAT I: For measuring electronics and products that have abuilt-in protection
from overvoltage.
• CAT II: For measuring single-phase equipment connected to ahousehold mains
supply, both through wall sockets and fixed installation.
• CAT III: For measuring electrical wiring installed in buildings. Examples are
measurements on fixed installation cables and hard-wired appliances, socket
outlets, circuit breakers and distribution boards. Three-phase distribution (all
supply cables and 3-phase equipment, machines and appliances).
• CAT IV: Three-phase at theutility connection and any outdoor conductors.
This multimeter is rated as CAT III and is approved for measuring voltages up to
600V on single-phase products. Thismultimeter must not be used for measuring
three-phase equipment, three-phase cables or distribution boards even if
thenominal voltage is not higher than 600V.

4
English
Pollution degree
This multimeter is constructed to be able to be used in environments which contain
pollutants which are not electrically conductive, with theexception of temporary
conductivity caused by condensation.
Examples of environments with Pollution Degree 2 are dry home or office environments,
test stations and laboratories. Basically, any dry environment with normal indoor
climatic conditions.
The multimeter must not be used or stored in alocation where it can be exposed to
electrically conductive pollution of any kind (solid, liquid or gas).
The multimeter should not be exposed to relative humidity over 75%, be used in
unheated rooms and must not be used in bathrooms or outdoors where it might
getwet.
It is not designed to be used with electrical equipment used in industry or agriculture.
Safety
• The product conforms to thefollowing CE standards: EN 611010-1:2010,
EN61010-2-030:2010, EN 61326:2013, and CAT III: 600 V, Pollution Degree2.
• Make sure that theproduct is used safely by following thesafety instructions and
operating directions in this instruction manual.
• Neither theproduct nor its accessories must be dismantled or modified in anyway.
• The product must never be used if it is in any way damaged or malfunctioning.
• Make sure that thepower is turned off before working on thepower circuit.
Lowcurrent levels can also be dangerous.
• Make sure that your fingers are behind thefinger guards when using thetestleads.
• To avoid electric shocks and damage to theproduct, do not exceed theproduct’s
overload limits.
• Do not measure voltages higher than 600 V DC or 600 V AC RMS using this product.
• To avoid shocks you need to be very CAREFUL when you work with voltage
higher than 60 V DC or 35 V ACRMS. Voltages higher than this pose arisk of
harmful electric shocks.
• Never use theproduct if thebattery cover is missing or thebattery compartment
isopen.
• Replace thebatteries as soon as thebattery warning symbol appears on thedisplay,
low batteries can cause anincorrect reading and constitute asafety hazard.
• Set theright measuring range using theselector before starting to measure and
do not change therange whilst taking ameasurement.
• The product is protected by fuses, but they will not protect themeter from all
kinds of misuse.
• The product must not be used in humid, explosive or flammable environments or
close to strong magnetic fields.
• Remove thebattery if thedevice is not to be used for anextended period.
• Turn theproduct off afteruse.
• If theproduct is placed close to astrong magnetic field it might cause incorrect
readings which can be corrected by removing thecause of theinterference.
5
English
1
2 5
6
7
83
4
Buttons and functions
1. Display
2. [HOLD/SELECT] Press this key to hold areading, to change between diode
mode and continuous buzzer and deactivateAPO.
3. 10A: Connection for thered test lead when measuring DC current up to 10A.
4. COM: Connection for theblack test lead (common/return).
5. [ ] Press to switch thedisplay light on/off. Thelight goes off automatically
after 30 seconds if not switchedoff.
6. [REL] Relative mode, ▲appears on thedisplay (only for capacitance
measurements).
7. Function selector switch
8. VΩmA: Connection for red test lead when measuring voltage, measuring DC
current up to0.2 A, measuring resistance, testing diodes, measuring continuity
and measuring temperature.

6
English
14
15 16 17 18 19 20
12
10
13
11
9
Display symbols
9. : Low battery warning, change batteries (2×AAA/LR03, 1.5 V).
10. NCV: (Non-contact voltage) For measuring electromagnetic fields.
11. AC/DC: alternating current/direct current
12. H: Indicates that theHOLD function is activated.
13. : High voltage warning.
14. APO: Auto power off, thedisplay switches off automatically after 15 minutes.
15. : Diode test mode (change using the [HOLD/SELECT] button).
16. : Buzzer mode (change using the [HOLD/SELECT] button).
17. Decimal prefix for resistance measurements.
18. : Resistance measurement
19. Decimal prefix for voltage and direct current measurements.
20. A: Direct current measurement.
(overload) Appears when thereading exceeds theselected measuringrange.
Instructions for use
APO
When APO (Auto power off) is activated, themultimeter shuts off after 15 minutes
of inactivity.
• APO mode is activated automatically when themultimeter is switchedon.
• To deactivate APO mode: Hold in [HOLD/SELECT] and turn thefunction
selector from “off” to any other position.
• If theAPO mode is deactivated during along measurement, themeter will need
to be switched off manually.

7
English
Backlight
Press [ ] to switch thebacklight on/off. Thebacklight shuts off automatically
after 30 seconds of inactivity.
AC/DC Voltage measurements
Warning
• When measuring voltage always ensure that themultimeter is switched to thecorrect
measuring range and not set to thecurrent, resistance or diode testrange.
• Use extreme caution when measuring voltages over 60 V, especially when
theobject being measured has ahigh power output.
• High voltage may be induced at themeasuring points when thecircuit is broken.
• Always ensure that thecorrect function and range is selected. Ifin doubt about
thecorrect range, start with thehighest and work downwards.
• Make sure that thetest leads are in good condition with no damage to
theinsulation.
• Always ensure that you use thecorrect test lead terminal for thetype of
measurement to bemade.
1. Connect theblack test lead to COM and thered
lead toVΩmA.
2. Set thefunction selector to 600 V~ (AC,alternating
current) or 600 mV – 600 V (DC, direct current).
3. Connect thetest leads to thecircuit to be tested
and read thevalue.
Information
If thewrong polarity is connected when measuring
direct current, aminus sign (−) will be displayed in
front of thevalue.
NCV
NCV (Non-contact voltage) is ameasuring mode that can be used to measure
thevoltage of power sockets, cables and other components through their
electromagnetic fields without making physical contact withthem.
Warning
• TheNCV function is not intended to be used to measure shielded equipment.
• Even if themeter does not indicate anelectromagnetic field, you should always
make sure that thepower is turned off before working on thecircuit. Lowcurrent
levels can also be dangerous.
• If thePhase (Live) and Neutral conductors are close to each other, it might be
impossible to determine which of them iswhich.

8
English
1. Set thefunction selector to NCV, “EF” will appear on
thedisplay.
2. Hold thetop of themultimeter (marked “NCV” with anarrow
on top) close to thetest subject.
3. The voltage will be represented by anumber of dashes “-”
on thedisplay:
“EF” 0–50 mV
“−” 50–100 mV
“− −” 100–150 mV
“− − −” 150–200 mV
“− − − −” > 200 mV
Battery test
• When “Bad” appears on thedisplay, thebattery
needs to be replaced.
• If thebattery is under0.2 V, only aflashing
“Good”, “Low” or “Bad” will be displayed.
1. Connect theblack test lead to COM and thered
lead toVΩmA.
2. Set thefunction selector to 9Vor1.5 V depending
on thetype of battery you wish totest.
3. The status of thetested battery is described on
thedisplay as either “Good”, “Low” or “Bad”:
Battery model 1.5 V 9 V
Load resistance 30 Ω900 Ω
Good ≥ 1.31 V ≥ 7.8 V
Low 0.95–1.31 V 5.7–7.7 V
Bad ≤ 0.94 V ≤ 5.6 V
The table only provides
anapproximate value,
for more exact values
it is recommended that
thetest leads beused.
• If there are several cables with 2-phase or 3-phase cables close to one another,
try to separate them and measure each cable individually.
• Electrical cables consist of 2 or more conductors and only some of theconductors
might be carrying current at thetime of themeasurement. Therefore, always
measure all conductors in acable to get acorrectvalue.
• The NCV function only works when measuring AC (alternating current), not DC
(direct current).

9
English
DC current measurement
Warning
• Do not connect thetest leads in parallel with thevoltage source when measuring
current!
• If in doubt about thecorrect measuring range, start with thehighest and work
downwards.
• When measuring high currents, themultimeter should only be connected briefly
(less than 30 seconds for currents greater than 10 A).
• The interval between two readings must be greater than 15 minutes.
• Make sure that thetest leads are in good condition with no damage to theinsulation.
• Always ensure that you use thecorrect test lead terminal for thetype of
measurement to bemade.
• When measuring voltage always ensure that themultimeter is switched to
thecorrect measuring range and not set to thecurrent, resistance or diode
testrange.
• Make sure that theobject to be measured is
not energised (conducting any current) before
connecting test leads in series with it (such as
when measuring current).
1. Connect theblack test lead to COM and thered
to VΩmA (for measuring 0–200 mA) or to 10A
(formeasuring between 200 mA and 10 A).
2. Set thefunction selector switch to A .
3. Connect thetest leads in series with theload and
source of thecurrent to be measured.
Capacitance measurement
Warning
Make sure that thecircuit to be tested is not
energised and that any high-voltage capacitors have
been discharged before performing capacitance
measurements.
1. Connect theblack test lead to COM and thered
lead toVΩmA.
2. Set thefunction selector to .
Information
The accuracy of readings can be improved by using therelative readings modifier
([REL]) function to subtract theresidual capacitance of themeter and thetestleads.

10
English
Diode testing
Warning
Make sure that thecircuit to be tested is not energised and that any high-voltage
capacitors have been discharged before performing diode measurements.
1. Connect theblack test lead to COM and thered
test lead toVΩmA.
2. Set thefunction selector switch to .
3. Press the [HOLD/SELECT] button to toggle
between buzzer mode and diode testmode.
4. Connect theblack test lead to thecathode
(negative end) and red test lead to theanode
(positive end) of thediode to be tested.
5. Read theforward voltage drop value from
thedisplay.
Information
If is displayed, thediode is either open or thepolarity is reversed. Tryreversing
thepolarity of thediode. Thenormal value for aP–N junction is about 500–800 mV
(0.5–0.8 V).
Continuity test
Warning
Make sure that thecircuit to be tested is not energised and that any high-voltage
capacitors have been discharged before performing continuitytests.
1. Connect theblack test lead to COM and thered
test lead toVΩmA. Setthefunction selector
switch to .
2. Connect theends of thetest leads to theends of
thecables to be tested.
- No break in thecable: The buzzer sounds
continuously if theresistance in thecable is
≤ 10Ω.
- A break in thecable: The buzzer does not
sound if theresistance in thecable is >50Ω.

11
English
Resistance measurement
Warning
• Make sure that thecircuit to be tested is not energised and that any high-voltage
capacitors have been discharged before performing resistance measurements.
• Be extremely cautious when using this instrument
on aninductive component such as atransformer,
relay coil and thelike, and make sure it has been
discharged beforehand. Highvoltage may be
induced at themeasuring points when thecircuit
is broken.
1. Connect theblack test lead to COM and thered
lead toVΩmA.
2. Set thefunction selector switch to and
thepreferred range for measuring resistance.
3. Connect thetest leads across thecircuit to be
tested.
Care and maintenance
• Clean theexterior of themultimeter by wiping it with adampcloth. Useonly mild
cleaning agents, never solvents or corrosive chemicals.
• Whenever themultimeter is not to be used for anextended period, thebattery
should be removed and it should be stored in adry, dust-free environment, out
of children’sreach.
Battery replacement
1. Disconnect thetestleads.
2. Turn thefunction selector switch
toOFF.
3. Remove theprotective plasticcover.
4. Undo thescrew and remove
thebatterycover.
5. Take thebatteries out of thebattery
compartment.
6. Insert new batteries (2×AAA/LR03).
Referto themarkings in thebattery
compartment to ensure correct polarity.
7. Refit thebattery cover and tighten
thescrew.
8. Refit theprotective plasticcover.

12
English
Replacing thefuses
If you replace one or both of thefuses, make sure that thereplacement fuse is
thecorrect type and rating.
When appears on thedisplay and thebuzzer sounds, it is time to check
thefuses.
1. Disconnect thetest leads from
themultimeter.
2. Turn thefunction selector switch toOFF.
3. Remove theprotective plasticcover.
4. Unscrew thetwo screws holding theback
panel and removeit.
5. Replace thefuse/fuses with equivalent fuses
to theone/s you remove:
- 1×10 A, 600 V, BFC (fast-blow
ceramic), 6×25 mm
- 1×600 mA, 600 V, BFC (fast-blow
ceramic), 6×32 mm
6. Put thebattery cover back on and tighten thescrews.
Responsible disposal
This symbol indicates that theproduct should not be disposed of
with general householdwaste. Thisapplies throughout theentireEU.
Inorder to prevent any harm to theenvironment or health hazards
caused by incorrect waste disposal, theproduct must be handed in
for recycling so that thematerial can be disposed of in aresponsible
manner. Whenrecycling your product, take it to your local collection
facility or contact theplace of purchase. Theywill ensure that
theproduct is disposed of in anenvironmentally sound manner.
Specifications
Power supply 2×AAA/LR03, 1.5 V batteries
Fuses 1×10 A, 600 V, BFC (fast-blow ceramic), 6×25 mm
1×600 mA, 600 V, BFC (fast-blow ceramic), 6×32 mm
Test leads Test leads with probes included
Operating environment 0–40 °C (32–104 °F)
0–30 °C, ≤75% humidity
30–40 °C, ≤50% humidity
Storage environment −10 to +50 °C (14−122 °F)
Max operating altitude 2000 m
Dimensions 155×76.5×49 mm
Screen size 56.8×36.1 mm
Weight 255 g (incl. batteries)

13
English
Technical specifications
Measuring range Manual selection
Battery tester 1.5 V and 9 V
Diode test
Continuous buzzer
NCV
Backlit display screen
[Hold] saves thereading
Low battery warning Battery symbol is shown on thedisplay
Overload indication (overload) is shown on thedisplay
DC Voltage
Range Resolution Accuracy
600.0 mV 0.1 mV ±(0.7% + 3)
6.000 V / 6000 mV 0.001 V / 1 mV ±(0.5% + 2)
60.00 V 0.01 V ±(0.7% + 3)
600.0 V 0.1 V ±(0.7% + 3)
Input impedance: Approximately 10 MΩ.
The readings might fluctuate when measuring mV if there is no current in thecircuit.
Thereading will stabilise once thecircuit has current. Accurate to theleast significant
digit ≤ ± 3.
Max input voltage: ± 600 V, when thevoltage exceeds 610 V, appears on
thedisplay and thebuzzer sounds. Overload protection: 600 Vrms DC
AC Voltage
Range Resolution Accuracy
600.0 mV 0.1 mV ±(1.0% + 3)
6.000 V / 6000 mV 0.001 V / 1 mV ±(0.7% + 2)
60.00 V 0.01 V ±(1.0% + 3)
600.0 V 0.1 V ±(1.2% + 3)
Overload protection: 600 Vrms AC

14
English
DC Current
Range Resolution Accuracy
600.0 µA 0.1 µA ±(1.0% + 3)
6000 µA 1 µA ±(1.0% + 3)
60.00 mA 0.01 mA ±(1.0% + 3)
600.0 mA 0.1 mA ±(1.0% + 3)
6.000 A 0.001 A ±(1.2% + 5)
10.00 A 0.01 A ±(1.2% + 5)
Overload protection: 600 Vrms 10 A
Capacitance
Range Resolution Accuracy
9.999 nF 0.001 nF [REL] activated: ±(4% + 10)
99.99 nF 0.01 nF ±(4% + 5)
999.9 nF 0.1 nF ±(4% + 5)
9.999 µF 0.001 µF ±(4% + 5)
99.99 µF 0.01 µF ±(4% + 5)
999.9 µF 0.1 µF ±(4% + 5)
9.999 mF 0.001 mF ±10%
Overload protection: 600 V PTC
When measuring capacitance ≤ 200 nF, you should use the[REL] function.
Continuity and Diode
Range Resolution Accuracy
0.1 Ω An open circuit with aresistance >50 Ω does
not activate thebuzzer. A closed circuit with
aresistance≤10Ω activates thebuzzer.
0.001 V Open circuit: 2.1 V, test current approx. 1mA.
The normal value for asilicon P–N junction is
approx. 0.5–0.8V.
Overload protection: 600 Vrms
Resistance
Range Resolution Accuracy
600.0 mV 0.1 mV ±(0.7% + 3)
6.000 V/6000 mV 0.001 V/1 mV ±(0.5% + 2)
60.00 V 0.01 V ±(0.7% + 3)
600.0 V 0.1 V ±(0.7% + 3)
Overload protection: 600 Vrms AC

15
Svenska
Multimeter UNI-T
Art.nr 36-7745 Modell UT133B
Läs igenom hela bruksanvisningen före användning och spara den sedan för fram-
tidabruk. Vireserverar oss förev. text- och bildfel samt ändringar av tekniskadata.
Vidtekniska problem eller andra frågor, kontakta vår kundtjänst (se adressuppgifter
på baksidan).
Information om mätinstrumentet
Multimetern är konstruerad och testad enligt kraven för installationskategori III upp till
600 V nominell spänning och föroreningsgrad2.
Kategorisering
Mätinstrument delas in iolika kategorier utifrån vilken elektrisk miljö de ska användas
ioch hur säkra/skyddande de är mot eventuella överspänningar.
Märkningen på mätinstrumentet visar vilken kategori det tillhör.
Kategoriseringen avgör hur säkert instrumentet är mot eventuella överspänningar
som kan utgöra fara för användaren.
I korthet kan kategoriseringen beskrivas så här:
• Vid enplötslig överspänning på elnätet (entransient från ettblixtnedslagetc.) är
faran störst vid exempelvis byggnadens inkommande matningsledning.
• Längre in ibyggnaden ökar motståndet (impedansen) iledningarna och anslutna
apparater minskar och fördelar överspänningen. Mätinstrumentets kategori talar
alltså om ivilken elektrisk miljö instrumentet är tänkt att användas.
Kategorierna som mätinstrumenten delas in iär:
• Kategori I: För mätning ielektronik och produkter som har inbyggt skydd mot
överspänning.
• Kategori II: För mätning på enfasutrustning som strömförsörjs med byggnadens
elsystem. Bådestickproppsansluten och fast installerad.
• Kategori III: För mätning ibyggnadens elsystem. Fastinstallerade ledningar,
uttag, proppskåp och elcentraler. Trefasdistribution (alla matarkablar samt
trefasutrustning, maskiner och apparater).
• Kategori IV: Trefas på primär nivå och alla ledare för utomhusbruk.
Den här multimetern tillhör installationskategori III och är avsedd för att mäta
spänningar upp till 600 V ienfasprodukter. Multimetern ska inte användas för
mätning itrefasprodukter, trefasledningar eller elcentraler även om spänningen
nominellt inte är högre än 600V.
Föroreningsgrad
Multimetern är konstruerad för att kunna användas imiljöer med förekomst
av föroreningar som inte är elektriskt ledande. Medundantag för att tillfällig
ledningsförorening skulle kunna uppstå på grund av kondensering.

16
Svenska
Exempel på miljöer med föroreningsgrad 2 är hemmiljö itorra utrymmen, kontor,
teststationer ellerlabb. Kortsagt torra utrymmen som har normalt inomhusklimat.
Multimetern ska inte användas eller förvaras iutrymmen där den kan blir utsatt för
elektriskt ledande föroreningar inågon form (fast, flytande ellergas.)
Multimetern bör exempelvis inte utsättas för relativ luftfuktighet över 75%, användas
iouppvärmda lokaler och får inte användas ivåtutrymmen eller utomhus där den
kan bliblöt.
Den är inte avsedd att användas med elektrisk utrustning som används iindustri eller
jordbruk.
Säkerhet
• Produkten är testad ienlighet med följande CE standarder: EN 611010-1:2010,
EN 61010-2-030:2010, EN 61326:2013, samt CAT III: 600 V, föroreningsgrad2.
• Genom att följa alla säkerhetsföreskrifter och driftanvisningar kan du se till att
produkten används på ettsäkertsätt.
• Produkten eller dess tillbehör får inte demonteras eller modifieras på någotsätt.
• Använd aldrig produkten om den på något sätt är skadad eller fungerar onormalt.
• Kontrollera att strömmen är avstängd innan du gör några ingrepp iströmkretsen.
Ävensmå strömstyrkor kan vara farliga.
• Se till att dina fingrar är bakom testkablarnas fingerskydd när du använder
testkablarna.
• För att undvika elektriska stötar eller skador på produkten ska inte mätgränserna
överskridas.
• Mät inte högre spänning än 600 V DC eller 600 V AC RMS med produkten.
• För att undvika stötar ska du vara mycket FÖRSIKTIG när du arbetar med
högre spänning än 60 V DC eller 35 V ACRMS. Högrespänning medför risk för
kraftiga stötar.
• Använd aldrig produkten om batterifacket eller bakstycket äröppet.
• Byt ut batterierna så fort symbolen för batterivarning visas på displayen,
dåliga batterier kan medföra att fel mätvärden visas och kan därmed utgöra
ensäkerhetsrisk.
• Ställ in rätt mätområde med mätfunktionsväljaren innan mätningen påbörjas,
mätområdet får inte ändras under pågående mätning.
• Produkten är skyddad med säkringar, men de skyddar inte mot alla typer av
felanvändning.
• Produkten ska inte användas eller förvaras imiljöer som har hög temperatur/
luftfuktighet, inte heller iexplosiva, brandfarliga omgivningar eller inärheten av
starka magnetfält.
• Ta ur batteriet om instrumentet inte ska användas under enlängre period.
• Stäng av produkten efter användning.
• Om starka elektriska magnetfält finns inärheten av produkten kan det leda till
felvisning som upphör så snart störningen försvinner.

17
Svenska
1
2 5
6
7
83
4
Knappar och funktioner
1. Display
2. [HOLD/SELECT] Tryck för att låsa uppmätt värde, växla mellan diodmätning och
kontinuerlig summer och avaktiveraAPO.
3. 10A: Anslutning för röd testkabel vid likströmsmätning upp till 10A.
4. COM: Anslutning för svart testkabel (återledare).
5. [ ] Slå på och av displaybelysningen, belysningen slås av automatiskt efter 30sek.
6. [REL] Relativ mätning, ▲visas idisplayen (endast vid kapacitansmätning).
7. Mätfunktionsväljare
8. VΩmA: Anslutning för röd testkabel vid spänningsmätning, likströmsmätning upp
till 0,2 A, resistansmätning, diodtest, avbrottsmätning och temperaturmätning.

18
Svenska
14
15 16 17 18 19 20
12
10
13
11
9
Displaysymboler
9. : Varning för låg batterinivå, byt batterier (2×AAA/LR03, 1,5 V).
10. NCV: (Non-contact voltage) Mätning av elektriska magnetfält.
11. AC/DC: växel-/likspänning
12. H: Indikerar aktiverad HOLD-funktion.
13. : Varning för hög spänning.
14. APO: Auto power off, displayen stängs automatisk av efter 15min.
15. : Diodmätning (växlas med [HOLD/SELECT]-knapp).
16. :Summerläge (växlas med [HOLD/SELECT]-knapp).
17. Decimal prefix vid resistansmätning.
18. : Resistansmätning
19. Decimal prefix vid spänning och likströmsmätning.
20. A: Mätning av likström.
(overload) Visas när mätvärdet överstiger valt mätområde.
Användning
APO
När APO (Auto power off) är aktiverat stängs multimetern av när den varit inaktiv
i15min.
• APO aktiveras automatisk när multimetern startas.
• Avaktivera APO: Tryck, håll in [HOLD/SELECT] och vrid mätfunktionsväljaren
från ”off” till valfri position.
• Om APO är avaktiverat vid enlängre mätning så måste multimetern stängas
avmanuellt.

19
Svenska
Bakgrundsbelysning
Tryck [ ] för att tända eller släcka bakgrundsbelysningen. Bakgrundsbelysningen
stängs av automatiskt när multimetern varit inaktiv i30 sekunder.
Spänningsmätning AC/DC
Varning!
• Kontrollera alltid innan spänningsmätning att multimetern är inställd på rätt
mätområde och inte på ström-, resistans- eller diodmätning.
• Använd yttersta försiktighet när du mäter spänning som överstiger 60 V, särskilt
från mätobjekt med hög effekt.
• Högspänning kan uppstå (induceras) vid mätpunkten när strömkretsenbryts.
• Se alltid till att rätt funktion och mätområdeväljs. Omdu är osäker på korrekt
mätområde ska du börja med det högsta och arbeta dignedåt.
• Se till att testkablarna är igott skick och att dess isolering inte är skadad.
• Se till att du alltid placerar testkablarna rätt för den typ av mätning som ska utföras.
1. Koppla den svarta testkabeln till COM och den
röda tillVΩmA.
2. Ställ in mätfunktionsväljaren på 600 V~
(AC,växelspänning) eller 600 mV – 600 V
(DC,likspänning).
3. Koppla testkablarna till spänningskällan som ska
mätas och avläs sedan mätvärdet.
Information
Om fel polaritet kopplats in vid likspänningsmätning
visar displayen ett − (minus) före mätvärdet.
NCV
NCV (Non contact voltage) är entrådlös mätfunktion som kan användas för mätning
av spänning genom elektriska fält iuttag, kablar, lampslingor, proppar och andra
komponenter.
Varning!
• NCV funktionen är inte avsedd för att mäta skärmad utrustning.
• Även om mätaren inte visar tecken på elektriska fält ska man alltid kontrollera
att strömmen är avstängd innan man gör ingrepp iströmkretsen. Ävensmå
strömstyrkor kan vara farliga.
• Om fas och nolla ligger nära varandra kan det bli omöjligt att avgöra vilken som
är fas respektivenolla.

20
Svenska
1. Ställ in mätfunktionsväljaren på NCV, ”EF” visas idisplayen.
2. Placera multimeterns övre del märkt ”NCV” med enpil, mot
området du önskarmäta.
3. Spänningen presenteras iantal ”-” streck på displayen:
”EF” 0–50 mV
”−” 50–100 mV
”− −” 100–150 mV
”− − −” 150–200 mV
”− − − −” > 200 mV
Batterimätning
• När ”Bad” visas idisplayen bör batteriet bytasut.
• Om batteriet ligger under 0,2 V visas endast
ettblinkande värde: ”Good”, ”Low” eller ”Bad” .
1. Koppla den svarta testkabeln till COM och den
röda tillVΩmA.
2. Ställ mätfunktionsväljaren på 9Veller 1,5 V
beroende på vilken typ av batteri du skamäta.
3. Batteriets status visas idisplayen med
beteckningen ”Good, Low eller Bad”:
Batterimodell 1,5 V 9 V
Lastmotstånd 30 Ω900 Ω
Good ≥ 1,31 V ≥ 7,8 V
Low 0,95–1,31 V 5,7–7,7 V
Bad ≤ 0,94 V ≤ 5,6 V
Tabellen ger endast
ettungefärligt värde, för
att få ettexakt värde
rekommenderas att
använda testkablarna.
• Om det finns flera kablar med 2- eller 3-faskablar nära varandra, försök att dela
dem och mät varjekabel. individuellt.
• Elkablar består av 2 eller fler poler där endast vissa poler innehåller spänning.
Mätdärför alltid alla ledare ien kabel för ettkorrektvärde.
• NCV fungerar endast till att mäta AC (växelspänning), ej DC (likspänning).
This manual suits for next models
2
Table of contents
Languages:
Other Clas Ohlson Multimeter manuals

Clas Ohlson
Clas Ohlson cm-100 User manual

Clas Ohlson
Clas Ohlson ut120a User manual

Clas Ohlson
Clas Ohlson BX3604W User manual

Clas Ohlson
Clas Ohlson UT33D User manual

Clas Ohlson
Clas Ohlson UNI-T UT131B User manual

Clas Ohlson
Clas Ohlson UNI-T UT131B User manual

Clas Ohlson
Clas Ohlson ut61d User manual

Clas Ohlson
Clas Ohlson BS1801 User manual