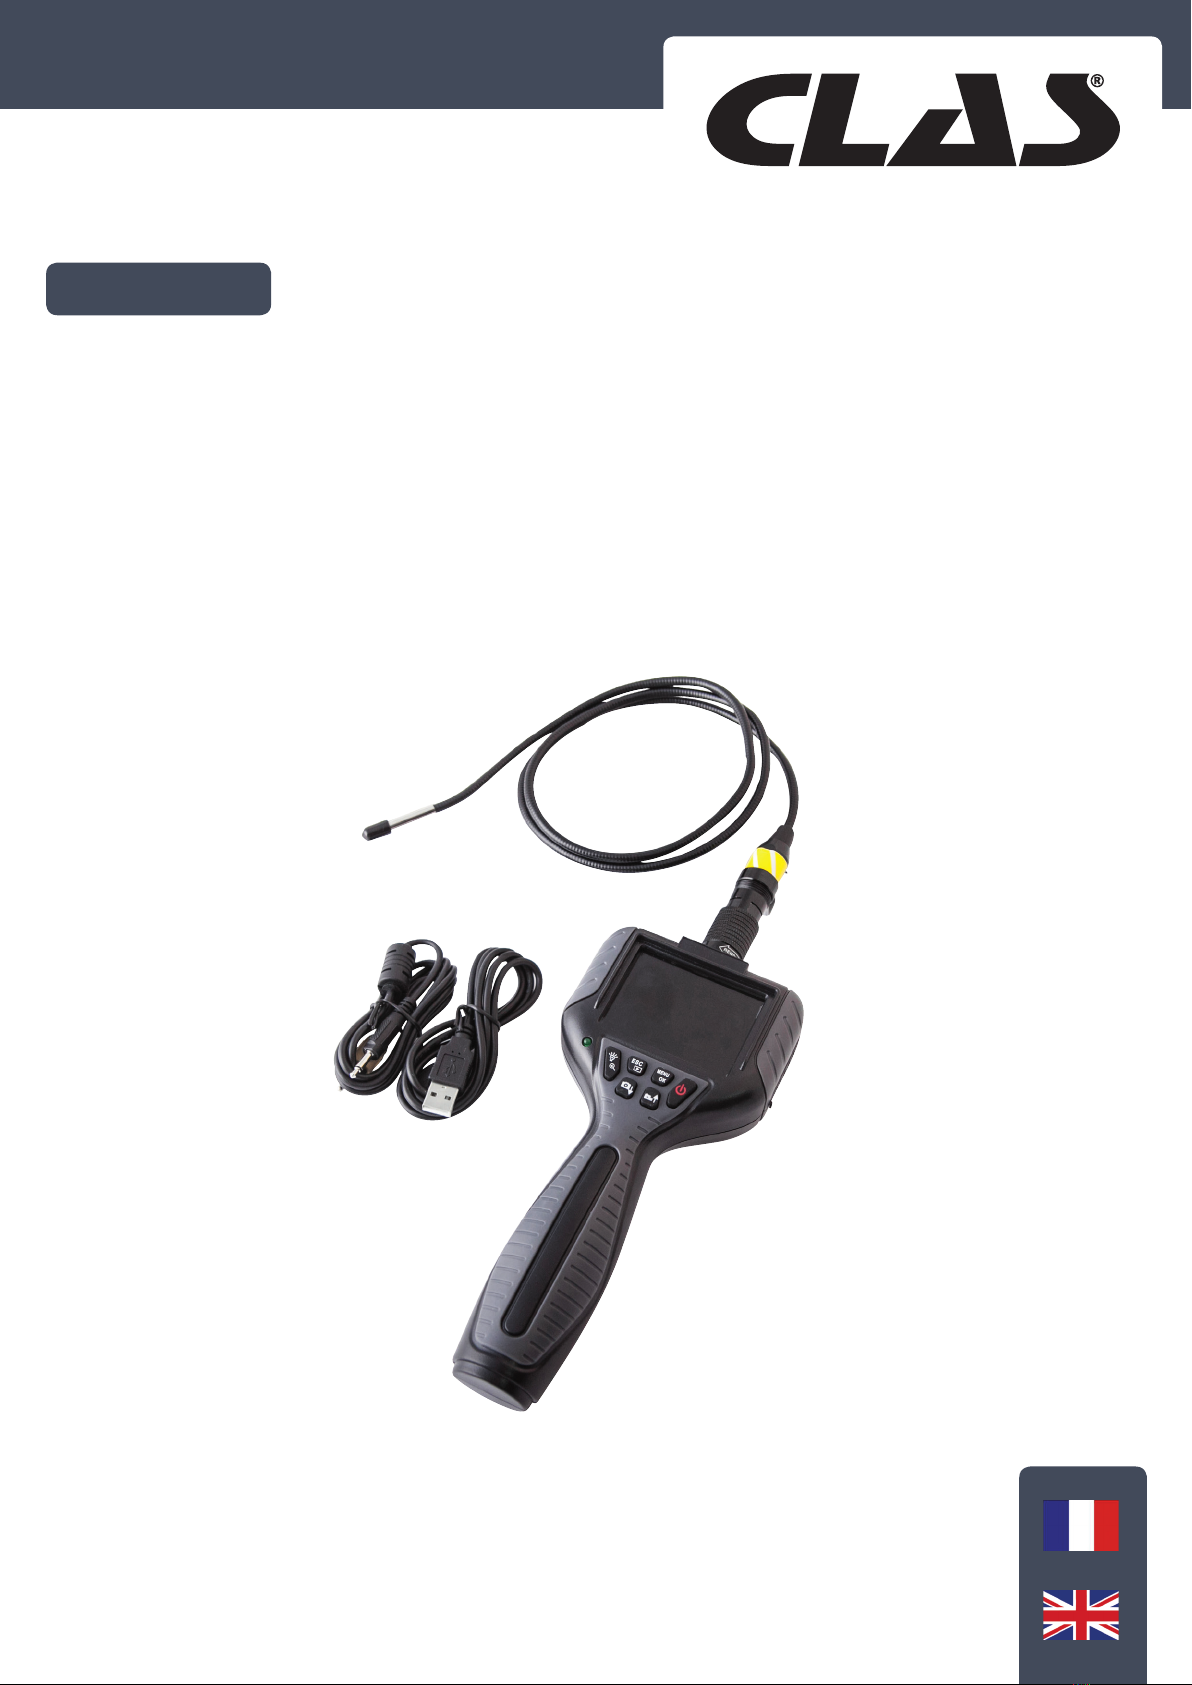
AC 5039 VIDEOSCOPE ENREGISTREUR DOUBLE CAMERA
SONDE Ø5,5mm
Avant le réglage du menu, appuyez sur «Menu OK»
Appuyez ensuite sur pour choisir la fonction voulue et appuyez longtemps sur «Menu OK»
pour confirmer, appuyez rapidement sur «Menu OK» pour revenir en arrière.
Appuyez sur «Menu OK» pour accéder au menu secondaire.
Appuyer sur dans le menu secondaire pour choisir : taille, qualité, horodatage.
Appuyez longuement sur «Menu OK» pour confirmer, appui rapide sur «Menu OK» pour quitter.
Appuyez deux fois sur «Menu OK» pour entrer dans le premier menu.
Dans le premier menu vous trouverez le réglage de la langue, l’arrêt automatique, le format de
sortie vidéo, le format, la date, la version.
Format
Choisir la fonction ,<Cancel/ok>
Réglage de la langue
Choisir «Langue» et appuyer sur «Menu OK» pour confirmer. Réglage par défaut
Selon l’opération, choisissez <cancel execute> press «Menu OK» pour confirmer et "ESC" pour
sortir.
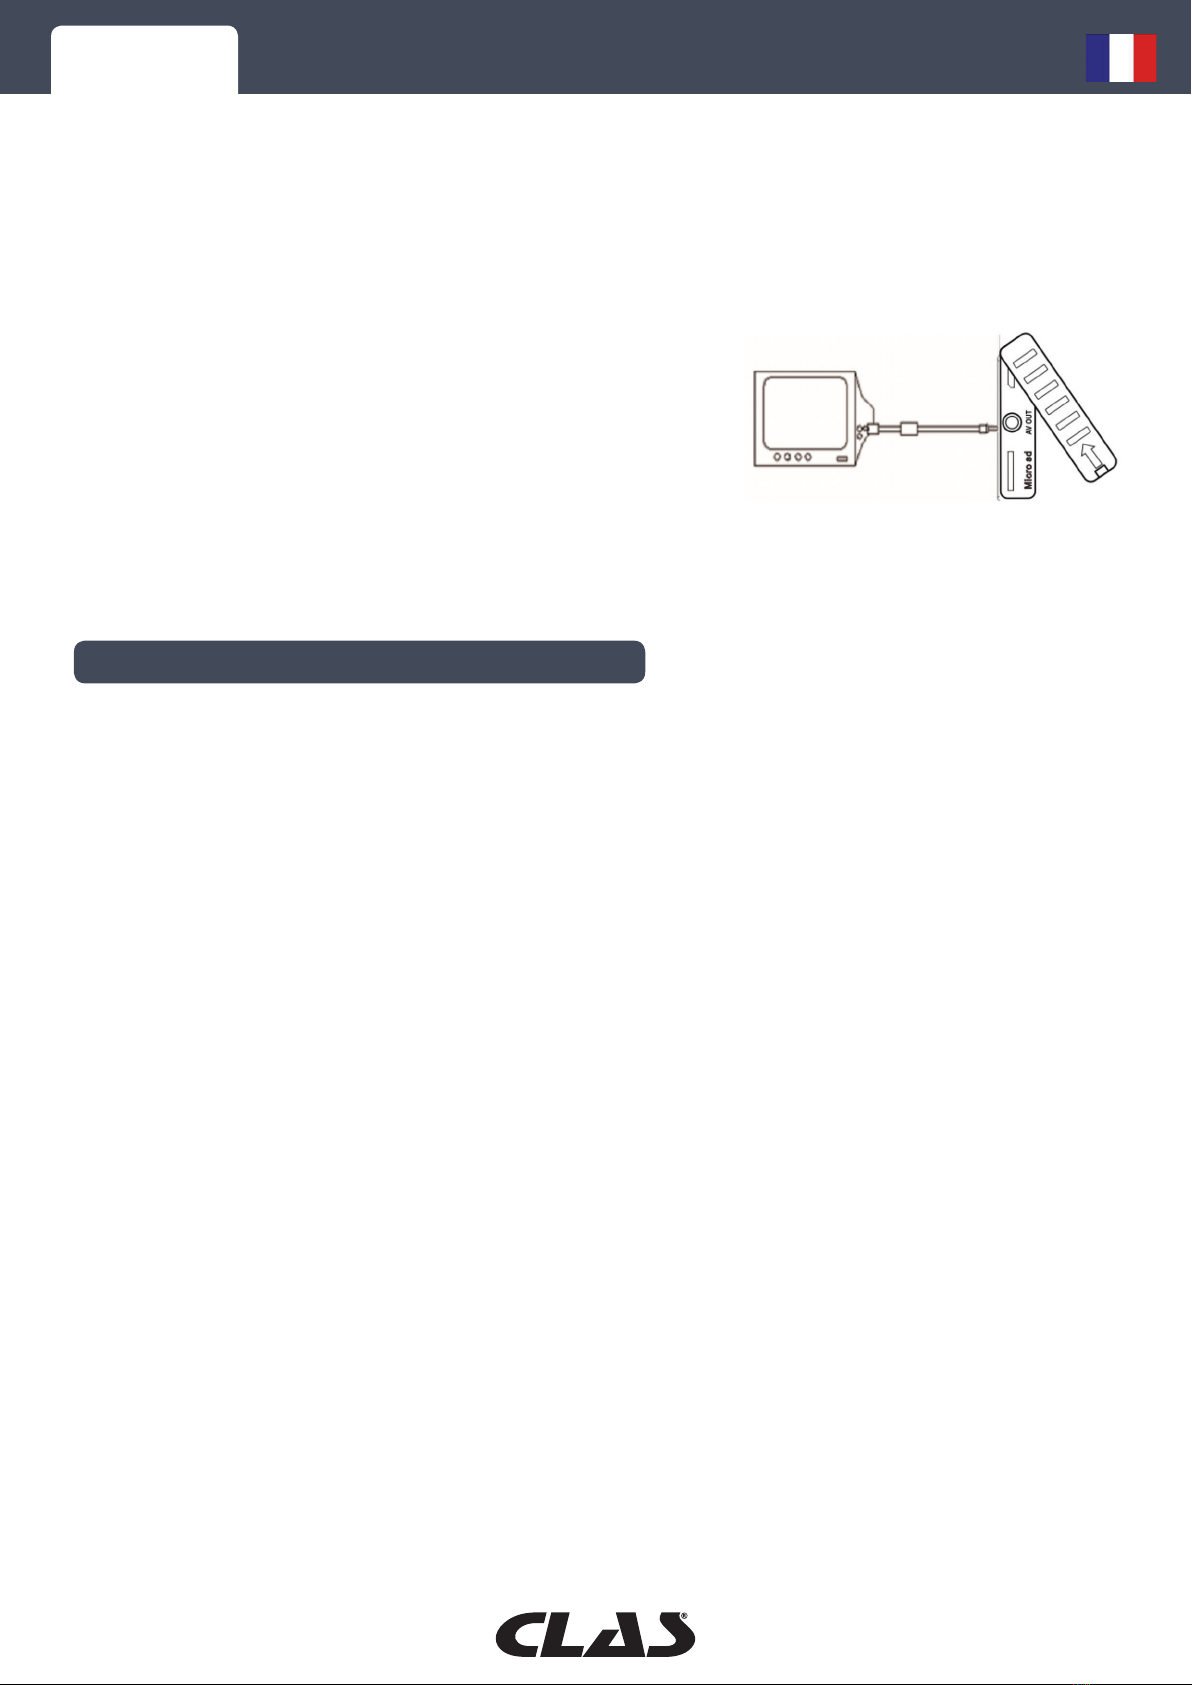
TV out Mode
Choisir la fonction <NTSC/PAL>
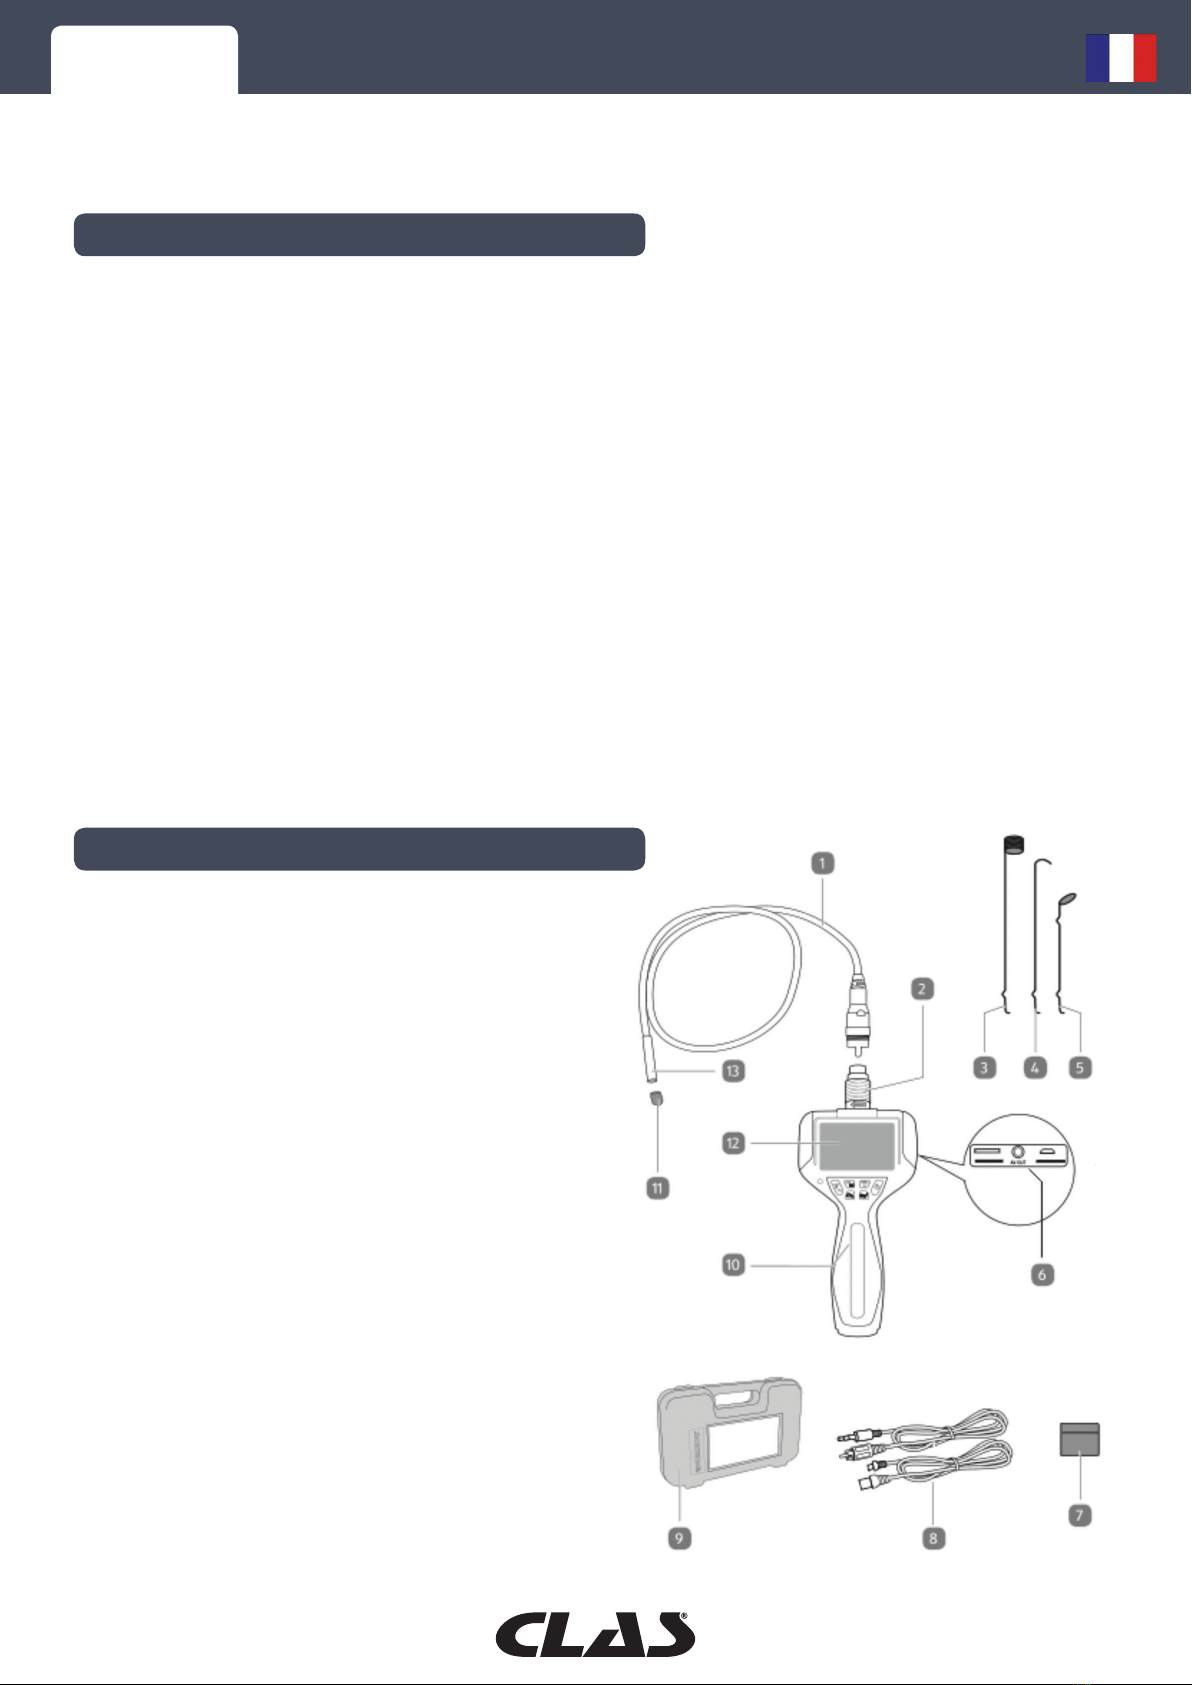
INSTRUCTIONS
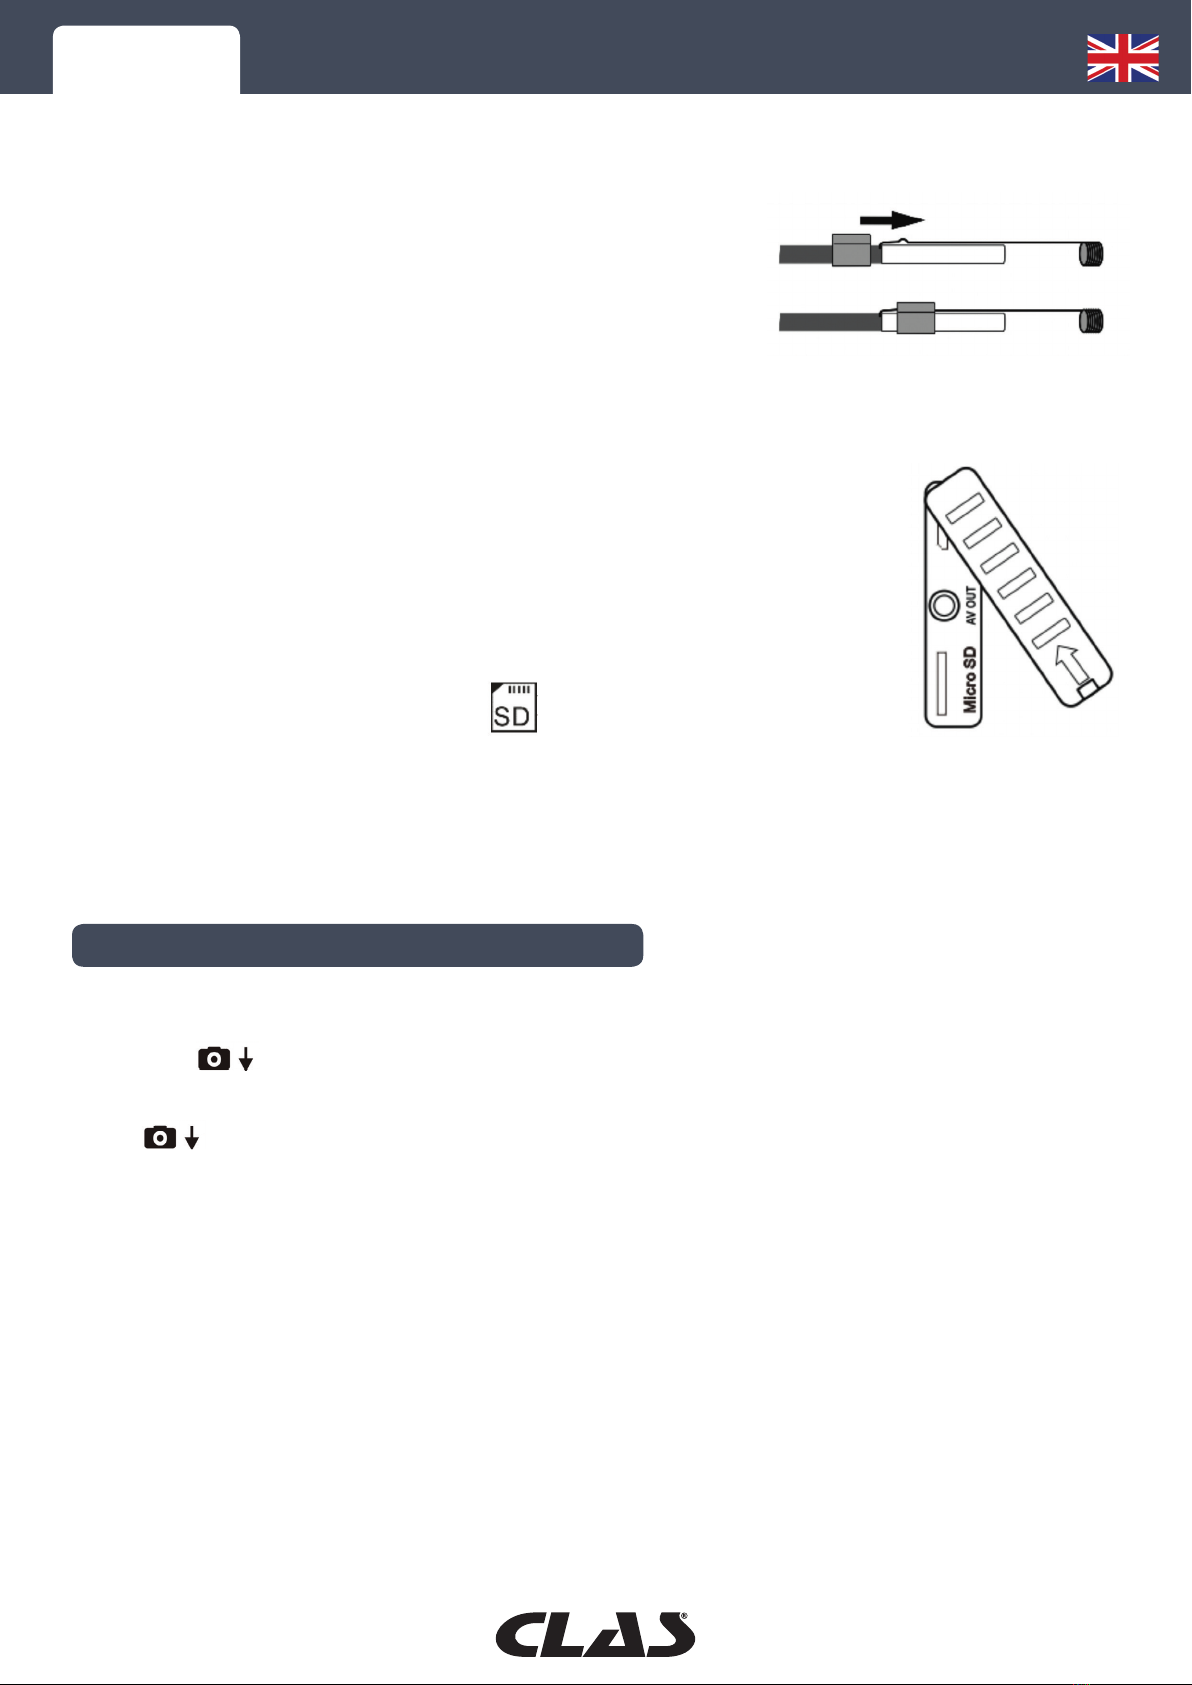
Installation des accessoires
Trois accessoires (miroir, crochet, aimant), tout d’abord fixer
l’anneau sur la tête de la caméra , puis installer les autres
accessoires.
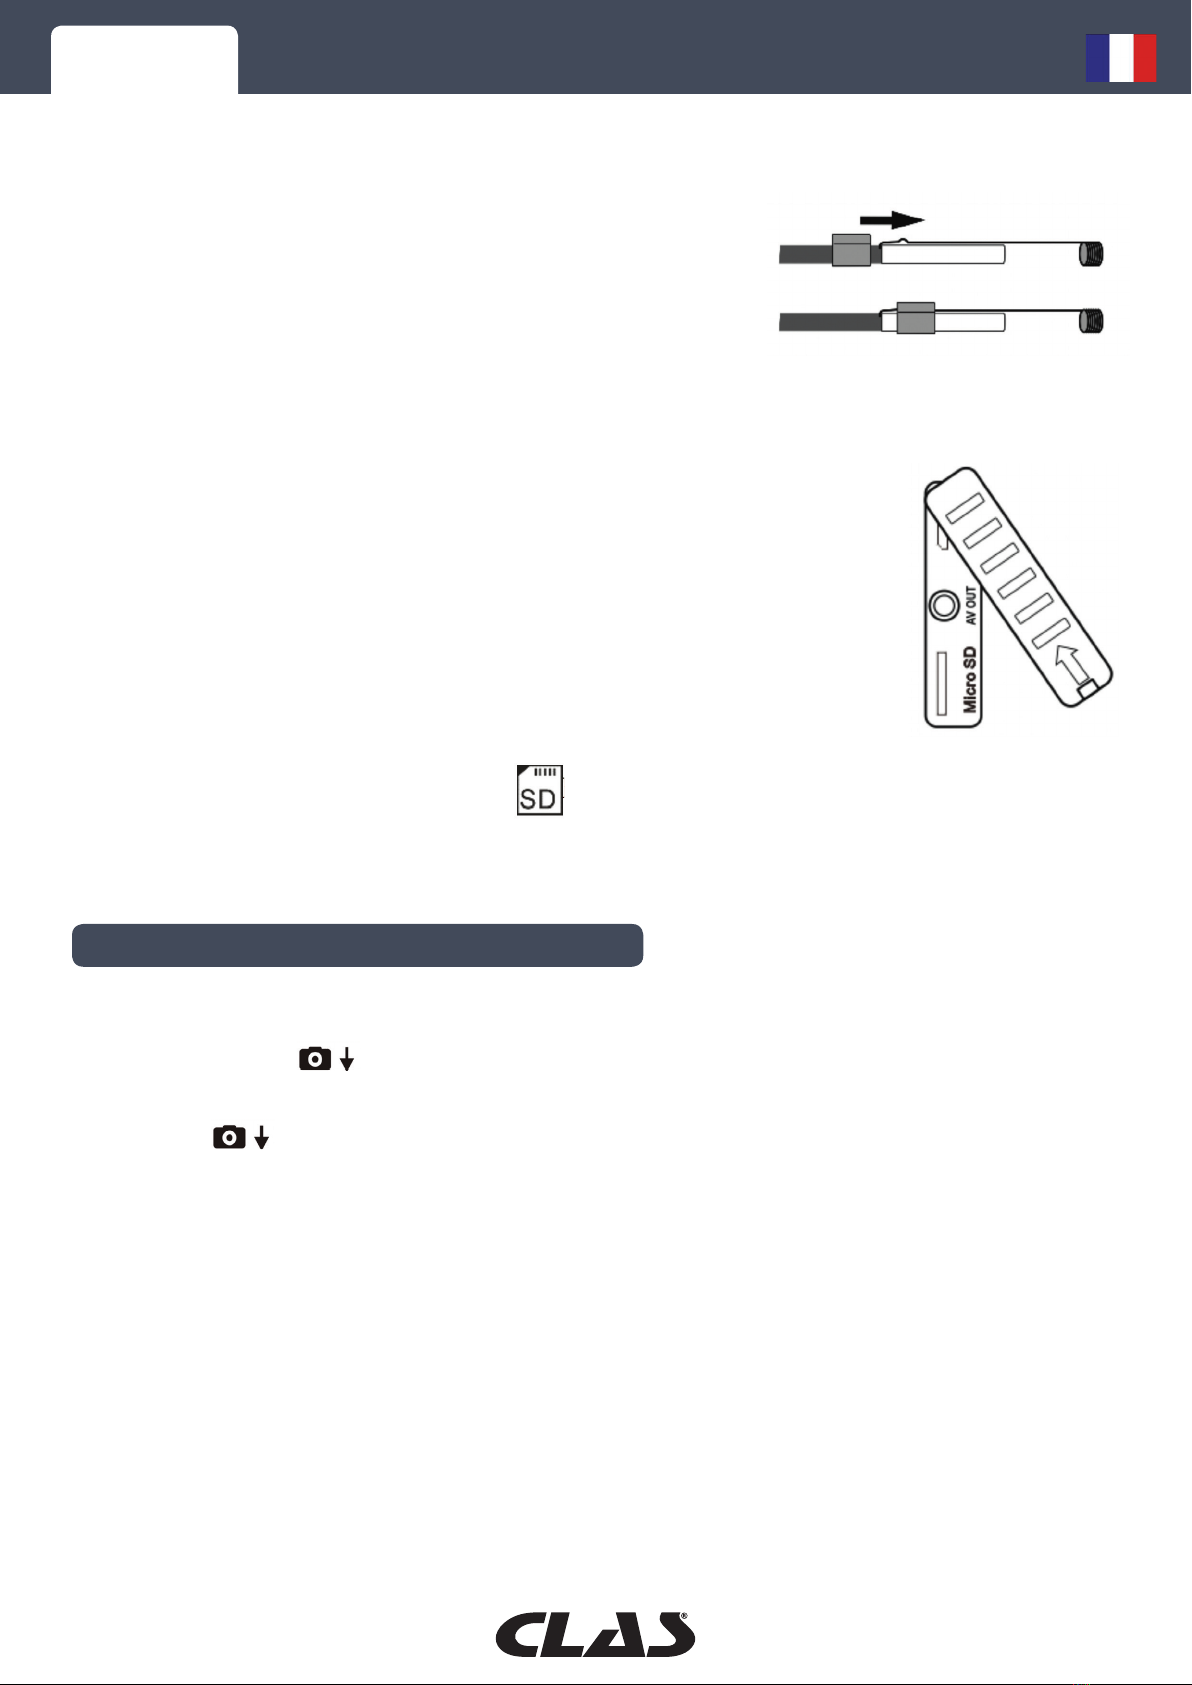
Ajuster l’anneau de fixation, peut permettre d’ajuster la position des autres accessoires .
Installation de la carte SD
Ouvrez le capot de protection en caoutchouc pour accéder aux fentes des
cartes mémoire.
Glissez la carte mémoire dans l’emplacement, le haut de la carte doit faire face
à l’écran LCD. Insérez la carte avec précaution et en toute sécurité. Elle devrait
s’enclencher en place.
Fermez le capot de protection en caoutchouc.
Pour retirer la carte mémoire, appuyez sur la carte mémoire et relâchez-la, elle
s’affiche automatiquement.
Lorsque vous insérez la carte SD, l’icône s’affiche sur l’écran LCD.
Lorsque vous insérez la carte SD, l’icône s’affiche sur l’écran LCD.
Avant le réglage du menu, appuyez sur «Menu OK»
Appuyez ensuite sur pour choisir la fonction voulue et appuyez longtemps sur «Menu OK»
Appuyez sur «Menu OK» pour accéder au menu secondaire.
Appuyer sur dans le menu secondaire pour choisir : taille, qualité, horodatage.