Cleanfix RA805 User manual

RA805 / RA905
Scrubber dryer
English
Operating Instruction
Operation, care and maintenance

2
www.cleanfix.com 800.950
Dear customer
Congratulations and thank you for purchasing your Cleanfix RA805 or RA905 ride-on
machine. You have purchased a Swiss quality product, which manufactured with the
greatest care.
1Content
2Symbols.......................................................................................................3
3Read operating instructions......................................................................3
4Intended use ...............................................................................................3
5Security .......................................................................................................4
6Important safety instructions for handling batteries..............................6
7Delivery........................................................................................................8
8Structure and function ..............................................................................9
9Commissioning........................................................................................ 10
10 Machine operation................................................................................... 12
11 Working methods .................................................................................... 16
12 Maintenance and cleaning...................................................................... 18
13 Battery maintenance ............................................................................... 20
14 Fuse ......................................................................................................... 20
15 Service intervals...................................................................................... 21
16 Help with malfunctions ........................................................................... 21
17 Towing in case of malfunction............................................................... 23
18 In case of prolonged non-use and storage........................................... 23
19 Storage ..................................................................................................... 23
20 Transportation ......................................................................................... 24
21 Technical data.......................................................................................... 24
22 Environmental protection....................................................................... 25
23 Disposal.................................................................................................... 25
24 Warranty ................................................................................................... 25
25 CE Declaration of Conformity ................................................................ 26

3
www.cleanfix.com 800.950
2 Symbols
General mandatory sign
Study operating instructions
3 Read operating instructions
Before using the device for the first time, read these original operating and the
safety instructions contained therein. Act accordingly. Keep these operating
instructions for later use or for subsequent owners.
4 Intended use
The RA805 / 905 is an industrial/commercial floor cleaning machine for both rough
and smooth hard surfaces (concrete, tile, stone, plastic, etc.). Typical applications
include schools, hospitals/healthcare facilities, hotels, factories, stores, office
buildings and retail centers. Do not use this machine on earth, grass, artificial turf or
carpet. This machine is intended for indoor use only. Due to its design and
construction, it complies with the relevant essential health and safety requirements of
the EU Directives and therefore bears the CE mark.
The relevant EU directives according to which the device has been tested can be
found in the Declaration of Conformity. This declaration becomes invalid if one or
more modifications are made to the device that have not been approved by us.
Operating the device in an improper condition before it has been repaired by
authorized specialists is expressly prohibited. Cleanfix reserves the right for technical
improvements within the scope of model maintenance. Therefore, the unit may differ
in details from the information in the brochure and the pictures in this operating
manual.
Only use this device as described in this user manual.
Please fill out the form during installation.
Model no.:
_____________________________________
Serial no.:
____________________________________
Installation date:
_______________________

4
www.cleanfix.com 800.950
5 Security
Warning
You will receive important instructions for the commissioning, use and maintenance of
your machine. In addition to these instructions, the general safety and accident
prevention regulations must be observed in general! In case of non-observance, the
manufacturer excludes any liability! The operating instructions should always be kept
within easy reach at your machine or at the machine location.
With a full freshwater tank and an empty wastewater tank, the device is only
intended for cleaning applications with a maximum gradient of up to 12% or a
maximum downward slope. During shifting travels without brush and suction
insert, slopes / gradients of up to 15% can be mastered.
The brakes are not designed for larger slopes! Risk of accident!
On ramps and sloping surfaces, drive only at low speed.
The use on public ways or roads is prohibited.
The unit may never be used as a towing vehicle or means of transport and no
persons may be carried along!
The suction motor must be switched off immediately in case of foam or liquid
leakage!
Keep packaging foils away from children - danger of suffocation.
Operating personnel must be adequately instructed in the use of this device.
Never aspirate solvents, explosive gases or liquids. These include gasoline, paint
thinner, fuel, oil, solvents, etc., which can form explosive vapors or mixtures by
swirling with the suction air.
The use of waxes and dispersions will cause malfunctions and clogging of the pipes.
Use only brushes or accessories supplied or approved by Cleanfix. The use of other
brushes or drive plate with pad may compromise safety and service life.
The manufacturer is not liable for any damage caused by improper use or incorrect
operation.
If modifications are made to the device or the device is used improperly, the warranty
becomes invalid.
The device must not be driven or operated by children or by persons with a physical,
sensory or mental disability, or by persons without the necessary experience and
knowledge. The device is not a child's toy. Cleaning and maintenance to be
performed by the user must not be carried out by children without supervision.
Use the device only for cleaning indoors or of covered areas. The machine must not
be used outdoors.
When working with the machine, take the local conditions into account and pay
attention to third parties, especially children.
Do not use the device under any circumstances in potentially explosive environments.

5
www.cleanfix.com 800.950
When cleaning and servicing your ride-on machine, when replacing accessories or
changing over to other functions, the ride-on machine must be switched off, the
ignition key removed and the parking brake applied.
The machine must not be parked on ramps.
The ride-on machine must always be disconnected from the battery during repairs
and when replacing components!
Repairs may only be carried out by authorized service centers or specialists who are
familiar with all the safety regulations relevant here.
This machine is not equipped with an explosion-proof motor. The motor will generate
sparks during start-up and operation, which may result in a wildfire or explosion if the
machine is used in an area where flammable vapors/liquids or combustible dusts are
present.
•Exposed lead-acid batteries. Explosion or fire may result. Keep
sparks and open flames away when charging.
•Disconnect the battery and charging cable before cleaning and servicing the
machine.
•Do not charge batteries with a damaged cable. Do not tamper with plug.
•If the charger power cord is damaged or broken, it must be replaced by the
manufacturer or its service representative or a similarly qualified person to avoid a
danger.
•Machine filled with water must not be used and stored at temperatures in the frost
range.
•Keep hands away from rotating pads and brushes.
Before use, all parts must be placed in the position specified in the operating
instructions. (see picture)
To prevent unauthorized use of your machine, the ignition key must always be
removed and the parking brake (pos. 7) locked.
7

6
www.cleanfix.com 800.950
Attention!
Never vacuum sharp objects such as glass splinters, nails, etc. Setting substances
such as plaster or cement can also render filters unusable.
Never use and store the device outdoors!
Never touch the plug with wet hands.
Never pull the power plug out of the socket by the cable, but always directly by the
plug.
The power cord must not be kinked, pinched, pulled or run over sharp edges and
must not come into contact with heat sources.
If the power cord of this device is damaged, it must be replaced by the manufacturer,
its customer service or a similarly qualified person in order to avoid danger.
Danger to life!
Do not operate the charger if there is any visible damage, if there is any suspicion of
a defect (e.g. after a fall) or if the power cord is defective.
Do not use damaged extension cords.
6 Important safety instructions for handling batteries
Carry out maintenance according to manufacturer and follow instructions and
regulations!
Only wet or maintenance-free batteries are permitted! Lithium batteries are not
allowed!
•Overfilling the wet batteries will cause corrosion damage to the ride-on machine!
We recommend maintenance-free batteries!
•Use only chargers recommended by the manufacturer for charging!
•Load the machine only in well-ventilated rooms!
•Explosion warning!
•If fluid leaks and comes into contact with your skin, flush immediately with plenty of
water. If battery fluid gets into your eyes, wash them out with clean water and seek
medical attention immediately!
Destruction of the
filters!
Damage to the device
due to rain and dirt!
Electric shock hazard
charger!
Safety instructions!

7
www.cleanfix.com 800.950
The user alone is liable for damage caused by improper use. Generally recognized
accident prevention regulations and the safety instructions must be observed and
followed.
Charge the battery before use.
Do not recharge a fully charged battery.
Recharge the battery when the power drops.
The optimum storage temperature is between 20°C and 25°C. The permissible
charging temperature is between 5°C and 40°C.
Batteries can go into deep discharge when not used for a long time and can
then no longer be recharged! Therefore charge batteries every month!
•Used batteries contain large quantities of valuable raw materials and plastics,
which can also be fed into a recycling process.
•Batteries must not be disposed of with household waste!
•Return defective or used batteries to the dealer!
•Before disposal, secure the contacts against short-circuit (e.g. insulate with
adhesive tape).
•Do not throw batteries into water!
Intended use
Use
Environmental
protection

8
www.cleanfix.com 800.950
7 Delivery
Carefully unpack the device and check the contents of the packaging for
completeness (see scope of delivery). Should you notice any transport damage,
contact your dealer immediately.
1a 1x Ride-on scrubber-dryer RA805 (alternative) Item no.: 800.015
1b 1x Ride-on scrubber-dryer RA905 (alternative) Item no.: 910.015
2 1x Suction nozzle completely preassembled Item no.: 800.550
3a 2x Scrub brushes Ø 38 cm for RA805 (alternative) Item no.: 800.059
3b 2x Scrub brushes Ø 43 cm for RA905 (alternative) Item no.: 910.059
41x Canister 5L (only for CADS version) Item no.: 565.535
RA805
Scrub brush Ø 38 cm PPN 0.6 (2 pcs. necessary) Item no.: 800.059
Driving plate for pad (2 pcs. necessary) Item no.: 800.070
Pad red Ø 38.1 cm (5 pcs.) Item no.: 800.902.5
Pad blue Ø 38,1 cm (5 pcs.) Item no.: 800.903.5
Pad brown Ø 38.1 cm (5 pcs.) Item no.: 800.904.5
Washed concrete brush Ø 38 cm (2 pcs. needed) Item no.: 800.573
Silicon carbide brush Ø 38 cm (2 pcs. needed) Item no.: 800.476
RA905
Scrub brush Ø 43 cm PPN 0.6 (2 pcs. needed) Item no.: 910.059
Driving plate for pad (2 pcs. necessary) Item no.: 910.070
Pad red Ø 43.2 cm (5 pcs.) Item no.: 694.322.5
Pad blue Ø 43,2 cm (5 pcs.) Item no.: 694.323.5
Pad brown Ø 43.2 cm (5 pcs.) Item no.: 694.324.5
Washed concrete brush Ø 43 cm (2 pcs. needed) Item no.: 910.573
Silicon carbide brush Ø 43 cm (2 pcs. needed) Item no.: 910.476
Set of scraper blades Brush heads grease and oil resistant Item no.: 910.072
Set of scraper blades Brush heads Standard Item no.: 910.080LT
RA805 und 905
4x gel batteries 4x6V 240 Ah (312 x 182 x 359mm) Item no.: 800.092
Fully automatic charger to gel batteries, 24V/35A Item no.: 686.800
Fresh water filling hose 2m Item no.: 681.000
Coarse dirt filter Item no.: 800.640
Deflector roll large to suction nozzle Item no.: 800.562
Scraper blade set grease and oil resistant blue Item no.: 800.081
Scraper blade set standard red Item no.: 800.080LT
Set of street (rotating lamp incl. mounting. Rotating lamp
yellow, Breakdown triangle with holder, frame to license
plate, self-adhesive label speed 10 km/h, cat's eye) Item no.: 800.925
Scraper blade set grease and oil resistant transparent Item no.: 800.090
Water suction set Item no.: 800.910
Unpack machine
Scope of delivery
Accessories optional

9
www.cleanfix.com 800.950
8 Structure and function
1 Flashing light 14 Rear wheel drive
2 Driver's seat 15 Suction nozzle
2a Back cushion 16 Rear bumper
3 Steering wheel 17 Fresh water tank
4 Control panel 18 Dirty water tank
5 Steering column 19 Hose holder
6 Charging plug battery 20 Drainage hose dirty water
7 Parking brake 21 Suction hose
8 Brake pedal 22 Deflection rollers Suction nozzle
9 Drive pedal 23 Emergency stop switch
10 Front bumper 24 Water level indicator
11 Front wheels 25 Drain fresh water
12 Brushes or drive plates 26 Batteries
13 Deflection rollers Brush housing
26 Suction engine
27 Suction air filter
28 Level floater
29 Fresh water tank filling hole
30 Compartment for cleaning agent canister 5L (only for CADS version with function)
31 Seat switch
24
22
17
14
12
11
10
9
8
7
6
5
4
3
2a
2
1
26
18
19
17
20
21
11
23
13
22
12
16
15
14
25
26
28
27
31
30
29

10
www.cleanfix.com 800.950
9 Commissioning
Never use a defective device!
•Unpack the device and check the delivery for completeness and transport damage.
•Install the batteries and connect them correctly. (Fig. 1)
•Charge the batteries of the machine using the charging cable. (Fig. 2)
•Mount the suction nozzle. (Fig. 4, page 11)
•Mount the two brushes or the drive plates with the pads (Fig. 6, page 11).
•Fill the freshwater tank as required, maximum up to the marking on the level
indicator. (Fig. 7, page 11)
•Insert the ignition key (Fig. 5, page 11) into the lock and start the machine.
The machine is built for (DC) direct current 24V. Used are 4 pcs. 6 Volt batteries
connected in series. (Picture 1)
This work may only be carried out by approved Cleanfix customer service
centers or by qualified personnel.
Disconnect the charging plug from the electrical interface and connect it to the
charger plug. (Fig. 2)
Always pull on the plug housing, not on the cable. Charge according to the battery
type and the manufacturer's instructions. Leave freshwater tank open for this.
Intermediate charging during operation is not recommended.
After charging, switch off the charger, disconnect the main plugs and reconnect the
internal charging plug to the electrical interface of the machine. (Fig. 3)
If the machine is operated with wet batteries, charging may only take place in
adequately ventilated rooms.
Warning
Installation battery
Charging the
batteries
2
3
1
-
+
+
+
+
-
-
-

11
www.cleanfix.com 800.950
Loosen the star grips (1) on the suction nozzle until they can be pushed onto the
nozzle carrier. (2, Fig. 4)
Ensure that the washer is located above the nozzle carrier!
Tighten star grips (1) hand tight.
Attach suction hose (3) to the suction nozzle.
Switch off the ride-on machine with the ignition key. (Fig. 5)
Push brushes or drive plates with centrally fixed pads under the brush drive, press
upward and rotate counterclockwise until they engage. (Fig. 6)
The bristle length of the brushes and the thickness of the pads must not be less than
1cm. If the bristles are too short or the pads are too thin, the floor covering may be
damaged. Check the brushes and pads regularly before starting to work!
Only the brushes, drive plates and pads intended for the unit may be used. The use
of other cleaning tools may impair safety.
•Water temperature max. 60°C.
•Maximum fill level is 130 liters. See water level indicator. (Fig. 7)
Always add detergents after the water has been filled in order to
avoid foam formation.
Do not fill above maximum!
Please refer to the manufacturer's instructions on the containers for the prescribed
dosage of detergents.
You can find recommended products from Cleanfix detergents in our web shop.
Mount suction nozzle
Mounting brushes /
drive plates
Filling fresh water
7
130L
max.
6
5
1
1
3
2
4
2

12
www.cleanfix.com 800.950
10 Machine operation
1 Ignition lock On / Off 7 Suction
2 direction of travel button (rocker switch) 8 Water
3 Speed controller stepless 9 Detergent *
4 Horn 10 Spot / ECO
5 Display 11 Plus button
6 Brushes / Drive plates 12 Minus button
*Only for version CADS with function
The machine and control unit are ready for operation as soon as the battery symbol is
visible in the display.
1. Ignition lock / ignition key
Switches the machine on or off.
2. Direction of travel button (rocker switch)
Serves to determine the direction of travel forwards or backwards. The machine is
equipped with a reverse warning device. (Can be deactivated by service
technician or dealer.)
3. Speed controller stepless
This controller can also be used to limit the maximum speed continuously while
driving, which keeps the speed stable even with the foot pedal fully depressed.
Adjustment of the slower desired speed takes place via the foot pedal.
Control / operating
console
Functions control
12
11
10
9
8
7
6
5
4
3
2
1

13
www.cleanfix.com 800.950
4. Horn
Serves to warn people in the vicinity.
5. Display
5.1. Battery
State of charge display with 5 segments and percentage display.
5.2. Operating hours counter
Shows the total duty cycle of the machine.
(Counting starts as soon as ignition is set to “On”)
5.3. Brush function
Indicates the current brush function. No display = brush deactivated, display
present = brush activated. When using the Eco function, the brush symbol is
supplemented with “Eco”. (see point 6)
5.4. Suction function
Indicates the current suction function. No display = suction deactivated,
display present = suction activated. When using the Eco function, the suction
symbol is supplemented with "Eco". (see point 7)
5.5. Water quantity
Displays the set water quantity in 5 steps. In the case of automatic volume
control, the symbol is supplemented with an "A".
In the case of manual flow control, the symbol is supplemented with an "M".
When the function is deactivated, no symbol is shown in the display. (see
point 8)
5.6. Quantity of cleaning agent (Only for CADS version with function)
Displays the set detergent quantity and the mixing ratio in 5 percent steps. If
the function is deactivated, no symbol is shown in the display. (see point 9)
5.7. ECO
Displays ECO mode. (see point 10)
5.8. SPOT
Displays SPOT mode. (see point 10)
5.7
5.7
5.6
5.5
5.4
5.3
5.2
5.8
5.1

14
www.cleanfix.com 800.950
6. Brushes
Switches on the brush function and brushes are lowered to just above the
ground. When the machine is started, forwards or backwards, the brushes are
lowered completely. When the machine is stopped, the brushes raise again
slightly so as not to leave any marks on the ground. (No deformation of the
bristles)
7. Suction
7.1. Short keystroke
Switches on the suction function and the suction nozzle lowers completely.
When starting up, the two suction fans are switched on. When the machine
is stopped, the suction fans run for 20 seconds, so that residual water in the
hose is sucked in and the suction nozzle is automatically raised.
7.2. Long keystroke (> 3 seconds)
Switches on the suction function even when the machine is at a standstill;
the driver's seat does not have to be occupied.
With this function, an optionally available manual suction set can be attached
to the suction nozzle to manually suck up standing water in inaccessible
areas.
The suction nozzle lifts automatically when reversing.
8. Water
8.1. Short keystroke
Switches the water pump on or off.
The plus and minus keys can be used to regulate the water quantity in 5
steps.
8.2. Long keystroke (> 3 seconds)
Activates the "Water dosing setting" submenu, in which plus and minus can
be used to switch between the following 2 modes "AUTO” and “MANUAL".
The selected setting is retained when the machine is restarted.
8.3. AUTO
In AUTO mode, the water quantity is metered depending on the speed.
(faster = more water - slower = less water)
8.4. MANUAL
In manual mode, the water volume remains constant regardless of speed.
9. Detergent dosing (Only for version with CADS with function)
9.1. Short keystroke
Switches the pump for dosing the cleaning agent on and off.
Switching on / off is only possible if the water function is also switched on.

15
www.cleanfix.com 800.950
9.2. Long keystroke (> 3 seconds)
Activates the submenu "Detergent dosage setting", where plus and minus
can be used to switch between the following 5 modes "0.25% / 0.5% / 1% /
3% and 5%". The selected setting is retained when the machine is restarted.
9.3. Simultaneous keystroke water and detergent dosing
If the water and detergent dosing key are pressed simultaneously, the rinsing
function cleans the detergent system. For this purpose, the cleaning agent
must be replaced by clean water.
10. SPOT / ECO
10.1.Short keystroke
Switches on the SPOT mode. In this setting, the maximum amount of water
is dispensed for 10 seconds and the travel speed is reduced (advantageous
for locally heavier contamination). Afterwards, the settings are reset to the
original values. SPOT mode can also be activated when ECO mode is
active.
10.2.Long keystroke (> 3 seconds)
Switches on the noise-reduced ECO mode. In this setting, the suction power
is reduced depending on the set water volume.
11. Plus Button +
To increase the flow control. (water / detergent)
12. Minus Button -
To minimize volume regulation. (water / detergent)
13. Emergency stop switch
Press red button in case of emergency or maintenance. On-board power supply
and battery are disconnected, the machine stops.
The emergency stop switch has no influence on the foot brake or parking
brake!
13

16
www.cleanfix.com 800.950
No persons are allowed to be carried!
•Use the travel direction key (1) to select the desired travel direction forwards or
backwards. (Fig. 8)
•Turn ignition key (2) and switch machine on. (Fig. 8) The machine is not ready for
operation until the battery indicator appears in the display.
•Release the parking brake by lifting and turning slightly. (Fig. 9)
•Slowly press down the accelerator pedal with the right foot and drive the machine
to the destination. (Fig. 10)
•At the destination, stop the ride-on machine with the foot brake and secure it with
the parking brake by pulling it up. (Fig. 9)
•Switch off ride-on machine with ignition key (2). (Fig. 8)
The machine has a seat switch, which must be loaded with enough weight!
11 Working methods
The surface to be cleaned must first be sweeped off coarse and loose dirt. Otherwise,
foreign bodies will get caught under the blades of the suction nozzle, the brushes or
the pads, which could result in scratches in the floor covering.
Switch on the unit using the ignition key (1, Fig. 11), switch on the brush drive
(6, Fig. 12) and suction nozzle (7, Fig. 12) by pressing the buttons lightly, these will
now lower automatically - brushes, however, only to just above the floor. Press the
Water (8) or Detergent (9) buttons before adjusting the amount with Plus + (11) or
Minus - (12) (Fig. 12). Cleaning agent (5) can only be added and regulated in the
CADS version!
Release the parking brake (Fig. 13) and slowly press the accelerator pedal down; the
brushes will now automatically lower completely. The travel speed can be increased
by pressing the pedal. The function of the steering wheel is comparable to that of the
car, use the brake pedal for braking.
Attention, keep in mind the pivoting/swivel range!
In case of heavy soiling, the SPOT mode (10, Fig. 12) can be switched on, whereby
the maximum amount of water is dispensed for 10 seconds and the travel speed is
reduced.
Drive
Preparation
Light soiling
Heavy soiling
13
12
10
12
8
6
9
7
11
11
1
10
9
8
1
2

17
www.cleanfix.com 800.950
Emptying is necessary when the dirt water monitor responds.
A level monitor (5, Fig. 14) is installed in the dirty water tank, which switches off the
suction motor when the tank is full or overfoaming, it switches off the suction motor
and thus protects it from damage.
Move the ride-on machine to a suitable discharge point. Beneficially into a sink with
sewer connection.
Switch off ride-on machine with ignition key and remove ignition key.
Uncouple the drain hose (20, Fig. 15), hold it up, unscrew the cap and bend the
hose at the cap.
Lower the drainage hose to the drainage point, loosen the kinked hose and empty
wastewater tank.
When emptying into buckets, this can be interrupted by lifting the emptying hose in
good time or by kinking the hose. After emptying, screw the lid back on tightly and put
the emptying hose back into the hose holder.
In the event of foam and/or water escaping below the tank or tank cap, the
machine must be switched off and emptied immediately.
Observe national regulations for the disposal of wastewater. The
compliance is the unrestricted responsibility of the user!
•Switch off the ride-on machine with the ignition key (2). (Fig. 8)
•Turn the brushes or drive plate with centrally fixed pad in the direction of brush
rotation (clockwise) and lower - the brush or drive plate disengages. (Fig. 16)
•Push new brushes or drive plates with centrally fixed pads under the brush drive,
press upward and turn counterclockwise until they engage. (Fig. 17)
Drainage wastewater
Brush or drive plate
change
17
16
20
15
14
5

18
www.cleanfix.com 800.950
12 Maintenance and cleaning
Switch off the ride-on machine before maintenance and cleaning, remove
the ignition key and apply the parking brake firmly.
Cleaning the ride-on machine with a high-pressure cleaner or a water hose
can lead to considerable damage and is therefore prohibited.
Maintenance and repairs on mechanics and brakes may only be carried out
by be carried out by authorized service centers!
•Clean the outside of the device with a sponge or cloth.
•Empty the wastewater tank using the emptying hose (1). (Fig. 18)
•Thoroughly rinse the dirty water tank with a hose. (Fig. 19) Leave the tank lid (A)
open to dry out so that bad odors can be avoided.
•Remove the suction nozzle (3, Fig. 20) and clean it under running water with a
brush or sponge. While doing so, check the fins for wear and replace them if
necessary. Make sure that the suction lips are not worn beyond their center. Only in
this way is it possible to use them 4x by reassembling them the other way round.
(Fig. 21)
•Loosen the suction hose at the top (2, Fig. 18) and rinse it from above.
If necessary, empty the freshwater tank (see page 19)
Clean nozzles and fins with gloves - risk of injury!
=
=
21
20
3
A
19
2
1
18

19
www.cleanfix.com 800.950
•Remove the brushes or driving discs with pads and check them for foreign bodies
such as metal parts, screws, wood splinters, stones, etc. and remove them so that
they cannot cause damage to the floor coverings. Regularly check the wear of the
pads and brush bristles. If they are too worn, this can cause damage to the floor
covering.
•Empty the freshwater tank regularly as well. Fresh water that has been standing for
a long time can also develop unpleasant odors. To do this, remove the screw cap
on the underside, right in front of the rear wheel (Fig. 22). So that there is no
vacuum occuring in the tank and the water can run out quickly, the cap of the filler
neck should also be opened.
•In case of daily use, check the freshwater filter (10, Fig. 23) once a week for
contamination and clean it if necessary.
•In case of daily use, the suction air filter (25, Fig. 24) must be checked for
contamination and cleaned each time it is used.
•Twice a year you should lubricate the hinges on the freshwater tank and the seat
cushion. (Image 25)
•Check monthly whether the wheel bolts are still tight. (Fig. 26)
•In case of repair, please contact your specialist dealer or one of the authorized
service workshops. You will be served quickly and professionally.
•Our products have been tested for safety at the factory.
25
24
10
23
22
26
25

20
www.cleanfix.com 800.950
13 Battery maintenance
•out maintenance according to the manufacturer and follow the instructions and
regulations.
•Overfilling the batteries will cause corrosion damage to the ride-on machine.
•We recommend maintenance-free batteries.
•Use only chargers recommended by the manufacturer for charging.
•Only load the machine when it is open and in a well-ventilated area.
Explosion warning!
•Carry out maintenance according to the manufacturer and follow the instructions
and regulations.
•Use only chargers recommended by the manufacturer for charging.
•Are not allowed due to the lack of battery management system.
Forced disconnection of the battery may cause to a system failure.
Danger of accident!
14 Fuse
Attention, before changing the fuse, disconnect the battery via the charging
plug of the ride-on machine (risk of short circuit)!
The circuit of the ride-on machine is protected by a main fuse (C, Fig. 28).
The fuse responds immediately in the event of a prolonged overload or short circuit. If
the fuse responds more frequently or responds immediately after replacement, there
is a technical defect.
Contact your service center immediately!
To replace the fuse (C, Fig. 28), lift the dirt water tank (Fig. 27). Lift the red cover cap
(A) on the positive pole of the battery, unscrew the nut (B) from the fuse switch,
remove the defective fuse, insert the new fuse and fasten the nut again (Figure 28).
Replace positive terminal cover and lower dirt water tank again.
Check the machine functions.
Use only fuses with the prescribed value (125A)!
Wet batteries
Maintenance free
batteries
Lithium-ion batteries
Warning
28
C
B
A
27
This manual suits for next models
3
Table of contents
Other Cleanfix Scrubber manuals

Cleanfix
Cleanfix MasterCraft RA-300 Guide
Cleanfix
Cleanfix RA 330 IBC Instruction Manual
Cleanfix
Cleanfix Sparrow Guide
Cleanfix
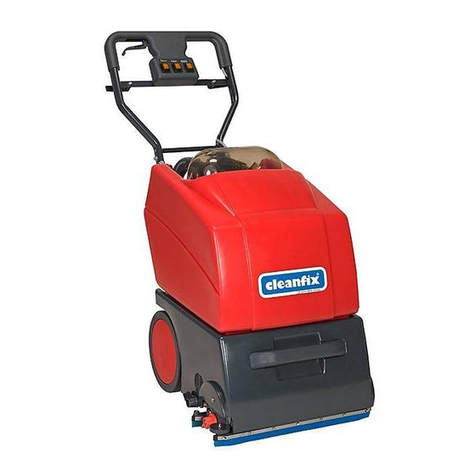
Cleanfix RA 410 E User manual
Cleanfix
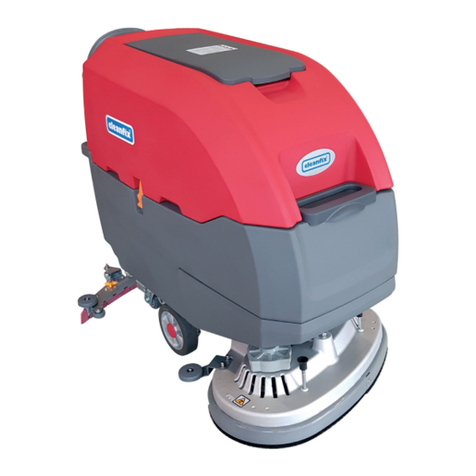
Cleanfix RA705 IBC User manual
Cleanfix
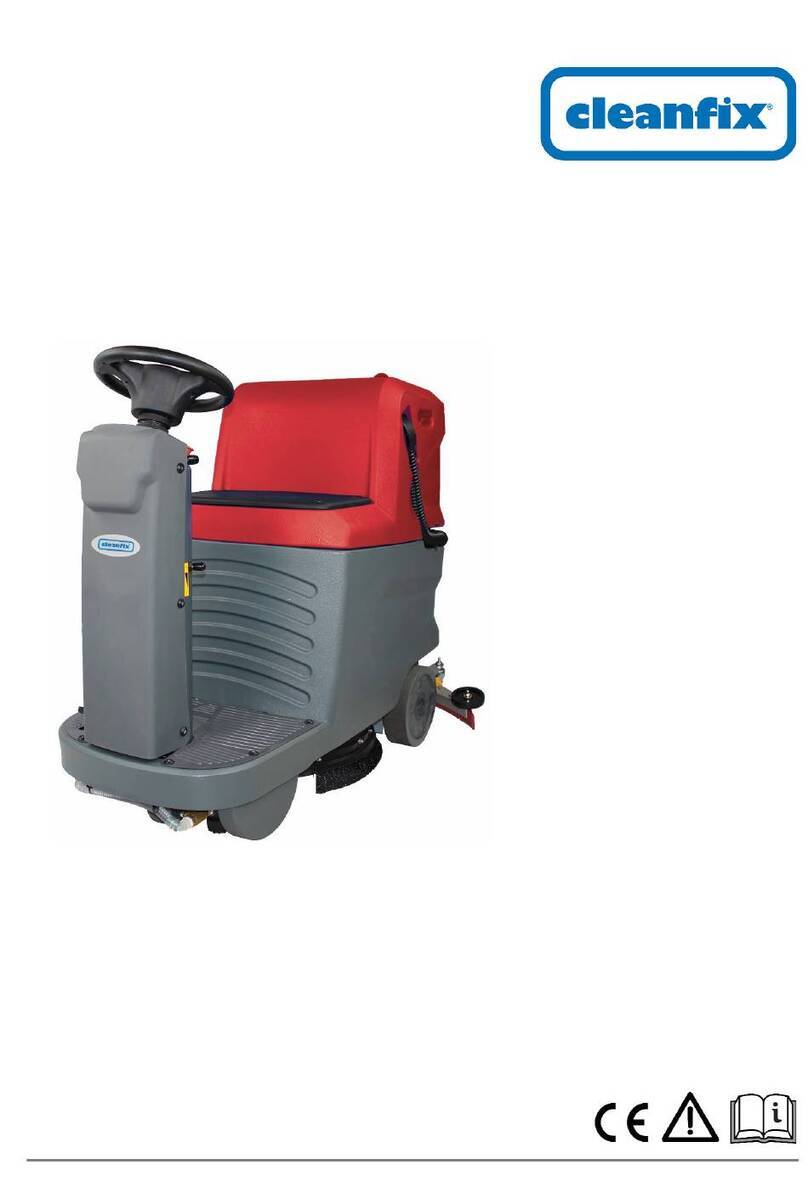
Cleanfix RA565 IBCIBD User manual
Cleanfix
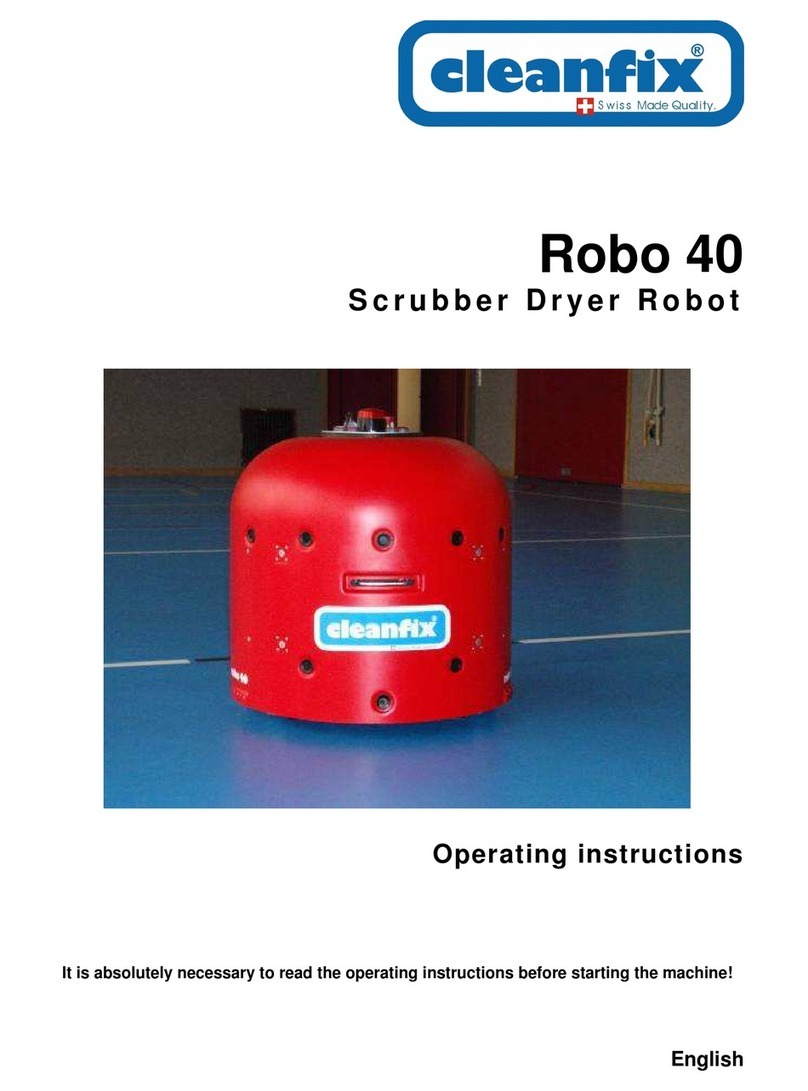
Cleanfix Robo 40 User manual
Cleanfix
Cleanfix Falcon Guide
Cleanfix
Cleanfix FloorMac Guide

Cleanfix
Cleanfix RA 410 E User manual
