CLEARPATH Turtlebot4 User manual

Turtlebot4 User Manual
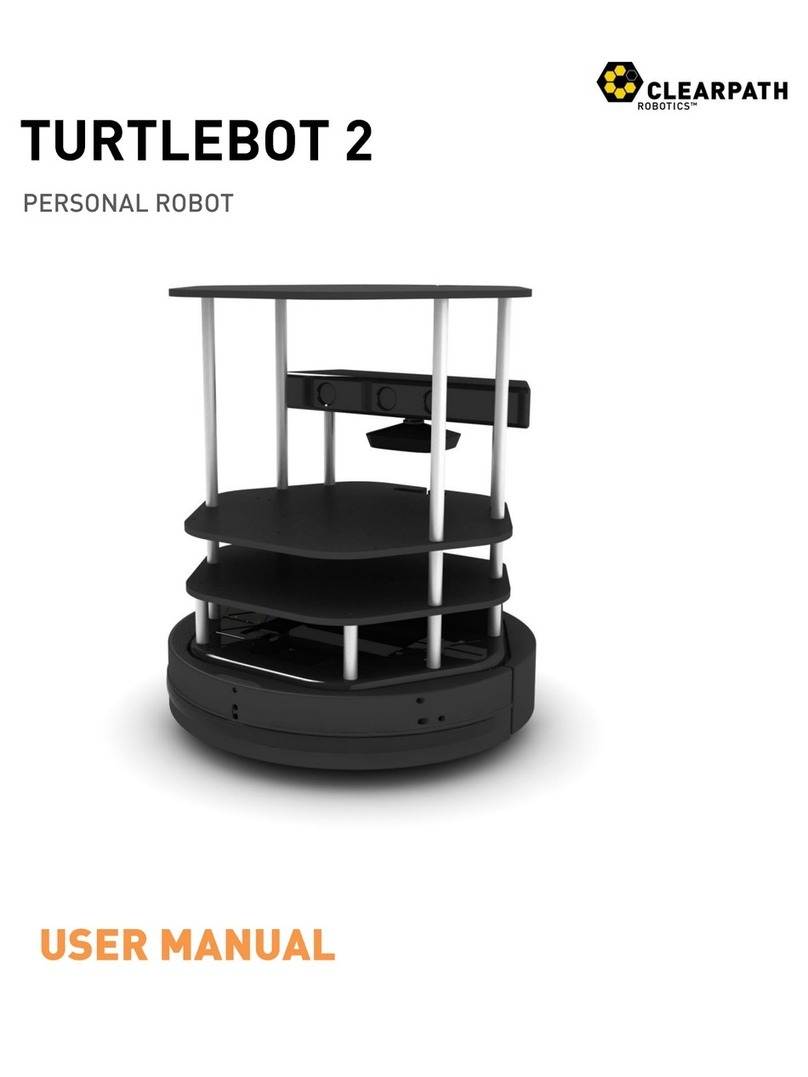
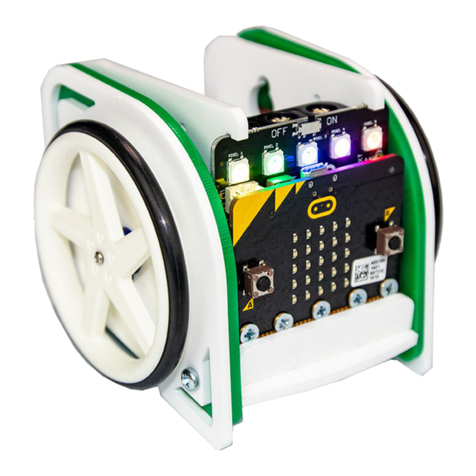
TurtleBot 4 Lite (left) and TurtleBot 4 (right)
TurtleBot 4 is the next-generation of the world's most popular open source robotics
platform for education and research, offering better computing power, better sensors
and a world class user experience at an affordable price point.
TurtleBot 4 comes in two models - TurtleBot 4 and TurtleBot Lite. Both are equipped
with an iRobot® Create® 3 mobile base, a powerful Raspberry Pi 4 running ROS 2,
OAK-D stereo camera, 2D LiDAR and more. All components have been seamlessly
integrated to deliver an out-of-the-box development and learning platform. Tap into the
thriving open source ROS developer community and get started learning robotics on
day one.

Features 9
TurtleBot 4 9
TurtleBot 4 Lite 11
Hardware Specifications 12
Sensors 14
RPLIDAR A1M8 14
OAK-D-Lite 14
OAK-D-Pro 15
Resources 16
Software 16
Ubuntu 16
Raspberry Pi 16
ROS2 16
TurtleBot 4 16
iRobot® Create® 3 17
Luxonis 17
SLAMTEC 17
Quick Start 17
Powering on the robot 18
Installing ROS2 Galactic on your PC 18
Network Configuration 18
WiFi Setup 19
Find the Raspberry Pi IP on your network 20
Create® 3 WiFi Setup 22
TurtleBot 4 Controller Setup 23
Updating the TurtleBot 4 24
Create® 3 24
Update over WiFi 25
Find the IP address of the Create® 3 on your WiFi network. 25
Place the robot into AP mode. 25
Update over USB-C 26
Debian packages 26
Source packages 27
Install latest Raspberry Pi image 27
Overview 29
Create® 3 29
Raspberry Pi 4 30

User PC 30
TurtleBot 4 Packages 31
TurtleBot 4 31
Installation 31
Debian installation 31
Source installation 31
Description 32
Messages 32
Actions 32
Messages 32
Services 33
Navigation 33
TurtleBot 4 Navigator 35
Node 35
Functions 36
Configuration 36
Buttons 37
Example 38
LEDs 38
Examples 39
Display 42
Menu Control 42
TurtleBot 4 Robot 43
Installation 43
Source installation 43
Base 44
GPIO Interface 44
I2C Interface 45
SSD1306 45
Configuration 45
Robot Upstart 46
Bringup 47
Diagnostics 47
Diagnostics Updater 47
Tests 48
ROS Tests 48
TurtleBot 4 Desktop 51
Installation 51
Debian installation 51
Source installation 51

Visualisation 52
TurtleBot 4 Simulator 52
Installation 52
Dev Tools 52
Ignition Edifice 52
Debian installation 53
Source installation 53
Ignition Bringup 53
Ignition GUI Plugins 54
Ignition Toolbox 55
Sensors 55
RPLIDAR A1M8 56
Connecting 56
Installing 56
Running 56
OAK-D 56
Connecting 57
Installing 57
Running 57
Create® 3 57
Cliff 57
Bumper 58
Wheeldrop 58
IR Proximity 58
Slip and Stall 58
Kidnap 58
Rviz2 58
View Model 59
View Robot 59
Rviz2 Displays 60
LaserScan 61
Camera 62
TF 63
SLAM 64
Synchronous SLAM 65
Asynchronous SLAM 65
Saving the map 66
Nav2 66
Launching Navigation 67

Launch files 67
Parameters 67
Configuration 67
Examples 67
Navigating with Rviz2 69
Simulation 69
Installing Ignition Gazebo 70
Launching Ignition Gazebo 70
TurtleBot 4 72
Attaching Accessories to the Top Integration Plate 72
Removing the Top Integration Plate 72
Making Modifications to the Top Integration Plate 73
Attaching Accessories to the Base Unit 73
Removing the PCBA 74
Removing the Create® 3 Integration Plate and Shell 75
TurtleBot 4 Lite 76
Attaching Accessories to the Base Unit 76
Removing the Create® 3 Integration Plate 77
Accessing the Raspberry Pi Computer 78
Payloads Over 9kg 79
Mechanical Modification 79
Lower payload height 79
Example 81
Software Modifications 83
Acceleration Limits 83
Velocity Limits 83
Keyboard Teleoperation 83
Joystick Teleoperation 83
Command Velocity 84
Create® 3 Actions 84
Nav2 84
Create® 3 85
Raspberry Pi 4B 86
User Interface PCBA 87
Overview 87
User I/O 87
User Power 90
Molex Picoblade 6-Pin cable assembly 91

User USB-C Ports 92
Power Budget 92
Driving your TurtleBot 4 95
Keyboard Teleoperation 95
Joystick Teleoperation 96
Command Velocity 97
Create® 3 Actions 97
Creating your first node (C++) 98
Create a workspace 98
Create a package and node 98
Write your node 98
Add your dependencies 99
Create a class 100
Subscribe to the Create® 3 interface buttons 101
Test Create® 3 Button 1 102
Create a lightring publisher 103
Publish the lightring command with a button press 107
Toggle the lightring 108
Your first C++ Node 109
Creating your first node (Python) 113
Create a workspace 113
Create a package and node 113
Write your node 113
Add your dependencies 114
Create a class 114
Subscribe to the Create® 3 interface buttons 115
Test Create® 3 Button 1 116
Create a lightring publisher 118
Publish the lightring command with a button press 121
Toggle the lightring 121
Your first Python Node 123
Generating a map 126
Launch SLAM 126
Launch Rviz2 126
Drive the TurtleBot 4 127
Save the map 127
View the map 128
Navigation 128

SLAM vs Localization 129
SLAM 129
Localization 129
Nav2 129
Launching navigation 129
Interacting with Nav2 130
2D Pose Estimate 130
Publish Point 131
Nav2 Goal 132
TurtleBot 4 Navigator 133
Navigate to Pose 133
Code breakdown 133
Initialise the node 134
Dock the robot 134
Set the initial pose 134
Wait for Nav2 135
Set the goal pose 135
Undock the robot and go to the goal pose 135
Watch navigation progress in Rviz 136
Navigate Through Poses 136
Code breakdown 136
Set goal poses 138
Navigate through the poses 138
Watch navigation progress in Rviz 138
Follow Waypoints 139
Code breakdown 139
Watch navigation progress in Rviz 140
Create Path 141
Code breakdown 142
Create your path 143
Set initial pose and clear costmaps 143
Follow the path 143
Creating a path with Rviz 144
Diagnostics 145
ROS2 Tests 147
FAQ 149
Common issues with the Raspberry Pi 4B 150
1. Access point is not visible 150
Check that the Raspberry Pi is powered 150
Check for obstructions 150

Overview
Features
TurtleBot 4
TurtleBot 4
The TurtleBot 4 is a ROS2-based mobile robot intended for education and research.
The TurtleBot 4 is capable of mapping its surroundings, navigation autonomously,
running AI models on its camera, and more.
It uses a Create® 3 as the base platform, and builds on it with the TurtleBot 4 shell and
User Interface (UI) board. Inside the shell sits a Raspberry Pi 4B which runs the
TurtleBot 4 software.

Raspberry Pi 4B
The UI Board offers status and user LEDs, user buttons, and a 128x64 user display.
Additionally, it exposes 4 USB 3.0 (type C) ports, as well as additional power ports and
some Raspberry Pi pins for the user.
TurtleBot 4 UI Board
On top of the UI board sits a RPLIDAR A1M8 360 degree lidar, and an OAK-D-Pro
camera. Above the sensors is the sensor tower, which allows the user to customize their
TurtleBot4 with additional sensors or payloads.

TurtleBot 4 Lite
TurtleBot 4 Lite
The TurtleBot 4 Lite is a barebones version of the TurtleBot 4. It has just the necessary
components for navigation, mapping, and AI applications. The TurtleBot 4 has the same
Raspberry Pi 4B, which sits in the cargo bay of the Create® 3, as well as the same
RPLIDAR A1M8. The camera on the TurtleBot 4 Lite is the OAK-D-Lite. Additional
sensors and payloads can be attached to the Create® 3 faceplate, or placed inside the
cargo bay.

Hardware Specifications
Feature
TurtleBot 4 Lite
TurtleBot 4
Size (L x W x H)
342 x 339 x 192 mm
342 x 339 x 351 mm
Weight
3270 g
3945 g
Base platform
iRobot® Create® 3
iRobot® Create® 3
Wheels (Diameter)
72 mm
72 mm
Ground Clearance
4.5 mm
4.5 mm
On-board Computer
Raspberry Pi 4B 4GB
Raspberry Pi 4B 4GB
Maximum linear
velocity
0.31 m/s in safe mode, 0.46
m/s without safe mode
0.31 m/s in safe mode, 0.46
m/s without safe mode
Maximum angular
velocity
1.90 rad/s
1.90 rad/s
Maximum payload
9 kg
9 kg
Operation time
2h 30m - 4h depending on
load
2h 30m - 4h depending on
load
Charging time
2h 30m
2h 30m
Bluetooth Controller
Not Included
TurtleBot 4 Controller
Lidar
RPLIDAR A1M8
RPLIDAR A1M8
Camera
OAK-D-Lite
OAK-D-Pro

User Power
VBAT @1.9A
5V @ Low current
3.3V @ Low current
VBAT @ 300 mA
12V @ 300 mA
5V @ 500 mA
3.3v @ 250 mA
USB Expansion
USB 2.0 (Type A) x2
USB 3.0 (Type A) x2
USB 2.0 (Type A) x2
USB 3.0 (Type A) x1
USB 3.0 (Type C) x4
Programmable
LEDs
Create® 3 Lightring
Create® 3 Lightring
User LED x2
Status LEDs
-
Power LED
Motors LED
WiFi LED
Comms LED
Battery LED
Buttons and
Switches
Create® 3 User buttons x2
Create® 3 Power Button x1
Create® 3 User buttons x2
Create® 3 Power Button x1
User Buttons x4
Battery
26 Wh Lithium Ion (14.4V
nominal)
26 Wh Lithium Ion (14.4V
nominal)
Charging Dock
Included
Included

Sensors
RPLIDAR A1M8
RPLIDAR A1M8
The RPLIDAR A1M8 is a 360 degree Laser Range Scanner with a 12m range. It is used
to generate a 2D scan of the robots surroundings. Both the TurtleBot 4 and TurtleBot 4
Lite use this sensor. For more information, click here.
OAK-D-Lite
OAK-D-Lite
The OAK-D-Lite camera from Luxonis uses a 4K IMX214 colour sensor along with a
pair of OV7251 stereo sensors to produce high quality colour and depth images. The
on-board Myriad X VPU gives the camera the power to run computer vision
applications, object tracking, and run AI models. For more information, visit the Luxonis
documentation.

OAK-D-Pro
OAK-D-Pro
The OAK-D-Pro offers all of the same features the OAK-D-Lite has, but uses higher
resolution OV9282 stereo sensors and adds an IR laser dot projector and an IR
illumination LED. This allows the camera to create higher quality depth images, and
perform better in low-light environments. For more information, visit the Luxonis
documentation.

Resources
Software
Ubuntu
● Ubuntu 20.04 LTS Desktop (Focal Fossa): https://releases.ubuntu.com/20.04/
Raspberry Pi
● Raspberry Pi Imager: https://www.raspberrypi.com/software/
● Raspberry Pi Pinout: https://pinout.xyz/
ROS2
● Documentation: https://docs.ros.org/en/galactic/index.html
● Debian Install:
https://docs.ros.org/en/galactic/Installation/Ubuntu-Install-Debians.html
● Nav2
○ Documentation: https://navigation.ros.org/
○ Github: https://github.com/ros-planning/navigation2
● SLAM
○ slam_toolbox: https://github.com/SteveMacenski/slam_toolbox
TurtleBot 4
● Common package: https://github.com/turtlebot/turtlebot4
● Desktop visualization package: https://github.com/turtlebot/turtlebot4_desktop
● Simulator package: https://github.com/turtlebot/turtlebot4_simulator
● Robot package: https://github.com/turtlebot/turtlebot4_robot
● TurtleBot 4 images: http://download.ros.org/downloads/turtlebot4/
● TurtleBot 4 hardware: https://github.com/turtlebot/turtlebot4-hardware

iRobot® Create® 3
● Product details: https://edu.irobot.com/what-we-offer/create3
● Hardware overview: https://iroboteducation.github.io/create3_docs/hw/overview/
● Electrical overview: https://iroboteducation.github.io/create3_docs/hw/electrical/
● Create® 3 Simulator: https://github.com/iRobotEducation/create3_sim
● irobot_create_msgs: https://github.com/iRobotEducation/irobot_create_msgs
Luxonis
● OAK-D-Lite product details:
https://docs.luxonis.com/projects/hardware/en/latest/pages/DM9095.html
● OAK-D-Pro product details:
https://docs.luxonis.com/projects/hardware/en/latest/pages/DM9098pro.html
● Depthai-ROS: https://github.com/luxonis/depthai-ros/tree/main
● Depthai-ROS Examples: https://github.com/luxonis/depthai-ros-examples
● API Documentation: https://docs.luxonis.com/projects/api/en/latest/
SLAMTEC
● RPLIDAR A1M8: https://www.slamtec.com/en/Lidar/A1
● Rplidar ROS: https://github.com/allenh1/rplidar_ros

Quick Start
Powering on the robot
To power the robot, place it on the charging dock. The Create® 3 lightring will turn on
and the Raspberry Pi will be powered as well. To power off the robot, remove it from the
dock and press and hold the Power button on the Create® 3. The lightring will flash 3
times, and the Create® 3 will play a sound before turning off.
Installing ROS2 Galactic on your PC
Follow these instructions to install ROS2 Galactic Desktop on your PC.
Also, install useful tools with this command:
sudo apt update && sudo apt install -y \
Build-essential \
cmake \
git \
python3-colcon-common-extensions \
python3-flake8 \
python3-pip \
python3-pytest-cov \
python3-rosdep \
python3-setuptools \
python3-vcstool \
wget
Network Configuration
ROS2 Galactic supports two middlewares: CycloneDDS and FastRTPS. The default is
CycloneDDS.
The Create® 3 and Raspberry Pi both use the usb0 and wlan0 network interfaces to
communicate. As a result, CycloneDDS needs to be configured on the user PC in order
to see the robot topics properly.

CycloneDDS is configured in an XML file, and that configuration should be applied to
the CYCLONEDDS_URI environment variable.
Add this line to your ~/.bashrc file to automatically configure CycloneDDS each time you
open your terminal:
export CYCLONEDDS_URI='<CycloneDDS><Domain><General><DontRoute>true</></></></>'
For more CycloneDDS configuration options, visit the CycloneDDS documentation.
If you wish to switch middlewares or want more information on configuring the Create®
3, check out the Create® 3 Docs.
WiFi Setup
● On the first boot, the Raspberry Pi will enter AP mode which will allow you to
connect to it over WiFi.
● On a PC, connect to the Turtlebot4 WiFi network. The password is also
Turtlebot4.
● Once connected, you can SSH into the Raspberry Pi to configure its WiFi.
● The default password is turtlebot4
● In /usr/local/bin there will be a script called wifi.sh which can be used to
configure the Raspberry Pi's WiFi:
sudo wifi.sh -s '<WIFI_SSID>' -p '<WIFI_PASSWORD>' -r <REGULATORY_DOMAIN> && sudo
reboot
Note
The Regulatory Domain is based on the country you live in. USA: US, Canada: CA, UK:
GB, Germany: DE, Japan: JP3, Spain: ES. For a full list, click here.
● Your Raspberry Pi will reboot and connect to your WiFi network.

Find the Raspberry Pi IP on your network
The TurtleBot 4 will display its WiFi IP address on the display.
WiFi IP address on a TurtleBot 4
For the TurtleBot 4 Lite, you will need to check the /ip topic for the new address.
This manual suits for next models
1
Table of contents
Other CLEARPATH Robotics manuals

