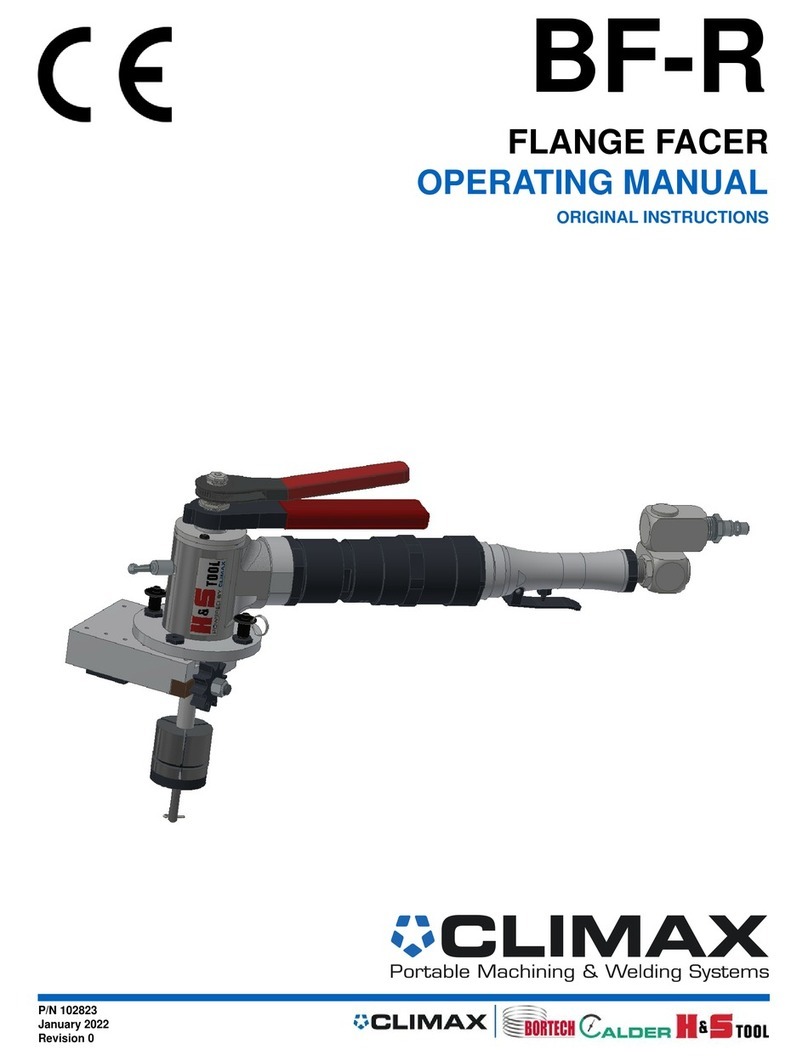
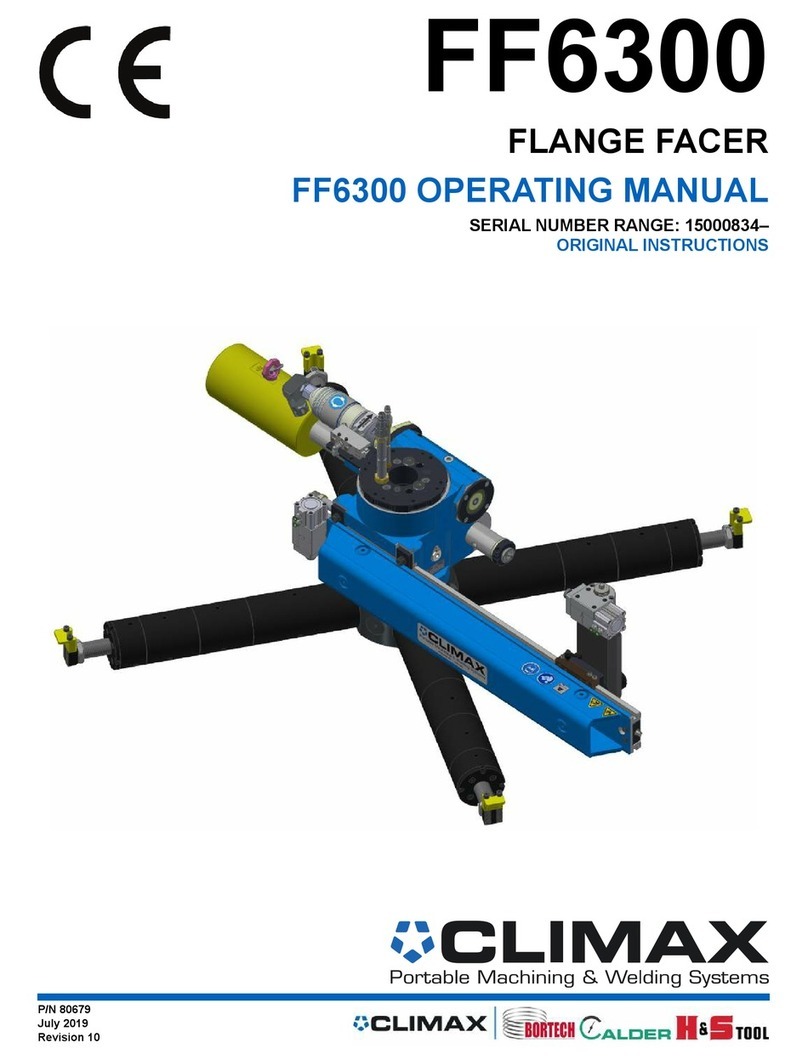
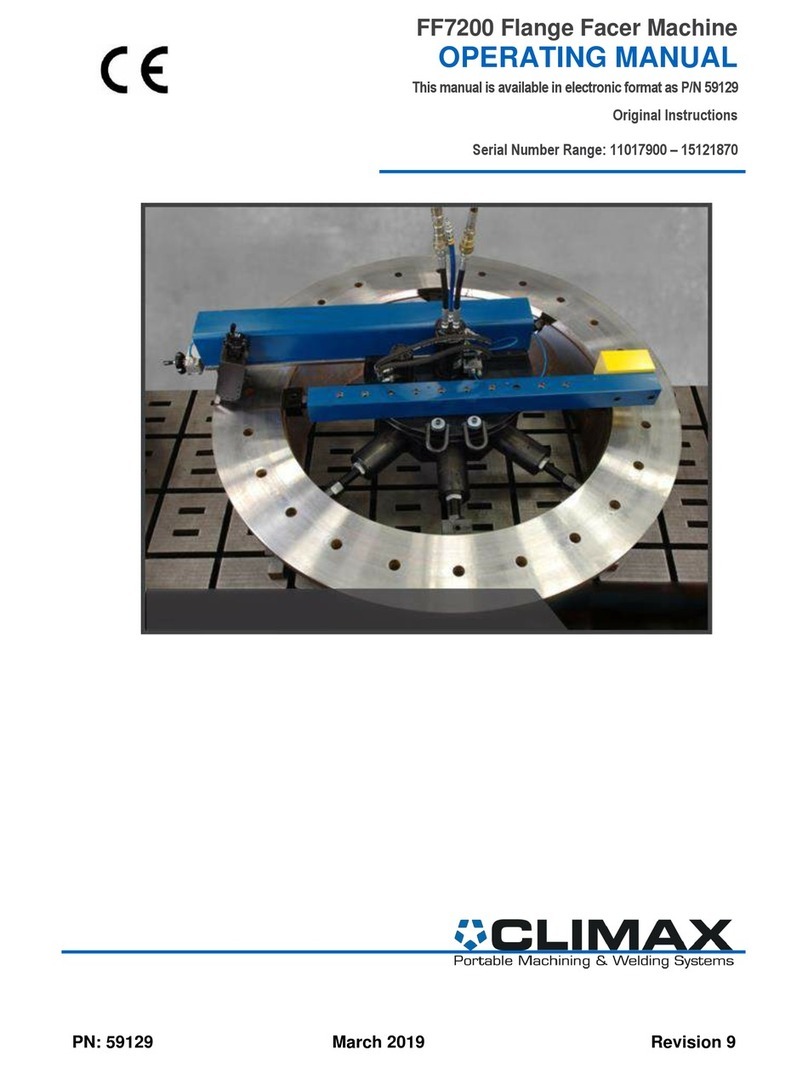
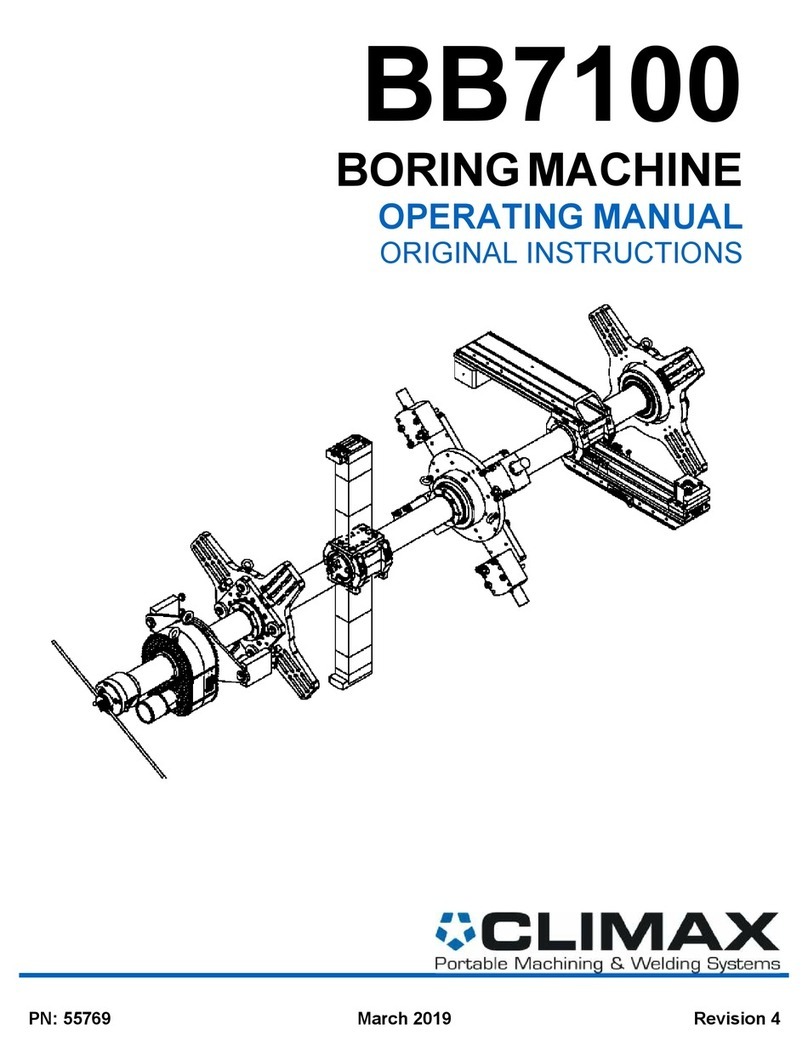
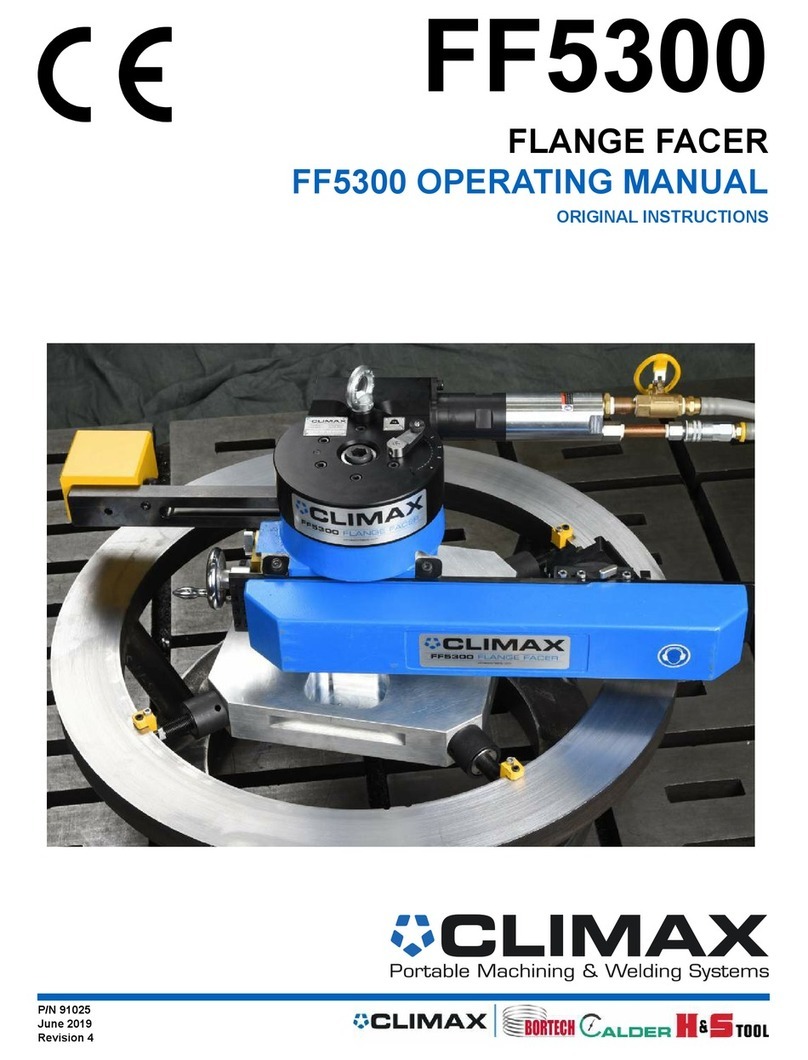
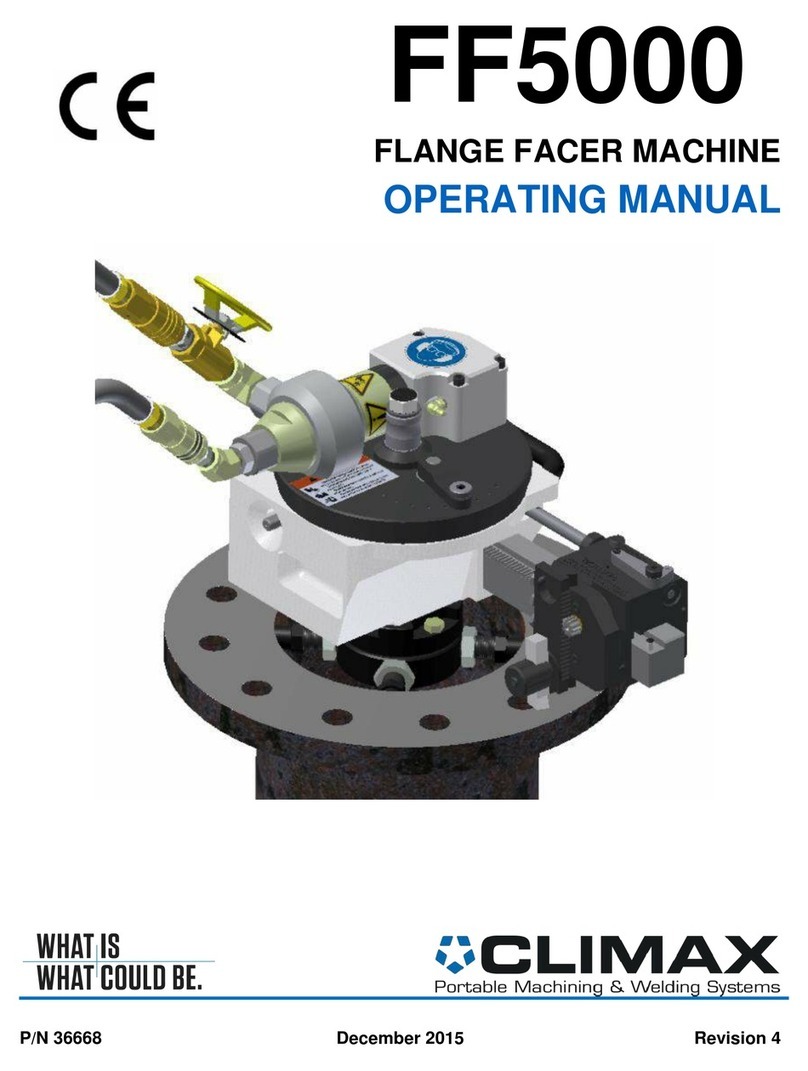
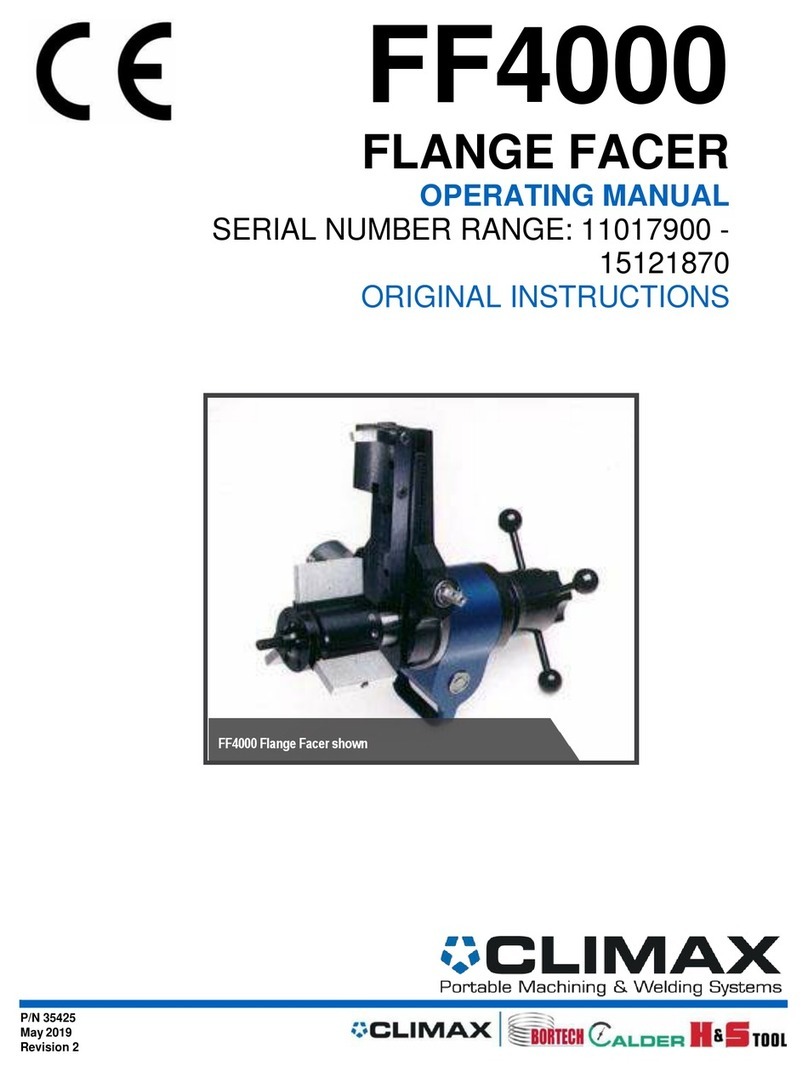
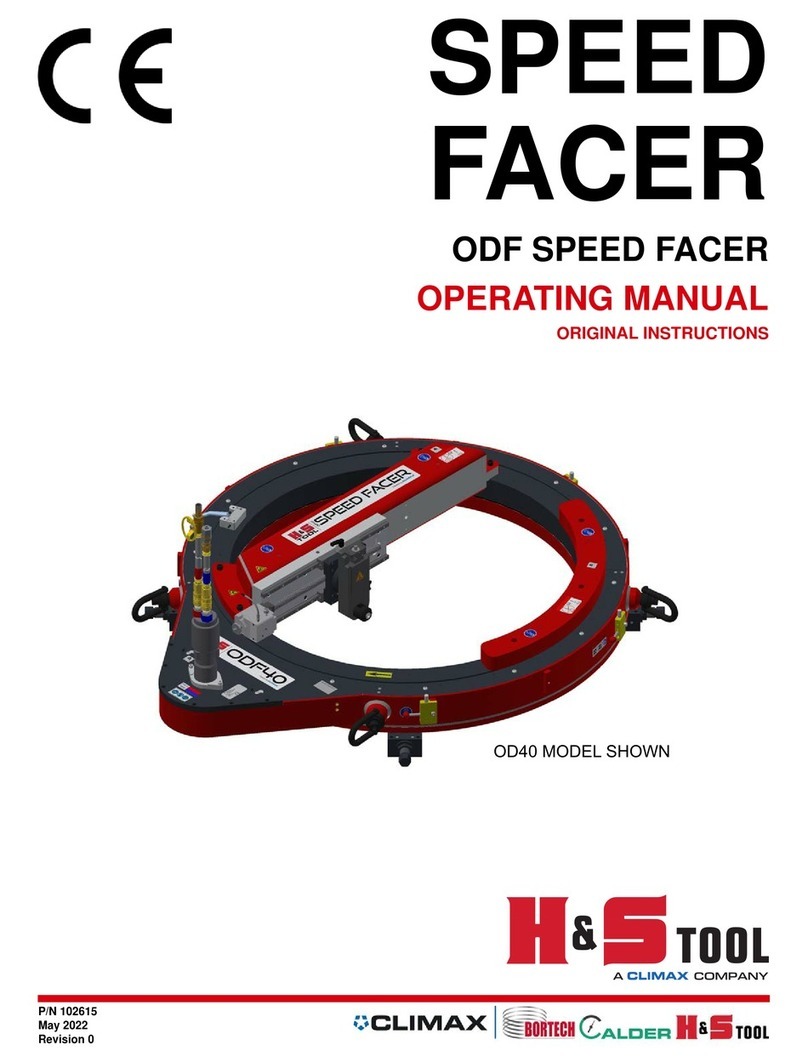
Climax FF6000 User manual

Bringing the solution to you.
Model FF6000 Flange Facer
Model FF6000 Flange FacerModel FF6000 Flange Facer
Model FF6000 Flange Facer
Operating Manual
January 2007
Contents
General Safety Guidelines 3
Safety Practices Specific to Flange Facers 4
Warning labels 5
Labeling Guidelines in this Manual
Limited Warranty 9
Introduction 10
Features 11
Machine Description 12
Receiving your Machine 15
Setup 16
Operation 26
Optional assemblies 35
Maintenance 39
Storage 41
Spare parts 43
Machine Dimensions 44
Exploded Views and Parts Lists 46
Climax Model FF6000 shown with the removable single plane chuck
Copyright © 200 Climax Portable Machine
Tools, Inc.
Request an electronic copy of this manual,
which is part number 3666 -I.
Send your comments or suggestions about
this manual to: documentation@cpmt.com.
Corporate Headquarters
Climax Portable Machine Tools, Inc.
2 12 East Second Street
Newberg, Oregon, USA 9 132
World Wide Telephone • 503-538-2185
USA Toll Free: 800-333-8311
• Fax: 503-538- 600
www.cpmt.com
European Headquarters
Climax GmbH
Willi - Bleicher - Strasse 11
52353 Düren, Germany
Telephone: (+49) (0) 2421.91 .0
Fax: (+49) (0) 2421.91 .29
Email: info.de@cpmt.com

Copyright © 2005 Climax Portable Machine Tools, Inc.
Page 2

Copyright © 2005 Climax Portable Machine Tools, Inc.
Page 3
General Safety Guide
General Safety GuideGeneral Safety Guide
General Safety Guidelines
lineslines
lines
The primary challenge for most on-site maintenance is that repairs must be done under grueling
conditions. Risks expected in a regular maintenance shop are intensified when an active job-site presents
extra hazards.
CLIMAX Portable Machine Tools Inc., leads the way in promoting the safe use of portable machine tools.
Safety is a joint effort. As the operator of this machine, you are expected to do your part by scrutinizing
the job site and closely following the operating procedures outlined in this manual, your own company
rules, and local regulations.
DANGER
For maximum safety and performance, read and understand this entire
manual and all other safety instructions before using this equipment.
Failure to follow the instructions and guidelines in this manual could result
in property damage and personal injury.
QUALIFIED PERSONNEL!
Before operating this machine, you must receive
training specific to this machine from a qualified
trainer. If you are not familiar with the proper and
safe operation, do not use the machine until you
have received training specific to this machine.
OBEY WARNING LABELS!
Obey all warning labels. Failure to follow
instructions or heed warnings could result in
injury or death. Proper care is your
responsibility. Contact Climax immediately for
replacement manuals or safety decals.
INTENDED USE
Use this machine according to the instructions in
this operating manual. Do not use this machine
for any purpose other than its intended use as
described in this manual.
STAY CLEAR OF MOVING PARTS!
Keep clear of the machine during operation.
Never lean toward or reach into the machine to
remove chips or to adjust the machine while it is
running.
DRUGS, ALCOHOL
Do not operate this machine while tired or under
the influence of alcohol or other drugs.
KEEP YOUR WORK AREA TIDY!
Keep all cords and hoses away from moving
parts during operation. Do not clutter the area
around your machine.
LOOSE CLOTHING AND HAIR
When working with rotating machinery, don’t
wear loose fitting clothing or jewelry.
LONG HAIR
Long hair is extremely dangerous around
machinery. Always keep long hair completely
covered.
HAZARDOUS ENVIRONMENTS
Do not use the machine in a hazardous
environment, such as near explosive chemicals,
toxic fumes, or inappropriate radiation hazard.
ROTATING MACHINERY
Rotating machinery can seriously injure an
operator. Before you intervening with the
machine, push the E-stop button to disable the
all machine motion.
FLYING CHIPS
Flying chips can cut or burn operators and
bystanders. After the machine has stopped and
been locked out, remove chips with a brush.
Copyright © 2005 Climax Portable Machine Tools, Inc.
Page 4
Safety Practices Specific to Flange Facers
Safety Practices Specific to Flange FacersSafety Practices Specific to Flange Facers
Safety Practices Specific to Flange Facers
This list includes safety practices applicable to Climax Model FF6000 Flange Facer.
All aspects of the machine have been designed with safety in mind. Warning signs are affixed to the
machine to warn of residual hazards associated with machine relating to operation, setup, whether or not
it is in use.
SAFETY RULES
Always follow company and OSHA safety rules.
MACHINE SAFETY FEATURES
Never attempt to defeat or override the safety
features designed into the machine.
SECURING THE MACHINE
Never attempt to run the machine without first
securing it to a stable workpiece.
BODY PROTECTION
Wear safety glasses, earplugs, and safety shoes
while operating the machine.
KEEPING CLEAN
Keep your equipment clean and in good
condition for maximum operator protection and
machine longevity. Keep turning bar and tool
slide free from debris.
AUDIBLE NOISE LEVELS
Pneumatically Driven: A-weighted sound
pressure level approx. 80 dBA
KEEP CLEAR
Keep clear of the machine during operation.
Never lean or reach into the machine to remove
chips or to adjust the machine while it is running.
Doing so can cause serious personal injury or
fatality.
MACHINE GUARDS
Always keep guards in place while operating the
machine.
DISCONNECT AIR SUPPLY
When setting up or servicing the machine,
disconnect the air supply line. Failure to do so
could result in the machine accidentally being
turned on, which can seriously injure you or
another operator.
MOVING PARTS
Keep all cords and hoses from moving parts
during operation. If the cords become tangled in
the machinery the operator could be seriously
injured and the machine extensively damaged.
Quick disconnects enable the operator to quickly
shut off the air supply.
CLOSE AIR CONTROL VALVES
Close air control valves before connecting the
supply line to the machine. If the air control
valve is open, the machine may suddenly start,
seriously injuring the operator.
LIFTING
When lifting the machine for setup or
disassembly, a conventional sling-type lift is
suggested for convenience and safety of the
operator. Wrap the sling around the body of the
machine. DO NOT LIFT THE MACHINE BY
THE TURNING BAR.
LIGHTING
Do not operate the Climax FF6000 in poor
lighting conditions.

Copyright © 2005 Climax Portable Machine Tools, Inc.
Page 5
Warning labels
Warning labelsWarning labels
Warning labels
The following warning labels are attached to your machine upon delivery. If any labels are defaced or
missing, contact Climax immediately for replacements.


Copyright © 2004 Climax Portable Machine Tools, Inc.
Page 7
Labeling Guidelines in this Manual
Labeling Guidelines in this ManualLabeling Guidelines in this Manual
Labeling Guidelines in this Manual
When you read this manual, notice that different strategies are used to call your attention to certain
pieces of information. In order of how critical the information is to your machine, these items are marked
as follows:
DANGER
DANGERDANGER
DANGER
Indicates an imminently hazardous situation which,
if not avoided, will result in serious injury or death.
WARNING
WARNINGWARNING
WARNING
Indicates a potentially hazardous situation which, if
not avoided, could result in death, serious injury, or
serious damage to the machine.
CAUTION
CAUTIONCAUTION
CAUTION
Indicates a potentially hazardous situation which, if
not avoided, may result in minor or moderate injury,
damage to the machine or interruption of an
important process.
IMPORTANT
IMPORTANTIMPORTANT
IMPORTANT
Provides critical information for the completion of a
task. Do not disregard an Important note. However,
there is no associated hazard to people or machine.
NOTE
NOTENOTE
NOTE
Provides important information to remember
regarding the machine.

Copyright © 2004 Climax Portable Machine Tools, Inc.
Page 8
Figure 1 - Stay well clear of defined areas while the machine is running.

Copyright © 2004 Climax Portable Machine Tools, Inc.
Page 9
Limited Warrant
Limited WarrantLimited Warrant
Limited Warranty
yy
y
Climax warrants that all new machines are free from defects in materials and workmanship. This warranty
is available to the original purchaser for a period of one year after delivery. If the original purchaser finds
any defect in materials or workmanship within the warranty period, the original purchaser should contact
its factory representative and return the entire machine, shipping prepaid, to the factory. Climax will, at its
option, either repair or replace the defective machine at no charge and will return the machine with
shipping prepaid.
Climax warrants that all parts are free from defects in materials and workmanship, and that all labor has
been performed properly. This warranty is available to the customer purchasing parts or labor for a period
of 90 days after delivery of the part or repaired machine or 180 days on used machines and components.
If the customer purchasing parts or labor finds any defect in materials or workmanship within the warranty
period, the purchaser should contact its factory representative and return the part or repaired machine,
shipping prepaid, to the factory. Climax will, at its option, either repair or replace the defective part and/ or
correct any defect in the labor performed, both at no charge, and return the part or repaired machine
shipping prepaid.
For quick and accurate service, please provide your factory representative with your name, shipping
address and telephone number, the machine model, serial number, and date of purchase.
THESE WARRANTIES DO NOT APPLY TO THE FOLLOWING:
•Damage after the date of shipment not caused by defects in materials or workmanship;
•Damage caused by improper or inadequate machine maintenance;
•Damage caused by unauthorized machine modification or repair;
•Damage caused by machine abuse; or
•Damage caused by using the machine beyond its rated capacity
ALL OTHER WARRANTIES, EXPRESS OR IMPLIED, INCLUDING WITHOUT LIMITATION THE
WARRANTIES OF MERCHANTABILITY AND FITNESS FOR A PARTICULAR PURPOSE ARE
DISCLAIMED AND EXCLUDED.
Be sure to review the terms and conditions of sale which appear on the reverse side of your invoice.
Those provisions control and limit your rights with respect to the goods purchased from Climax.

Copyright © 2004 Climax Portable Machine Tools, Inc.
Page 10
Introduction
IntroductionIntroduction
Introduction
The Climax Model FF6000 enables you to repair flanges on-site and in-line. The FF6000
Flange Facer can be used in a wide variety of flange facing applications. The modular
design and versatile setup allow you to be creative in solving difficult flange facing
problems.
Flange facing jobs can be done quickly with the Model FF6000. An experienced operator
can usually mount the machine in the flange bore, align it, and start cutting in 30 minutes.
About this manual
This manual describes the efficient use of the Climax Model FF6000 Portable Flange
Facer. Every part meets Climax's strict quality standards. For maximum safety and
performance, read the entire instruction manual before operating this machine.
Information in this manual is up-to-date at the time of going to print. However, with the
Climax commitment to ongoing product improvement, the machine you receive may differ
slightly from the one described herein.

Copyright © 2004 Climax Portable Machine Tools, Inc.
Page 11
Features
FeaturesFeatures
Features
Key Features
Solid
8-jaw chuck provides rigid clamping in the bore.
76 mm (3”) diameter turning bar ensures a rigid tool platform, even at maximum
extension.
Heavy duty spindle bearings for smooth, chatter free machining.
Versatile
Sealed lubrication allows inverted operation.
Tool head swivels 45 degrees in either direction to cut angles, groves, chamfers,
RTJs, and weld preps.
Down-feed available to turn flange edges, and dress inside flange/pipe joints.
Optional oversize chuck and bar assembly for flanges up to 60” in diameter.
Grinding head available for fine finishes.
Other modifications available for special applications.
Effective
Gear reduction provides 798 N•m (550 ft•lbs) of torque at the cutter to remove metal
fast.
Radial feed is .076 - .813mm (.003” - .032”) per revolution, infinitely variable,
reversible, rack & pinion system.
Down feed rates from .076 - .254mm (.003” - .010”) per revolution are provided by
the down-feed actuator system.
Tool holder accepts 13mm or 1/2 “square tool bits.

Copyright © 2004 Climax Portable Machine Tools, Inc.
Page 12
Machine escription
Machine escriptionMachine escription
Machine escription
The Model FF6000 is an ID-(Inside Diameter) mounted portable flange facer. Its compact
design makes it an ideal on-site maintenance tool. The machine fits into bores with IDs
from 14" to 34" (356 to 863 mm) and can face flanges from 14" out to 42" (356 to 1066
mm) diameter. With the optional large chuck and bar assembly, the range is extended for
facing flanges up to 60" (1524 mm) diameter.
The FF6000 Flange Facer consists of:
Mechanical radial feed
Mechanical tool down feed (not shown)
Chuck, jaws, and jacking bolts (double plane chuck shown in Figure 2)
Turning bar and counterweight bar
Air motor and rotary union
Tool head with 45
o
swivel and tool holder
Pneumatic conditioning unit (not shown)
Tool kit (not shown)
Chuck Selection
The FF6000 has three available chucks:
Double plane chuck
Extended range double plane chuck
Removable single plane chuck
The double plane chuck requires more depth for the ID bore mounting. It does provide a
more rigid base for the flange facer. It requires that the machine and the chuck are
installed as a unit. 14 to 34” (355 to 865 mm).
The double plane extended chuck allows the id bore to be increased to from 31.5” to 60”
(800 mm 1525 mm)
The removable single plane chuck allows the chuck to be installed independently of the
flange facer. Requires only 3.5“ (89 mm) of id bore depth. Range is 14 to 34” (355 to 865
mm).

Copyright © 2004 Climax Portable Machine Tools, Inc.
Page 13
Machine Images
Model FF6000 with double plane chuck
Model FF6000 with removable single plane chuck
Model FF6000 with Double Plane Chuck
Figure 2 – Double plane chuck callout

Copyright © 2004 Climax Portable Machine Tools, Inc.
Page 14
Model FF6000 with Removable Single Plane Chuck
Leg Extension
Adjustable
Foot for Leveling
Setup Finger
(only 1 shown)
Counterweight
ool Head
urning Bar
Non Adjustable Foot
Leg Extensions
Chuck Center
Plate
Plate Adaptor
Air Motor
Rotary Union
Feed Cam
Radial Feed
Shaft
ool Holder
Feed Shaft
ool Holder
Figure 3 – Removable Single plane chuck callout

Copyright © 2004 Climax Portable Machine Tools, Inc.
Page 15
Receiving your Machine
Receiving your MachineReceiving your Machine
Receiving your Machine
Inspect the machine for shipping damage. Be sure you received the parts listed on the
invoice. Contact Climax immediately if there are any errors or questions about this
machine.

Copyright © 2004 Climax Portable Machine Tools, Inc.
Page 16
Setup
SetupSetup
Setup
Setup of the Climax FF6000 Flange Facer consists of the following steps:
Chuck setup
Setting machine into the work piece
Centering the Machine
Leveling the machine to the work piece
Tool bit setup
Depending on the chuck you’re going to use, use the following procedures to set up each
step.
Assembling the Double Plane Chuck
To assemble the double plane chuck
1. Mount the chuck core to the flange facer if it’s not already connected.
2. Manually rotate the machine at least one full turn to be sure the machine moves
freely and does not interfere with other objects. Remove interfering objects if
necessary.
3. Measure the work piece bore diameter.
4. Select and sort the double plane chuck components required based on the section
Double Plane Chuck Components on page 18.
5. Loosely mount the jaw clamping plates and plate screws onto both the upper and
lower chuck arms.
IMPORTANT
IMPORTANTIMPORTANT
IMPORTANT
To properly center the machine, you must use the same length
jaws and the same number of jaw spacers in the chuck.
6. Thread the clamp rest or adjusting bolt into the end of the appropriate chuck jaw.
7. Insert the jaws into the chuck arms.
8. Screw in the jacking bolts until they are smaller than the work piece ID.
9. Set-up finger placement options:
a) For bore diameters less than 18" (457 mm), mount the setup fingers directly to
the side of the chuck with the two socket head cap screws provided.
b) For bore diameters larger than 18" (457 mm), mount the setup fingers on the
chuck jaws.
10. Slide the fingers as close to the end of the jaw as possible, and lock them down with
the setup finger set screw.

Copyright © 2004 Climax Portable Machine Tools, Inc.
Page 17
11. Slide the counterweight bar into the main body. The pin and cap screw located at the
ends of the bar, keep the bar from sliding out of the main body during operation.
CAUTION
CAUTIONCAUTION
CAUTION
To prevent the counterweight bar from sliding out of the
machine during operation, the roll pin end of the bar must be
on the tool head side of the main body.
12. On top of the main body, directly above and in line with the counterweight bar hole,
there are two deep holes with setscrews in the bottom. Use the long T-handle hex
wrench to firmly lock the setscrews against the bar.
The bar set screw on the tool head side of the main body can be accessed through
the hole in the safety guard.
13. Push the counterweight onto the bar.
CAUTION
CAUTIONCAUTION
CAUTION
Prevent the counterweight from slipping off the counterweight
bar by tightening the screws against the flat on the bar. A
falling counterweight can damage the machine or personal
injury.
14. Secure the counterweight with the three square-headed screws. The safety flat on
the counterweight bar assures good contact between the screws and the bar.
15. Install the counterweight retaining screw into the bar at the counterweight end.

Copyright © 2004 Climax Portable Machine Tools, Inc.
Page 18
Double Plane Chuck Components
Use the following table to select the components required to fit your work piece bore
diameter.
Lifting the Machine into the Work Piece
To lift the machine into the work piece
1. Use the lifting eyes, or wrap a strap around the body of the machine. DO NOT LIFT
THE MACHINE BY THE TURNING BAR.
2. Be sure the chuck jaws are locked solidly in the bore. The jaws need to be smaller
than the ID of the work piece.
3. Ensure that the setup fingers are securely mounted.
Bore diameter range
inch (mm) Items required
14 - 16 (355.8 - 406.4) 1, 5, 9
16 - 18 (406.4 - 457.2) 1, 5, 10
18 - 20 (457.2 - 508.0) 1, 8, 5,10
20 - 22 (508.0 - 558.8) 1, 8, 8, 5, 10
22 - 24 (558.8 - 609.6) 1, 6, 10
24 - 26 (609.6 - 660.4) 1, 6, 8, 10
26 - 28 (660.4 - 711.2) 1, 6, 8, 8, 10
28 - 30 (711.2 - 762.0) 1, 7, 10
30 - 32 (762.0 - 812.8) 1, 7, 8, 10
32 - 34 (812.8 - 863.6) 1, 7, 8, 8, 10
31.5 - 33.5 (800.1 - 850.9) 2, 3, 5, 9
33.5 - 37.5 (850.9 - 901.7) 2, 3, 5, 10
37.5 - 39.5 (952.5 - 1003.3) 2, 3, 5, 8, 8, 10
39.5 - 41.5 (1003.3 - 1054.1) 2, 3, 6, 10
41.5 - 43.5 (1054.1 - 1104.9) 2, 3, 6, 8, 10
43.5 - 45.5 (1104.9 - 1155.7) 2, 3, 4, 5, 10
45.5 - 47.5 (1155.7 - 1206.5) 2, 3, 4, 5, 8, 10
47.5 - 49.5 (1206.5 - 1257.3) 2, 3, 4, 5, 8, 8, 10
49.5 - 51.5 (1257.3 - 1308.1) 2, 3, 4, 6, 10
51.5 - 53.5 (1308.1 - 1358.9) 2, 3, 4, 6, 8, 10
53.5 - 55.5 (1358.9 - 1409.7) 2, 3, 4, 6, 8, 8, 10
55.5 - 57.5 (1409.7 - 1460.5) 2, 3, 4, 7, 10
57.5 - 59.5 (1460.5 - 1511.3) 2, 3, 4, 7, 8, 10
59.5 - 61.5 (1511.3 - 1562.1) 2, 3, 4, 7, 8, 8, 10

Copyright © 2004 Climax Portable Machine Tools, Inc.
Page 19
4. Using the hoist, lift the flange facer into the work piece bore.The machine should
slide easily into the bore and rest on the setup fingers.
WARNING
WARNINGWARNING
WARNING
Swinging or falling machinery can seriously injure the
operator. Keep clear of the hoist and machine during setup.
5. Roughly, level the machine by adjusting the setscrews in the setup fingers.
Centering the Machine to the Work Piece
To center the machine to the work piece
1. Mount a magnetic-base dial indicator to the tool head. The tip of the dial indicator
should be touching any machined surface that can be referenced to the center of the
bore, or the center of the feature to be machined.
2. Manually rotate the turning bar and tool head around the work piece. Screw the
upper jaws in or out to center the machine. At this stage, USE ONLY THE UPPER
JAWS.
3. Tighten the jaws and their lock nuts.
Leveling the Machine to the work piece
DANGER
DANGERDANGER
DANGER
Falling machinery can seriously injure the operator. Be sure the
machine is secure inside the work piece before releasing the
hoist.
To level the machine to the work piece
1. Mount a dial indicator to the tool head. The tip of the dial indicator should be against
the face of the flange.
2. Manually rotate the tool head around the work piece.
3. Screw the lower jaws in or out to level the machine USING ONLY THE LOWER
JAWS.
4. Remove the setup fingers.
5. Tighten the jaws and lock nuts securely.
6. Remove the hoist.
CAUTION
CAUTIONCAUTION
CAUTION
Be sure to remove the lower lifting eyebolt before using the
machine. Otherwise, as the machine rotates, this lifting eyebolt
will hit the set-up fingers causing damage or injury. Be sure all
hoist and rigging is clear of the machine before you use the
machine. Hoist and rigging can get entangled and cause
damage and injury.

Copyright © 2004 Climax Portable Machine Tools, Inc.
Page 20
Assembly of the Removable Single Plane Chuck
Figure 4 – Single plane chuck callout
To setup the removable single plane chuck
1. Measure the work piece bore diameter.
2. Select the chuck jaws and jaw spacers that will fit the bore. Refer to section “Single
Plane Chuck Components” to pick the appropriate ID arrangement.
Table of contents
Other Climax Industrial Equipment manuals

Climax
Climax SHARK FIN DEFENDER User manual

Climax
Climax FLANGE FACER User manual

Climax
Climax FF7200 User manual

Climax
Climax KM3000 User manual

Climax
Climax FF5000 User manual

Climax
Climax FF5300 User manual

Climax
Climax BB7100 User manual

Climax
Climax FF1200 User manual

Climax
Climax BB7000 User manual

Climax
Climax H&S TOOL SPEED FACER ODF30 User manual
Popular Industrial Equipment manuals by other brands

Atlas Copco
Atlas Copco POWER FOCUS 6000 Product instructions

ABB
ABB HT608767 Operation manual

MR
MR TAPCON operating instructions

Chai
Chai Open qPCR user manual

Emerson Power Transmission
Emerson Power Transmission Kop-Flex KOP-GRID H Series Installation and Alignment Instructions

saro
saro GRAZ instruction manual