manuals.online logo
Brands
  1. Home
  2. •
  3. Brands
  4. •
  5. Clou
  6. •
  7. Indoor Furnishing
  8. •
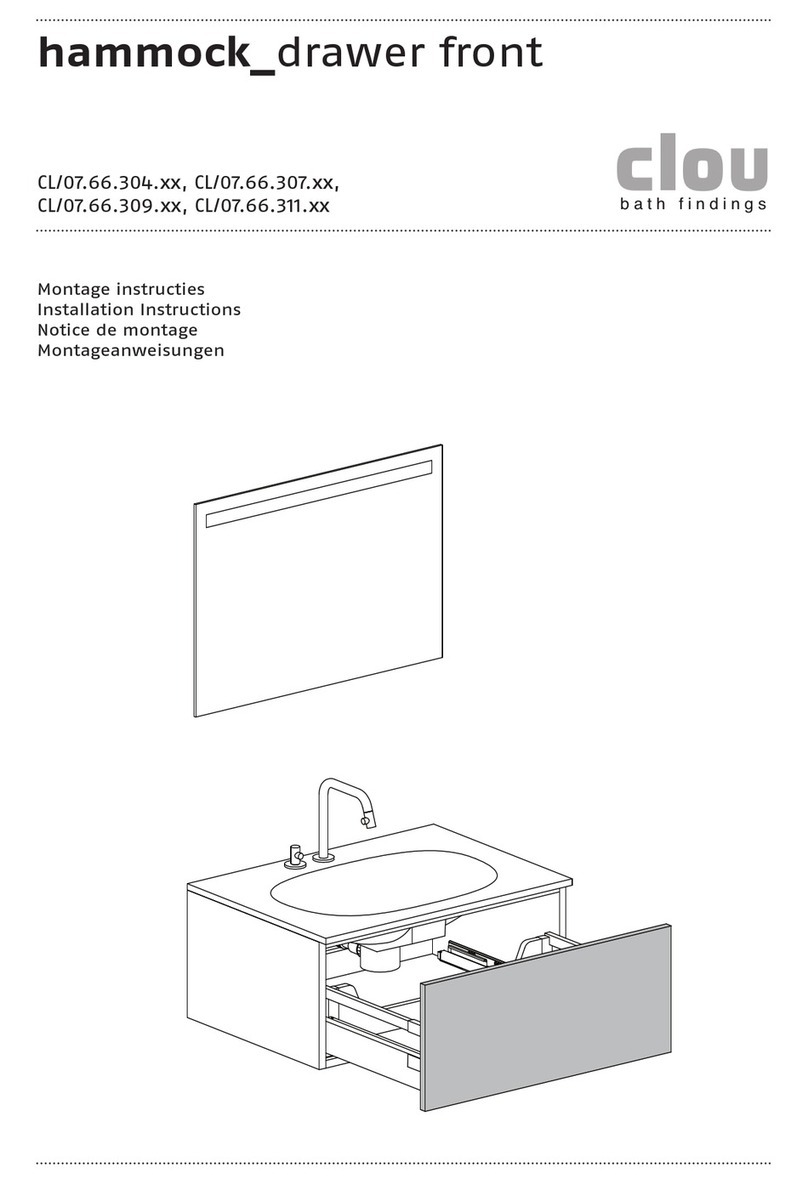
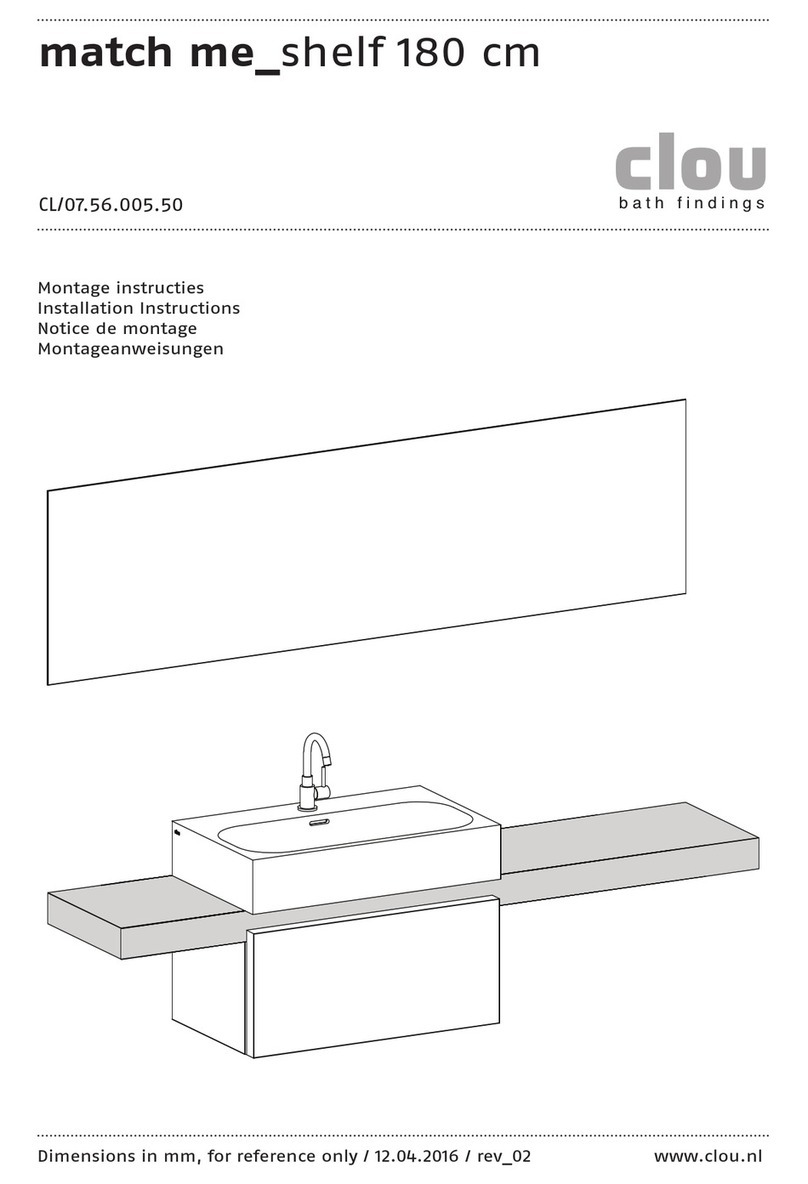
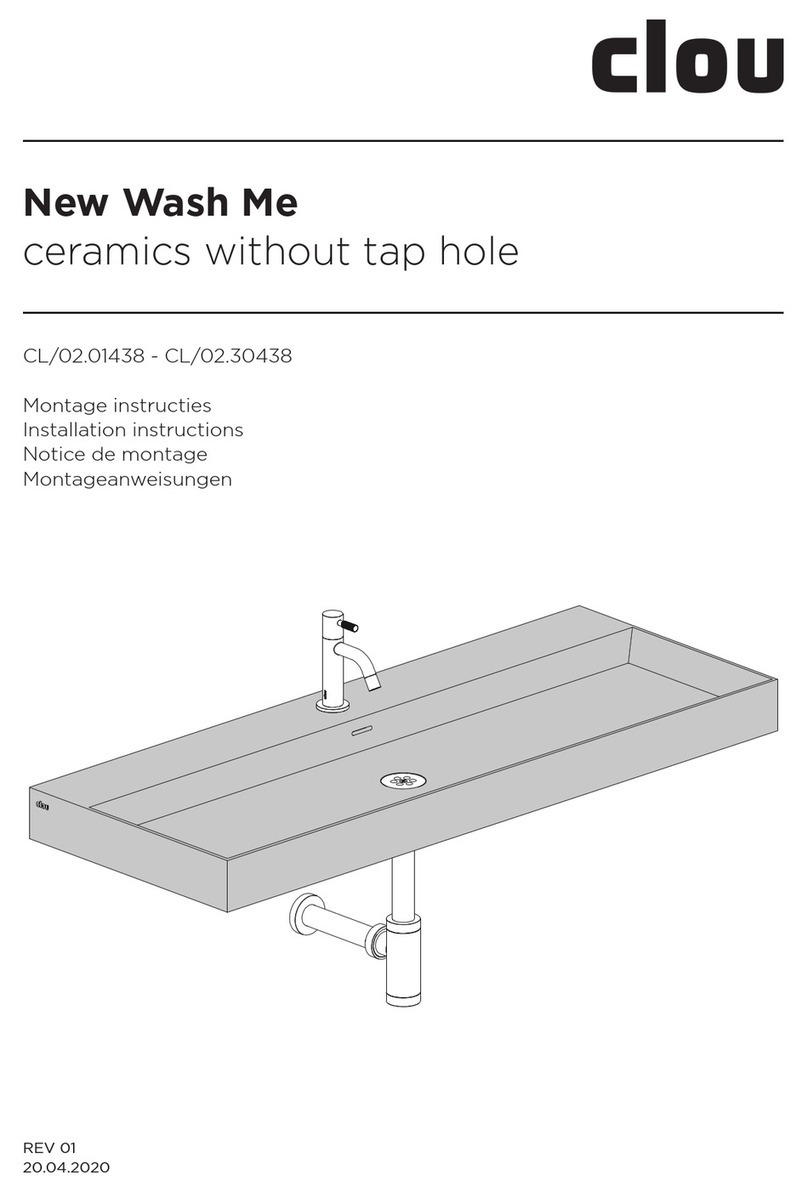
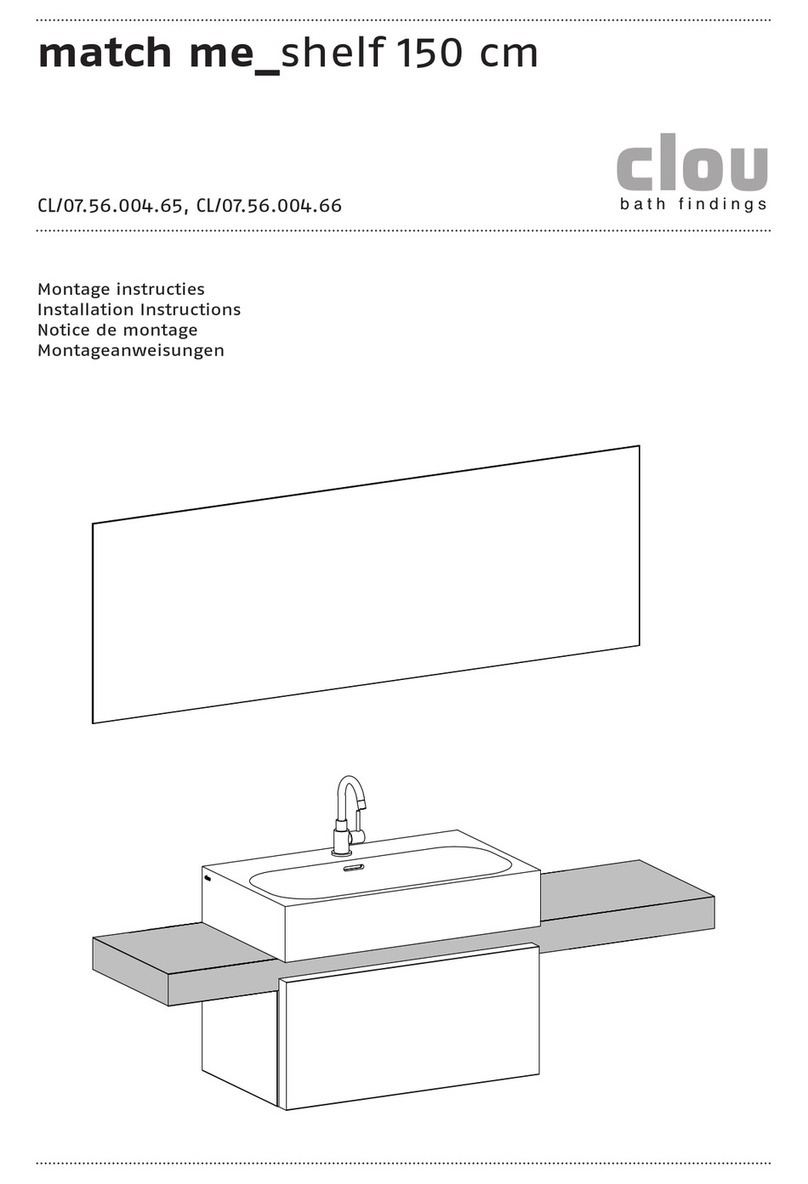
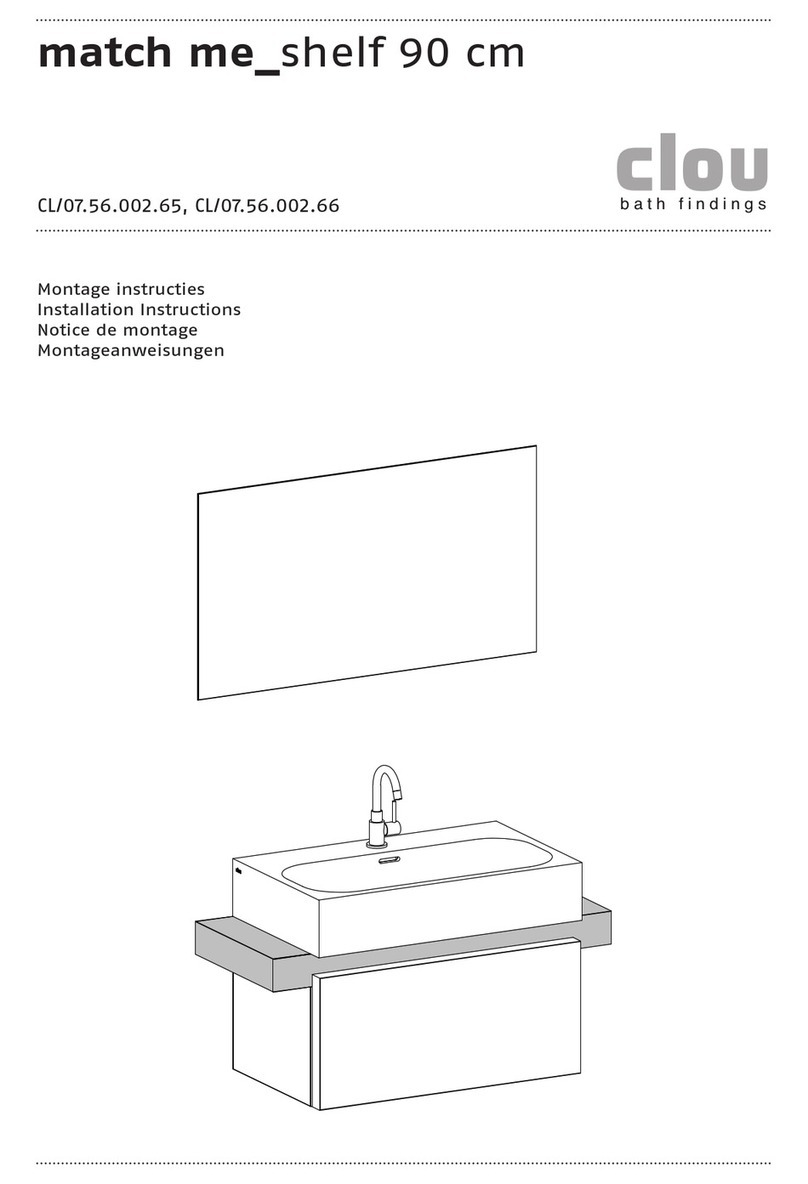
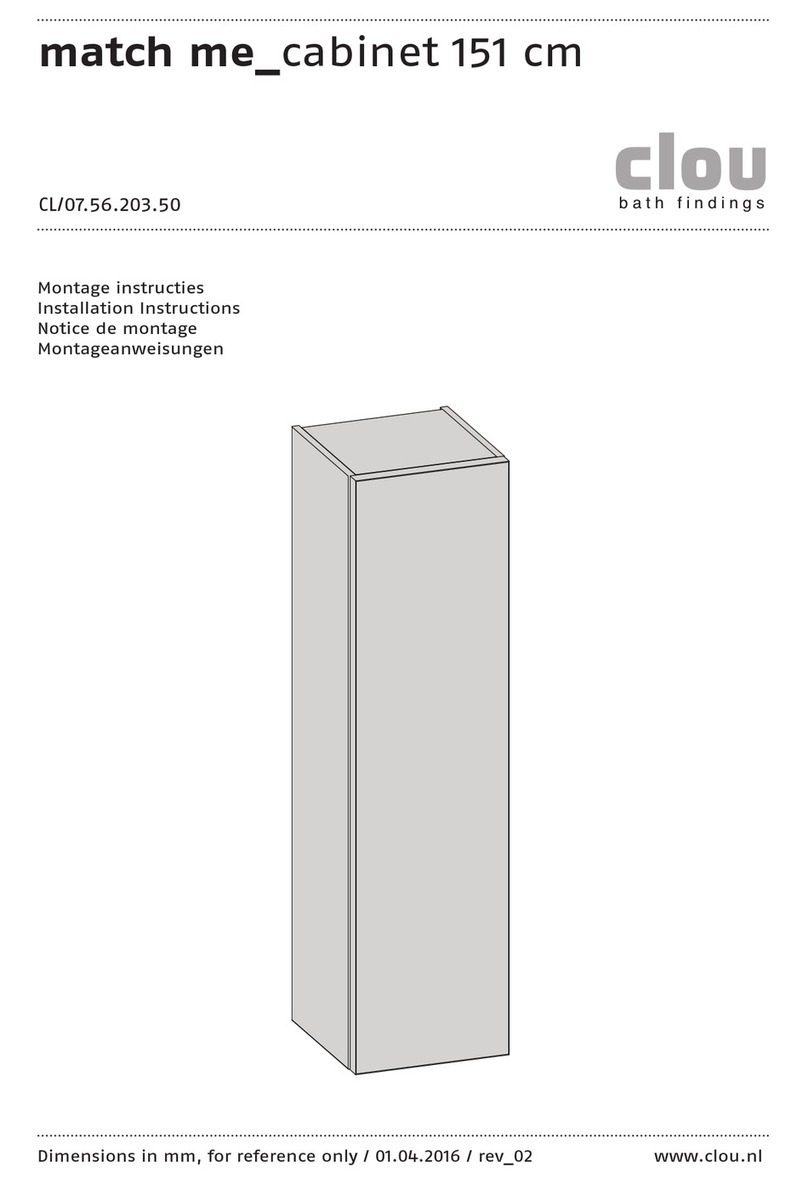
  9. Clou match me CL/07.56.006.65 User manual

Clou match me CL/07.56.006.65 User manual

match me_shelf 210 cm
CL/07.56.006.65, CL/07.56.006.66
Montage instructies
Installation Instructions
Notice de montage
Montageanweisungen
bath findings
- Alvorens de montage te beginnen moet de volledig-
heid van de levering gecontroleerd worden. Tevens
moet ook op transportschade gecontroleerd wor-
den, te late schademeldingen (> 1 dag na levering)
worden niet aanvaard.
- De meegeleverde bevestigingsartikelen zijn geschikt
voor gestucte of betegelde, massieve muren die
voldoende draagkracht hebben. Voor andere muren
dient men zelf bevestigingsartikkelen te voorzien
en dient de muur mogelijk verstevigd te worden.
- Clou behoudt zich het recht voor technische en op-
tische wijzigingen aan te brengen t.o.v. afgebeelde
producten.
- Door wijzigingen in de productie kan het zijn dat gegeven afmetingen niet meer
correct zijn. Alle vermelde afmetingen in deze handleiding dienen te worden geve-
rifieerd alvorens de actie uit te voeren.
- Clou b.v. kan niet verantwoordelijk worden gesteld voor de gevolgen van onaange-
past gebruik, onaangepast transport of beschadigingen veroorzaakt door tussenop-
slag.
- De van toepassing zijnde garantievoorwaarden gelden steeds.
- De montage dient uitgevoerd te worden door 2 personen waarvan minstens één
vakkundig opgeleid persoon.
- Alle maten zijn in mm.
- Before starting with the mounting check whether
the delivery is complete. At the same time the deli-
very should be checked for damage due to trans-
portation, damage reports that are too late (> 1 day
after delivery) will not be accepted.
- The included fixing media are suited for plastered
or tiled solid walls with enough supporting power.
For other walls the used fixing media is at own res-
ponsibility, and the wall might need reinforcement.
- Clou reserves the right to introduce technical and
visual changes with respect to the depicted images.
- Due to changes in production it is possible that
given dimensions are no longer correct. All menti-
oned dimensions in this manual should be verified before executing the action.
- Clou b.v. can not be held responsible for the results of improper use, improper
transportation or any damage caused during interim storage.
- The current terms of guarantee are always valid.
- The installation has to be performed by at least 2 persons of whom at least one
should be a skilled professional.
- all dimensions are in mm.
NL
GB
- Avant de procéder au montage, veuillez contrôler
si l’article livré est complet. Veuillez aussi contrôler
des dommages éventuels causés par le transport,
nous n’acceptons pas de réclamations dues à des
dégâts causés par le transport au-delà de 1 jour
après livraison.
- Les fixations livrées avec les articles sont destinés
pour montage sur un mur massif porteur, finition
stuc ou carrelé. Pour d’autres finitions ou murs plus
faibles, prévoir d’autres fixations et éventuellement
consolider le mur si nécessaire.
- Clou se réserve le droit pour tout changement tech-
nique ou optique par rapport à la photo représen-
tant le produit.
- Des changements de production peuvent faire en sorte que les dimensions affi-
chées ne correspondent plus, nous vous prions de vérifier avant de procéder à
toute action.
- Clou BV ne peut être tenu responsable pour usage non approprié des articles, trans-
port inadéquat ou dommage causés à votre entrepôt en attente de livraison.
- Les conditions de garanties en vigueur restent toujours valables.
- Le montage doit être effectué par 2 personnes dont une au moins soit un corps de
métier.
- Toutes les mesures affichées sont en mm.
- Vor Beginn der Montage überprüfen Sie bitte, ob
die Lieferung vollständig ist bzw. ob durch den
Transport Schäden entstanden sind. Diese Überprü-
fung muss direkt am Liefertag erfolgen. Sollte ein
Schaden festgestellt werden, muss dieser unmit-
telbar nach der Lieferung, spätestens (> 1 Tag nach
Lieferung) angezeigt werden.
- Die im Lieferumfang enthaltene Beschreibung, für
verputzte oder geflieste massive Wände, sind aus-
schließlich für Wände mit genügend und ausrei-
chender Tragfähigkeit geeignet und vorgesehen. Bei
Wänden mit einer geringe Tragfähigkeit erfolgt die
Montage auf eigene Verantwortung. Hier empfehlen
wir eine zusätzliche Unterstützung durch spezielle Befestigungslösungen
- Clou behält sich das Recht auf technische und optische Änderungen in Bezug auf
die dargestellten Bilder vor. .
- Aufgrund von Änderungen in der Produktion ist es möglich, dass angegebene Maße
nicht mehr korrekt sind. Alle genannten Dimensionen in diesem Handbuch sollten
vor der Ausführung der Maßnahme überprüft werden.
- Clou B.V. ist nicht verantwortlich für die Ergebnisse des unsachgemäßen Gebrauch,
unsachgemäßen Transport oder Schäden, die während Zwischenlagerung verursacht
werden.
- Der aktuelle Garantiebedingungen sind immer gültig.
- Die Installation muß von mindestens 2 Personen durchgeführt werden, wobei 1 Per-
son bereits vorhandene Fachkenntnisse hat.
- Alle Dimensionen erfolgen in mm Angaben.
DE
FR
35 mm
Inhoud levering:
Content of delivery:
Contenu de la livraison:
Inhalt der Anlieferung:
Benodigd gereedschap:
Required tools:
Outils requis:
Erforderliche Werkzeuge:
Tijdensde installatie moet men voorkomen dat het oppervlak
van het product beschadigd raakt door harde voorwerpen
op het product te leggen.
During installation one has to prevent damaging the surface
of the product due to placing hard objects on the product.
Pendant l’installation on doit empêcher d’endommager la
surface du produit en posant des objets durs sur le produit.
Während der Installation muss man Beschädigungen verhin-
dern der Oberfläche des Produktes, das zur Platzierung der
harten Gegenstände auf das Produkt passend ist.
Gebruiksvoorschriften:
zie ook de onderhoudsvoorschriften op www.clou.nl
User’s instructions:
See also the maintenance guides at www.clou.nl
Instructions d’utilisation:
Voyer aussi les instructions d’entretien sur www.clou.nl
Gebrauchsanweisungen:
Sehen Sie auch die Wartungsanweisungen am www.clou.nl
max.
15 kg
12x
12x
12x
4x
max. 250
max. 700
max. 250
max. 700 max. 700
119
36
109
80
2100
380
760
900
1800
110 110
350
300
600
760
900
1900
110 110
350
300
600
1_
Duidt met potlood en waterpas
de middellijn van de wastafel
aan. Duidt de gewenste positie
ook aan op de planchet.
Mark with pencil and level the
centreline of the washbasin.
Also indicate the desired posi-
tion on the shelf.
Marquer avec un crayon et avec
un niveau la ligne de centre du
lavabo. Indiquer aussi la posi-
tion désirée sur la tablette.
Markieren Sie mit einem Blei-
stift und mithilfe der Was-
serwaage die Mittellinie des
Waschtisch. Geben Sie auch die
gewünschte Position auf dem
Platte an.
2_
Teken de uit te zagen uitspa-
ring op de planchet (zie ook p.
23).
Mark the cut-out on the shelf
(see also p. 23).
Marquer la découpe sur la
tablette (voir aussi p. 23).
Markieren Sie die Aussparung
auf die Platte (siehe auch S.
23).
460
200
130
300
X mm
centre
X mm
3_
Maak de uitsnede met behulp
van een decoupeerzaag.
Make the cut-out with a jig-
saw.
Faire la découpe avec une scie
sauteuse.
Machen Sie den Ausschnitt mit
einer Stichsäge.
4_
Duidt met potlood en waterpas
de gewenste hoogte Y van de
wastafel aan. (aangeraden: Y =
900 mm)
Mark with pencil and level
the prefered height Y of the
washbasin. (recommended: Y =
900 mm)
Marquer avec un crayon et avec
un niveau la hauteur souhaitée
Y du lavabo. (recommandé : Y =
900 mm)
Markieren Sie mit einem Blei-
stift und mithilfe der Wasser-
waage die gewünschte Höhe Y
des Waschtisch. (Empfohlener
Wert: Y = 900 mm)
Y mm
Y mm
5_
Selecteer uit de hier getoonde
opstellingen degene die het
best aansluit bij uw opstelling.
Duidt met potlood en waterpas
de posities van de beugels aan.
Select from the configurations
shown here, the one that best
suits your setup. Indicate with
pencil and level the positions
of the supports.
Choisir parmi les configura-
tions indiquées ici, celui qui
correspond le mieux à votre
configuration. Indiquez avec
crayon et niveau les positions
des supports.
Wählen Sie aus den hier ge-
zeigten Konfigurationen, die
am besten Ihrem Setup passt.
Markieren Sie mit einem Blei-
stift und mithilfe der Was-
serwaage die Positionen der
Unterstutzungen.
250
250
650650
450
250
500500
250250
600 600
450250250 200450
X-line
X-line
X-line
X-lineX-line
Y-line
Y-line
Y-line
Y-line
6_
Duidt met potlood voor elke
beugel de plaatsen aan waar u
gaten moet boren. Het is aan-
geraden de gegeven afmetin-
gen na te meten.
Mark with pencil for every sup-
port the spots to drill holes. It
is recommended to verify the
given dimensions.
Marquer avec un crayon les
endroits de perçage des trous
pour chaque support. Il est re-
commandé de mesurer encore
les dimensions indiquées.
Markieren Sie mit einem Blei-
stift für jede Unterstützung die
Stellen, an denen Löcher ge-
bohrt werden müssen. Es wird
empfohlen, die angegebenen
Abmessungen nachzumessen.
Y-line
33 mm
249 mm
176 mm
250250 250250550
450250 250450500
X-line
X-line X-line
X-line
Y-line
Y-line
7_
Duidt ook de te boren gaten
voor wastafel, ladekast, spiegel
en kolomkast aan op basis van
de respectievelijke handleidin-
gen.
Also indicate the holes to drill
for washbasin, dresser, mirror
and column cabinet based on
their respective manuals.
Indiquer aussi les trous à
percer pour lavabo, commode,
miroir et colonne basée sur
leurs manuels respectifs.
Zeigen Sie auch die zu bohren
Löchern an für Waschbecken,
Kommode, Spiegel und Hoch-
schrank auf ihren jeweiligen
Handbüchern basiert.
8_
Boor de gaten voor de beugels
(ø 10 mm).
Drill the holes for the supports
(ø 10 mm).
Percer les trous pour les sup-
ports (ø 10 mm).
Bohren Sie die Löcher für die
Unterstutzungen (ø 10 mm).
ø 10 mm
9_
Boor ook de gaten voor de
wastafel, ladekast, spiegel en
kolomkast. Let erop de juiste
diameter boor te gebruiken.
Also drill the holes for the
washbasin, dresser, mirror and
column cabinet. Make sure you
use the right drill diameter.
Fixer le robinet (non inclus) sur
le lavabo et le raccorder à la
conduite d’eau.
Bohren Sie auch die Löcher für
das Waschbecken, Kommode,
Spiegel und Hochschrank. Ach-
ten Sie darauf, den richtigen
Bohrdurchmesser.
10_
Steek de pluggen in de gaten
en bevestig de beugels met de
schroeven.
Insert the dowels in the holes
and mount the supports with
the screws.
Enfoncer les chevilles dans les
trous et fixer les supports avec
les vis.
Bringen Sie die Dübel in die
Löchern und befestigen Sie
die Unterstutzungen mit den
Schrauben. 4x
11_
Bevestig de planchet op de
beugels met de schroeven.
Mount the shelf on the sup-
ports with the screws.
Fixer la tablette sur les sup-
ports avec les vis.
Befestigen Sie die Platte an
die Unterstutzungen mit die
Schrauben.
12_
Maak desgewenst kraangaten
in de wastafel open volgens de
bijgevoegde handleiding.
If desired open tap holes in
the washbasin according to its
installation instructions.
Si nécessaire, percer les trous
de robinets en fonction des
instructions d’installation.
Auf Wunsch offen Hahnlöcher
in das Waschtisch nach ihrer
Montageanweisungen.
12x
13_
Steek de pluggen voor de was-
tafel in de gaten en schroef de
stokschroeven in de pluggen.
Insert the dowels for the
washbasin in the holes and
screw the dowel screws in the
dowels.
Enfoncer les chevilles du lavabo
dans les trous et visser les gou-
jons dans les chevilles.
Bringen Sie die Dübel für die
Waschtisch in den Löchern an
und schrauben Sie die Stock-
schrauben in die Dübel.
2x
14_
Plaats de wastafel op de stok-
schroeven en bevestig met de
kraagringen en moeren.
Place the washbasin on the
dowel screws and fix with the
collar washers and nuts.
Placer le lavabo sur les goujons
et fixer avec les rondelles à col-
lerette et les écrous.
Bringen Sie das Waschbecken
auf den Stockschrauben an und
befestigen Sie es mit Unterleg-
schieben und Spannmuttern.
2x
15_
Steek de pluggen voor de lade-
kast in de gaten en schroef de
schroefduimen in de pluggen.
Insert the dowels for the
dresser in the holes and screw
the hook screws in the dowels.
Enfoncer les chevilles de la
commode dans les trous et
visser les les vis à crochet dans
les chevilles.
Bringen Sie die Dübel für die
Kommode in den Löchern
an und schrauben Sie die
Schraubhaken in die Dübel.
16_
Haal de lade uit de ladekast
door ze naar voor en omhoog
te trekken.
Remove the drawer by pulling
it forward and upward.
Enlever le tiroir de la commode
en le tirant et en le relevant.
Nehmen Sie die Schublade aus
der Kommode, indem Sie diese
heraus und dann nach oben
ziehen.
2x
17_
Plaats de bevestigingsbeu-
gels van de ladekast over de
schroefduimen.
Place the mounting brackets
of the dresser over the hook
screws.
Placer les supports de fixation
de la commode sur les cro-
chets.
Setzen Sie die Befestigungsbü-
geln von der Kommode über
den Schraubhaken.
18_
Stel de positie van de ladekast
bij. Met bout A regelt men de
hoogte van de ladekast, met
bout B de afstand tot de muur.
Adjust the position of the
dresser. With bolt A you regu-
late the heigth of the dresser,
with bolt B you adjust the
distance to the wall.
Ajuster la position de la com-
mode. Avec le boulon A régler
la hauteur de la commode,
avec boulon B régler la dis-
tance au mur.
Stellen Sie die Position der
Kommode ein . Mit Bolz A re-
geln Sie die Höhe der Kommo-
de, mit Bolz B regeln Sie den
Abstand zur Wand.
B
A
19_
Bevestig de afvoer (niet inbe-
grepen) in de wastafel.
Mount the drain (not included)
in the washbasin.
Fixer la bonde (non inclus)
dans le lavabo.
Befestigen Sie den Ablauf (nicht
im Lieferumfang enthalten) am
Waschbecken.
20_
Bevestig de sifon (niet inbegre-
pen) aan de afvoer en aan de
afvoerleiding.
Attach the trap (not included)
to the drain and to the waste
pipe.
Fixer le siphon (non inclus) à la
bonde et à la décharge d’eau.
Befestigen Sie den Siphon
(nicht im Lieferumfang ent-
halten) am Ablauf und an der
Abflussleitung.
21_
Bevestig de kraan (niet inbe-
grepen) op de wastafel en sluit
deze aan op de waterleiding.
Mount the tap (not included)
on the washbasin and connect
it to the water supply.
Fixer le robinet (non inclus) sur
le lavabo et le raccorder à la
conduite d’eau.
Befestigen Sie die Waschti-
scharmatur (nicht im Lieferum-
fang enthalten) am Waschbe-
cken und schließen Sie diese
an der Wasserleitung an.
22_
Plaats de lade terug in de
ladekast.
Place the drawer back in the
dresser.
Remettre le tiroir dans la com-
mode.
Setzen Sie die Schublade wie-
der in der Kommode ein.
23_
Ontvet de achterzijde van de
spiegel met een speciaal ont-
vettingsmiddel, zoals reini-
gingsalcool.
Degrease the back of the mir-
ror with a special degreas-
ing agent, such as cleansing
alcohol.
Dégraisser le dos du miroir
avec un agent de dégraissage
spécial, tel que l’alcool de
nettoyage.
Entfetten Sie die Rückseite des
Spiegels mit einem speziellen
Entfettungsmittel, wie reini-
genspiritus.
24_
Verwijder de beschermfolie
van de tape op de bevesti-
gingsframes en druk de frames
stevig op de spiegel op de
aangeduide plekken.
Remove the protective foil
from the tape on the mounting
frames and press the frames
firmly on the indicated places
on the mirror.
Enlever le film protecteur de
la bande sur les montants et
presser les montants ferme-
ment sur l’endroit indiqué sur
le miroir.
Entfernen Sie die schützende
Folie vom Klebeband auf den
Framen und betätigen Sie die
Framen fest auf dem angege-
bene Platz auf dem Spiegel.

This manual suits for next models

1

Other Clou Indoor Furnishing manuals

Clou First CL/08.91010 User manual

Clou

Clou First CL/08.91010 User manual

Clou Hammock CL/07.66.417.50 User manual

Clou

Clou Hammock CL/07.66.417.50 User manual

Clou Look at Me CL/08.11.028.04 User manual

Clou

Clou Look at Me CL/08.11.028.04 User manual

Clou hold me CL/08.01.002.29 User manual

Clou

Clou hold me CL/08.01.002.29 User manual

Clou Wash Me CL/07.49.111.21 User manual
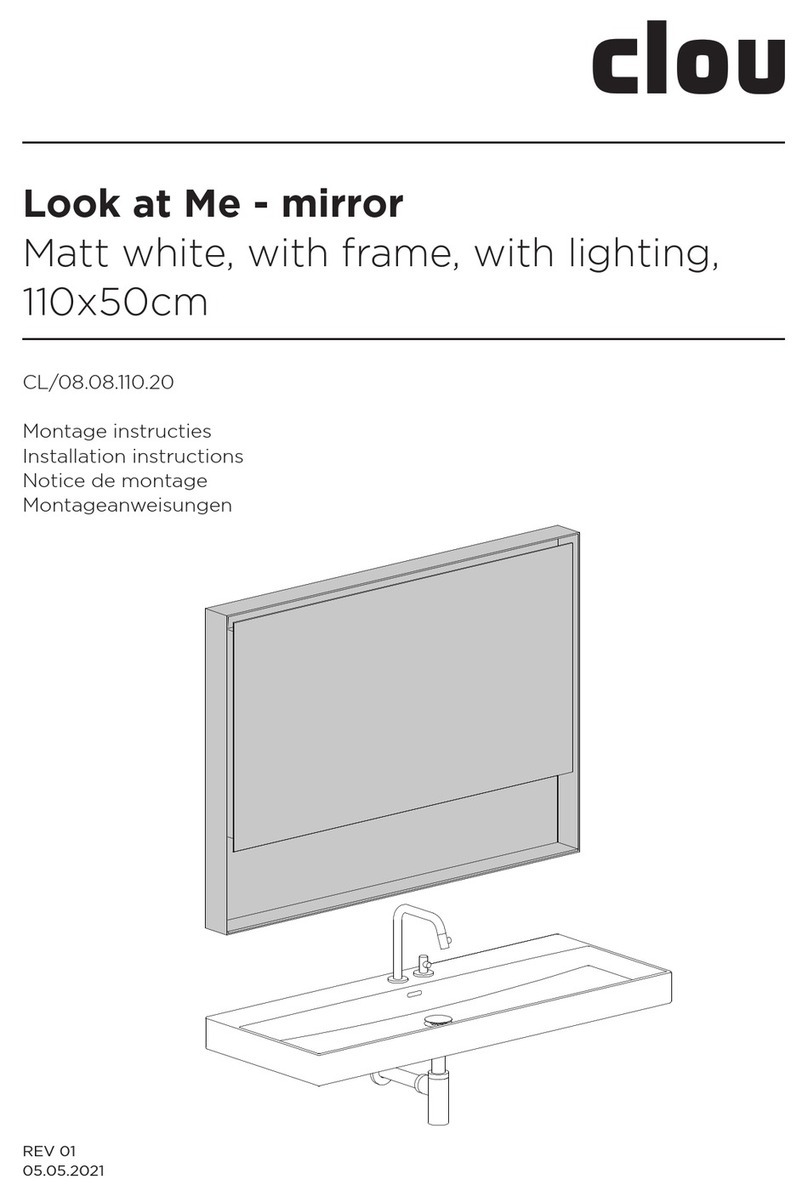
Clou

Clou Wash Me CL/07.49.111.21 User manual

Clou Look at Me CL/08.09.090.21 User manual

Clou

Clou Look at Me CL/08.09.090.21 User manual

Clou hammock CL/07.66.204.50 User manual

Clou

Clou hammock CL/07.66.204.50 User manual

Clou match me CL/07.56.003.65 User manual

Clou

Clou match me CL/07.56.003.65 User manual

Clou match me CL/07.56.301.50.L User manual

Clou

Clou match me CL/07.56.301.50.L User manual

Clou match me cabinet CL/07.56.203.65 User manual

Clou

Clou match me cabinet CL/07.56.203.65 User manual

Clou match me CL/07.56.150.50 User manual

Clou

Clou match me CL/07.56.150.50 User manual

Clou Limited Black User manual

Clou

Clou Limited Black User manual

Clou match me User manual

Clou

Clou match me User manual

Clou match me CL/07.56.004.65 User manual

Clou

Clou match me CL/07.56.004.65 User manual

Clou match me CL/08.02.006.01 User manual

Clou

Clou match me CL/08.02.006.01 User manual

Clou match me CL/07.56.151.65 User manual

Clou

Clou match me CL/07.56.151.65 User manual

Clou Look at me CL/08.06 01 Series User manual

Clou

Clou Look at me CL/08.06 01 Series User manual

Clou Look at Me CL/08.09.050.21 User manual

Clou

Clou Look at Me CL/08.09.050.21 User manual

Clou New Wash Me CL/02.01438 User manual

Clou

Clou New Wash Me CL/02.01438 User manual

Clou hold me CL/08.04.002.40 User manual

Clou

Clou hold me CL/08.04.002.40 User manual

Clou Frame CL/07.49.109.21 User manual

Clou

Clou Frame CL/07.49.109.21 User manual

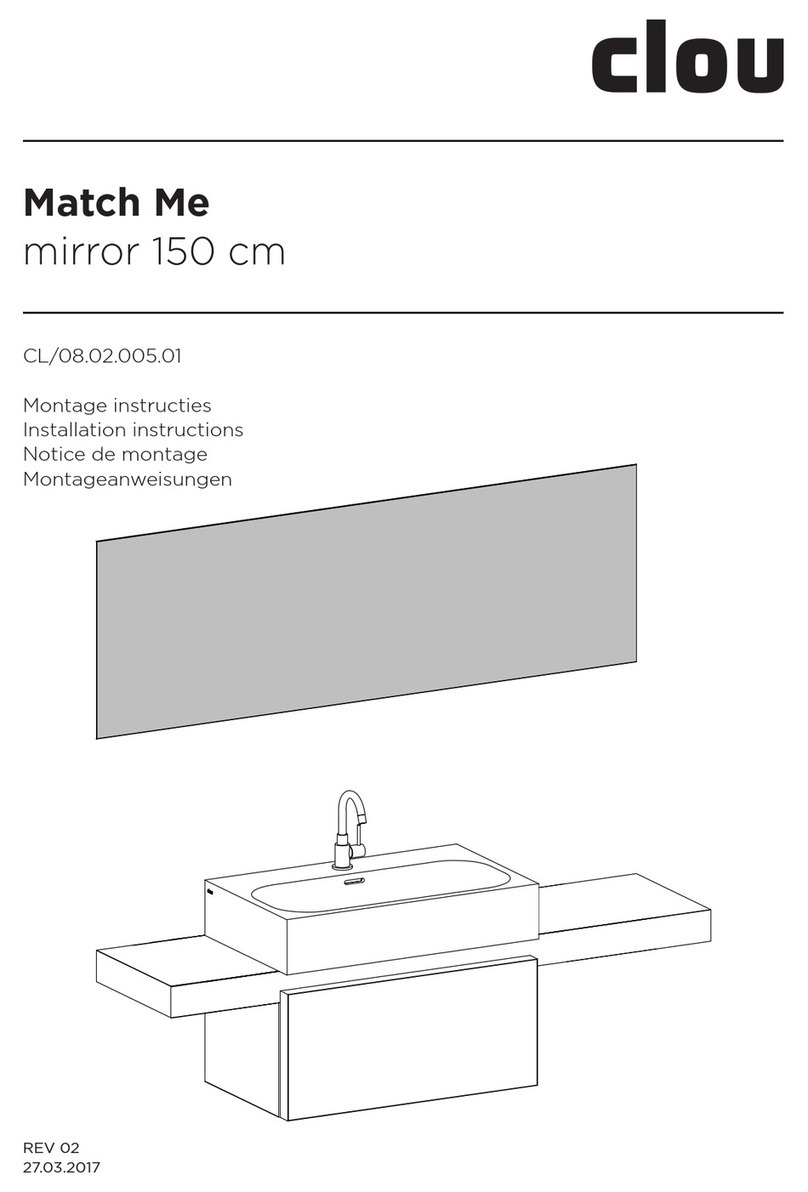
Clou Match Me CL/08.02.005.01 User manual

Clou

Clou Match Me CL/08.02.005.01 User manual

Clou match me CL/07.56.001.60 User manual

Clou

Clou match me CL/07.56.001.60 User manual

Clou Look at Me CL/08.08.110.20 User manual
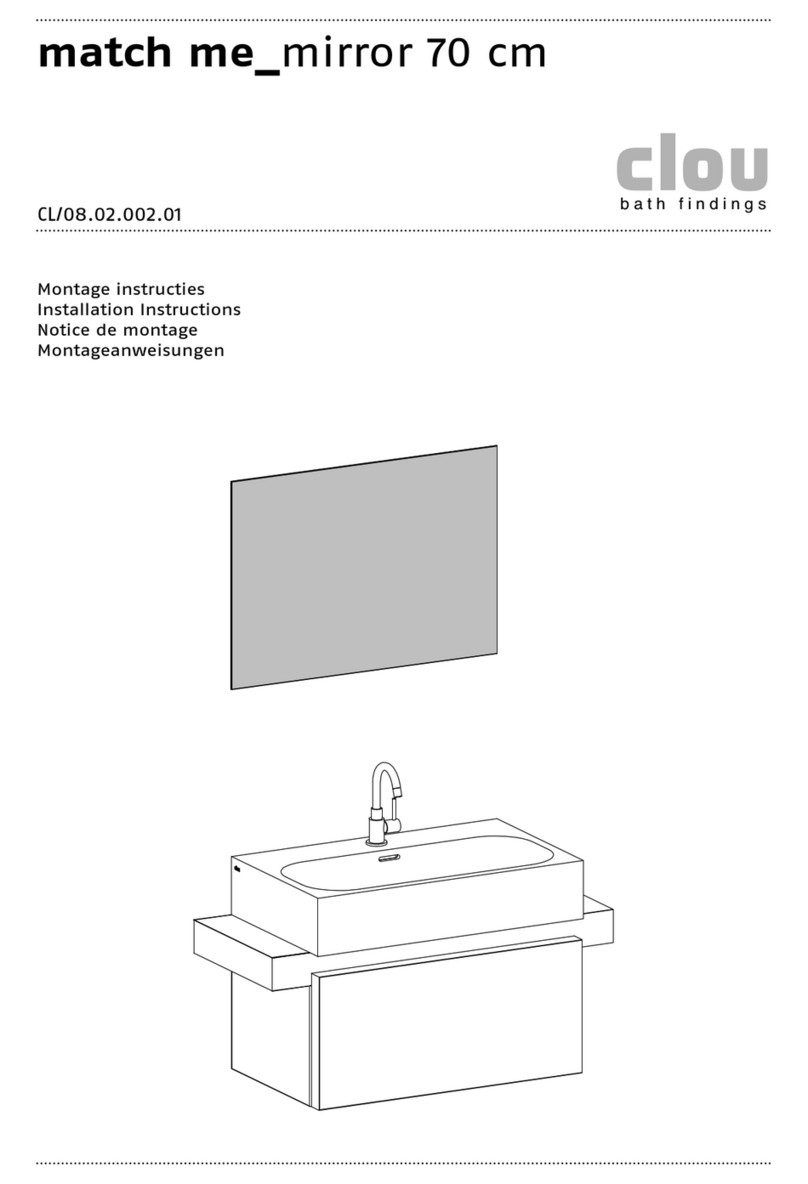
Clou

Clou Look at Me CL/08.08.110.20 User manual

Popular Indoor Furnishing manuals by other brands

ME MARCKERIC COROS 16205 Assembly instructions

ME MARCKERIC

ME MARCKERIC COROS 16205 Assembly instructions

Dorel Amerywood Industries 7600012 Assembly instructions

Dorel

Dorel Amerywood Industries 7600012 Assembly instructions

Monarch Specialties I 2377 Assembly instructions

Monarch Specialties

Monarch Specialties I 2377 Assembly instructions

SAFAVIEH COUTURE Trenton SFV9717 manual

SAFAVIEH COUTURE

SAFAVIEH COUTURE Trenton SFV9717 manual

Rebotec STAND UP-Standard User instructions

Rebotec

Rebotec STAND UP-Standard User instructions

Sprout FBF manual

Sprout

Sprout FBF manual

Forward Industries HM-ST008-001 Assembly instructions

Forward Industries

Forward Industries HM-ST008-001 Assembly instructions

Herdegen Success owner's manual

Herdegen

Herdegen Success owner's manual

Dream On Me 444 Installation

Dream On Me

Dream On Me 444 Installation

World Market Charlee Bobbin 618952 Assembly instructions

World Market

World Market Charlee Bobbin 618952 Assembly instructions

Allen + Roth BUCHAN BAY FWS60639 Assembly instructions

Allen + Roth

Allen + Roth BUCHAN BAY FWS60639 Assembly instructions

Germania Inside 3182 Assembly instruction

Germania

Germania Inside 3182 Assembly instruction

Foremost HNBVT3122 instructions

Foremost

Foremost HNBVT3122 instructions

Snuz Fino FN022 manual

Snuz

Snuz Fino FN022 manual

BRW STYLIUS NKOM 3d1s Assembly manual

BRW

BRW STYLIUS NKOM 3d1s Assembly manual

nbf SIGNATURE Series Assembly instructions

nbf

nbf SIGNATURE Series Assembly instructions

Germania 1008 Assembly instruction

Germania

Germania 1008 Assembly instruction

Plaisio CT-3528 Assembly instruction

Plaisio

Plaisio CT-3528 Assembly instruction

manuals.online logo
manuals.online logoBrands
  • About & Mission
  • Contact us
  • Privacy Policy
  • Terms and Conditions

Copyright 2025 Manuals.Online. All Rights Reserved.