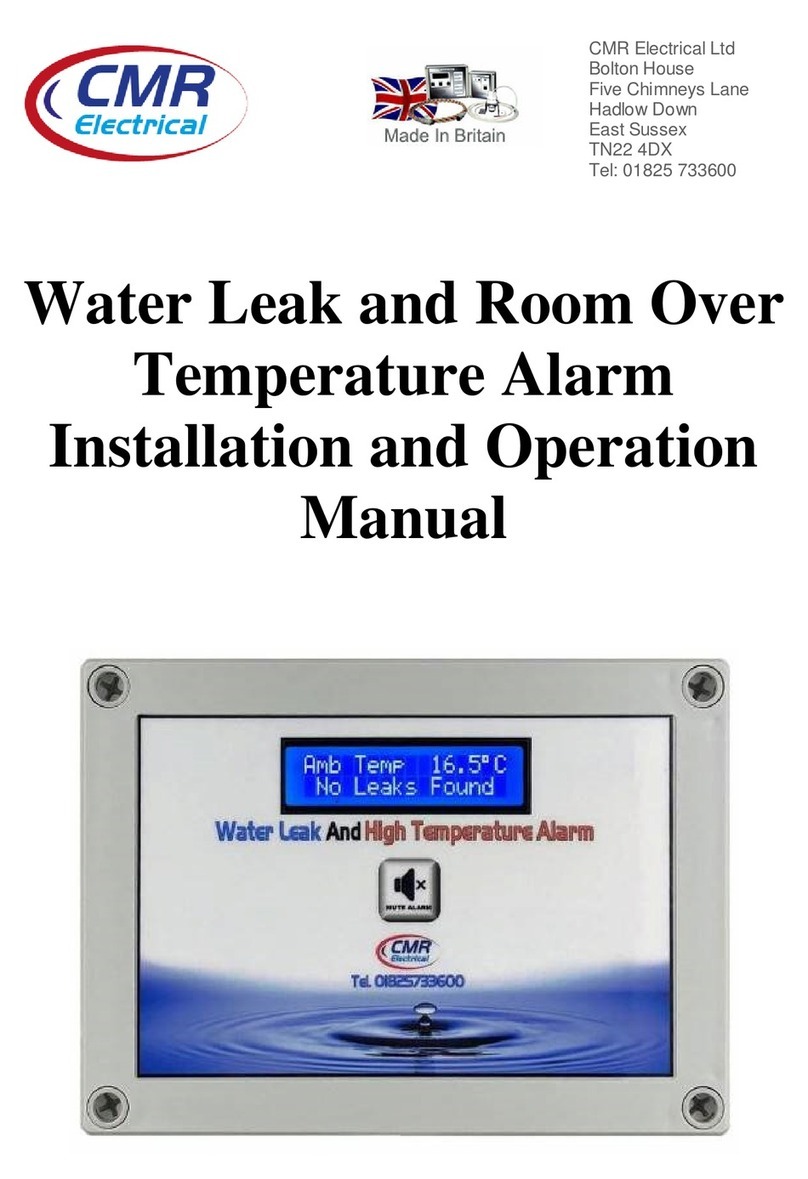
CMR Electrical LD8-2 User manual

CMR Electrical Ltd
Bolton House
Five Chimneys Lane
Hadlow Down
East Sussex
TN22 4DX
Tel: 01825 733600
LD8-2 & LD8-2V
6 & 8 Zone Water Detection
Alarm
Installation and Operation
Manual

2
Contents
1) Display and Control
2) Operation
3) Water leak detected Alarm Test
4) Water Detected Alarm
5) Sensor Fault
6) Water Detection Sensitivity Adjustment
7) Installation
8) Positioning the water detection cable
9) Fitting Cable clips
10) Water Shutdown Valve
11) Water Shutdown Valve Override Procedure
12) Beacon and beacon sounder
13) Fitting the battery backup
14) Commissioning
15) Fault Diagnosis
16) Installation Drawing

3
1) Display and Control
Display Screens
a) All detection cables and or sensors are connected correctly and free from any water leaks
Touch the screen and the display will change to the following for 5 seconds
Touch Screen
and Zone Status
Display
Valve Shutdown
Override Button
Zone Sensitivity
Adjustment see
Item 6 below
Removable Terminal Block
for connection to the water
detection cable or sensor
Zone Test
Button

4
b) The detection cable or sensor has been disconnected, unplugged, damaged or cut
After pressing the “Mute Alarm” the display will change to
c) A water leak has been detected in the detection cable or sensor
After pressing the “Mute Alarm” the display will change to
2) Operation
In normal operation with no alarms or faults, the audible warning device will be OFF and the display will
be showing (a) above. If one or more of the zones has a disconnected or damaged cable, the audible
warning device will sound and the display will show “ SENSOR FAULT at Zone 1 or 2 etc. ” as shown in
(b) above. If the detection cable or sensor detects water, the audible warning device will sound and the
display will show “Water Detected at Zone 1 or 2 etc., display (c) above. Once the “Mute Alarm” button
has been pressed the display will change to a list of all zone showing their status (ALARM, FAULT or
CLEAR) followed by a sad or smiley face.

5
If water shutoff valves are fitted, and a zone detects water, the appropriate valve will close and the
appropriate internal “Closed” lamp will illuminate. The system will automatically open the valve
allowing water to flow once more providing the “Mute” button has been operated to acknowledge the
alarm, the water leak has been cleared up and the detection cabled dried out. This shutdown can be
overridden, See Item 11 below. If multiple alarms occur at the same time, each alarm will need
acknowledging by the press of the “Mute” button. i.e. zones 1 & 2 go into water detected alarm at the
same time, the audible warning will be going with “Zone 1 water detected” on display. Pressing “Mute”
will stop the audible warning but it will immediately start again only this time the display will be showing
“Zone 2 water detected”. This second alarm will also need the “mute” button operated to silence the
audible warning.
3) Water leak detected Alarm Test
To test that the unit is functioning correctly, pressing the red “Test Zone” button to put the system into a
Water detected alarm. Using the test facility will operate the alarm relays generating a BMS alarm, turn
on the remote beacon/sounder if fitted and on the LD8-2V systems, close the water shutoff valves.
4) Water Detected Alarm
When the detection cable comes into contact with water anywhere along its length, the audible warning
device will start, the common alarm relay will operate, if fitted, the zone BMS alarm relay will operate
and the display will show the zone number. To stop the audible warning press the “Mute Alarm” button.
The system will remain in this state until the water has been removed from the cable when the alarm relay
will automatically turn OFF.
5) Sensor Fault
Because of the exposure of the detection cable on the floor, the system monitors for any breaks in the
detection cable including the interconnection cable between the control unit and the detection cable. If a
break within the cable is found, the audible warning device will start, the fault relay will operate and the
display will show the zone number. To stop the audible warning press the “Mute Alarm” push button. The
system will remain in this state until the sensor fault is repaired when the display and common fault relay
will revert back to normal. If the controller detects a break in the cable, the system will continue to detect
water up to the point of the break.
6) Water Detection Sensitivity Adjustment
To increase the sensitivity of the cable turn the potentiometer ANTICLOCKWISE, to de-crease the
sensitivity turn CLOCKWISE.
Increase Sensitivity Decrease Sensitivity

6
7) Installation
THIS EQUIPMENT SHOULD ONLY BE CONNECTED AND WORKED ON BY A QUALIFIED
ELECTRICIAN.
To mount the unit to a wall, first remove the front cover to expose the internal equipment. In each corner
of the housing positioned below/above the front cover fixings will be found the mounting holes.
Care should be taken when drilling the holes to ensure no damage occurs to the electronic equipment.
A suitably rated 230VAC power cable supply should be run from a fused spur to the unit and terminated
to the internal terminal block marked “L”, “E” & “N”. The fuse within the fused spur should be rated at 5
Amps.
Connections bottom PCB within the Alarm Housing
Output Volt Free contacts for use by a Building Management System.
Function Required Fitted as Standard Relay Output Terminals
Zone 1 alarm No Z1 Alarm
Zone 2 alarm No Z2 Alarm
Zone 3 alarm No Z3 Alarm
Zone 4 alarm No Z1 Alarm
Zone 5 alarm No Z2 Alarm
Zone 6 alarm No Z3 Alarm
Zone 7 alarm No Z4 Alarm
Zone 8 alarm No Z4 Alarm
Water detected alarm any zone Yes Common Alarm
Cable Disconnected Alarm Yes Common Fault
Power Fault Yes Common Fault
Connections top PCB within the Alarm Housing
All Zone wiring and volt free alarm / fault relays wiring is to removable screw type terminal blocks.
If Fitted
230VAC To Zone 1, 2,
3, 4, 5, 6, 7 or 8
Shutdown
Valve
If Fitted
Zone 1, 2, 3, 4, 5,
6, 7 or 8
Output
Alarm
Common
Alarm
Output
Contact
Common
Fault
Output
Contact
230VAC
SUPPLY
Zone 1, 2, 3, 4, 5, 6, 7 & 8 white
signal cable
Red wire to "A +" Black to "B -"
Black wire to "B
-
"

7
Connection of the Signal cable, Water detection cable & End Of Line Terminator
8) Positioning the water detection cable
The detection cable is susceptible to damage and should not be fitted to areas where the cable is likely to
be damaged or walked on. If fitting the cable around Air Conditioning Units with humidifiers, ensure that
cable is positioned at least one metre from the ACU to stop intermittent alarms being generated from over
humidity or water droplets from the AHU. Having positioned the detection cable, ensure that the End of
line terminator is plugged into the end of the cable (see drawing above).
9) Fitting Cable Clips
If Cable Clips are required, to protect the small sensor wires and to stop false water detected alarms from
occurring insulating tape should be first applied around the detection cable before the clip tongue is
closed. Clips should be fitted approximately every 1 to 1.5 metres apart. When using clips make sure that
the cable touches the floor between the clips, DO NOT tighten the cable so that the cable does not touch
the floor.
End of line
Terminators
Plug MUST
Be fitted at the
end of the
detection cable
Terminate the Red
and Black wires to
the terminals within
The alarm housing
as shown above
Water leak
detection Cable
run around the
area to be
protected
Signal cable
used to connect to the
water detection cable to
the alarm housing. Signal
Cable
Signal cable to
Water detection
cable connectors
Insulating Tape
Under the fixing
clip tongue

8
10) Water Shutdown Valve
If the system is supplied with water shutoff valves, once a water leak has been detected the unit will
remove the 230V supply holding open the valve thereby closing it and stopping the flow of water. Once
the leak has been rectified the detection cable may take some hours to dry out. During the dry out period
the valve can be opened and closed using the procedure outlined in Item 11 below.
Connection of Water Shutdown Ball Valve
The Valve is supplied with a short length of cable that will need extending back to the Valve terminals
within the alarm unit.
WARNING, In order to shut properly, this type of valve need powering for at least 3 minutes.
Connection of Water Shutdown Solenoid Valve
PLEASE NOTE;
The type of valve MUST be fitted with the arrow on its body facing the direction of flow, if not, the
valve will not stop the flow of water.
The 230VAC, 5 watt
supply to the valves is
generated from within the
alarm unit. 15 to 25mm
valves are supplied with a
red and black cable whilst
larger valves are red and
green. For good practice
connect live to the red
wire and neutral to the
black or green wire.
The 230VAC supply to
the valves is generated
from within the alarm
unit.
Having removed and
opened the 3 pin socket,
connect live to terminal
“1”, neutral to terminal
“2” and Earth to the earth
terminal

9
11) Water Shutdown Valve Override Procedure
This future will only work if there is a current water leak detected alarm, the zone has not already been
overridden and the alarm has been Muted. To put the system into shutdown override and re-open the
water valve, press and keep pressed the “Shutdown Override” push button. Stop pressing the button once
all the “CLOSED” lamps turn off. The system will automatically cancel the override once the zone stops
detecting a water leak. If in an emergency the Override needs closing again, Press the “Shutdown
Override” button again until the “CLOSED” lamps illuminate.
12) Beacon and beacon sounder
If a beacon or beacon sounder is supplied connect to the three terminals identified as “Sounder Beacon”
as follows.
12a) Non Mutable Beacon or beacon sounder
If the beacon or the beacon sounder is to be active (On all the time) until the water leak alarm has
cleared, connect as follows
Terminal
reference
Connect Beacon / beacon sounder
terminals to the following terminals
+V Beacon +V or Strobe /Tone + terminal
BOV Beacon -V or Strobe /Tone - terminal
SOV NO connection to this terminal
12b) Mutable Beacon or beacon sounder
If the beacon or the beacon sounder is to turn off when the “Mute” push button is pressed connect
as follows.
Terminal
reference
Connect Beacon / beacon sounder
terminals to the following terminals
+V Beacon +V or Strobe /Tone + terminal
BOV NO connection to this terminal
SOV Beacon -V or Strobe /Tone - terminal
12c) Mutable sounder Beacon on all the time
If the beacon is to remain alight all the time an alarm is current but the sounder is to be turned off
when the “Mute” push button is pressed connect as follows.
Terminal
reference
Connect Beacon / beacon sounder
terminals to the following terminals
+V Strobe and Tone + terminal
BOV Strobe - terminal
SOV Tone - terminal
Warning; if the above option “12c” is required, remove the electrical link connected between the second
(Strobe -) & third terminals (Tone -) terminals within the sounder.
Sounder
Beacon
terminal
block
Zone 1-2-3-4-5-6-7 & 8 Shutdown valve closed lamps

10
13) Fitting the battery backup
The battery should be fitted connected after the system as been commissioned. Place the battery within
the housing in the space provided. Connect the small BLACK cable to the “—“ battery terminal and the
RED with black dots wire to the batteries “+” terminal. If the battery is misconnected, the battery fuse
located on the small PCB will blow.
14) Commissioning
Having connected the unit as described above, turn of the mains power to the unit. The display should
show “ALL ZONES ARE CLEAR” If not, refer to the “Fault Diagnostics” below. If the unit powers up
with the audible warning going, press the mute button and wait to see if the alarm clears. If the alarm
remains after approximately 20 seconds , refer to the “Fault Diagnostics” below. With the unit powered,
unplug the End of line terminator positioned at the end of the detection cable. The controller should
display “SENSOR FAULT Zone 1 or 2 etc. ” and the audible warning device should sound, if not refer to
the “Fault Diagnostics” below, press the “Mute” button, the audible warning device should stop. Replace
the End of line terminator to return the system to normal. Using a cup of CLEAN water, immerse a small
area (50mm long) of cable into the water. The controller should display “WATER DETECTED at ZONE
1 or 2 etc.” and the audible warning device should sound, if not refer to the “Fault Diagnostics” below.
Press the “Mute” button the audible warning device should stop. Remove the water and wipe the cable
with some tissue paper. Repeat for all other zones.
15) Fault Diagnoses
Fault Possible Reason
Display is OFF and the unit appears dead 1) No power to the control unit. Test with a meter
2) The power fuse has blown. Test the fuse with a meter
The Water Detected statement remains in the
screen all the time.
1) The cable needs drying out after detecting water. Using
tissue paper dry the cable.
2) The cable has a short between the sensors due to
Contaminants. Clean the cable using water and tissue
paper dry out afterwards
3) The cable has been damaged. Visually check the cable for
damage.
4) The sensitivity of the detection system is too sensitive.
Remove the lid from the small plastic box connected to the
detection cable and turn the potentiometer until the system
resets.
5) System fault. Return to manufacture
The display appears dead and does not show
“Water Detected” even though the system has a
water detected alarm and the audible warning
device is sounding.
1) System fault. Return to manufacture
The system will not record a water detected alarm,
the Display and audible warning device do not
react to water on the cable.
1) Sensitivity could be too low or a Possible system fault.
Remove the lid from the small plastic box connected to the
detection cable and turn the potentiometer until the system
goes into alarm.
2) System fault. Return to manufacture
The display shows faulty or disconnected cable all
the time.
1) The detection or signal cable is broken or disconnected.
Check for cable faults or breaks.
2) Detection module fault. Dip part of the detection cable into a
cup of water and see if it sets up an alarm.
3) Controller fault. Press the test button to setup an alarm.
4) System fault. Return to manufacture
Horn not working 1) System fault. Return to manufacture
2)
The battery will not power the system 1) Battery discharged, disconnect a lead and test with meter.
2) Battery fuse blow, see item 10
3) Charger fault, disconnect a battery lead & check for 13.5V

11
16) Installation Drawings
L E N
240vac
5amp
Supply
Water Leak Alarm Unit
L E N
Z5 Valve
L E N
Z6 Valve
N/O
COM
N/C
Common
Alarm
N/O
COM
N/C
Common
Fault
L E N
Z7 Valve
L E N
Z8 Valve
A
+
B
-
ZONE 1
Zone 1 - 8
Shutdown
Valves 230VAC
Volt free contacts
to a BMS system
Beacon or
Beacon Sounder
See Item 12 above
for more information
-+
S0V
B0V
+V
Water Detection Cable
Socket/Plug
S P S
Socket/Plug
A
+
B
-
ZONE 6
Signal Cable
Sig
0V
+V
Remote Repeat type SCA
Alarm Unit Repeat Alarm
DC
Z1
Com
+V
Sig
0V
L E N
Z1 Valve
L E N
Z2 Valve
L E N
Z3 Valve
L E N
Z4 Valve
A
+
B
-
ZONE 2
A
+
B
-
ZONE 3
A
+
B
-
ZONE 4
A
+
B
-
ZONE 5
A
+
B
-
ZONE 6
A
+
B
-
ZONE 7
A
+
B
-
ZONE 8
N/O
COM
N/C
Z1
Alarm
N/O
COM
N/C
Z2
Alarm
N/O
COM
N/C
Z3
Alarm
N/O
COM
N/C
Z4
Alarm
N/O
COM
N/C
Z5
Alarm
N/O
COM
N/C
Z6
Alarm
N/O
COM
N/C
Z7
Alarm
N/O
COM
N/C
Z8
Alarm
Zones 1 to 8
System using Water Detection Cable. Not all the shown devises may be available on your system
This manual suits for next models
1
Table of contents
Other CMR Electrical Security System manuals
Popular Security System manuals by other brands

Concept Smoke Screen
Concept Smoke Screen Sentinel S70 Installation and operation manual

Cisco
Cisco Firepower 1100 Series installation guide

Honeywell
Honeywell ADEMCO LYNXR Series Installation and setup guide

ADEMCO
ADEMCO LYNXR quick start guide

DPS
DPS NetGuardian 832A user manual

Pyle
Pyle plcmtr82wir user manual

Honeywell
Honeywell GKP-S8M Installation instructions and instructions for use

Rokonet
Rokonet WisDom Installation and programming manual

Wahsega
Wahsega Carina IP Panic Button user guide

Xeos Technologies Inc.
Xeos Technologies Inc. Kilo user manual

NuTech
NuTech SX-2900 user manual

First Alert
First Alert HS-4705-400 user manual