COBHAM explorer 727 User manual

EXPLORER 727
Getting started


1
Getting started
Congratulations on the purchase of your
EXPLORER 727.
Before you start, please check that the
following items are present:
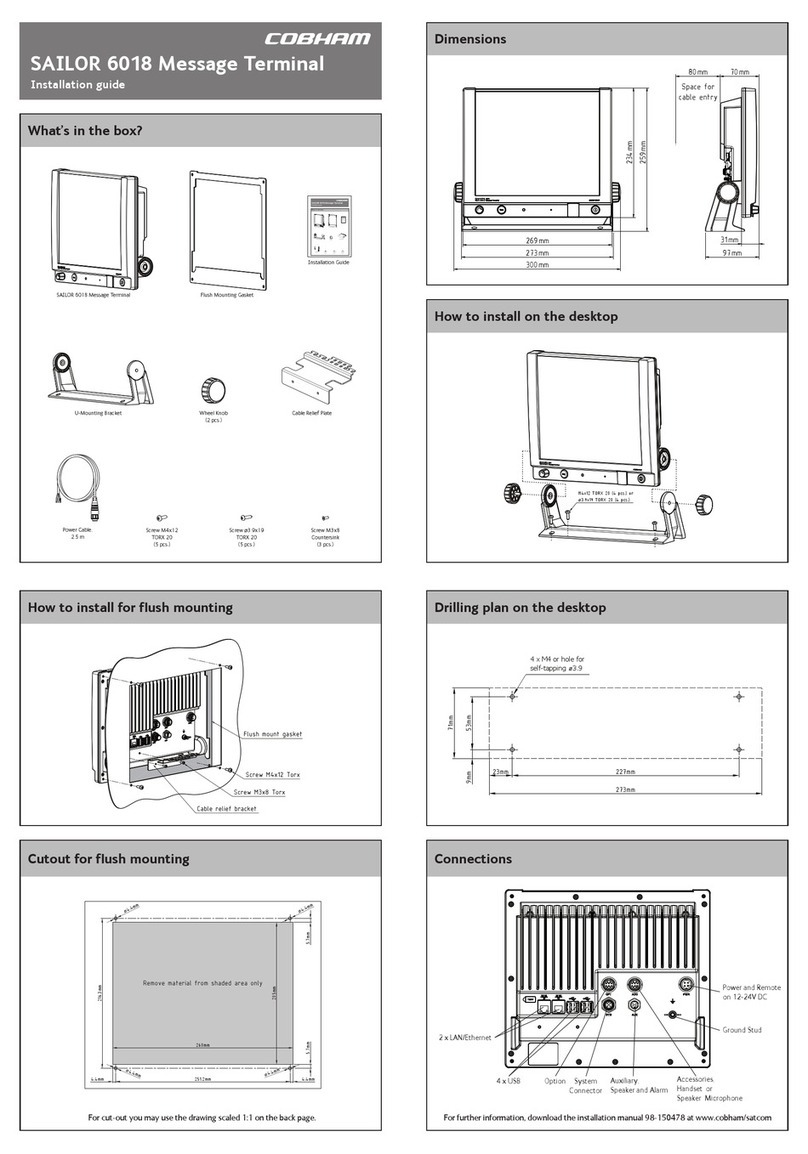
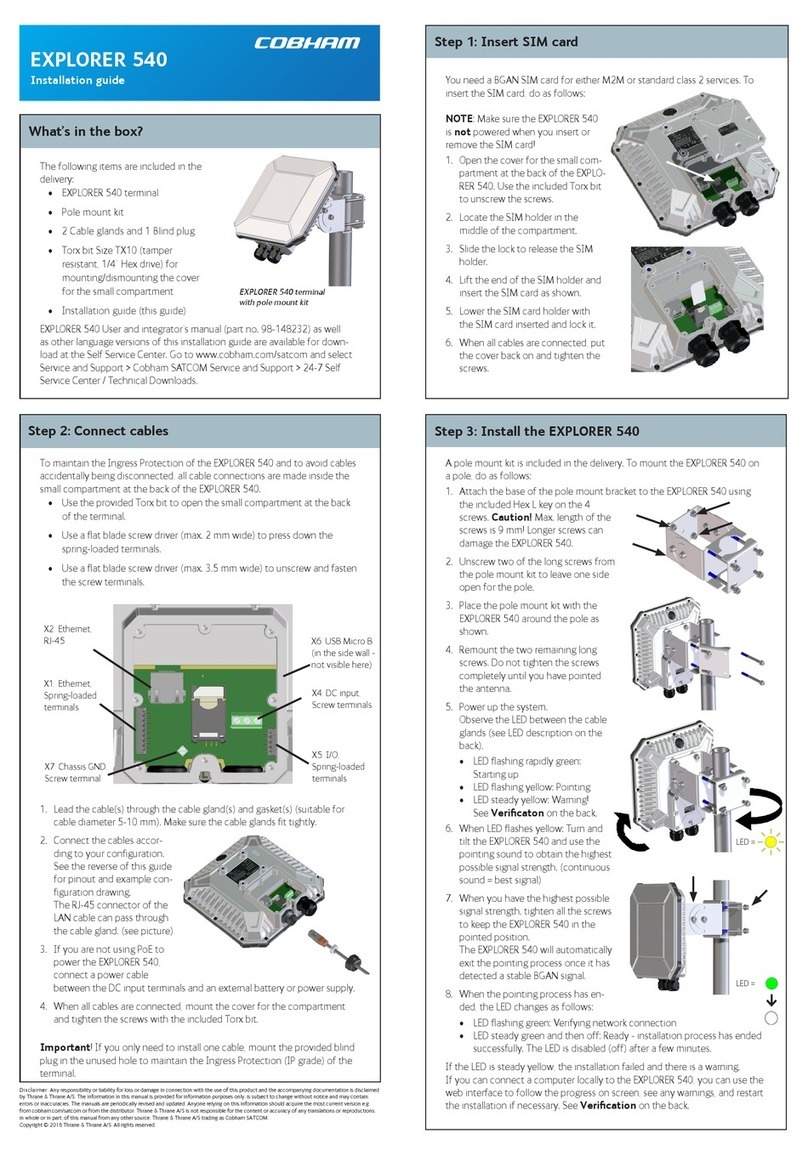
• EXPLORER 727 terminal or EXPLORER 727
19” Rack Terminal
• EXPLORER 727 antenna
• IP Handset & Cradle, wired
• Antenna cables for connecting the
terminal with the antenna
• Cable Support
•LANcable
• DC Power cable
• Getting started guide (this guide)
• CD with manuals
Mount the antenna
The antenna is designed to be mounted on the roof of a vehicle. There are three methods for
mounting the antenna:
With roof rails:
Use the Roof Rail Mount Kit from Cobham
SATCOM.
1. Mount the roof rail brackets on the 3
“legs” of the antenna.
2. Drill holes in the roof rails that will fit the
roof rail brackets.
3. Fasten the brackets to the roof rails.
See the installation manual for details.
Directly on the roof:
1. Drill three 5 mm holes in the roof of the
vehicle.
2. Mount the antenna using M5 bolts and
spacers of min. 10 mm height.
See the installation manual for details.
Roof rail
Roof of
the vehicle

2
With magnetic mounts:
NOTE: Before using the magnetic mounts, first make sure the roof of the vehicle is made of
a magnetizable material! Also wipe the surface clean before mounting the antenna, to
improve the contact between the roof and the magnets and to avoid scratches in the
surface of the roof.
Use the Magnetic Mount kit from Cobham
SATCOM.
3. Mount the magnetic mounts on the 3
“legs” of the antenna according the
installation manual.
4. Place the antenna on the roof of your
vehicle.
Important! Cobham SATCOM (Thrane &
Thrane A/S) assumes no liability for any
damage caused by the antenna falling off
the vehicle or stressing the mounting
surface.
Insert the SIM card (provided by your Airtime Provider)
The SIM slot is located in the connector panel of the terminal.
1. Open the SIM cover.
2. Insert the SIM card into the SIM slot
with the chip side facing up. Press gently
until it clicks.
3. Slide the lock to secure the SIM card.
4. Close the SIM cover.

3
Mount the EXPLORER 727 Terminal
NOTE: This section does not apply to the 19” rack version of the terminal. The 19” rack
version of the terminal is described in the next section.
If you need support for your cables, mount
the Basic cable support on the terminal
before installing the terminal in the vehicle.
The Basic cable support is included in the
Accessories kit F/ Terminal, S-673738A.
Do as follows:
1. Remove the two rubber feet under the
terminal at the connector end.
2. Mount the cable support using the
screws from the Basic cable support kit.
(two M4 x 6 mm countersunk screws)
3. Mount the terminal with or without
cable support in your vehicle, using 4
screws through the mounting holes in
the corners of the terminal.
For further information, see the Installa-
tion manual for the EXPLORER 727.
Mount the EXPLORER 727 19” Rack Terminal
If you have the 19” Rack version of the EXPLORER 727, mount the terminal as follows:
1. Slide the terminal into a 1U space in a
19” rack.
2. Mount two screws in each side through
the holes in the front and fasten the
screws to the rack.
If you need support for your cables, mount
the Strain Relief Bracket on the terminal. The
Strain Relief Bracket is included in the
Accessories box Kit F/ FBB 19" rack,
S-673738A-00510.
To mount the strain relief bracket:
1. Remove the two screws in the connector
panel and fasten the strain relief bracket
to the terminal with the same two
screws.
For further information, see the Installation manual for the EXPLORER 727.

4
Connect the cables
1. Connect the cable(s), including the
antenna cable, to the relevant
connector(s) on the EXPLORER 727
terminal.
2. Fasten the cables to the cable support if
necessary.
The Phone/Fax connectors are not numbered on the terminal. For configuration, use the
numbering indicated on the drawing above.
NOTE: If you are going to use the front
power switch on the 19” rack version of the
terminal, you must connect the green and
orange wires from the power cable to the
terminal block on the rear of the terminal.
Switch on the EXPLORER 727 terminal
Tip the power switch in the connector panel.
The green power indicator in the LED
panel lights up.
On the 19” rack version of the terminal tip
the power switch in the front panel to switch
on the terminal.
NOTE: The power switch in the connector
panel must be on for the front switch to
work.
Phone/Fax 1 Phone/Fax 2

5
Enter the PIN
NOTE: The below procedure is only needed if the SIM card for your terminal requires a PIN.
You can enter the PIN from the IP Handset or from a computer with a browser accessing the
built-in web interface. For information on how to access the web interface, see Access the
EXPLORER 727 web interface on page 6.
To enter the PIN from the IP Handset, do as follows:
1. Connect the IP Handset to the terminal.
The IP Handset automatically starts up.
2. Select the BGAN menu.
3. If the PIN has not yet been entered in
the terminal, select ENTER PIN.
Note that this menu item is not
available if the PIN has already been
entered nor if the use of PIN is disabled.
If you are not sure, select
Status > PIN status from the BGAN
menu to see if the PIN has been
accepted.
4. Type in the Administrator name and
password for the terminal.
The default Administrator name is
admin and the default password is
1234
5. Type in the PIN and confirm with the
center key.
To enter the PIN from the web interface, do as follows:
1. Connect a PC to the terminal using the
LAN interface.
2. Start your Internet browser.
3. Enter the IP address of the terminal web
interface in the address field.
The default IP address is http://
192.168.0.1. If the PIN has not yet been
entered in the terminal, the web
interface will now prompt you for a PIN.
4. Type in the PIN and click OK.
The EXPLORER 727 terminal now starts to establish a connection to the BGAN network.
Connect to the BGAN network
After connecting the antenna to the terminal and starting up the EXPLORER 727 terminal,
the antenna starts searching for a BGAN satellite signal. When the PIN is entered, the
EXPLORER 727 terminal attempts to register on the BGAN network.
The Antenna indicator shows the status as follows: (for information on the other
indicators on the EXPLORER 727 terminal, see the User manual)
Indicator pattern Meaning
Green flashing The antenna is booting or performing a sky scan.
Green constant The antenna is tracking and is ready for use.
Orange constant Temporary malfunction – user action required.
Red constant Antenna error (see the User manual)

6
By default, the terminal automatically searches for the satellite with the best signal.
However, you can select a specific satellite to use when connecting to the BGAN network.
Do as follows:
1. Connect a computer and open your
browser.
2. Enter the web interface and select
SETTINGS > Satellite selection.
3. Select the satellite you want to use and
click Apply.
NOTE: If you select a specific satellite the
EXPLORER 727 terminal will only search for
the selected satellite. If you are outside
coverage of that satellite, the terminal will
not be able to register on the BGAN network.
When the EXPLORER 727 terminal is registered on the BGAN network and ready for use, the
Antenna indicator and the Terminal indicator in the LED panel on top of the EXPLORER 727
terminal both show steady green light.
NOTE: Avoid unintended use of bandwidth. When the terminal is ready, it automatically
activates the LAN interface. Be aware that if your computer uses automatic updates, it may
be transmitting on the BGAN network without your knowledge. You can change the behavior
of the LAN interface from the web interface, so that you have to activate the connection
manually next time you start up the terminal. For further information, see the User Manual.
Make an internet connection
To make an Internet connection, simply
connect the LAN cable between your
computer and one of the LAN connectors on
the terminal, and start up the EXPLORER 727
terminal as described in the beginning of this
document.
When the EXPLORER 727 terminal is ready,
the Antenna indicator and the Terminal
indicator in the LED panel on top of the
terminal light steady green. The LAN
connection is then established
automatically. You are now ready to browse
the Internet, check e-mails, send files etc.
For information on configuration, refer to the User Manual.
Access the EXPLORER 727 web interface
You can access the EXPLORER 727 using the web interface. The web interface is used for
configuration and daily use of the EXPLORER 727. To access the web interface, do as follows:
1. Connect a computer to the
EXPLORER 727.
2. Start your Internet browser.
3. Enter the local IP address of the terminal
(default 192.168.0.1) in the address bar.
7
The web interface now opens in your browser. For information on how to use the web
interface, see the user manual.
NOTE: To change the language of the web interface, select SETTINGS > Language and
select your language from the list.
Start and stop data connections
You can start and stop data connections using the IP Handset or the web interface.
Using IP Handset
You can start and stop data sessions with a connected IP Handset with the local number
0501 (master handset). Do as follows:
1. From the BGAN menu, select Connect.
2. Use the left/right keys to find the
network user group for the application
you want to start or stop.
3. Use the up/down keys to select the
connection you wish to start (Active) or
stop (Inactive).
4. Press Start to start a connection, or
press Stop to stop the connection.
NOTE: When running a Streaming session
you are charged for the time you are
connected. A started Streaming session will
stay active until you stop it.
Using web interface
You can also start or stop data sessions from the Dashboard of the terminal’s built-in web
interface. For information on how to access the terminal’s web interface, refer to Access the
EXPLORER 727 web interface in the previous page.
Note that Streaming profiles must first be defined and activated in the LAN window of the
web interface.
For further information, refer to the User Manual.
Make a voice call
To make a call from a phone connected to the EXPLORER 727 terminal, dial
00 <country code> <phone number> followed by #.
Example: To call Cobham SATCOM in Denmark: (+45 39558800), dial 00 45 39558800 #
NOTE: There are two audio qualities: Standard voice and 3.1 kHz Audio. To force the call to
use Standard voice, dial 1* before the number. To force the call to use 3.1 kHz Audio, dial 2*
before the number.

8
To make a call to a phone connected to the EXPLORER 727 terminal, dial +870 <mobile
number> (+ is the prefix to call out of the country you are located in).
NOTE: There are two voice numbers, one for 3.1 kHz Audio and one for Standard voice.
Make a local call
You can make local calls between phones connected to the same terminal.
To make a local call to an IP handset, dial the number of the IP handset (e.g. 0501) followed
by #.
To make a local call to an ISDN phone, dial 0401 or 0402 followed by #.
To make a local call to an analog phone, dial 0301 or 0302 followed by #.
For information on allocation of local numbers, refer to the User Manual.
Send a fax
To send a fax from the Phone/Fax interface of the terminal, dial
2* 00 <country code> <phone number> #
Example: Cobham SATCOM in Denmark: 2* 00 45 39558888 #
“2*” forces the connection to use 3.1 kHz Audio. The connection uses Standard Audio by
default.
When using the ISDN interface, dial 3* before the number to force the connection to use
UDI.
To send a fax to the terminal, dial +870 <3.1 kHz Audio mobile number>
Alternatively you can send a fax directly from your browser, using a “web fax” feature
provided by an electronic fax provider.
Make an IP handset connection
To connect an IP Handset, do as follows:
1. Start up the EXPLORER 727 terminal.
2. Connect the LAN cable between the IP
Handset cradle and one of the LAN/PoE
connectors on the terminal. The handset
starts up automatically.
3. If a PIN is required in order to access the
terminal, enter the PIN as described in
Enter the PIN on page 5. To see if a PIN
is required, select BGAN > PIN Status
in the IP Handset menu system.
When the top right corner of the display
shows you can make calls from the
handset.

Disclaimer
Any responsibility or liability for loss or damage in connection with the use of this product and the ac-
companying documentation is disclaimed by Thrane & Thrane A/S. The information in this manual is provided
for information purposes only, is subject to change without notice and may contain errors or inaccuracies.
Manuals issued by Thrane & Thrane A/S are periodically revised and updated. Anyone relying on this infor-
mation should acquire the most current version e.g. from www.cobham.com/satcom, Service and support, or
from the distributor. Thrane & Thrane A/S is not responsible for the content or accuracy of any translations or
reproductions, in whole or in part, of this manual from any other source. In the event of any discrepancies, the
English version shall be the governing text.
Thrane & Thrane A/S is trading as Cobham SATCOM.
Copyright © 2015 Thrane & Thrane A/S. All rights reserved.

98-126880-E
www.cobham.com/satcom
Other manuals for explorer 727
1
Table of contents
Other COBHAM Touch Terminal manuals

COBHAM
COBHAM EXPLORER 540 User manual

COBHAM
COBHAM Explorer 510 User manual

COBHAM
COBHAM EXPLORER 122 User manual

COBHAM
COBHAM EXPLORER 540 User manual

COBHAM
COBHAM Explorer 510 User manual

COBHAM
COBHAM SAILOR 6018 User manual

COBHAM
COBHAM SAILOR 4300 User manual

COBHAM
COBHAM EXPLORER 540 User manual

COBHAM
COBHAM EXPLORER 323 Guide

COBHAM
COBHAM Explorer 510 User manual