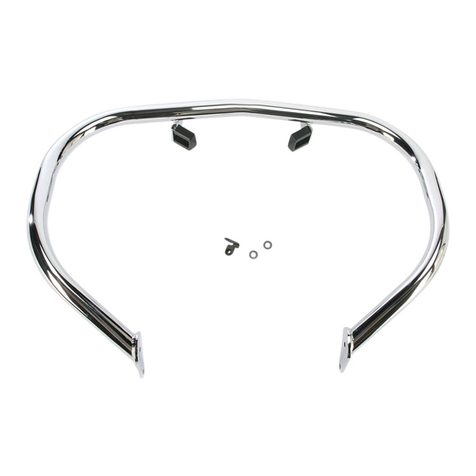
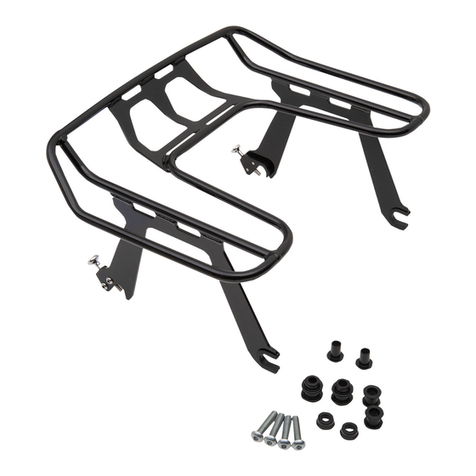
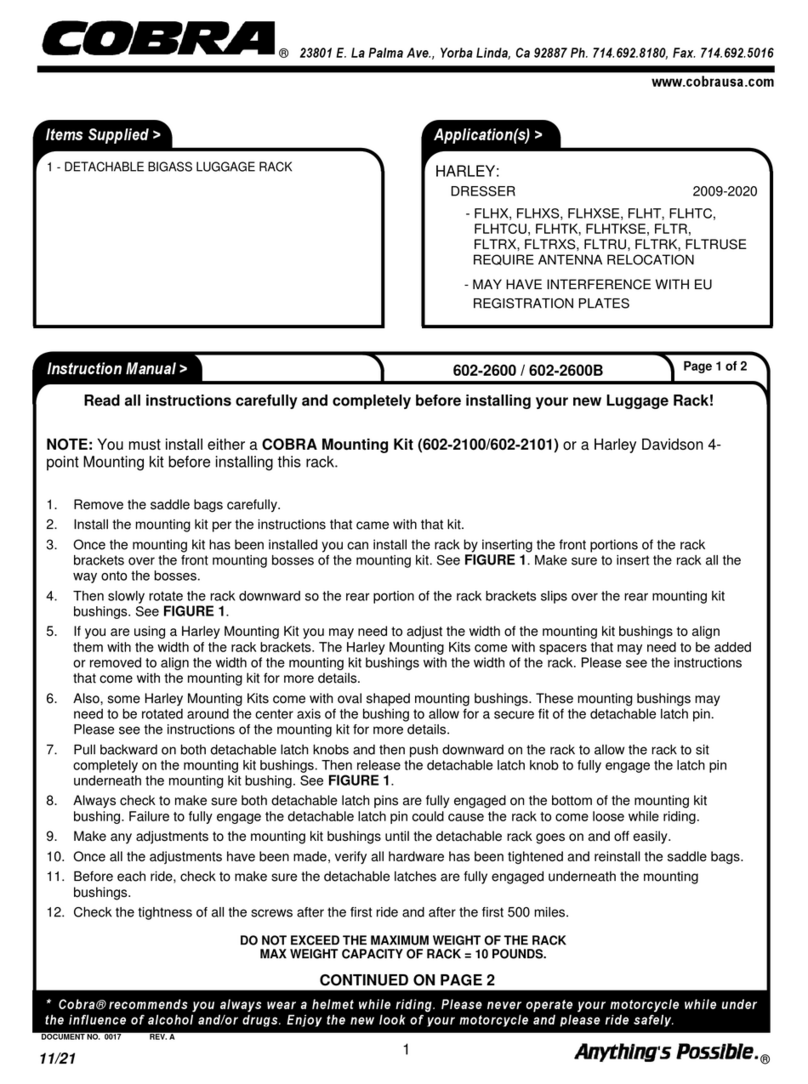
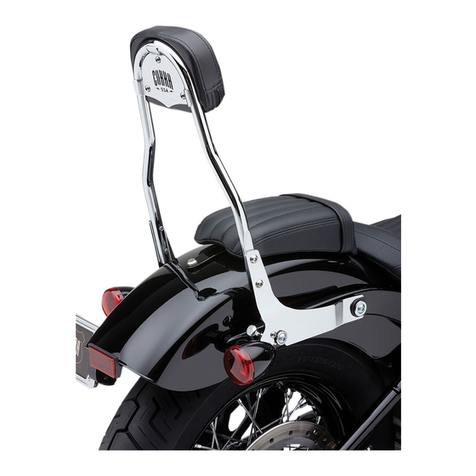
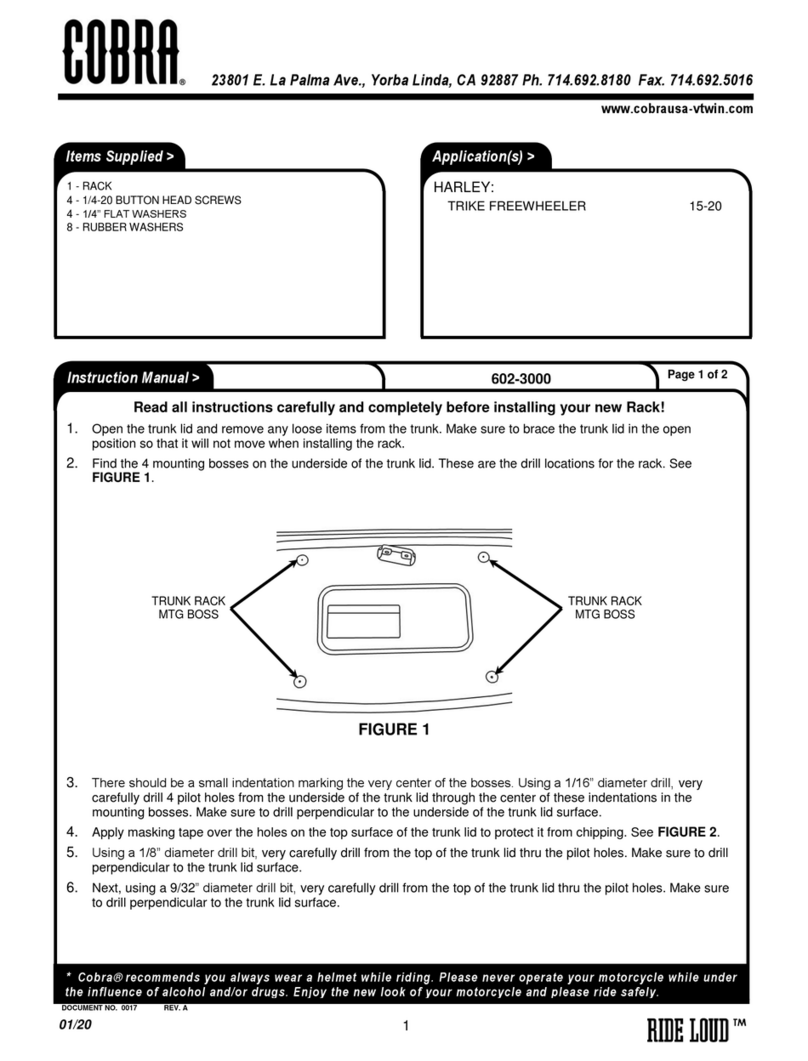
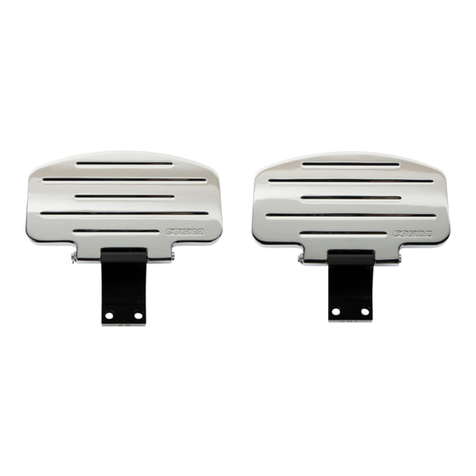
1 - Detachable Solo Chrome or Black Rack with
Latches
2 - 3/8” I.D. Front, Mount Bushing, Black
2 - 3/8” I.D. Rear, Outer/Inner/Plastic Bushing, Black
4 - 3/8”-16 x 3.0” Sockethead Screws Zinc
4 - 3/8” Flat Washers
Read all instructions carefully before installing your new Cobra®product!
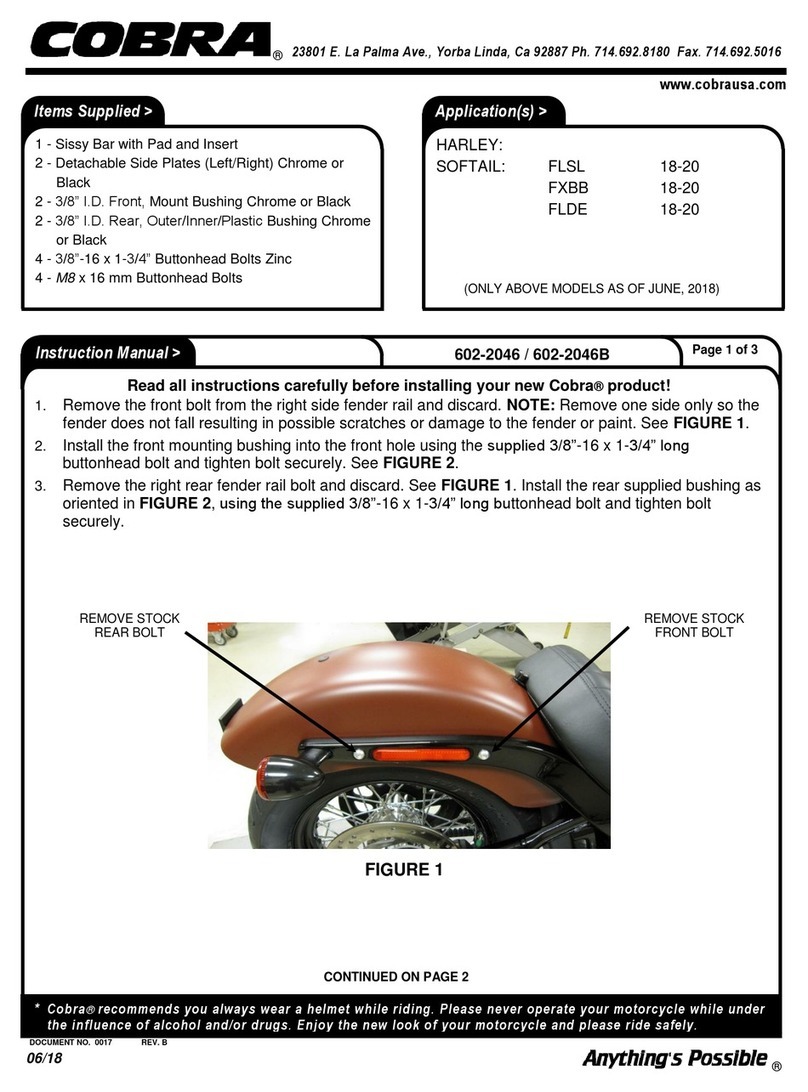
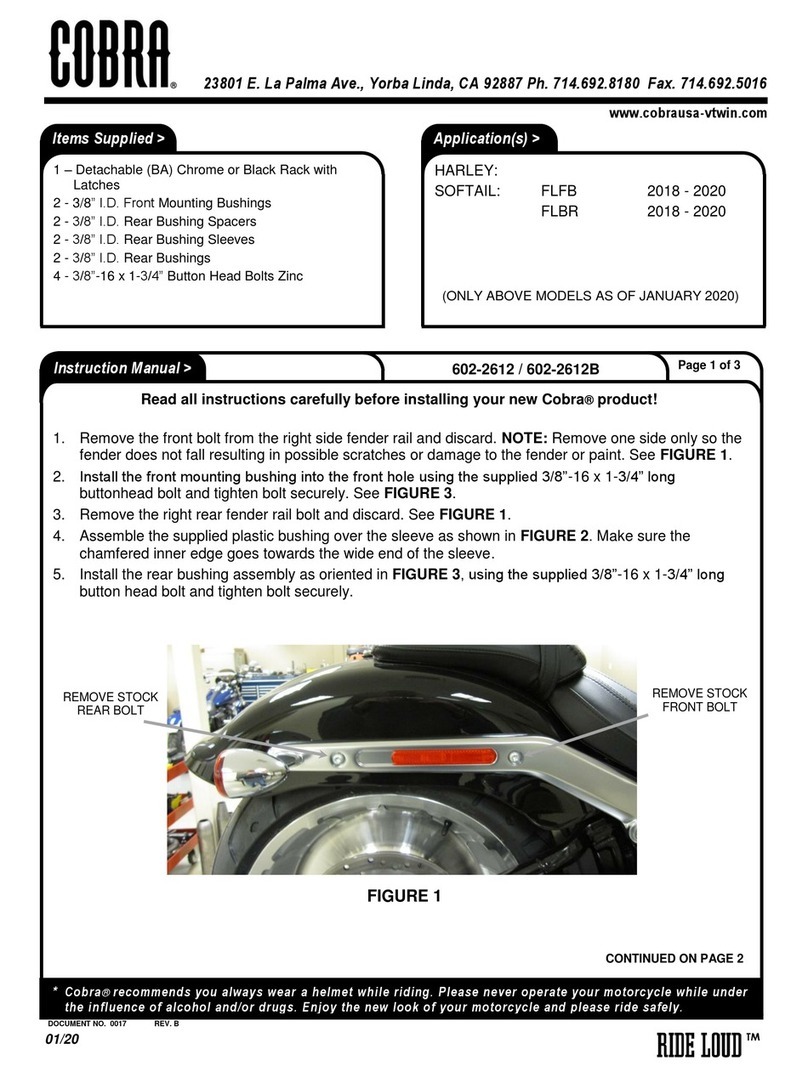
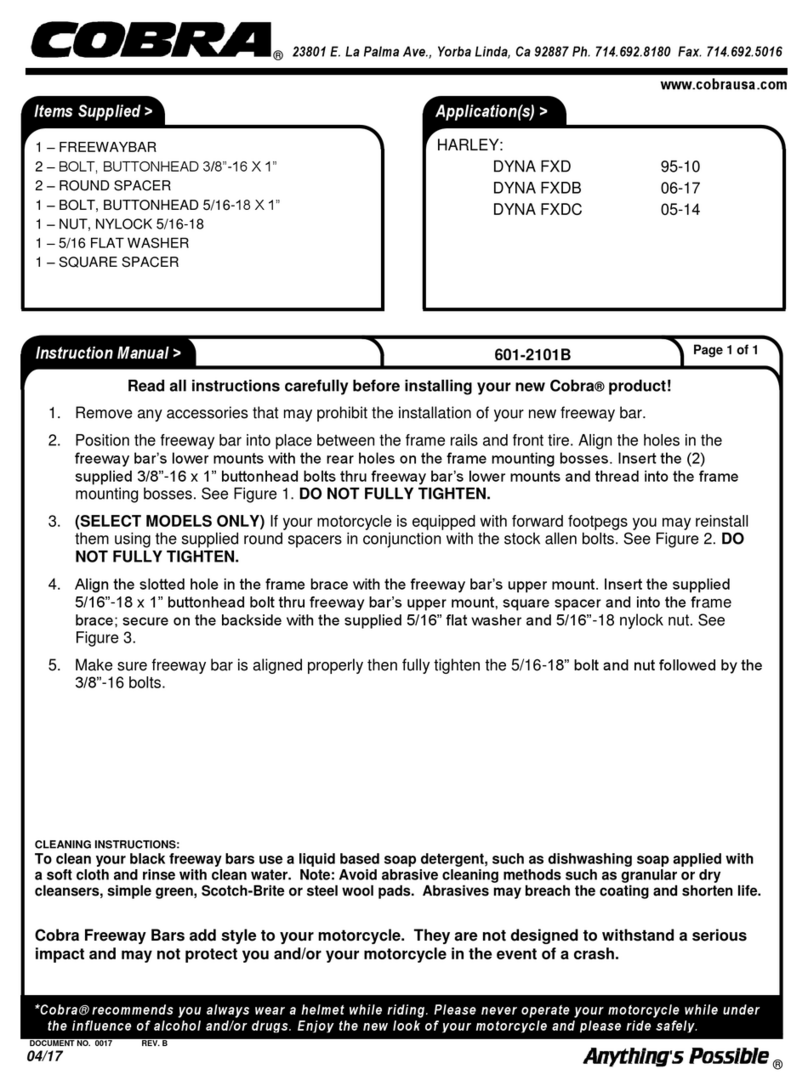
1. Prepare a large towel or moving blanket to set the removed saddlebags on. Start on the right side of
the motorcycle. Open the saddlebag lid, Figure 1. The screws and spacers are retained with the bag
by an o-ring on the inner-side of the spacer on the screw, when the screws are fully loose the bag will
be pulled off the motorcycle with the screws and spacers. Have an assistant hold the bag as you
loosen the front and rear screws retaining the saddlebag and spacers. Carefully pull the bag off the
front lower mount and set down on towel. NOTE: Remove only one set of screws right to left on the
motorcycle at a time so the saddlebags or fender do not fall resulting in possible scratches or damage
to the fender, exhaust, saddlebag or paint.
2. Remove the o-rings from the front and rear screws and remove the stock inner spacers (the one
closer to the fender rail), and stock bolts from the saddlebags. Insert (1) of the supplied 3/8-16 X 3.0"
screws through (1) supplied 3/8" washer, the front saddlebag mount hole and the supplied front
backrest bushing, see Figure 2. Insert (1) of the supplied 3/8-16 X 3.0" screws through (1) supplied
3/8" washer, the rear saddlebag mount hole and the supplied rear backrest bushing. Place sufficient
blue loctite on both screws. Do not install original o-rings. Reinstall the right bag carefully on to the
lower front mount and then thread in the new screws being sure the spacers are in place correctly and
centered in the fender rail. Snug the bolts but do not fully tighten at this time.

