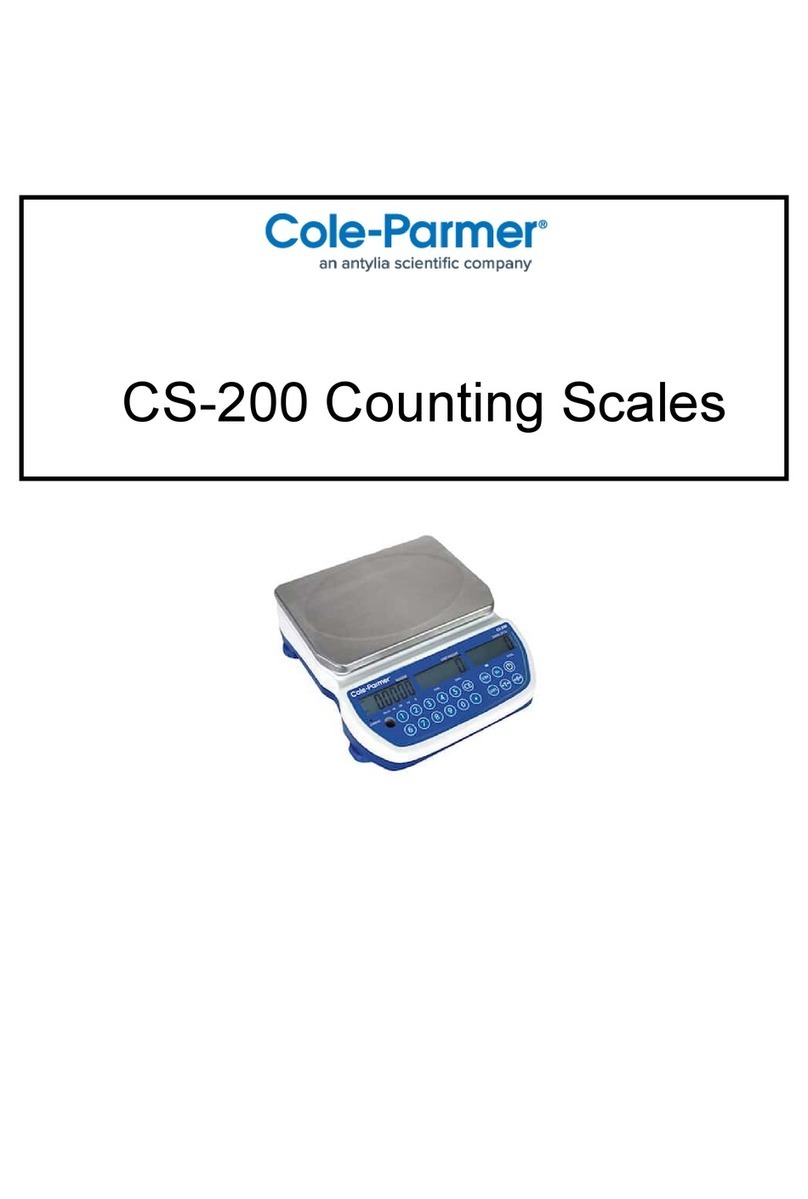
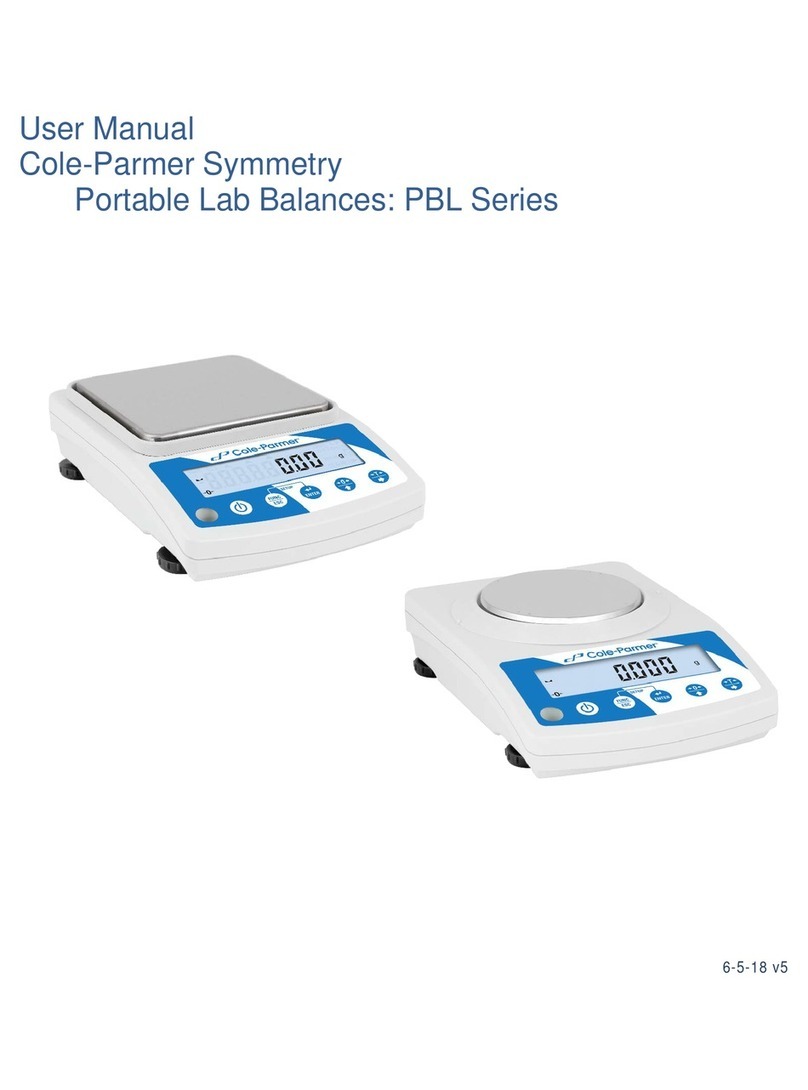
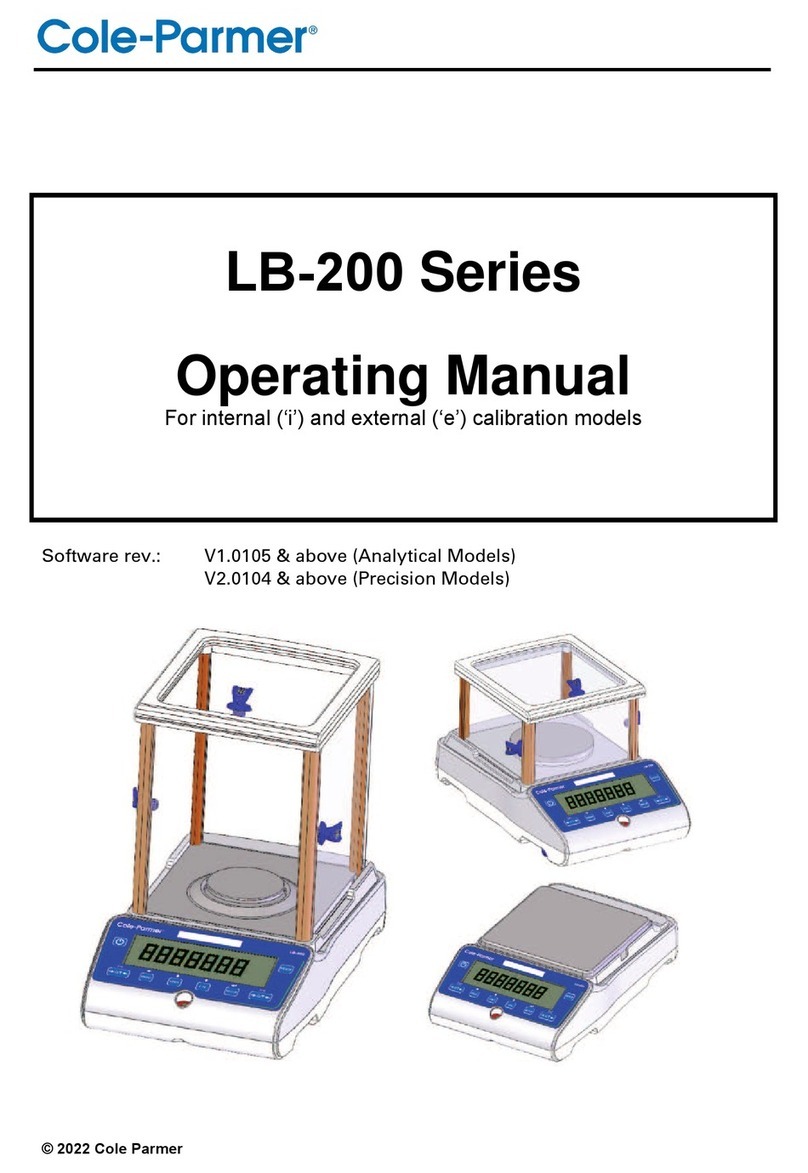
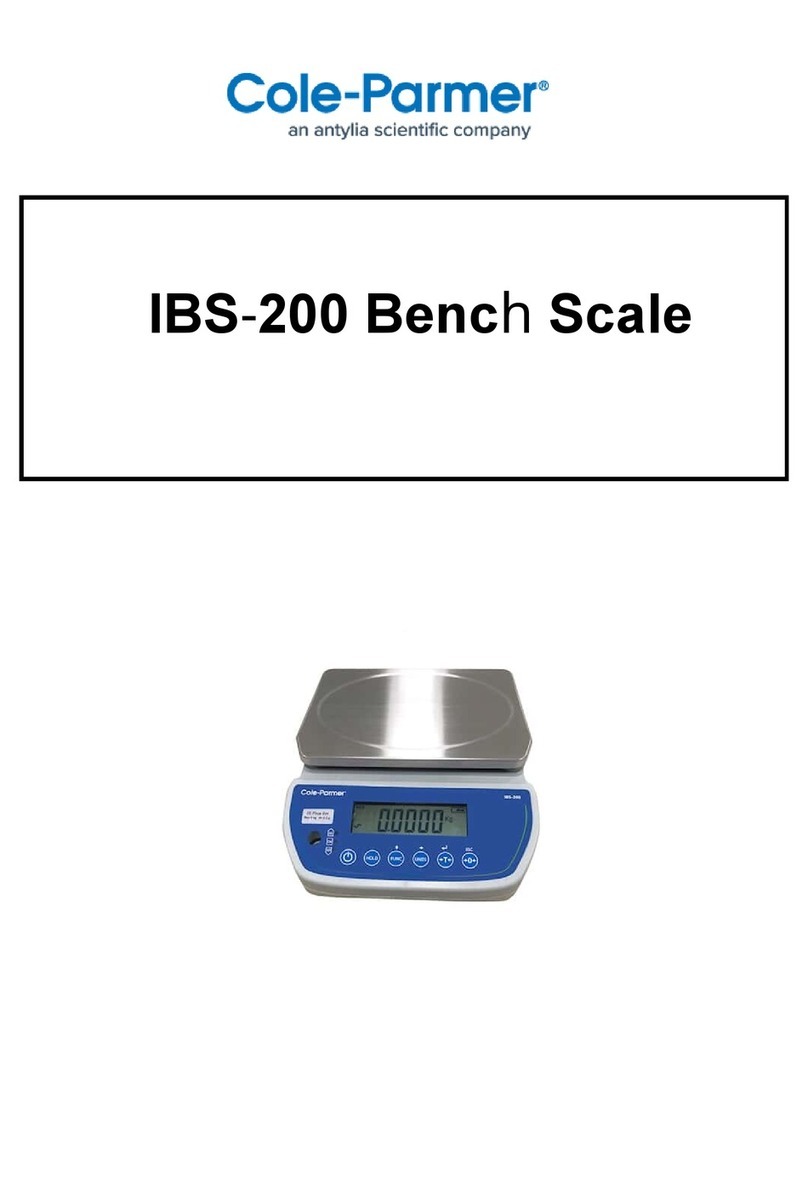
Cole Parmer IPSW-400 Series User manual

Washdown Scales
User Manual
3136613482 Rev. A July 2022
IPSW-400 Series


Page 1
CONTENTS
1.0 INTRODUCTION.........................................................................................................................................2
2.0 SPECIFICATIONS......................................................................................................................................3
3.0 INSTALLATION...........................................................................................................................................4
UNPACKING...........................................................................................................................................43.1 LOCATING..............................................................................................................................................43.2 SETTING UP THE SCALE .....................................................................................................................53.3
4.0 KEY DESCRIPTIONS.................................................................................................................................6
5.0 DISPLAY.....................................................................................................................................................7
6.0 OPERATION...............................................................................................................................................7
ZEROING THE DISPLAY .......................................................................................................................76.1 TARING...................................................................................................................................................86.2 WEIGHING A SAMPLE ..........................................................................................................................96.3 PARTS COUNTING................................................................................................................................9
6.4 CHECK-WEIGHING..............................................................................................................................106.5 ACCUMULATED TOTAL......................................................................................................................106.6 PERCENT WEIGHING.........................................................................................................................116.7 ANIMAL (DYNAMIC) WEIGHING.........................................................................................................126.8
7.0 USER PARAMETERS ..............................................................................................................................14
CHECK WEIGHING PARAMETERS....................................................................................................147.1 PERCENT WEIGHING and ANIMAL WEIGHING................................................................................157.2 RS-232 PARAMETERS........................................................................................................................157.3 SCALE PARAMETERS ........................................................................................................................167.4
8.0 BATTERY OPERATION...........................................................................................................................18
9.0 RS-232 INTERFACE ................................................................................................................................18
INPUT COMMANDS FORMAT.............................................................................................................219.1
10.0 RELAY INTERFACE.................................................................................................................................21
11.0 CALIBRATION..........................................................................................................................................22
12.0 SERVICE PARAMETERS ........................................................................................................................23
USING “1000” TO ENTER THE SERVICE PARAMETERS .................................................................2312.1 USING THE SERVICE PARAMETERS................................................................................................2412.2
13.0 ERROR CODES .......................................................................................................................................26
14.0 REPLACEMENT PARTS AND ACCESSORIES......................................................................................26
15.0 SERVICE INFORMATION........................................................................................................................27
16.0 WARRANTY INFORMATION ...................................................................................................................28

Page 2
1.0 INTRODUCTION
•IPSW scales provide accurate, fast and versatile general purpose type weighing
scales with parts counting, percentage weighing and check-weighing functions.
•IPSW scales have LED’s next to the display to indicate when a weight is below
the low limit, in between the limits or above the high limit. These can work in
conjunction with an audible alarm for check weighing as well as the display
showing LOW, OK and HI.
•IPSW scales can be supplied with an optional RS-232 bi-directional interface and
real time clock (RTC). In order to maintain the IP washdown rating this feature is
installed before leaving the factory.
•IPSW scales have a sealed keypad with color coded membrane switches, a large
easy to read liquid crystal display (LCD) and a green backlight.

Page 3
2.0 SPECIFICATIONS
Model #
Maximum Capacity
30lb/15kg
50lb/25kg
100lb/50kg
150lb/75kg
300lb/150kg
Readability
0.002lb/0.001kg
0.002lb/0.001kg
0.01lb/0.005kg
0.01lb/0.005kg
0.02lb/0.01kg
Repeatability (Std. Dev)
0.004lb/0.002kg
0.004lb/0.002kg
0.02lb/0.01kg
0.02lb/0.01kg
0.04lb/0.02kg
Linearity +
0.004lb/0.002kg
0.004lb/0.002kg
0.02lb/0.01kg
0.02lb/0.01kg
0.04lb/0.02kg
Pan size w x d
9.8"x9.8"/
250x250mm
11.8"x15.7"/
300x400mm
11.8"x15.7"/
300x400mm
15.7"x19.7"/
400x500mm
17.7"x23.6"/
450x600mm
Units of Measure
g, kg, lb, lb:oz, Newton, oz
IPSW-400-30 IPSW-400-50 IPSW-400-100 IPSW-400-150 IPSW-400-300

Page 4
3.0 INSTALLATION
UNPACKING3.1
The scale has already been adjusted to work with the platform and has been configured for
this application. The platform and indicator have been calibrated as a pair and must be used
together.
LOCATING3.2
The scale should not be placed in a location that will
reduce the accuracy.
Avoid extremes of temperature. Do not place in
direct sunlight or near air conditioning vents.
Avoid unsuitable tables. The table or floor must be
rigid and not vibrate.
Avoid unstable power sources. Do not use near
large users of electricity such as welding equipment
or large motors.
Do not place near vibrating machinery.
Avoid high humidity that might cause condensation.
Avoid direct contact with water. Do not spray or
immerse the scale in water.
Avoid air movement such as from fans or opening
doors. Do not place near open windows or air-
conditioning vents.
Keep the scale clean. Do not stack material on the
scale when it is not in use.

Page 5
SETTING UP THE SCALE3.3
Remove the Indicator from its box and fix it to the U shaped bracket using the
two fixing handles. Take the Indicator and place it onto the pillar ensuring the
slack cable is pushed inside. Fix the Indicator to the pillar using the screw
provided.
Remove all upper internal packaging, place the pillar into the base bracket
fitting and remove the complete machine from the box. Remove any plastic
bags that may have been used for protection.
Fix the pillar to the base bracket fitting using the screws provided
Adjust the viewing angle of the Indicator to the ideal position and tighten two
the locking handles.
Level the scale by adjusting the adjusting feet until the bubble is in the center of
the level indicator. If the scale rocks, re-adjust the feet.
NOTE: Use of a food-safe grease is recommended on the threaded part of
the feet to keep them turning freely.
Attach the power input connector to the indicator, plug in and turn on the
external power supply and press the [On/Off] key. The software revision
number will be displayed followed by a self-test showing all digits before the
zero is displayed along with the unit of weight that was last used.
Optional connections to RS232 port and relay wiring port should be made if
required.

Page 6
4.0 KEY DESCRIPTIONS
Used to reset the display to zero.
Tares the scale. Used to deduct and store the weight currently
on the scale if it is not required as part of the final weighing
result.
A secondary function, is of an “Enter” key used when
setting up a value for the Parameters.
Selects parts counting. Used to set the sample quantities while
parts counting.
A secondary function, is of incrementing the active digit when
setting a value for Parameters.
Selects the weighing unit to be displayed from those which are
enabled. See parameter S1 in section 7.4 of this manual.
A secondary function, is to move the active/flashing digit to
the left when setting values for Parameters.
Selects the Function parameters of the scale.
A secondary function (C) is to act as a clear key when clearing
an accumulated total.
Sends the results to a PC or a Printer using the RS-232
interface. It also adds the value to the accumulation memory if
the accumulation function is not automatic.
A secondary function (ESC) is to return to normal operation
when the scale is in a Parameter setting mode.
To switch the Indicator on or off.
The scale will store the weighing unit and the check weighing
values currently in use if power is powered off. These will be re
called when the Indicator is next powered on

Page 7
5.0 DISPLAY
The LCD display will show a value as well as the unit currently being used. In addition the
LED’s above the display will show when a weight is below, inside or above the check-
weighing limits.
Other symbols will show when a weight has been tared (NET), the scale is at zero and
stable, if a value has been stored in memory, or when the animal weighing function has been
enabled. A battery bar symbol will show the state of charge of the internal battery.
6.0 OPERATION
ZEROING THE DISPLAY
6.1
You can press the [0/T]key at any time to set the display to zero. This will
usually be when the platform is empty. When the zero point is obtained the
display will show an indicator for zero.
The scale has an automatic re-zeroing function to account for minor drifting or
accumulation of material on the platform. However you may need to press the
[0/T]key to re zero the scale if small amounts of weight are shown when
the platform is empty.

Page 8
TARING6.2
Zero the scale by pressing the [0/T]key if necessary. The “ZERO”
indicator will be ON.
Place a container on the platform and a value for its weight will be displayed.
Press the [0/T]key to tare the scale. The weight is deducted and stored as
the tare value leaving zero on the display. The “NET”indicator will be ON and
as a product is added only the net weight of the product will be shown. The
scale could be tared a second time if another type of product was to be added
to the first one. Again only the weight that is added after taring will be
displayed.
NOTE: The “NET” indicator will only be ON when the tare weight exceeds
4% (+/- 2 weighing divisions) of the scale capacity.
When the container is removed a negative value will be shown. If the scale was
tared just before removing the container this value is the gross weight which
includes the container and the entire product it contains. The “ZERO”indicator
will be on to indicate that the platform is back to the same condition as it was
when zero was last set.
To delete a Tare value, press [0/T] when the pan is empty.

Page 9
WEIGHING ASAMPLE6.3
To determine the weight of a sample, first tare the empty container if it is to be used and then
place the sample in the container. The display will show the net weight of the sample and the
unit of weight currently in use.
PARTS COUNTING6.4
If parts counting is enabled, it is possible to count parts using a sample of the parts to
determine average piece weight.
Before starting, tare the weight of any container that may be used, leaving the
empty container on the scale. Place a known number of samples in the
container, if used. The number should match the options for parts counting, i.e.,
10, 20, 50, 100 or 200 pieces.
When the scale is showing weight, pressing the [Pcs/]key will start the parts
counting function.
The scale will show “P 10” asking for a sample size of 10 parts. Change the
sample size to the desired quantity by pressing the [Pcs/]key. It will cycle
through the options: 10, 20, 50, 100, 200 and back to 10.
Press the [0/T]key again when the number matches the number of parts
used as the sample. As more weight is added the display will show the number
of parts (Pcs).

Page 10
Pressing the [Unit/]key will display the net weight (pcs and kg), pressing it
second time will display the unit weight (g/pcs) and the third time, it will be the
count again (pcs).
Press the [Pcs/]key to return to normal weighing. Press the [Pcs/]key again
to start counting a different sample.
CHECK-WEIGHING6.5
Check-weighing is a procedure to cause lamps to come on (and if enabled, an alarm to
sound) when the weight on the scale meets or exceeds values stored in memory. The
memory holds the last values for a high and a low limit when the power is turned off. The
user can set either one limit or both as described in section 7.1. The limits can be set when
the scale is in weighing or parts counting modes. After limits have been set the Check-
weighing function is enabled.
When a weight is placed on the scale the LED’s above the display will show if the weight is
above or below the limits and the beeper will sound as described below, if the beeper is
enabled (see section 7.1).
The relay outputs are open collector drivers to control an external relay. The relays will be
active when the corresponding LED is on during check-weighing. The ZERO relay output will
be on when the scale is showing the display is at Zero.
ACCUMULATED TOTAL6.6
The scale can be set to accumulate manually by pressing the [Print/M+/Esc]
key or automatically when a weight is removed from the scale. See Section 7.3
for details of setting the Parameter “C3 PRM” and “C4 Aon”. The accumulation
function is available when weighing or when counting parts. However the
memory is cleared if the weighing units or functions are changed.
When the weight (or count) displayed is stored in memory the display will show
“ACC 1” and then the total in memory for 2 seconds before returning to weighing.
The RS-232 interface will output to a printer or PC.
Remove the weight, allowing the scale to return to zero and put a second
weight on. When this value is stored, the display will show “ACC 2”, then the
new total and finally the value of the second weight. Repeat as necessary to
add all the values needed to the memory.
To view the total in memory press the [Print/M+/Esc] key when there is no
weight on the scale. The display will show the number of entries and the total.
To clear the memory (set the value to zero) press the [Func/C] key during the
time the totals are being displayed.

Page 11
PERCENT WEIGHING6.7
The scale can be set to perform percent weighing. See Section 7.2.
The scale will use a mass on the platform as the 100% reference weight. If the platform is
empty (or the scale is tared) then the user can input a reference weight using the keypad.
NOTE: The weight value entered as 100% must be greater than 50 scale divisions. The
display may jump by large numbers unexpectedly if small weights are used to set
as 100% reference. The scale checks if the weight is too small and will show Error
7
Press [Func/C]. The first option is “FunC 1”. press the [Func/C] key again display “FunC
2”.
Press the [0/T]key. “P1 PCt” will be displayed.
Press [0/T]again to enter percent weighing. The scale will set the sample mass
on the platform as 100% reference weight.
Remove the sample weight. Then any other weight placed on the scale will be
displayed as a percentage of the original sample. For example, if 3500g is placed on
the scale and percent weighing is selected, the display will show 100.0%. Remove the
3500g weight and place a 3000g weight. The display will show 85.7% as 3000g is
85.7% of 3500g.
The number of decimal points will depend on the weight used in comparison to the
capacity of the system. A smaller weight will show only “100%” while a larger weight
might show “100.00%”.
If the scale was showing zero weight when entering this function, then the user must
manually enter the weight to be set as 100% as described below.

Page 12
Press the [0/T]key. “P1 PCt” will be displayed.
Press [0/T]again to enter percent weighing. The scale will now accept a value
the user enters as the reference weight.
Enter the value using the [Unit/] key and [Pcs/]key to select and set the value of
the 100% mass.
When set, press the [0/T]key to store the value. The display will show “0.00 %”.
Press [Unit/] to return to weighing.
ANIMAL (DYNAMIC) WEIGHING6.8
The scale can be set to animal (dynamic) weighing for weighing any items that are unstable
or may move. See Section 7.4.
The scale will use a special filter to minimize the effects of any movement while the moving
animal or unstable samples are on the scale.
Press [Func/C]. The first option is “FunC 1”, press the [Func/C] key again to display
“Func 2”.
Press the [0/T] key. “F1 PCt” will be displayed. Press the [Pcs/] key to advance
to the second function, “P2 Ani”, Animal weighing.
Press [0/T] to enter animal weighing. The scale will change to animal weighing
and allow weighing of an unstable animal or sample on the platform.
To use the Animal Weighing function it is necessary to set the amount of filtering
required for the item to be weighed. The display will show “Flt x” where xis a value
from 1 to 5. The higher the value the greater the amount of filter will be. More active
animals will require a higher level of filtering to give a stable result. To increment the
value shown, press the [Pcs/] key then press the [0/T]key to accept it.
The display will flash “Ani “ 2 times then show the current weight, 0.00. and the
Animal/Dynamic weighing symbol will appear. The scale is now ready to
weigh.

Page 13
ANIMAL WEIGHING PROCEDURE6.8.1
With the platform empty the display will show zero weight. Place containers or
blankets onto the platform and press the [0/T] key to zero the display. The scale
may go into the animal (dynamic) weighing procedure when the items are placed on
the scale but will return to showing zero when the [0/T] key is pressed.
Place the animal or sample to be weighed on the platform.
The display will show the Animal/Dynamic weighing symbol while a stable weight
is determined. The time it takes for the stable value will depend upon the setting of the
filter parameter in the first step.
When a stable reading is found, the display will show this value, and the display will
be locked until the [0/T]key is pressed. The display will show the “Hold” symbol
while the display is locked.
To weigh a second subject press the [0/T]key if necessary to zero the display,
and place the next animal on the scale. The scale will detect the new weight and hold
it as before.
The scale will remain in the animal weighing mode until the [Unit/] key is pressed.
Then it will return to normal weighing.

Page 14
7.0 USER PARAMETERS
Pressing the [Func/C] key during normal operation allows the user to access the parameters
for customizing the scale. The parameters are split into 4 groups:-
1. Check weighing parameters,
2. Percent and Animal Weighing Functions
3. RS-232 parameters
4. Scale parameters
When [Func/C] key is pressed, the display will first show“FunC 1” for Check weighing
parameters.
Press either the [Func/C] key or the [Pcs/] to advance through the groups “FunC 1”,
“FunC 2” , “FunC 3” and “FunC 4”. When the required function is displayed, press
[0/T] to enter the sub-menu for setting desired parameters for this function.
When in one of the sections press [Print/M+/Esc] to regress one step each time. If
you press [Print/M+/Esc] repeatedly, you will exit the User Parameter section and
return to normal weighing.
CHECK WEIGHING PARAMETERS7.1
See section 6.5 for details of using this special weighing mode.
This group of parameters-
-Set low and high limits for check-weighing
-Enables or disables the check weighing alarm
-Enables or disables the negative check weighing
Press the [Func/C] key, then [0/T], to access the “FunC 1” settingsgroup “F1 Lo”
parameter.
Press [0/T]to enter the settings sub-menu and then use the [Unit/] key and
[Pcs/]key to select and change the required weight values for the low limit.
Press [0/T] to confirm the selection and return to “F1 Lo”. Advance to the next
parameter “F2 Hi” by pressing the [Pcs/]key and then [0/T] to enter the settings
sub-menu. Repeat the above steps to set values for “F3 bEP” and “F4 nCt”
Parameter
Description
Options
Default
setting
F1 Lo
Set Low limit.
Use the [Unit/] key and
[Pcs/]key to set the
values of the lower limit.
When set press the
[0/T]key to store the
value and go to F2 Hi
000000
F2 Hi
Set High limit.
Use the [Unit/] key and
[Pcs/]key to set the
values of the high limit.
When set press the
[0/T]key to store the
value and go to F3 bEP
0000000

Page 15
F3 bEP
This parameter sets the
Beeper to off or on. If set to on,
the beeper can further be set
to sound when the weighing
result is within or outside the
check-weighing limits.
bP oFF - Off
bP inL - Within limits
bP otL - Outside limits
(>20d)
bP inL
F4 nCK
This parameter enables
negative check weighing
function with ability to do
negative tare.
on
oFF
on
PERCENT WEIGHING AND ANIMAL WEIGHING7.2
See section 6.7 and 6.8 for details of using these special weighing modes.
Press [0/T]to enter a parameter. Use the [Unit/] key and [Pcs/]key to set
the values or just the [Pcs/]key to select the options.
Press [0/T] to confirm the change and then advance to the next parameter by
pressing the [Pcs/]key.
Press [Print/M+/Esc] to return to the group “FUnC 2”. If you press [Print/M+/Esc]
again, the scale will exit the User Parameter section and return to weighing.
Parameter
Description
Options
Default
setting
P1 PCt
This parameter allows the user
to enter the Percent weighing
Function. See Section 6.7.
None
Enabled
always
P2 Ani
Enter the Animal Weighing
mode of operation, See section
6.8
Set the filter value.
Enabled
Always
RS-232 PARAMETERS7.3
Press [0/T]to enter a parameter. Use the [Unit/] key and [Pcs/]key to set
the values or just the [Pcs/]key to select the options.
Press [0/T] to confirm the change and then advance to the next parameter by
pressing the [Pcs/]key.
Press [Print/M+/Esc] to return to the group “FUnC 3”. If you press [Print/M+/Esc]
again, the scale will exit the User Parameter section and return to weighing.
This group of parameters can be configured by the user for setting the RS-232 active or not,
baud rate, printing mode, accumulation mode, RS-232 language, and user or scale ID
numbers.
Parameter
Description
Options
Default Values or
setting
C1 on
Enable or disable the
RS-232 interface
Prt on
Prt oFF
Prt on

Page 16
C2 bd
Baud Rate
600
1200
2400
4800
9600
19200
9600
C3 PrM
Printing Mode- Manual,
Continuous or
Automatic
mAn,
Cont
AUto
mAn
C4 Aon
Enable or disable the
Accumulation
AC on
AC oFF
AC on
C5 Ln
Select Language
EnGLi (English)
FrEnCH (French)
GErmAn (German)
SPAn (Spanish)
EnGLi
C6 UId
Set User ID
To be entered manually
000000
C7 Sid
Set Scale ID
To be entered manually
000000
Scale will perform the following, depending on the Accumulation and Print Settings:
ACCUMULATION
SETTINGS
PRINT SETTINGS
AC on
AC Off
AUto
Accumulate and print
automatically
Print automatically,
Do not accumulate
mAn
Accumulate and Print only
when [Print/M+/Esc] key
pressed. If [Print/M+/Esc]
is pressed a second time
only print the weight.
Print when [Print/M+/Esc] key is
pressed,
Do not accumulate.
Cont
Print continuously.
Accumulate when
[Print/M+/Esc] key is
pressed
Print continuously.
Do not accumulate.
SCALE PARAMETERS7.4
Press [0/T]to view the list of parameters.
Press [0/T]to enter a parameter. Use the [Unit/] key and [Pcs/]key to set
the values or just the [Pcs/]key to select the options.
Press [0/T]to confirm the change and then advance to the next parameter by
pressing the [Pcs/]key.
Press [Print/M+/Esc] to return to the group “FUnC 4”. If you press [Print/M+/Esc]
again, the scale will exit the User Parameter section and return to normal weighing.
This manual suits for next models
5
Table of contents
Other Cole Parmer Scale manuals

Cole Parmer
Cole Parmer TA-225.C User manual

Cole Parmer
Cole Parmer Balance LA Series User guide

Cole Parmer
Cole Parmer TA-225.C User guide

Cole Parmer
Cole Parmer IPSW Series User manual

Cole Parmer
Cole Parmer PBL-602 User manual

Cole Parmer
Cole Parmer CS-200 User manual

Cole Parmer
Cole Parmer MB-800 Series User manual

Cole Parmer
Cole Parmer B2 Series User guide

Cole Parmer
Cole Parmer LB-200 Series User manual

Cole Parmer
Cole Parmer IBS-200 User manual