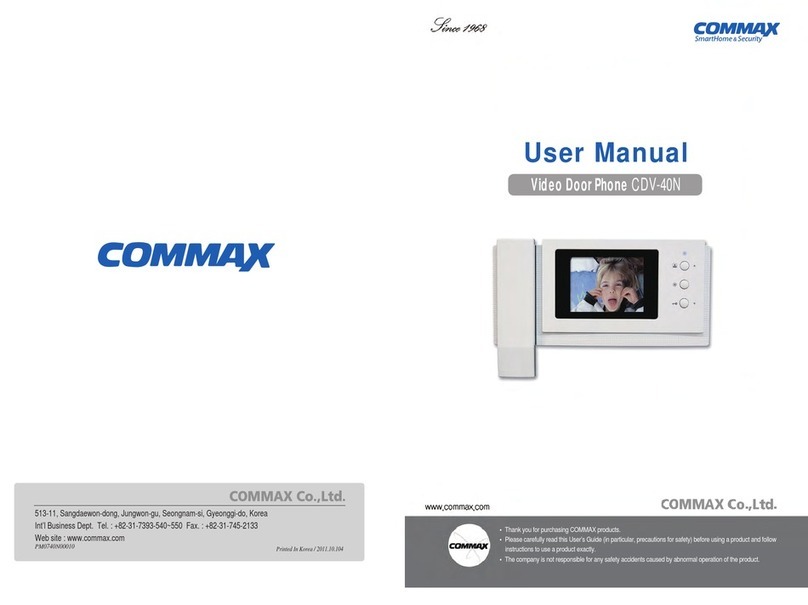
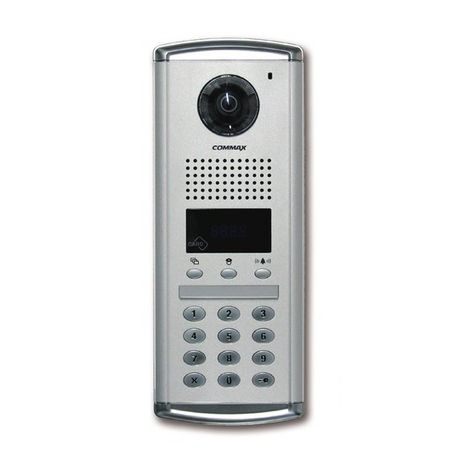
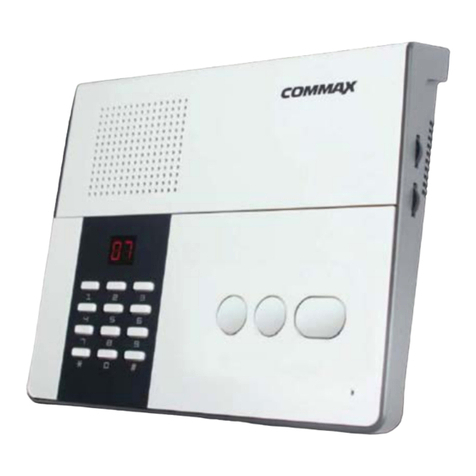
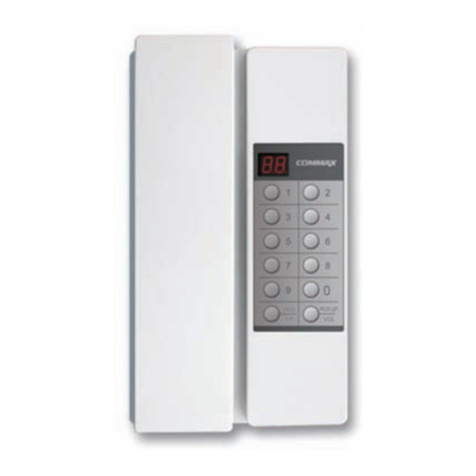
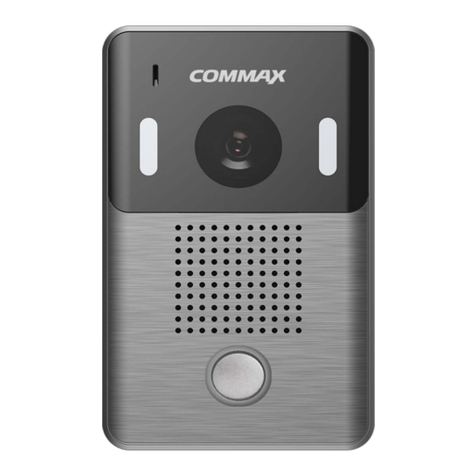
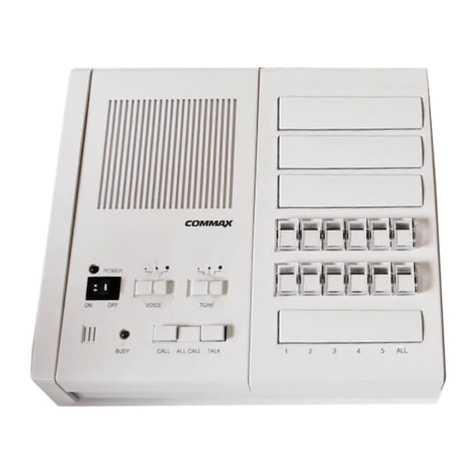
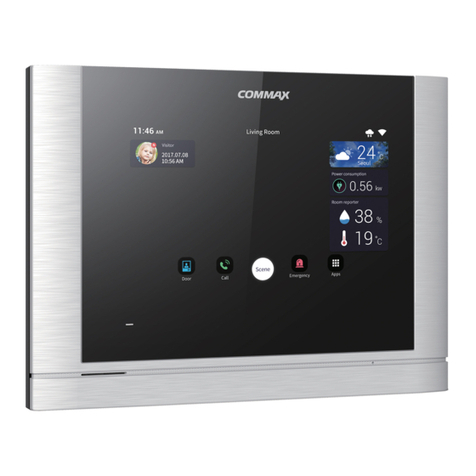
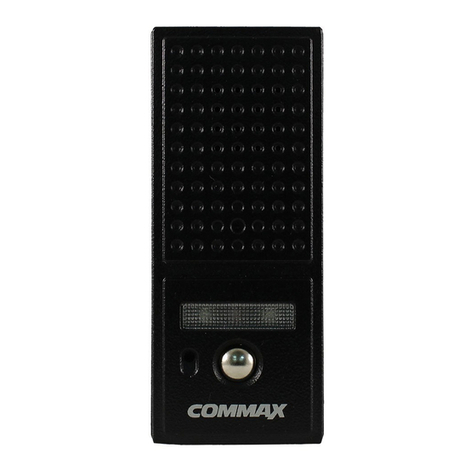
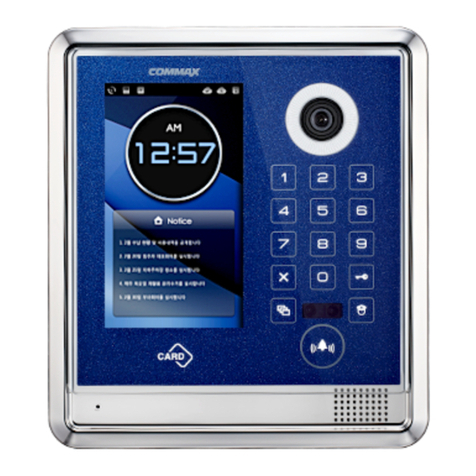
Commax CIP-710M User manual

Printed In Korea / 2016.06.104
513-11, Sangdaewon-dong, Jungwon-gu, Seongnam-si, Gyeonggi-do, Korea
Int’l Business Dept. Tel. : +82-31-7393-540~550 Fax. : +82-31-745-2133
Web site : www.commax.com
PM0770N00010
•Thank you for purchasing COMMAX products.
•Please carefully read this User’s Guide (in particular, precautions for safety) before using a product and follow
instructions to use a product exactly.
•The company is not responsible for any safety accidents caused by abnormal operation of the product.
513-11, Sangdaewon-dong, Jungwon-gu, Seongnam-si, Gyeonggi-do, Korea
Int’l Business Dept. Tel. : +82-31-7393-540~550 Fax. : +82-31-745-2133
Web site : www.commax.com
•Thank you for purchasing COMMAX products.
•Please carefully read this User’s Guide (in particular, precautions for safety) before using a product and follow
instructions to use a product exactly.
•The company is not responsible for any safety accidents caused by abnormal operation of the product.
CIP-710M
User Manual
Printed In Korea / 2016.08.104
513-11, Sangdaewon-dong, Jungwon-gu, Seongnam-si, Gyeonggi-do, Korea
Int’l Business Dept. Tel. : +82-31-7393-540~550 Fax. : +82-31-745-2133
Web site : www.commax.com
PM**
•Thank you for purchasing COMMAX products.
•Please carefully read this User’s Guide (in particular, precautions for safety) before using a product and follow
instructions to use a product exactly.
•The company is not responsible for any safety accidents caused by abnormal operation of the product.
513-11, Sangdaewon-dong, Jungwon-gu, Seongnam-si, Gyeonggi-do, Korea
Int’l Business Dept. Tel. : +82-31-7393-540~550 Fax. : +82-31-745-2133
Web site : www.commax.com
•Thank you for purchasing COMMAX products.
•Please carefully read this User’s Guide (in particular, precautions for safety) before using a product and follow
instructions to use a product exactly.
•The company is not responsible for any safety accidents caused by abnormal operation of the product.
Fineview Video Phone CDV-70N
User Manual

Table of Contents
PB 1
Warnings and cautions ······························································································2
1. Start ················································································································· 4
1.1. Product name(CIP-710M) ················································································· 4
2. Home Screen ······································································································ 5
2.1. Home screen ································································································· 5
3. Application ········································································································· 6
3.1. Monitoring ···································································································· 6
3.1.1. Monitor and call Door camera ········································································· 7
3.1.2. Open door ································································································· 8
3.1.3. Save visitor pictures ····················································································· 8
3.1.4. Save visitor video clips ················································································· 8
3.1.5. Set Monitor screen ······················································································ 8
3.1.6. Adjust volume ···························································································· 9
3.1.7. Answer call from Door/Lobby ······································································· 10
3.2 Call ··········································································································· 11
3.2.1 Call between monitors ················································································· 12
3.2.2 Answer calls between monitors ······································································ 12
3.2.3 Call Guard/Management offic ······································································· 13
3.2.4 Answer the call from Guard/Management offic ·················································· 13
3.3 Call log ······································································································· 13
3.3.1 Check and delete call logs ············································································ 13
3.4 Check visitors ······························································································· 14
3.4.1 Check pictures and Video clips saved ······························································ 14
3.4.2 Delete pictures saved ·················································································· 15
3.5 Away mode ·································································································· 16
3.5.1 Away mode ······························································································ 16
3.5.2 Dismiss away mode ···················································································· 17
3.6 Set Security ································································································· 17
3.6.1 Set security ······························································································ 17
3.6.2 Dismiss security ························································································· 18
3.7 Call elevator ································································································· 18
3.7.1 Call elevator ····························································································· 18
3.8 Emergency ·································································································· 18
3.8.1 Emergency mode ······················································································· 18
3.8.2 Pause emergency mode ··············································································· 19
4. Settings ··········································································································· 20
4.1 Connection ·································································································· 20
4.1.1 Set Connection ·························································································· 20
4.1.2 Set Elevator Call server ················································································ 21
4.2 Set sound···································································································· 21
4.2.1 Volume ···································································································· 21
4.2.2 Touch sound····························································································· 21
4.2.3 Ringtone ·································································································· 22
4.3 Set Storage space ························································································· 22
4.3.1 Format SD card ························································································· 22
4.3.2 Delete fil ································································································ 23
4.4 Date/Time ··································································································· 23
4.4.1 Auto set of Date/Time ················································································· 23
4.4.2 Auto set of Date/Time ················································································· 23
4.4.3 Set home screen time display ········································································ 24
4.5 Screen setting ······························································································ 24
4.5.1 Set entry time of wait screen ········································································· 24
4.5.2 Set screen panel cleaning mode····································································· 25
4.6. Others ······································································································· 25
4.6.1 Set language ···························································································· 25
4.6.2 Set door open ··························································································· 25
4.6.3 Set password ···························································································· 26
4.6.4 Set Lobby password ··················································································· 26
4.6.5 Initialize user data ······················································································ 27
4.6.6 Check version information ············································································ 27
5. Appendix ·········································································································· 28
5.1 Installation ··································································································· 28
5.2 Wiring Diagram ····························································································· 28
Caution··········································································································· 28
5.3 Components ································································································ 29
6. Specificatio ····································································································· 30
Warnings and cautions
Please follow the things described below in order to prevent any
danger or property damage.
Warning
Caution
Prohibition.
No disassembly
No touch
Must follow strictly.
Shows plugging out the power cord
without an exception
Shows the warning and caution for an electric shock.
Shows the warning and caution for a fire.
It may cause a serious damage or
injury if violated.
It may cause a minor damage or
injury if violated.
Power & Installation
Warning
Please don’t use several
products at the same time on
one power socket.
·It may cause a fire due to an
abnormal overheating.
Please don’t bend the power
cable excessively or it may
cause an electric shock.
·fire when using a damaged
power cable.
Please don’t handle the power
cable with a wet hand.
·It may cause an electric
shock.
Please plug out the power
cable from the socket when
not using it for a long period
of time.
·It may shorten the product
lifespan or cause a fire.
Please don’t install the
product in the place where
there is much oil, smoke or
humidity.
·It may cause an electric
shock or fire.
Please don’t install the
product with the lightening
and thunder.
·It may cause an electric
shock or fire.
Please don’tuse and connect
this product with other
products with different rated
voltage
·It may cause a disorder or
fire.
When installing the product
that generates heat, please
install the product away from
the wall (10cm) for the
ventilation.
·It may cause a fire due to
the increased internal
temperature.
2
2

Cleaning & Use
Please don’tdisassemble,
repair or rebuild this product
arbitrarily (please contact the
service center if a repair is
needed.
·It may cause an electric
shock or fire.
Please plug the power cable
firmly into the inner end
·It may cause a fire.
Please hold the plug tightly
when unplugging the power
cable (a part of the copper
wire may be disconnected if
the grabbing is only made on
the cord when pulling out the
cable).
·It may cause an electric
shock or fire
When connecting the power
cables after cutting the cable,
please install the product with
power off
·It may cause an electric
shock or fire
When installing the product,
please fix it firmly while using
the wall-mounting unit and
screws.
·It may cause an injury from
the falling object.
Please be careful when using
an AC circuit breaker since
there is a possibility of an
electric shock.
When cleaning the product,
please rub it with a soft and
dry cloth after plugging out
the power cable. (Please don’t
use any chemical products
such as wax, benzene, alcohol
or cleanser.)
Please don’t drop the product
on the ground and don’tapply
a shock .
·It may cause a failure.
Please use the designated
connection cable within the
maximum calling distance
designated for the product
·It may reduce the product
performance.
Please check the use voltage
and current for the DC-only
products and use the
appropriate rectifier.
·It may cause a fire.
Please avoid direct rays of the
sun or heating devices at a
time of installation.
·It may cause a fire.
Please don’t install the
product on an unstable place
or small support board.
·It may cause an injury if it
falls down while in use.
If an abnormal sound, burning
smell or smoke is coming out
of the product, please plug out
the power cable and contact a
service center.
·It may cause an electric
shock or fire.
Please don’t insert any
metallic or burnable materials
into the ventilation hole.
·It may cause an electric
shock or fire.
Please use only the designated
batteries for the products of
using DC power.
·It may cause an electric
shock or fire.
Cleaning & UsePower & Installation
Warning
Caution
3
Warnings and cautions
Please follow the things described below in order to prevent any
danger or property damage.
Warning
Caution
Prohibition.
No disassembly
No touch
Must follow strictly.
Shows plugging out the power cord
without an exception
Shows the warning and caution for an electric shock.
Shows the warning and caution for a fire.
It may cause a serious damage or
injury if violated.
It may cause a minor damage or
injury if violated.
Power & Installation
Warning
Please don’t use several
products at the same time on
one power socket.
·It may cause a fire due to an
abnormal overheating.
Please don’t bend the power
cable excessively or it may
cause an electric shock.
·fire when using a damaged
power cable.
Please don’t handle the power
cable with a wet hand.
·It may cause an electric
shock.
Please plug out the power
cable from the socket when
not using it for a long period
of time.
·It may shorten the product
lifespan or cause a fire.
Please don’t install the
product in the place where
there is much oil, smoke or
humidity.
·It may cause an electric
shock or fire.
Please don’t install the
product with the lightening
and thunder.
·It may cause an electric
shock or fire.
Please don’tuse and connect
this product with other
products with different rated
voltage
·It may cause a disorder or
fire.
When installing the product
that generates heat, please
install the product away from
the wall (10cm) for the
ventilation.
·It may cause a fire due to
the increased internal
temperature.
2
2 3

4
1. Start
1.1 Product name(CIP-710M)
ککۊډٻٻڟڟۀۀێھۍۄۋۏۄۊۉٻٻککۊډٻٻڟڟۀۀێھۍۄۋۏۄۊۉٻٻ
ڌٻ گڡگٻڧڞڟٻڨۊۉۄۏۊۍٻ ڑٻ ڨۄھۍۊٻڮڟٻڞڼۍڿٻێۇۊۏٻ
ڍٻ ڮۋۀڼۆۀۍٻ ڒٻ ګۊۍۏٻ
ڎٻ ګۊےۀۍٻڧڠڟٻ ړٻ ڧڜکٻ
ڏٻ ڨۄھٻ ڔٻ ګۊےۀۍٻھۊۉۉۀھۏۊۍڃڍګڄٻ
ڐٻ ګۊےۀۍٻڮےۄۏھۃٻ

4 5
2. Home Screen
2.1 Home screen
0Q 'NGOGPV &GUETKRVKQP
1 Date/Time button •Display the date and time.
2 Visitor
information
•Display visitor image and visit time (year, month, day, hour,
minute).
•[2-1] icon display when there is a new visitor entry.
•Move to visitor check list at Tap
•When returning to the home screen after checking the saved
image in the visitor confirmation list, the [2-1] icon is released.
3 Missed call
information
•Display the last 3 entries.
•Show [3-1] icon when there is a new visitor entry.
•Tap when call Æ Move to the call log screen.
•When returning to home screen after checking call log, [3-1] icon
is released.
4 Monitoring •Run monitoring of Door when Tap
5 Call •Run calling when Tap
6 Away •Move to the setting screen when going out.
7 Security •Move to security setting screen when tapping.
•[7-1] Displays the status of the crime prevention.
8 Call Elevator •Elevator call notification popup when Tap.

6
9 Emergency •Emergency procedure at Tap.
10 Settings •Move to the setting screen when Tap.
11 Mute button •The default is mute off.
•If mute is off, mute is turned on when tapping, and it is off when
tap again.
12 System status bar •Areas where icons of system-related status and information are
displayed
•Items to be displayed
- SD card: Insert / remove
- Network: Connected/Unconnected
3. Application
3.1 Monitoring

6 7
•Display current status information
•Display text: During monitoring, the call came. , Busy, end call
- Monitoring: Displayed at the first entry
- Call has arrived: Display when the door phone call button is pressed -During
a call: Displayed when the ‘call’ button is selected
2 Screen Adjustment Button •When tapping, the UI to adjust the screen (brightness, contrast, saturation) of
the video is displayed.
3 Volume control button •During monitoring, displays the UI to adjust the volume when tapping.
4 Call button •You can talk on tap during monitoring.
•It switches to door open button [4-1] during a call.
5 End button •Tap to end monitoring and go to the home screen.
•The call is switched to the hang up button [5-1].
•Tap the End Call button [5-1] to end the call, end monitoring, and move to
the home screen.
6 Picture save button •Save as snapshot photo file at tap time.
7 Video save button •Records video files at the time of tap.
3.1.1 Monitor and call Door camera
1T)ap the 'Monitoring' icon on the home
screen.
2) Press the button to talk during
monitoring.
3) Press the button to end the call.
0Q'NGOGPV &GUETKRVKQP
1 Call information
•If you are connected to the entrance hall of our house, if you are connected
to the entrance hall of our house

8
3.1.2 Open door
1) Press the button to change it to the
button.
2) Press button during call and call.
3.1.3 Save visitor pictures
1) Press the button during a call or call.
2) Visitor Photos will appear under "Visitor
Information."
3.1.4 Save visitor video clips
1)Press the "Video" button during a call or
call.
2) Visitor video is displayed in 'Visitor
Information.
3.1.5 Set Monitor screen
1)Press the 'Settings' button on the top right
of the monitoring screen.

8 9
6HWWLQJVFUHHQ
0Q 'NGOGPV &GUETKRVKQP
%ULJKWQHVV
FRQWURO
•$GMXVWWKHYDOXHZLWKWKHDQGEXWWRQV
•$GMXVWWKHYDOXHZLWKWKHSURJUHVVEDUFRQWUROEXWWRQV
•7KHQXPHULFDOYDOXHUHSUHVHQWHGE\WKHQXPEHU
&RQWUDVWFRQWURO
&KURPDFRQWURO
5HVHWEXWWRQ •5HVHWWRGHIDXOWVHWWLQJV
$GMXVWYROXPH
3UHVV WKH ě9ROXPHĜ EXWWRQ RQ WKH ERWWRP
OHIWRIWKHPRQLWRULQJVFUHHQ

10
6HWWLQJVFUHHQ
0Q 'NGOGPV &GUETKRVKQP
9ROXPHYDOXH •'LVSOD\YROXPHYDOXHVQXPHULFDOO\
9ROXPHGRZQ •9ROXPHGHFUHDVHZKHQWDS
9ROXPHXS •9ROXPHLQFUHDVHZKHQWDS
3URJUHVV
EDUEXWWRQ
•'LVSOD\WKHYROXPHVWDWXVDVDSURJUHVVEDU
•9ROXPHFDQDOVREHDGMXVWHGZLWKWKHSURJUHVVEDUEXWWRQ
$QVZHUFDOOIURP'RRU/REE\
:KHQWKHFDOOLVUHFHLYHGWKHEHOOVRXQGLV
RXWSXW IURP WKH ZDOO SDG DQG WKH YLVLWRU
VFUHHQLVGLVSOD\HG
3UHVVWKH EXWWRQWRFRQQHFWWKHFDOORU
SUHVVWKH EXWWRQWRGHFOLQHWKHFDOO
7RHQGWKHFDOOSUHVVWKH EXWWRQ

10 11
&DOO
0Q 'NGOGPV &GUETKRVKQP
3UHYLRXVEXWWRQ •0RYHWRSUHYLRXVVFUHHQZKHQVHOHFWHG
&DOO7DS •$UHDVWKDWSURYLGHWDEVIRUFDOOUHODWHGIHDWXUHV
•6HFWLRQ.H\SDG&DOOORJ
.H\SDG,WSURYLGHV.H\SDGWRPDNHDFDOORWKHUPRQLWRU
&DOOORJ,WPDUNVFDOOORJRQWKH:DOOSDG
'HOHWHEXWWRQ •%XWWRQWRGHOHWHHQWHUHGLQIRUPDWLRQ
•7H[WHQWHUHGLQWKHQXPEHULQSXWILHOGLVHUDVHGE\RQHFKDUDFWHU
ZKHQVHOHFWHG
•,W&OHDUVDOOWH[WRQORQJWDS
&DOOEXWWRQ •&DOOWKHQXPEHUHQWHUHGZKHQWDSSLQJWKHFDOOEXWWRQ
6KRUWFXW •,W SURYLGHV 6KRUWFXW IRU XVHUV WR GLUHFWO\ FRQQHFW WR IUHTXHQWO\
XVHGSKRQHV
•&DOOLVFRQQHFWHGGLUHFWO\WRVHOHFWHGLWHPZKHQ6KRUWFXW
LVVHOHFWHG
•6HFWLRQ'RRU*XDUGRIILFH0DQDJHPHQWRIILFH
•,WGHSHQGVRQVLWHFRQGLWLRQ

12
&DOOEHWZHHQPRQLWRUV
3UHVVě&DOOĜLFRQRQWKH+RPHVFUHHQ
,QSXW%XLOGLQJ1R+RXVH1R
3UHVV EXWWRQWRWDON
,I\RXHQGFDOOSUHVV EXWWRQ
$QVZHUFDOOVEHWZHHQPRQLWRUV
:KHQUHFHLYLQJFDOOFDOOW\SHLVVKRZQZLWK
EHOOVRXQGRQWKHVFUHHQ
,I \RX FRQQHFW FDOO SUHVV EXWWRQ DQG
UHIXVHFDOOSUHVV EXWWRQ
,I\RXHQGFDOOSUHVV EXWWRQ

12 13
&DOO*XDUG0DQDJHPHQWRIILFH
3UHVV *XDUG0DQDJHPHQW RIILFH EXWWRQ RQ
WKHFDOOVFUHHQ
3OHDVHSUHVV EXWWRQWRHQGWKHFDOO
$QVZHUWKHFDOOIURP*XDUG0DQDJHPHQWRIILFH
:KHQ UHFHLYLQJ FDOOLQJ EHOO ULQJV DQG
*XDUGRIILFHLVPDUNHGRQWKHVFUHHQ
,I\RXZDQWWRFRQQHFWWKHFDOOSUHVV
EXWWRQUHIXVHWKHFDOOSUHVV EXWWRQ
,I \RX ZDQW WR HQG WKH FDOO SUHVV
EXWWRQ
&DOOORJ
&KHFNDQGGHOHWHFDOOORJV
3UHVV ě&DOO ORJ EXWWRQ LQ &DOO VFUHHQ RU
ě0LVVHGFDOOĜLQ+RPHVFUHHQ

14
,QWKHFDOOORJ\RXFDQSUHVV EXWWRQRI
WKHSHUVRQZKRP\RXZDQWWRPDNHDFDOO
,I\RXSUHVVě7UDVKFDQĜEXWWRQDWWKHXSSHU
ULJKWVLGH\RXFDQGHOHWHFDOOORJ
<RXFDQVHOHFWFDOOORJE\FKHFNER[DWWKH
OHIWVLGH
,I\RXSUHVVě'HOHWHĜEXWWRQ\RXFDQGHOHWH
FDOOORJ
&KHFNYLVLWRUV
&KHFNSLFWXUHVDQG9LGHRFOLSVVDYHG
&OLFNě9LVLWRUĜEXWWRQLQ+RPHVFUHHQ

14 15
&KHFNYLVLWRUV
0Q 'NGOGPV &GUETKRVKQP
3UHYLRXVEXWWRQ •0RYHWRSUHYLRXVVFUHHQ
1HZLFRQ •0DUNQHZILOHXSGDWHG
'RRU •3LFWXUHVWRRNDWWKH'RRU
/REE\ •3LFWXUHVWRRNDWWKH/REE\
9LGHRFOLSLFRQ •0DUNILOHW\SHLILWĜVYLGHRFOLS
9LVLWRU YHULILFDWLRQ VFUHHQ FDQ EH XVHG WR GLVWLQJXLVK WKH VFUHHQ VKRW IURP P\ KRXVH HQWUDQFH DQG
FRPPRQHQWUDQFHDQGWRFKHFNWKHGDWHDQGWLPHVDYHG<RXFDQDOVRFKHFNYLVLWRUVLI\RXKDYHVHWRXW
'HOHWHSLFWXUHVVDYHG
3UHVV EXWWRQRQ WKH YLVLWRUYHULILFDWLRQ
VFUHHQ

16
6HOHFWSLFWXUHVDQGSUHVVě'HOHWHĜEXWWRQ
:KHQSRSXSZLQGRZVKRZVSUHVVě'HOHWHĜ
EXWWRQ
$ZD\PRGH
,WGHWHFWVLQWUXVLRQVLQDQGRXWRIP\KRXVH
$ZD\PRGH
3UHVV ě$ZD\ PRGHĜ LFRQ RQ WKH +RPH
VFUHHQ
6HOHFWVHQVRUWRGHWHFW
6HW2QaPLQ2IIaVHFWLPHRIDZD\
PRGH
6HWZKHWKHUWRVDYHYLVLWRUSLFWXUHV
6HWZKHWKHUWRPDNHDE\SDVVFDOO
3UHVVě5XQĜEXWWRQ

16 17
3UHVVě(QGĜEXWWRQWRFDQFHO$ZD\PRGH
ȉ ;QWOWUVGZKVYKVJKPVJGUGVFGNC[VKOGVQRTGXGPVCPGOGTIGPE[
'LVPLVVDZD\PRGH
$IWHU SUHVVLQJ WKH (QG EXWWRQ LI D
SDVVZRUG HQWU\ VFUHHQ LV GLVSOD\HG HQWHU
WKHSDVVZRUGDQGSUHVVWKH2.EXWWRQ
,) WKH SDVVZRUG PDWFKHV $ZD\ PRGH ZLOO
EHGLVPLVVHG
6HW6HFXULW\
'HWHFWH[WHUQDOLQWUXVLRQVZKLOHLQWKHKRXVH
6HWVHFXULW\
3UHVVě6HFXULW\ĜLFRQRQWKH+RPHVFUHHQ
6HOHFWVHQVRUWRGHWHFW
3UHVVě5XQĜEXWWRQ

18
'LVPLVVVHFXULW\
$IWHU SUHVVLQJ WKH (QG EXWWRQ LI D
SDVVZRUG HQWU\ VFUHHQ LV GLVSOD\HG HQWHU
WKHSDVVZRUGDQGSUHVVWKH2.EXWWRQ
,ISDVVZRUGPDWFKHVVHFXULW\PRGHZLOOEH
GLVPLVVHG
&DOOHOHYDWRU
&DOOHOHYDWRU
3UHVVě(OHYDWRUĜLFRQRQWKHVFUHHQ
3UHVVě2.ĜEXWWRQ
(PHUJHQF\
(PHUJHQF\PRGH
3UHVV ě(PHUJHQF\Ĝ LFRQ RQ WKH +RPH
VFUHHQ

18 19
,I\RXSUHVVě2.ĜEXWWRQ
HPHUJHQF\ZLOORFFXUZLWKVLUHQVRXQG
3DXVHHPHUJHQF\PRGH
3UHVVě6WRSĜEXWWRQ
,QSXWSDVVZRUG
ȉ +PKVKCNRCUUYQTFKU
,I WKH SDVVZRUG PDWFKHV WKH HPHUJHQF\
VWRS VFUHHQ DSSHDUV DQG WKH 6WRS EXWWRQ
FKDQJHVWKH5HWXUQEXWWRQ
3UHVVě5HVWRUHĜEXWWRQ
Table of contents
Other Commax Intercom System manuals

Commax
Commax TP-6RC User manual

Commax
Commax CDV-70A User manual

Commax
Commax DRC-40K User manual

Commax
Commax CDV-43K2 User manual

Commax
Commax CLS-10 User manual

Commax
Commax DRC-40KR2 User manual

Commax
Commax DRC-4BGN User manual

Commax
Commax CDV-43N User manual

Commax
Commax CM-810 User manual

Commax
Commax DP-2S User manual

Commax
Commax CDV-70U User manual

Commax
Commax DRC-4BH User manual

Commax
Commax CDV-70A User manual

Commax
Commax CDV-704MHA User manual

Commax
Commax Fine View CDV-35HM User manual

Commax
Commax DR-2AG/RF1 User manual

Commax
Commax DRC-4BH User manual

Commax
Commax AP-3SG User manual

Commax
Commax CAV-70MHG User manual

Commax
Commax DP-LA01M User manual