Compleo X-pay User manual

Installation manual
Compleo X-pay
215041-b 02/2022

2/10

1 Generalinformaon ........................................................................ 4
1.1 Introducon ................................................................................. 4
1.2 Intended use................................................................................. 4
1.3 Target group ................................................................................. 4
2 Safety.................................................................................... 4
2.1 Signal words ................................................................................. 4
2.2 Safetyinstrucons ............................................................................ 4
3 Assembly ................................................................................. 5
3.1 Choiceoflocaon............................................................................. 5
3.2 Prerequisites ................................................................................. 5
3.3 Mounngofthepaymentterminalonthewall .................................................... 5
3.4 Mounngofthecolumn ....................................................................... 5
3.4.1 Useoftheprefabricatedfoundaon ............................................................. 5
3.4.2 Casngofanownfoundaonwithfoundaonplate ................................................ 6
3.4.3 Casngofanownfoundaonwithoutfoundaonplate ............................................. 6
4 Electricalconnecon ....................................................................... 7
4.1 Condionsfortheelectricalconnecon.......................................................... 7
4.2 Electricalconneconofthepaymentterminalonthewall ..........................................7
4.3 Electricalconneconofthecolumn.............................................................. 7
5 Safety tests ............................................................................... 8
6 Technical Data............................................................................. 8
Table of contents

4/10
1 Generalinformaon
1.1 Introducon
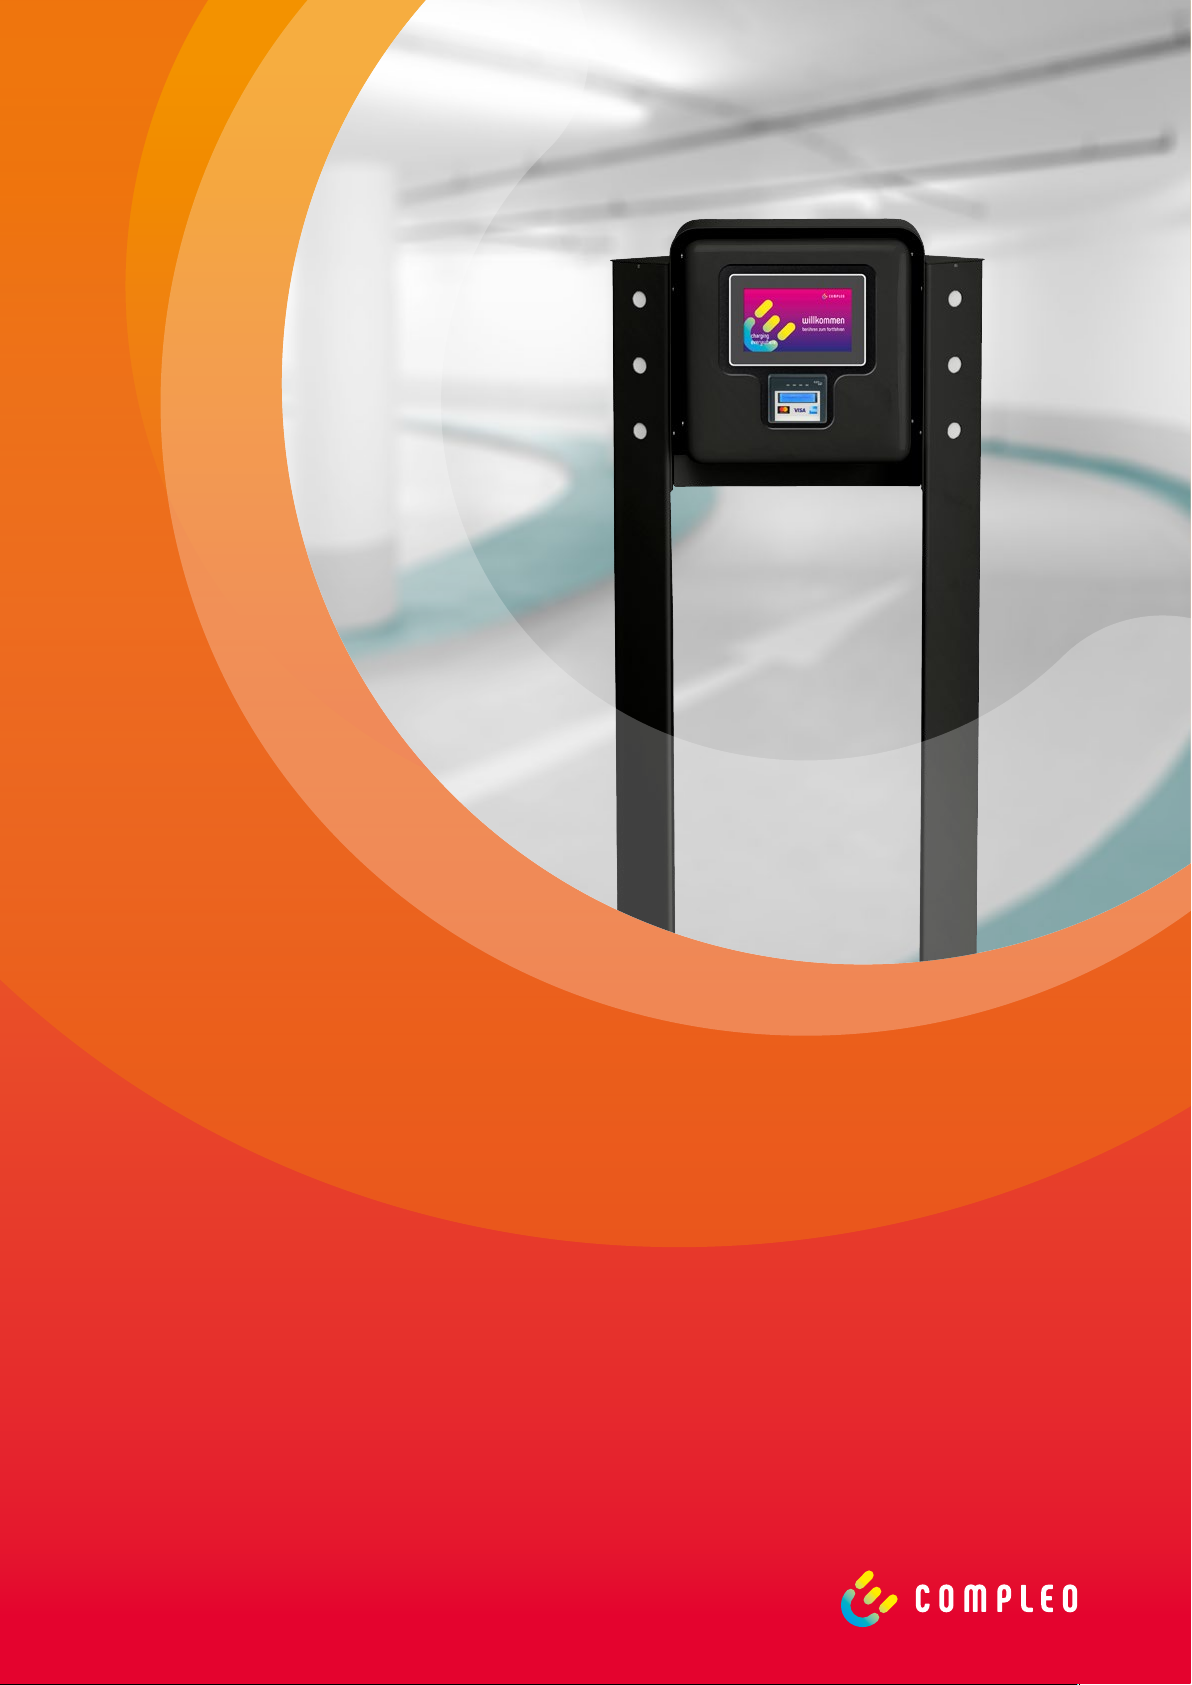
Before you start using the Compleo X-pay
payment terminal, read this document carefully
and follow the instrucons.
Also observe the instrucons and safety notes
in the user manual of your charging staons
selected for the Compleo X-pay payment ter-
minal.
If you have received the installaon manual in
digital form, print out the document and le it.
Keep the installaon manual in a safe place.
1.2 Intended use
The Compleo X-pay payment terminal is used
to pay for charging processes and to control
charging staons that are operated to charge
electric and plug-in hybrid vehicles in accordan-
ce with charging mode 3. The payment terminal
is mounted on a wall or on a column. Any other
use is considered improper and is not permit-
ted.
Persons who, due to their physical, sensory
or mental abilies or their inexperience or
ignorance, are unable to operate the charging
staon safely shall not use the charging staon
without the supervision or instrucon of a
responsible person.
1.3 Target group
This document is intended for qualied electri-
cians and construcon workers.
The assembly and electrical installaon of the
Compleo X-pay payment terminal may only be
carried out by qualied electricians.
The construcon of a foundaon for the
column may be carried out only by qualied
construcon workers.
2 Safety
2.1 Signal words
!WARNING: Indicates a hazard with a me-
dium level of risk which, if not avoided, could
result in serious injury or death.
!CAUTION:Indicates a hazard with a low
level of risk which, if not avoided, could result
in minor or moderate injury.
Note: Indicates addional informaon, which
are not hazard related.
2.2 Safetyinstrucons
• Ensure that there is no voltage present
before starng work.
• Observe the 5 safety rules according to
DIN VDE 0105-100.
• If it rains when installing the payment ter-
minal, make sure to protect the payment
terminal from water.
• Do not use explosive or readily ammable
substances in the vicinity of the payment
terminal.
• Before each charging process, check
whether the charging cable or the contacts
of the charging plugs are damaged. Do not
use a damaged charging cable. There is a
risk of electric shock!
• Never repair defecve charging cables
yourself.
• Check before each charging procedure,
whether the vehicle inlet is damaged. Do
not connect a charging cable to a damaged
vehicle inlet.
• Ensure that the contacts of the charging
plugs do not come into contact with heat
sources, dirt or water.
• Never put your ngers in the socket of the
charging staon.
• Do not step on the charging cable or bend
it.
• Make sure that neither children nor pets
come near the connected charging cable.
Never let children play with the charging
staon or with the payment terminal.
• Do not pull the plug out of the socket by
the cable. Pulling on the charging cable
may damage the charging cable or the
locking mechanism.
• Never remove the charging cable by force.
Dangerous arcs can cause serious injury or
death.
• Unroll the charging cable completely to
avoid overheang.
• Use only standard-compliant charging ca-
bles (according to EN 62196-1, EN 62196-2
and EN 50620).
• Never open the payment terminal or the
charging staon yourself. The payment ter-
minal and the charging staon may only be
opened by qualied personnel or persons
instructed by qualied personnel.
• Do not use the charging cable with an ex-
tension cord or adapter.
• Always make sure to remove the charging
cable from the vehicle before driving o.
• Any changes to the charging staon are
not permied. There is a risk of electric
shock and damage to the charging staon.
Any changes to the charging staon will
void the warranty with immediate eect.
• Never clean the payment terminal and
the charging staon with harsh cleaning
agents, water or steam cleaners.
• Never immerse the charging cable in in
water or any other liquid.

• Mounng, electrical installaon, commis-
sioning, maintenance and repair may only
be carried out by a trained electrician. The
electrician must be registered in the regis-
ter of installers.
• Mounng, electrical installaon, commis-
sioning, maintenance and repair may only
be carried out by a trained electrician. The
electrician must be registered in the regis-
ter of installers.
• No liability will be accepted for damage
during transport if the product is trans-
ported in anything other than the original
packaging.
• At all mes, observe the local safety
regulaons for the country in which you
operate the device.
3 Assembly
3.1 Choiceoflocaon
• The payment terminal must not be in-
stalled in explosive atmosphere areas (EX
areas).
• The payment terminal must not be instal-
led in areas prone to ooding or earthqua-
kes.
• If possible, mount the payment terminal
protected from direct sunlight.
• The payment terminal must not be instal-
led in places where it blocks escape routes
or passages for people.
• The payment terminal must not be moun-
ted in places where it is exposed to direct
jets of water (e.g. high-pressure cleaners or
car washes).
• Observe the permissible ambient condi-
ons (see chapter 6).
3.2 Prerequisites
• In addion to a residual current circuit
breaker and a circuit breaker, an overvol-
tage protecon must always be installed
in the sub-distribuon. We recommend
the „Dehn Guard DG TT 5 275“ as surge
protecon.
3.3 Mounngofthepaymentterminalonthewall
Minimum distances:
Figure 1: Minimum distances
The specied minimum distances of 40 cm (A)
must be observed to ensure safe operaon of
the charging staons and unrestricted access
for maintenance work.
The specied minimum distances between the
charging staon and the ground (B) are recom-
mended.
The following accessories are required:
• 2 brackets, included in delivery
To mount the payment terminal on the wall,
proceed as follows:
1. The payment terminal is mounted directly
on the wall without a wall mounng plate.
2. To aach the cover, mount two brackets
on the back of the hood to the mounng
holes of the payment terminal using dou-
ble-sided tape.
3.4 Mounngofthecolumn
In order to be able to mount the column, a
foundaon must rst be laid. This preliminary
work must be carried out by a contracted cons-
trucon company.
3.4.1 Useoftheprefabricatedfoundaon
This signicantly simplies the mounng of the
charging column. In this prefabricated founda-
on two empty pipes and the foundaon plate
with four threaded rods are already cast. The
shape of the prefabricated foundaon may dif-
fer from the shape in Figure 2 and Figure 3. The
shape and dimensions of the foundaon plate,
which can be seen in Figure 4, are relevant.

6/10
Figure 2: Prefabricated foundaon - side view
Figure 3: Prefabricated foundaon - top view
For the use of the prefabricated foundaon
proceed as follows:
1. For the prefabricated foundaon, dig an
excavaon pit with a minimum area of 100
x 80 cm and a minimum depth of 60 cm.
2. Make a compacted gravel bed.
3. Pull only one supply cable at a me
through the empty conduits in the prefa-
bricated foundaon.
4. Bring the prefabricated foundaon into
posion so that the upper edge of the
foundaon plate coincides with the top
edge of the nished oor.
5. Underlay the prefabricated foundaon and
l e v e l t h e f o u n d a o n w i t h a s p i r i t l e v e l .
3.4.2 Casngofanownfoundaonwithfoundaon
plate
If you want to pour your own foundaon, use
our foundaon plate. It already has the right
size, the hole for the empty pipe is already
there and the threaded rods are xed in the
right place.
Figure 4: Foundaon plate - side view
Figure 5: Foundaon plate - top view
To cast your own foundaon with foundaon
plate, proceed as follows:
1. For the foundaon, dig an excavaon pit
with a minimum area of 100 x 80 cm and a
minimum depth of 60 cm.
2. Make a rm gravel bed.
3. Fix the foundaon plate in the desired
posion. The short ends of the threaded
rod stand vercally upwards. The upper
edge of the foundaon plate corresponds
to the top edge of the nished oor.
4. Pull only one supply cable at a me
through the empty conduits.
5. Insert the empty conduits about 5 cm
through the holes in the foundaon plate
and x the empty conduits.
6. Lay the empty conduits as required.
7. Align the foundaon plate with the spirit
level.
8. Pour out the excavaon pit so that the
concrete is in complete contact with the
underside of the foundaon plate. The
upper side of the foundaon plate must
n o t b e c o v e r e d w i t h c o n c r e t e .
3.4.3 Casngofanownfoundaonwithout
foundaonplate
To cast your own foundaon without founda-
on plate, proceed as follows:
9. For the foundaon, dig an excavaon pit
with a minimum area of 100 x 80 cm and a

minimum depth of 60 cm.
10. Make a compacted gravel bed.
11. Pull only one supply cable at a me
through the empty conduits.
12. Posion and x the empty conduits in the
correct place. The distances between the
empty conduits are shown in Figure 5:
Foundaon plate - top view.
13. Pour out the excavaon pit so that you
obtain an even mounng surface.
4 Electricalconnecon
4.1 Condionsfortheelectricalconnecon
Specicaons for the sub-distribuon:
• Each charging point must have its own sup-
ply line with appropriate fuse protecon.
• The Compleo X-pay payment terminal
requires a suitable circuit breaker and
residual current device.
• If possible, use an overvoltage protecon
in the sub-distribuon.
Usable cable cross-secons:
• Use the cable cross-secons specied in
the table. If you need larger cable cross-
secons, please specify them when orde-
ring or call us.
Terminal assignment X1 for supply cable, cable cross
secons and fuse protecon
Performance class 3,7 kW, 16 A
Conduc-
tor
Number Color
L 1 brown or black
N 2 blue
PE 3green/yellow
Supply cable NYM-J
3x 1,5mm² to 3x 2,5mm²
Circuit breaker B10 A, 1-pole
RCD in subdistribu-
on
Type A
0,03 A/ 25 A
4.2 Electricalconneconofthepaymentterminal
on the wall
For the electrical connecon of the payment
terminal, proceed as follows:
1. Connect the supply cable to the payment
terminal. Follow the instrucons in chapter
4.1.
2. Place the plasc cover on the housing.
3. Fasten the plasc cover on the sides using
the four metric screws.
4.3 Electricalconneconofthecolumn
When electrically connecng the column, it
must be observed whether or not a foundaon
plate is integrated in the foundaon. If a foun-
daon plate is integrated in the foundaon,
proceed as follows:
1. Pull the supply cables through the support
legs of the column.
2. Place the column on the foundaon plate.
3. Fasten the column base with the four sup-
plied M12 nuts.
4. Connect the supply cable according to the

8/10
power class. The necessary informaon
can be found in chapter 4.1: Condions for
electrical connecon.
If no foundaon plate is integrated in the foun-
daon, proceed as follows:
1. Pull the supply cables through the legs of
the column.
2. Place the box on the foundaon and align
the column.
3. Use the column base as a drilling temp-
late and fasten the box with four suitable
dowels, washers and screws.
4. Connect the supply cable according to the
power class. The necessary informaon
can be found in chapter 4.1: Condions for
electrical connecon.
5 Safety tests
Aer the electrical connecon of the charging
staon, carry out the necessary safety tests.
• Before commissioning the charging staon,
check the eecveness of the protecve
measures of the complete system accor-
ding to the applicable naonal and local
regulaons.
• The measuring instruments used must
comply with naonal regulaons.
• Among other things, the Gossen Metra-
wa PROFiTEST MTECH+ protecve mea-
sures tester with manufacturer no. M520R
is required for tesng the charging staon.
Alternavely, use the Metrel MI 3152
EurotestXC ST. If none of the test devices
is available to you, the missing tests must
be performed by a Compleo specialist
partner.
• Enter the result of the test in a test report.
A test report can be obtained from Com-
pleo Connect GmbH upon request.
• Give the test report to the customer, who
will send it to the manufacturer.
6 Technical data
Type Payment terminal
Charging capacity 1 A, 230 V, 1-phase
Dimensions
(H x B x T)
300 x 300 x 165 mm
Weight approx. 7,5 kg
Control fuse 1-pole, B6
Housing lockable oponal
Interfaces Ethernet RJ45, RS485
Logs Modbus TCP/RTU
Storage temperature
range
-30 to +70°C
Operang temperature
range
-25 to +55°C
Relave humidity 30 to 95 % (non-conden-
sing)
Protecon class 1
Protecon degree IP54
Mechanical impact pro-
tecon
IK 8
Rated voltag Un 230 V / 400 V AC
Rated operaonal voltage
Ue
220/380 - 240/415 V 3N
Rated insulaon voltage Ui 500 V
Rated impulse withstand
voltage Uimp
4 kV
Overvoltage category Kategorie III
Rated current of a circuit
Inc
Fused 6 A on the control
side
Rated peak withstand
current Ipk
<6 kA
Rated short-me with-
stand current Icw
6 A
Rated condional short-
circuit current Icc
6 A
Rated frequency fn 50/60 Hz
Polluon degree 3
System according to type
of earth connecon
TN or TT
Installaon site Indoor and outdoor ins-
tallaon
EMC classicaon Class B


Contact
Compleo Connect GmbH
Paderborner Straße 76
D-33189 Schlangen
T: +49 5252 9889220
info@compleo-cs.com
www.compleo-cs.com
Technical changes and errors are reserved.
Ver. 20210709
©2022 Compleo. All rights reserved.
This document may not be copied or reproduced in any form or by
any means, in whole or in part, without written permission. All illus-
trations in these assembly instructions serve only as examples and
may dier from the delivered product. All information in this manual
is subject to change without notice and does not represent a com-
mitment on the part of the manufacturer.
Table of contents
Other Compleo Payment Terminal manuals