Conceptronic CLLCHATCAM v4.0 User manual

NEDERLANDS
1
Conceptronic CLLCHATCAM (v4.0)
Gebruiksaanwijzing
Gefeliciteerd met uw nieuwe
Conceptronic Chatcam.
In deze gebruiksaanwijzing vindt u stap-voor-stap instructies voor installatie en gebruik van de
Conceptronic Chatcam.
Als u meer informatie of ondersteuning voor uw product nodig heeft, kunt u het beste naar onze Service &
Support website op www.conceptronic.net gaan en een van de volgende mogelijkheden kiezen:
FAQ : Database met veel gestelde vragen
Downloads : Gebruiksaanwijzingen, stuurprogramma's, firmware en overige downloads
Contact : Contact opnemen met Conceptronic Support
Voor algemene informatie over Conceptronic producten gaat u naar de Conceptronic website op
www.conceptronic.net.
De informatie in deze snelstart installatiegids is gebaseerd op Windows 7 en Windows Vista en kan dus
afwijken van het gebruik op uw computer als deze een ander besturingssysteem heeft.
1. Inhoud verpakking
U vindt de volgende items in de verpakking van de Conceptronic Chatcam:
Conceptronic Chatcam (CLLCHATCAM v4.0)
Product-cd
Meertalige snelstartgids
Garantiekaart en boekje CE-verklaring

NEDERLANDS
2
2. Installatie en gebruik
2.1 Hardware installeren
Omdat de Conceptronic Chatcam een UVC (Universal Video Class) webcam is, kunt u hem direct aansluiten
op een USB-poort van een computer die UVC ondersteunt (zoals Windows XP SP2, Windows Vista, Windows
7 en Linux), zonder dat u eerst een stuurprogramma hoeft te installeren.
Zet uw computer aan.
Verbind de USB-connector van de webcam met een USB-aansluiting van uw computer.
De computer herkent en installeert de webcam automatisch met de standaard stuurprogramma's van uw
besturingssysteem.
Na deze installatie kunt u uw webcam gebruiken.
NB: Om de ingebouwde microfoon van de webcam te kunnen gebruiken, moet u de microfoonkabel in
de microfooningang (MIC-IN) van uw geluidskaart doen.
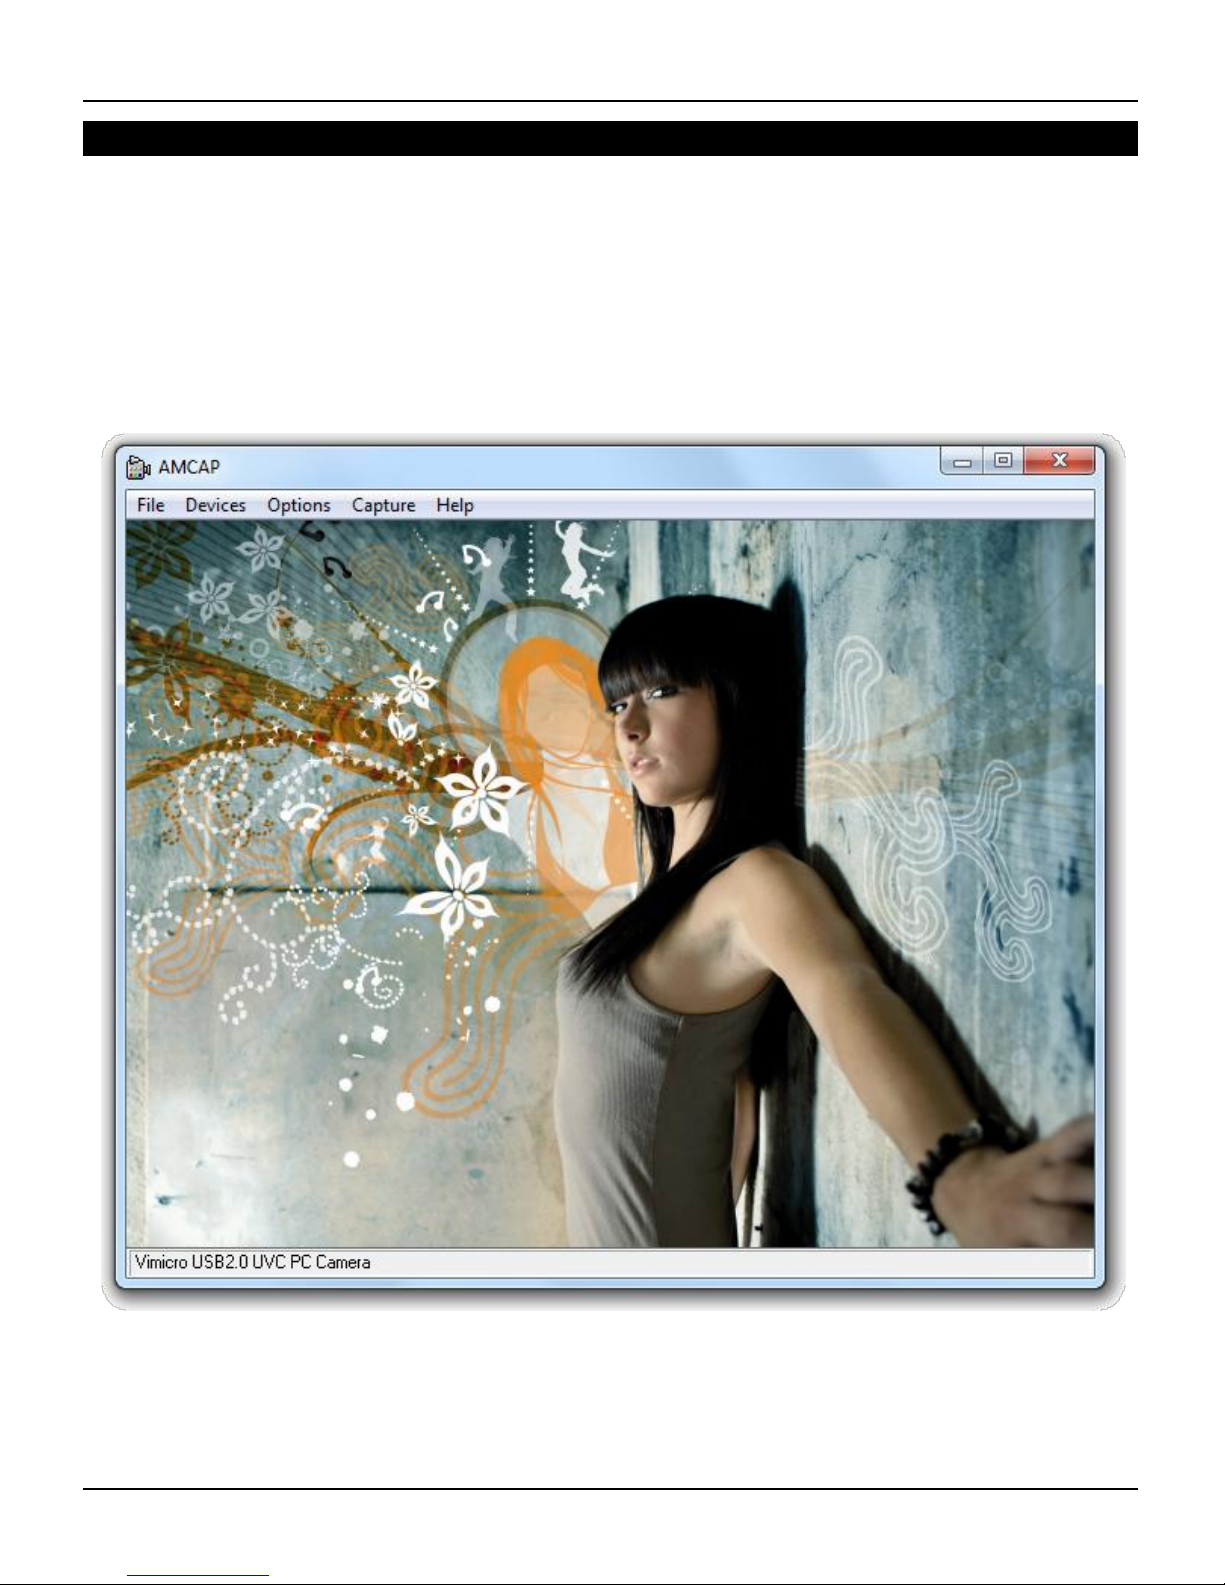
2.2 Basisgebruik webcam
Nadat u de webcam op uw computer heeft aangesloten en de webcam is herkend, kunt u de webcam
gebruiken in toepassingen die deze mogelijkheid bieden, zoals Microsoft Live Messenger en Skype.
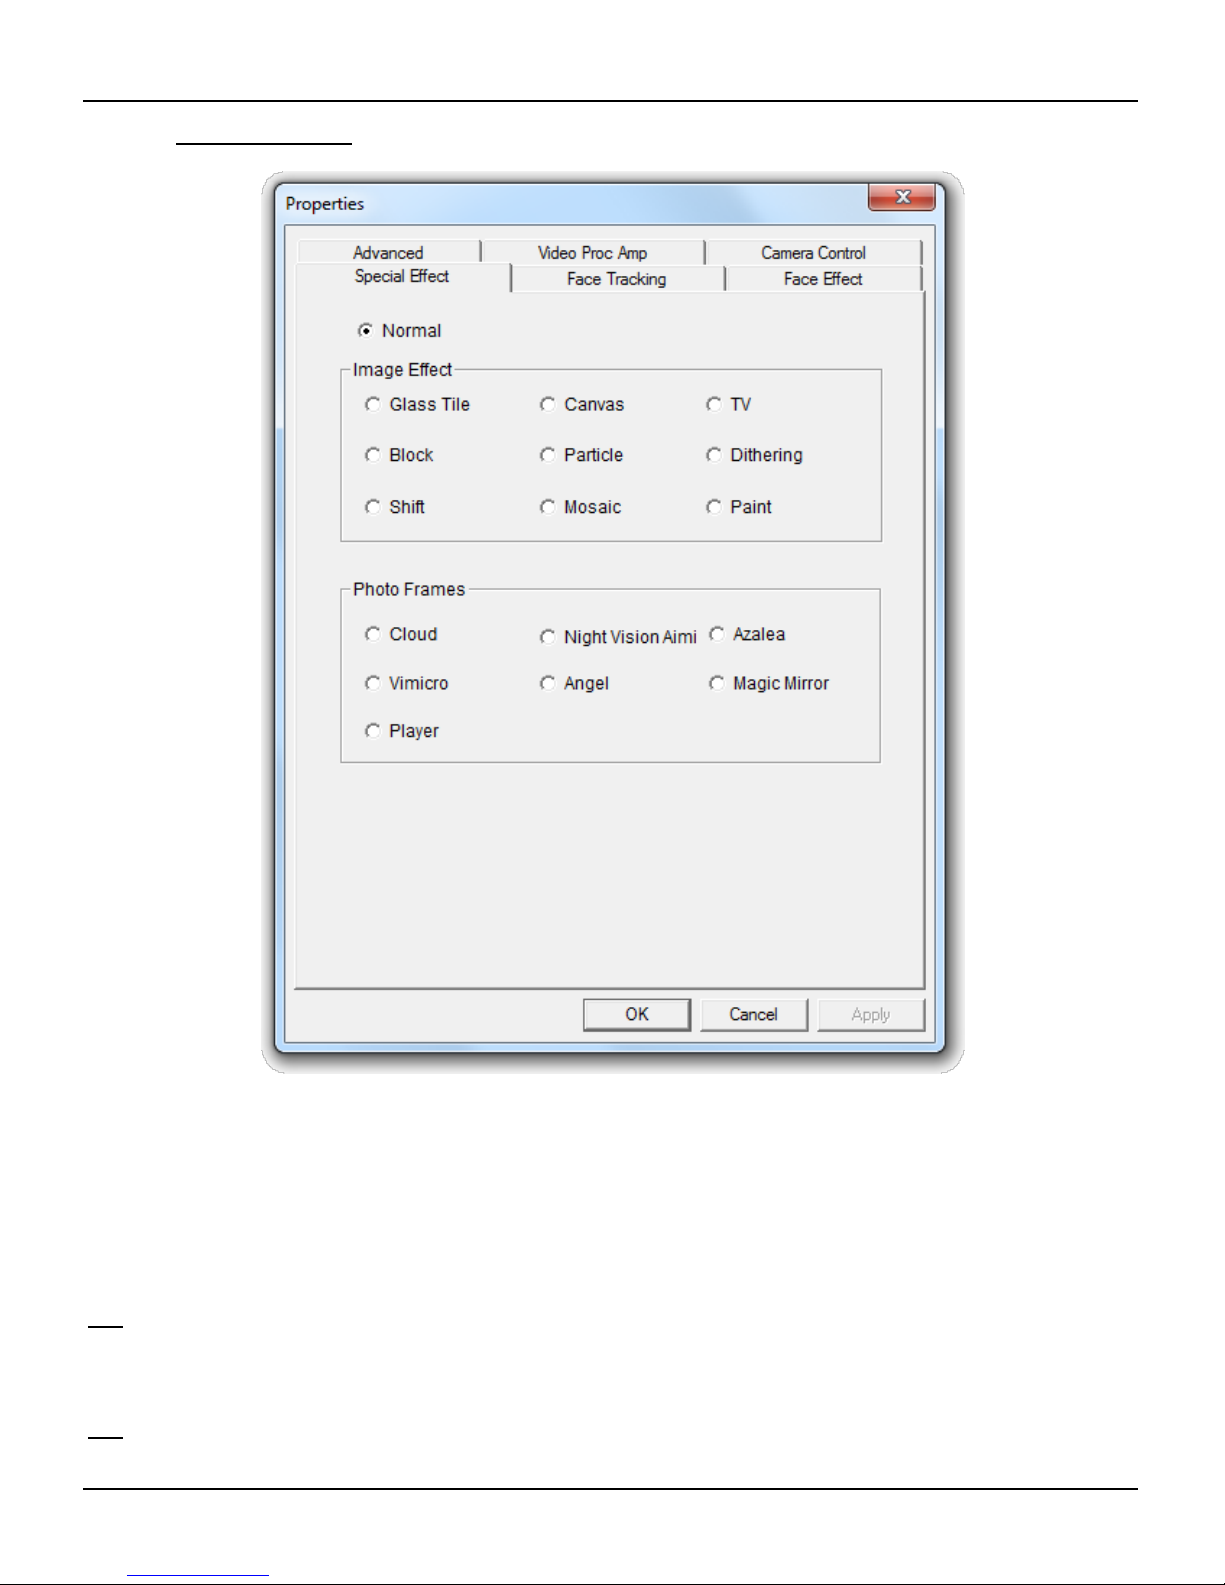
ExtraAudio en video instellen
Extra
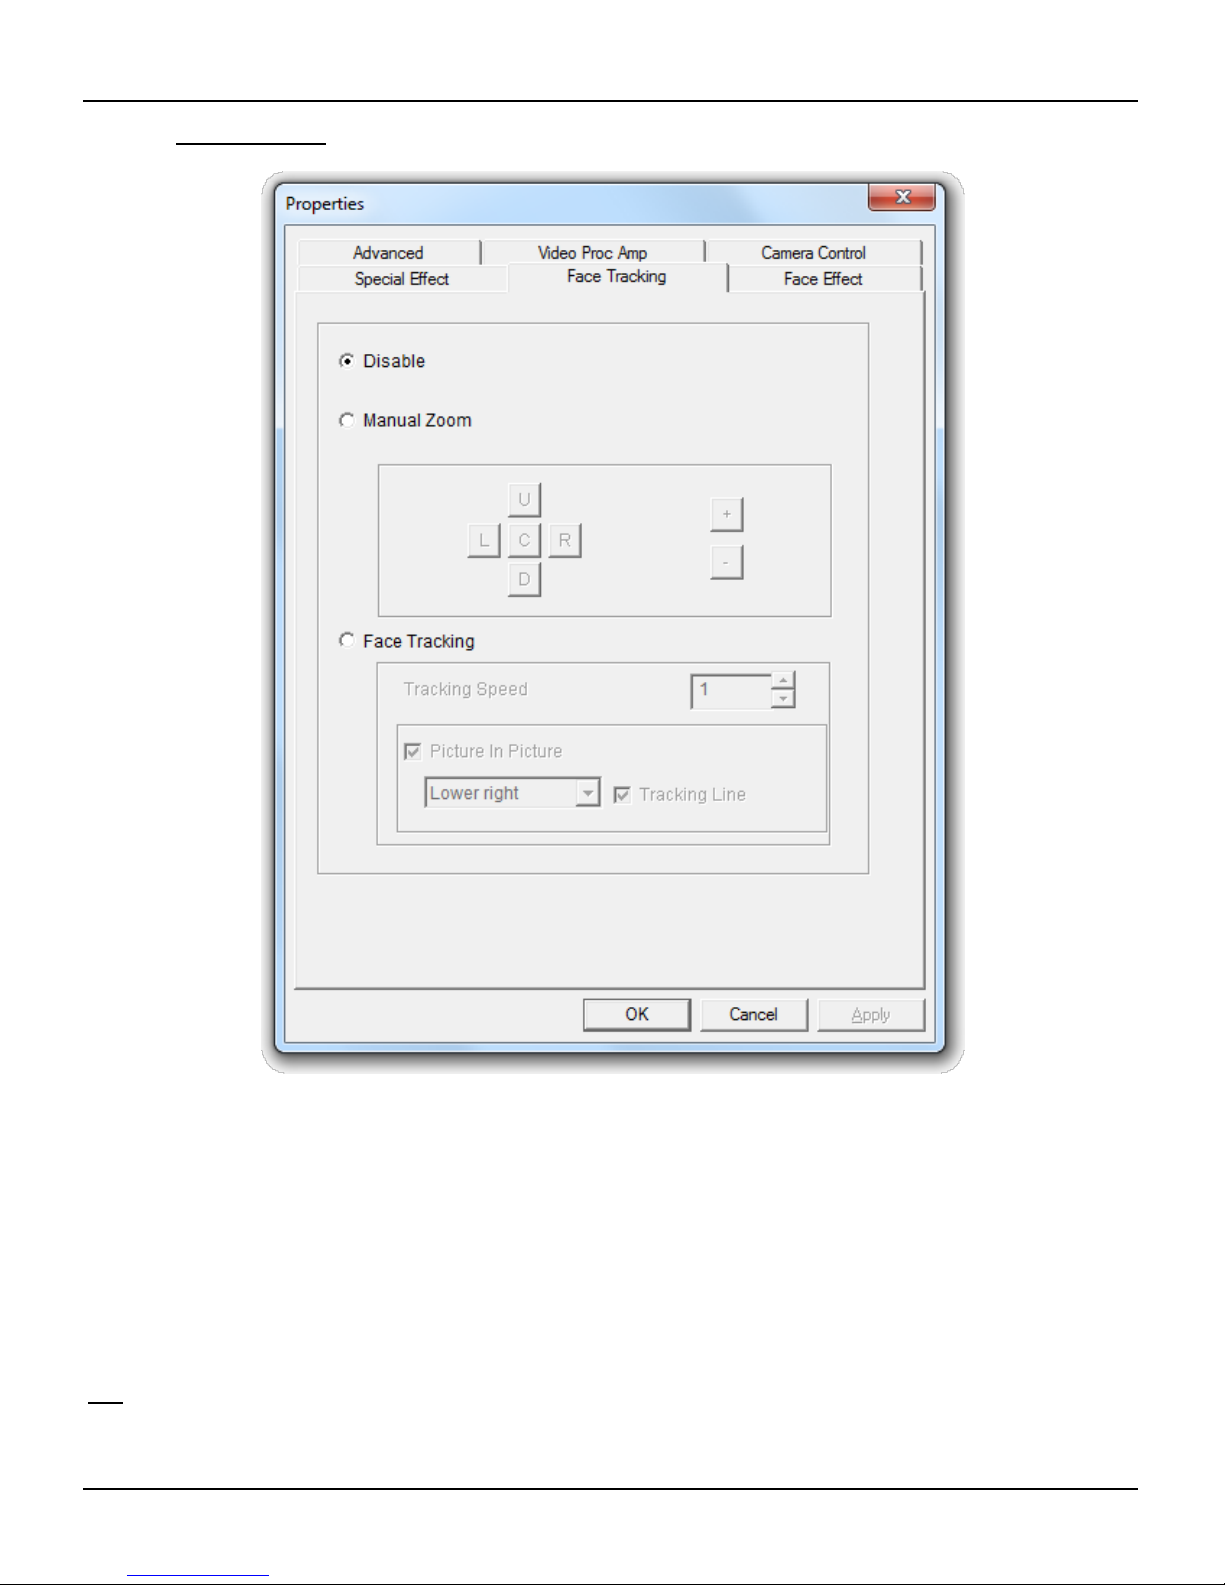
InstellingenVideo instellingen
Wanneer de webcam in het donker wordt gebruikt, kunt u de 4 LEDs gebruiken om de beeldkwaliteit te
verbeteren. Gebruik de draaiknop in de USB-kabel om de LEDs aan te zetten en het licht harder of zachter
te zetten.
NB: Als de webcam zonder stuurprogramma is geïnstalleerd, kunt u alleen de basisfuncties van de
webcam gebruiken. Om gebruik te kunnen maken van de geavanceerde mogelijkheden, moet u
eerst aanvullende stuurprogramma's installeren, zoals aangegeven in hoofdstuk 2.3. Zie hoofdstuk
3voor een uitleg van de geavanceerde mogelijkheden.

NEDERLANDS
3
2.3 Stuurprogramma installeren
Als u de geavanceerde functies van de webcam wilt gebruiken, moet u de stuurprogramma's installeren
vanaf de meegeleverde product-cd. Voordat u de stuurprogramma's kunt installeren, moet u de webcam
op uw computer aansluiten zoals beschreven in hoofdstuk 2.1.
A. Doe de meegeleverde cd in het cd-
Run Autorun.exe
starten.
NB: hijnt, kunt u het installatiemenu starten
Deze computer
optische schijfstation waar de cd in zit.
B. Install Drivers & Software
autorunmenu.
NB: Gebruikersaccountbeheer
Ja
De Setup installatiewizard verschijnt op uw scherm.
C. Next
software.
De stuurprogramma's (en eventueel de software) worden nu op uw computer geïnstalleerd.
D. Finishinstallatiewizard te sluiten.

NEDERLANDS
4
3. Webcam gebruiken
Nadat de stuurprogramma's en de webcam software zijn geïnstalleerd, kunt u via deze software de
geavanceerde functies van de webcam gebruiken.
Amcap
of gebruik de snelkoppeling in het Start menu:
StartAlle programa'sConceptronic Lounge Collection WebcamAmcap
Wanneer de Amcap software is gestart, ziet u een live stream van de webcam op uw scherm:
DevicesVimicro
USB2.0 UVC PC Camera

NEDERLANDS
5
3.1 Resolutie instellen
OptionsVideo Capture Pin) kunt u de standaardinstellingen
van de webcam aanpassen:
Output Size
Frame Rate
NB: Als u een hogere resolutie selecteert, wordt de beeldsnelheid lager. Voor een vloeiende
webcamstream kiest u een lagere resolutie.
3.2 Geavanceerde mogelijkheden
Special EffectFace Tracking
Face Effect
Deze mogelijkheden kunnen worden ingesteld in de Eigenschappen van de webcam. U kunt hier op
verschillende manieren naartoe gaan:
Amcap: OptionsVideo Capture Filter-
opnamefilter). De Eigenschappen van de webcam worden nu getoond.
Live Messenger: Start een gesprek met een contactpersoon en schakel de webcam in. Klik met de rechter
Instellingen voor de webcam…
Geavanceerd
webcam worden nu getoond.
Skype: Start een gesprek met een contactpersoon en schakel de webcam in. Klik met de rechter
muisknop op het beeld van de webcam en selecteVideo instellingen
Eigenschappen van de webcam worden nu getoond.

NEDERLANDS
6
3.2.1 Speciale effecten
Special Effect
U kunt 9 verschillende beeldeffecten selecteren.
U kunt 7 verschillende fotokaders selecteren.
Nadat u een beeldeffect of foto-Apply
geselecteerde effect in gebruik te nemen.
NB: U kunt niet tegelijk een beeldeffect en een foto-effect selecteren.
Als u al een beeldeffect heeft geselecteerd, wordt dit weer uitgeschakeld wanneer u een foto-
effect selecteert. Als u een foto-effect heeft geselecteerd en vervolgens een beeldeffect
selecteert, wordt het foto-effect uitgeschakeld.
NB: Special Effectn beschikbaar als de resolutie van de webcam is ingesteld op 640x480 of
minder.

NEDERLANDS
7
3.2.2 Gezicht volgen
Face Tracking
hier automatisch op inzoomen.
Gebruik de functie Manual Zoom (Handmatige zoom) als u de zoom zelf wilt instellen.
Gebruik de functie Face Tracking om automatisch in te zoomen op uw gezicht. U kunt een
volgsnelheid instellen en het oorspronkelijke webcambeeld tonen in een beeld-in-beeldvenster in
een hoek van uw scherm.
Apply
gebruik te nemen.
NB: Face Tracking640x480 of
minder.

NEDERLANDS
8
3.2.3 Gezichteffect
Face Effect
Applyklikken om het gekozen
gezichteffect in gebruik te nemen.
NB: Face Effect640x480 of
minder.

NEDERLANDS
9
3.2.4 Geavanceerd
Advancedwebcam spiegelen.
Horizontal Flip
spiegelen.
Vertical Flip
Nadat u een spiegeling heeft Apply

NEDERLANDS
10
3.2.5 Video-instellingen
Video Proc Amp-instellingen) kunt u de beeldinstellingen van de webcam
wijzigen.
BrightnessContrastSaturationSharpness
GammaGain
Default
Apply
Veel plezier met uw Conceptronic Chatcam!

ENGLISH
11
Conceptronic CLLCHATCAM (v4.0)
User Manual
Congratulations on the purchase of your
Conceptronic Chatcam.
This user manual gives you a step-by-step explanation of how to install and use the Conceptronic
Chatcam.
When you need more information or support for your product, we advise you to visit our Service &
Support website at www.conceptronic.net/support and select one of the following options:
FAQ : Frequently Asked Questions database
Downloads : Manuals, Drivers, Firmware and more downloads
Contact : Contact Conceptronic Support
For general information about Conceptronic products visit the Conceptronic website at
www.conceptronic.net.
The information in this quick installation guide is based on Windows 7 and Vista, but can differ from your
computer when you are using a different operating system.
1. Package contents
The following items are present in the package of the Conceptronic Chatcam:
Conceptronic Chatcam (CLLCHATCAM v4.0)
Product CD-ROM
Multilanguage quick guide
Warranty card & CE declaration booklet

ENGLISH
12
2. Installation & Usage
2.1 Hardware installation
The Conceptronic Chatcam is an UVC (Universal Video Class) webcam, meaning that you can plug the
webcam in a free USB port of a computer running an operating system with UVC support (like Windows XP
SP2, Windows Vista, Windows 7 and Linux), without the need to install any drivers.
Turn on your computer.
Connect the USB connector of the webcam to a free USB port of your computer.
The computer will recognize and install the webcam automatically with the default drivers of your
operating system.
After the installation, you can use your webcam.
Note: To use the built-in microphone of the webcam, connect the microphone cable to the MIC-In of
your soundcard.
2.2 Basic webcam usage
When you have connected the webcam to your computer and the webcam is recognized, you can use the
webcam in webcam enabled applications, like Microsoft Live Messenger & Skype.
To configure the webcam in Live ToolsAudio and Video setup
ToolsOptions
Video Settings
When the webcam is in use in a darker place, you can use the 4 LEDs to improve the image quality. Use
the scroll wheel in the USB cable to turn on the LEDs and increase or decrease the light strength of the
LEDs.
Note: When using the Driverless Installation of the webcam, you can only use the basic webcam
functions. To obtain the extra features, you need to install the drivers, as described in chapter
2.3. See chapter 3 for an explanation on the extra features.

ENGLISH
13
2.3 Driver installation
If you want to use the extra features of the webcam, you need to install the drivers from the included
product CD-ROM. Before you can install the drivers, you need to connect the webcam to your computer,
as described in chapter 2.1.
A. Insert the CD-ROM in the optical drive of your computer. The AutoPlay option will be shown
Run Autorun.exe
Note: If the AutoPlay option is not shown, you can start the autorun menu by browsing to
Computer
B. Install Drivers & Software
appear.
Note: User Account Control
Yes
The Setup Wizard will appear on your screen.
C. Click Next
The drivers & software (if selected) will be installed on your computer.
D. Finish

ENGLISH
14
3. Using the webcam
When the drivers and software are installed, you can use the installed webcam software to access the
extra functions of the webcam.
Amcap
shortcut in the start menu:
StartAll ProgramsConceptronic Lounge Collection WebcamAmcap
When the Amcap software is started, you will see a live stream of the webcam on your screen:
When no image of the webcam is visible, use thDevicesselect theVimicro USB2.0 UVC PC
Camera.

ENGLISH
15
3.1 Resolution configuration
Through the menu OptionsVideo Capture Pinyou are able to change the default resolution
settings for the webcam:
Output Sizewebcam.
Frame Rate
Note: If you select a higher resolution, the frame rate will drop. To have a smooth webcam stream,
lower the resolution.
3.2 Extra features
The webcam has extra features, Special EffectsFace TrackingFace Effects
These features can be set through the properties of the webcam, which can be accessed in different ways:
Amcap: Start Amcap OptionsVideo Capture Filter
The properties of the webcam will be shown.
Live Messenger: Start a conversation with a contact and enable the webcam. Right-click on the webcam
Web Camera Settings…Advanced
The properties of the webcam will be shown.
Skype: Start a conversation with a contact and enable the webcam. Right-click on the webcam
Video Settings

ENGLISH
16
3.2.1 Special Effect
Special Effectphoto frame, to adjust your webcam
image.
You can select 9 different image effects.
You can select 7 different photo frame effects.
Apply
Note: You cannot select an image effect and a photo effect at the same time.
When an image effect is selected, and you select a photo effect, the image effect will be disabled.
When a photo effect is selected, and you select an image effect, the photo effect will be disabled.
Note: The Special Effect640x480 or
lower.

ENGLISH
17
3.2.2 Face Tracking
Face Tracking your webcam image, or use the face tracking option
to automatically zoom into your face.
Use the manual zoom option to manually zoom.
Use the face tracking option to automatically zoom into your face. You can define a tracking speed
and show the original webcam image in a Picture in Picture window in a corner of your screen.
Apply
Note: Face Tracking640x480
or lower.

ENGLISH
18
3.2.3 Face Effect
Face Effect
Applyface effect.
Note: Face Effect640x480 or
lower.

ENGLISH
19
3.2.4 Advanced
Advancedmirror the webcam image.
Horizontal Fliphorizontally.
Vertical Flip
When you have selected a mirror effectApply

ENGLISH
20
3.2.5 Video Proc Amp
Videp Proc Amp
BrightnessContrastSaturationSharpnessGammaGain
adjust the image settings
Default
Apply
Enjoy the use of your Conceptronic Chatcam!
Table of contents
Languages:
Other Conceptronic Webcam manuals

Conceptronic
Conceptronic CDESKCAM User manual

Conceptronic
Conceptronic FLEXCAM CLLFLCAM20 User manual

Conceptronic
Conceptronic CLLCHATCAM User manual

Conceptronic
Conceptronic CLLCLIQCAM User manual

Conceptronic
Conceptronic CLLCHITCHAT User manual

Conceptronic
Conceptronic CFUNCAM User manual

Conceptronic
Conceptronic CLLCHATCAM User manual

Conceptronic
Conceptronic CLLNOTECAM User manual

Conceptronic
Conceptronic FLEXCAM CLLFLCAM20 User manual

Conceptronic
Conceptronic CLLCHATCAM v2.0 User manual