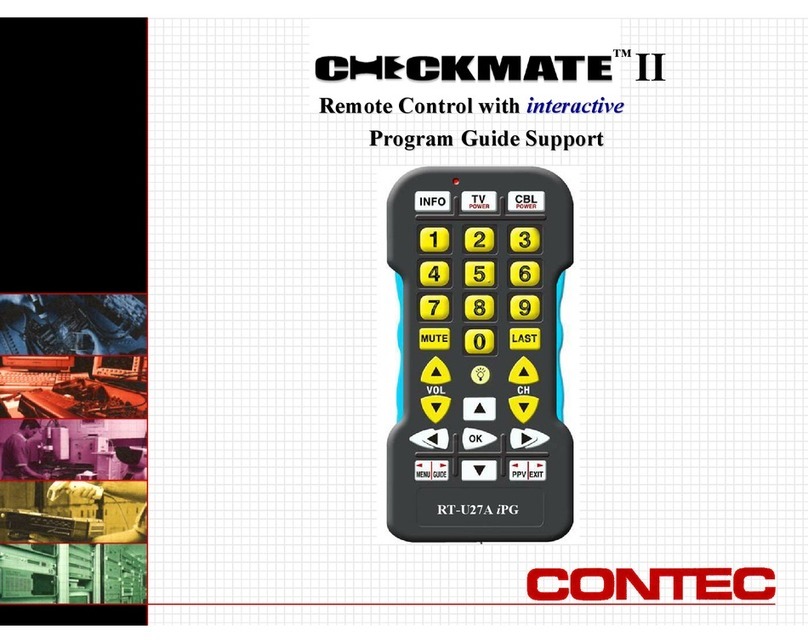
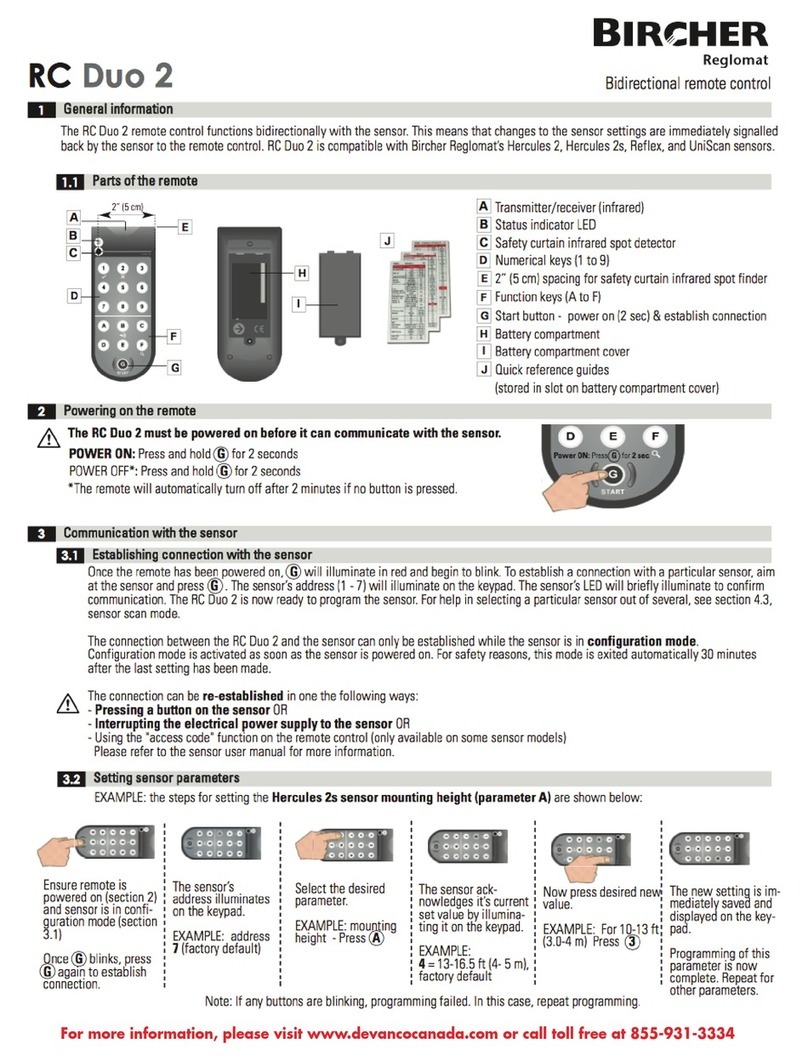
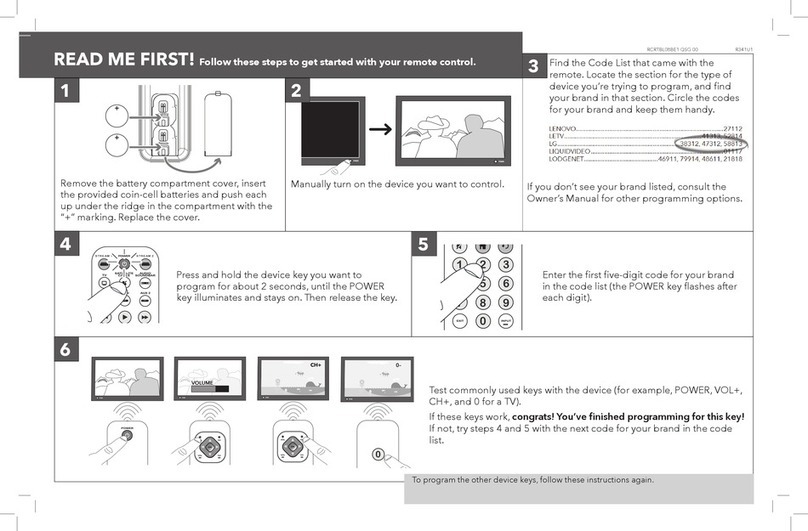
Contec CheckMate IV RT-U49A User manual

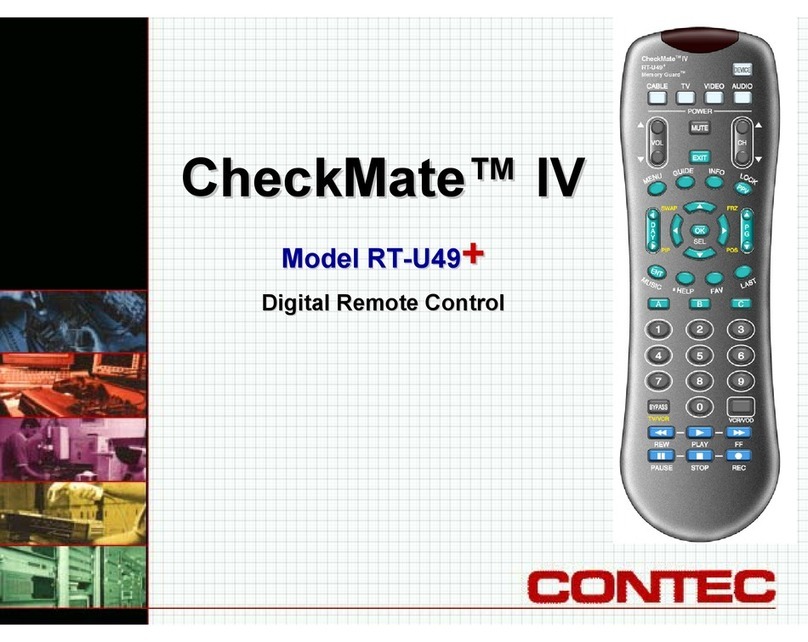
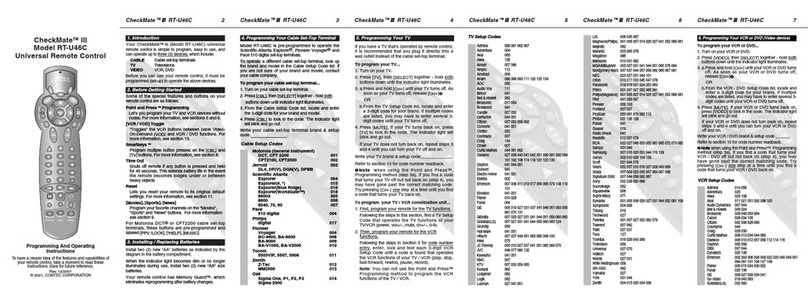
CheckMate™IV
Model RT-U49A
Universal Remote Control
Programming And
Operating Instructions
To have a clearer idea of the features and capabilities
of your remote control, take a moment to read these
instructions. Save for future reference.
Rev. 11/2000. © 2001, CONTEC CORPORATION
1. Introduction
Your Checkmate IV (Model RT-U49A) universal remote
control is simple to program, easy to use, and can operate
up to four (4) electronic devices which include:
CABLE Cable converters
TV Televisions
VCR VCRs
AUX 2nd CABLE, 2nd TV, 2nd VCR
Before you can use your remote control, it must be
programmed (set-up) to operate the above devices.
Programming your remote is a simple procedure using Point
and Press™ Programming, an automatic method whereby
the remote self-programs to each of your devices, eliminating
the need to use codes. Programming your remote can also
be done by entering code numbers.
Simplified Point and Press™ Programming instructions can
also be found on the back of your remote control.
2. Installing / Replacing Batteries
Install two (2) “AAA” batteries as indicated by the diagram in
the battery compartment. Be careful to properly match the
“+ / -” ends of the batteries with the diagram in the battery
compartment.
Under normal use, your remote should operate for
approximately 10 - 12 months on 2 “AAA” non-alkaline
batteries. For longer life, use alkaline-type batteries.
When the batteries become too weak to operate the remote
control properly, the mode keys will become dim or not
illuminate at all during use. When this happens, install 2 new
“AAA” size batteries.
Your remote control has Memory Guard™, which eliminates
reprogramming after battery changes provided new batteries
are installed within 6 hours of removal of old batteries.
3. Programming Your Cable Converter
Your remote is pre-programmed to operate Motorola's
DCT®and CFT2200®set-top CABLE converters.
If you need to operate a different CABLE converter, look up
the brand and model number in the attached code list. If you
are not sure of your brand and model, contact your cable
company.
To program (setup) the remote to operate your CABLE
converter...
1. Turn on your CABLE converter.
2. Press [DEVICE], then [MUTE] together - hold both
buttons down until the lighted mode buttons start blinking
in sequence.
3. Press [CABLE]. The [CABLE] button will illuminate.
4. From the Cable Setup Code list below, locate and enter
the 3-digit code for your brand and model.
5. Press [CABLE] to lock in the code. The [CABLE] button
will blink 2 times and go out.
Write your CABLE brand & setup code _______________
Cable Setup Codes
Motorola (General Instrument)
DCT, CFT2200 (default) 101
CFT2100, CFT2000 102
Jerrold
DL4, DP(V), DQN(V), DPBB 103
Scientific Atlanta
Explorer 104
8600X 105
8600 106
8540, 70, 90 107
Pioneer
Voyager 104
BA-V1000, BA-V2000 110
BA-9000 109
BC-4600, BA-5000, BA-6000 108
Tocom
5503VIP, 5507, 5508 111
Zenith
Z-Tac 112
MM2500 113
Oak
Sigma One, P1, P2, P3, Sigma 2000 114
4. Programming Your TV
If you have a TV operated by remote control, it is
recommended that you plug it directly into a wall outlet
instead of the cable converter.
To program (setup) the remote to operate your TV...

1. Turn on your TV.
2. Press [DEVICE], then [MUTE] together - hold both
buttons down until the lighted mode buttons start blinking
in sequence.
3. Press [TV]. The [TV] button will illuminate.
4a. Pressand hold [CH ^]untilyour TV turns off.As
soon as your TV turns off,release [CH ^].
OR
b. From the TV Setup Code list below, locate and enter
the 3-digit code for your brand. If multiple codes are
listed, you may have to enter several 3-digit codes
until your TV turns off.
5. Press [MUTE]. If your TV turns back on, press [TV] to
lock in the code. The [TV] button will blink 2 times and
go out.
If your TV does not turn back on, repeat steps 4 and 5
above until you can turn your TV off and on. u
Write your TV brand & setup code. ____________________
uNOTE when using the Point and Press™ Programming
method (step 4a.). If you find a code that turns your TV off
but not back on (step 5.), you may have gone past the
correctmatching code. Try pressing [CH v]one step at a
time until you find a code that turns your TV back on. Refer
to Section 14 for Code Number Readback.
TV Setup Codes
Admiral 158 161 162 167
Adventura 104
Akai 165
A Mark 107 186
Amstrad 106
Anam 188 189 193
AOC 165
Belcor 141
Bell&Howell 162
Broksonic 111 154
Brokwood 141
Candle 127 152
Centurion 144 151
Citizen 127 152 159 162
Concerto 141 151
Contec 120
Coronado 107
Crown 107
Curtis Mathes 144 161 162
Daewoo 127 139 140 141 142
151 190 191 192 194
Daytron 141 144 151
Dumont 141
Electron Home 141 151
Elektra 102
Emerson 107 108 111 112 117
154 165 179
Envision 141 151
Fisher 110 128
Funai 104
GE 105 119 127 131 137
141 146 151 153 155
161 170
Gibralta 107 125 127 131 141
144 151 159 160 165
Goldstar (LG) 107 127 131 141 144
159 160 165
Grundig 159
Hall Mark 141 151
Hitachi 107 127 149 151 183
185
Inkel 175
JC Penney 105 110 127 137 141
151 165 169 170
JVC 148 177 180
Kawasho 141 151
KMC 107
KTV 107 130 159 165
Kurazai 162
Lodgenet 162
Logik 162
Luxman 127 141 151
LXI 135 167
Magnavox 101 105 107 114 127
126 141 152 168 181
Majestic 162
Marantz 103 165 176
Megatron 186
Memorex 162
MGA / Mitsubishi 103 127 131 141 144
151 165 176 184
Montgomery Ward 107 137 144 157 158
162 165 167 181
NEC 123 127 131 144
Orion 133 117 133 145 147
178
Panasonic 118 119 121 124 153
163
Philco 101 107 127 152 165
181
Philips 101 114 127 131 181
197
Pilot 141159197
Pioneer 156
Portland 107 127
ProScan 155 161 173 182
Proton 131
Pulsar 141
Quasar 119
Radio Shack 141
Realistic 112 157 179
RCA 122 127 146 153 155
161 165 172 173 182
Sampo 131 144
Samsung 107 116 120 131 144
Sanyo 102 110 128
Scott 131 144 179
Sears 102 107 110 116 127
128 143 169
Sharp 107 109 123 135 157
164 167 196
Signature 2000 107 144 158 162 167
Sony 132 138 150 166
Soundesign 152
Squareview 106
Supre-Macy 171
Sylvania 101 105 126 127 131
144 152 181
Symphonic 104 106
Tatung 119
Techwood 127
Teknika 101 107 127 152 162
179
Telerent 107 162
TMK 127 131
Toshiba 116 129 143 169
Totevision 159
Universal 127 170
Vidtech 127
Wards 127 131
White Westinghouse 158
XR-1000 162
Yamaha 127
York 131 144
Zenith 104 115 125 136 142 134
To program your TV / VCR combination unit...
1. First, program your remote as a TV
Following the steps in this section, find a TV Setup Code
that operates the TV functions of your TV /VCR (power,
vol ^/ v, mute, ch ^/v,0 – 9).
2. Then, program your remote as a VCR
Following the steps in Section 5 for code number
programming, enter, lock and test each 3-digit VCR
Setup Code until a code is found that operates the VCR
functions of your TV / VCR (play, stop, fast-forward,
rewind, pause, record).
Note: You can not use the Point and Press™
Programming method to program the VCR functions of
the TV / VCR.
5. Programming Your VCR
To program (setup) the remote to operate your VCR...

1. Turn on your VCR.
2. Press [DEVICE], then [MUTE] together - hold both
buttons down until the lighted mode buttons start blinking
in sequence.
3. Press [VCR]. The [VCR] button will illuminate.
4. a. Pressand hold [CH ^] until yourVCRturns off. As
soon as your VCRturnsoff, release [CH^].
OR
b. From the VCR Setup Code list below, locate and
enter the 3-digit code for your brand. If multiple
codes are listed, you may have to enter several 3-
digit codes until your VCR turns off.
5. Press [MUTE]. If your VCR turns back on, press [VCR]
to lock in the code. The [VCR] button will blink 2 times
and go out.
If your VCR does not turn back on, repeat steps 4 and 5
above until you can turn your VCR off and on. u
Write your VCR brand & setup code ___________________
uNOTE when using the Point and Press™ Programming
method (step 4a.). If you find a code that turns your VCR off
but not back on (step 5.), you may have gone past the
correctmatching code. Try pressing [CH v]one step at a
time until you find a code that turns your VCR back on. Refer
to Section 14 for Code Number Readback.
VCR Setup Codes
Admiral 114 156
Adventura 125
Aiwa 125
Akai 111 121 151
Audio Dynamics 107 144
Bell&Howell 105 124
Broksonic 109 148 153 164
Canon 108 134
Citizen 102 106 128 160
Colortyme 144
Craig 128 130
Curtis Mathes 108 113 134 144 160
Daewoo 106 110 112 157 158
Daytron 158 155
DBX 107 144
Dynatech 125
Emerson 102 103 106 108 109
122 133 140 149 151
164
Fisher 105 115 124 130 152
Funai 125
GE 108 127 128 134 141
Go Video 119 143 163
Goldstar (LG) 102 160
Harman Kardon 144
Hitachi 125 146 159
Instant Replay 108 117 134
JC Penney 105 108 117 128 134
144 146
JCL 108
JVC 104 105 107 126 138
160
Kenwood 105 107 160
Logik 142
LXI 102 125
Magnavox 108 125 134 136
Marantz 105 108 136 144 160
Marta 102
Memorex 102 105 125 130 134
MGA / Mitsubishi 123 129 131 147
MTC 125 128
Montgomery Ward 114 125 127 134 137
162
Multi Tech 125 128 142
NEC 105 107 144 170 171
Orion 122 149 165 166 167
168
Panasonic 108 113 134
Pentax 146
Philco 108 134 136
Philips 108 117 134 136
Pioneer 145 146
Portland 158
ProScan 127 141
Quasar 113 134
Quartz 101 108 116 117 127
128 137 141 146
Realistic 105 114 125 130 134
RCA 101 108 116 117 127
128 137 141 146
Samsung 121 128 139
Sansai 142
Sanyo 105 124 130
Scott 103 106 131 142
Sears 102 105 115 130 146
Sharp 114 156
Shintom 142
Signature 2000 114 125 127 137 162
Sony 132 135 150
Sylvania 108 116 117 125 134
136 165 172
Symphonic 125
Tandy 105 125
Tatung 107
Teac 107 125
Technics 108
Teknika 102 153
Toshiba 105 115 146 152
Totevision 102 128
Unitech 128
Vector Research 131 144
Video Concepts 144
Wards 102 114 125 128 160
XR-1000 142
Yamaha 105 107 144
Zenith 118 135 138 161
6. Programming Your Auxiliary Device
To program (setup) the remote to operate your
AUXILIARY device (2nd CABLE, 2nd TV, 2nd VCR)…
1. Turn on your AUXILIARY device (2nd CABLE, 2nd TV, 2nd
VCR).
2. Press [DEVICE], then [MUTE] together - hold both
buttons down until the lighted mode buttons start blinking
in sequence.
3. Press [AUX]. The [AUX] button will illuminate.
4. Press [TV] to program a 2nd TV as your AUXILIARY
device. The [AUX] and [TV] buttons will blink together.
Or press [CABLE] or [VCR] to program either of these as
your AUXILIARY device.
5. a. Pressand hold [CH ^]untilyour AUXILIARYdevice
turns off. As soon as your AUXILIARY device turns
off,release [CH ^].
OR
b. From the TV (Cable, VCR) Setup Code lists, locate
and enter the 3-digit code for your brand. If multiple
codes are listed, you may have to enter several 3-
digit codes until your AUXILIARY device turns off.
6. Press [MUTE]. If your AUXILIARY device turns back on,
press [AUX] to lock in the code. The two illuminated
buttons will blink 2 times and go out.
If your AUXILIARY device does not turn back on, repeat
steps 4 and 5 above until you can turn your AUXILIARY
device off and on. u
Write your AUX device brand & setup code ______________
uNOTE when using the Point and Press™ Programming
method (step 4a.). If you find a code that turns your
AUXILIARY device off but not back on (step 5.), you may
have gone past the correct matching code. Try pressing [CH
q] one step at a time until you find a code that turns your
AUXILIARY device back on. Refer to Section 14 for Code
Number Readback.

7. Operating Your Converter
Your remote control is designed to operate all the features
and functions of your advanced cable converter.
To select your remote’s CABLE mode, press [DEVICE] then
[CABLE]. The [CABLE] button will blink one time. Then
press...
[DEVICE] Illuminates [CABLE] mode.
[CABLE] CABLE on / off.
[TV] TV on / off.
[VCR] VCR on / off.
[AUX] AUXILIARY device on / off.
[0] - [9] Numeric entry buttons.
[LAST] Displays last channel viewed.
[MUSIC / ENTER] Selects Music Choice™ digital music
through your converter.
[VOL^] / [VOL v] Increases /decreases CABLE
volume.
[MUTE] Mutes CABLE volume.
[EXIT]Exitson-screen menus,view guide.
[CH ^] / [CH v]Increases /decreases CABLE
channel.
[A], [B], [C] Functions set by cable operator.
[MENU] Displays on-screen features, options
[GUIDE] Displays on-screen listing of
programs by date, time, channel.
[INFO] Displays channel, time information.
[FAV] Scroll through favorite channels.
[DAY3] / [DAY4] Previous / next day in view guide.
[3], [4], [5], [6]Navigate on-screen menus,program
guide, PPV events and interactive
services.
[SEL / OK] Select menu option, program PPV
events and function options.
[PG ^] / [PG v]Page up / down through menus,
view guide.
[BYPASS] RF Bypass on converter.
[* HELP] Displays on-screen help on
converters so equipped.
[PPV / LOCK] Displays pay-per-view events, enter
parental control access code.
[SEL / OK] + [INFO] Converter diagnostic functions (DCT
/ CFT2200 setup code 101).
[VCR / VOD] Press to illuminate current operation
of VCR buttons, either CABLE
(video-on-demand) or VCR (play,
stop, etc.). Press again to change
operations from CABLE àVCR or
VCR àCABLE. VCR / VOD
operates in CABLE mode only.
[ <]Stop – CABLE or VCR.
[
;
]Pause – CABLE or VCR.
[
4
]Play – CABLE or VCR.
[
7
]Rewind – CABLE or VCR.
[ ]Record – CABLE or VCR.
[
8
]Fast-forward – CABLE or VCR.
8. Operating Your TV
Your remote control is designed to operate many functions of
your TV.
To select your remote’s TV mode, press [DEVICE] then
[TV]. The [TV] button will blink one time. Then press...
[DEVICE] Illuminates [TV] mode.
[CABLE] CABLE on / off.
[TV] TV on / off.
[VCR] VCR on / off.
[AUX] AUXILIARY device on / off.
[0] – [9] Numeric channel entry buttons.
[MUSIC / ENTER]Pressed after 0 - 9 to change
channels on some TVs.
[VOL ^] / [VOL v]Increases /decreases TV volume.
[MUTE] Mutes TV volume.
[CH ^] / [CH v] Increases /decreases TV channels.
[TV / VCR] Change TV’s video inputs.
In your remote’s TV mode, you can
also press…
[ <]Stop - VCR.
[
;
]Pause – VCR.
[
4
]Play - VCR.
[
7
]Rewind - VCR.
[ ]Record - VCR.
[
8
]Fast-forward - VCR.
9 . Operating Your VCR
Your remote control is designed to operate many functions of
your VCR.
To select your remote’s VCR mode, press [DEVICE] then
[VCR]. The [VCR] button will blink one time. Then press...
[DEVICE] Illuminates [VCR] mode.
[CABLE] CABLE on / off.
[TV] TV on / off.
[VCR] VCR on / off.
[AUX] AUXILIARY device on / off.
[0] – [9] Numeric channel entry buttons.
[VOL ^] / [VOL v]Increases /decreases TV volume.
[MUTE] Mutes TV volume.
[CH ^] / [CH v]
Increases
/
decreases
VCR channels.
[TV / VCR] Change VCR’s video inputs.
[<]Stop - VCR.
[
;
]Pause – VCR.
[
4
]Play - VCR.
[
7
]Rewind - VCR.
[ ]Record - VCR.
[
8
] Fast-forward - VCR.
10. Operating Your Auxiliary Device
Your remote control can also operate a 2nd CABLE
converter, 2nd TV, or 2nd VCR.
To select your remote’s AUXILIARY mode, press [DEVICE]
then [AUX]. The [AUX] button will blink one time. Then
press…
[DEVICE] Illuminates [AUX] mode.

[CABLE] CABLE on / off.
[TV] TV on / off.
[VCR] VCR on / off.
[AUX] AUXILIARY device on / off.
Refer to section 7, 8, or 9 above for operating the
AUXILIARY device you have programmed your remote
control to operate.
11. Programming Volume Control
When you first program your remote, each device controls its
own volume (except VCR volume, which defaults to your TV).
Your volume control options in each mode are:
CABLE CABLE (normal), TV or AUX (2nd TV).
TV TV (normal), CABLE or AUX (2nd TV).
VCR TV (normal), CABLE or AUX (2nd TV).
AUX AUXILIARY device (normal), CABLE or TV.
To control volume / mute through your TV in the
remote’s CABLE mode…
1. Press [DEVICE], then [MUTE] together - hold both down
until the lighted mode buttons start blinking in sequence.
2. Press [CABLE] to select the cable mode. The [CABLE]
button will illuminate.
3. Press[VOL ^],then [TV]for TV volume. The [CABLE]
button will blink 2 times and go out.
To return volume control back to your CABLE converter,
repeat steps 1. and 2. above, then press [VOL p], then
[CABLE] in step 3.
To control volume / mute through your CABLE converter
in the remote’s VCR mode…
1. Press [DEVICE], then [MUTE] together - hold both down
until the lighted mode buttons start blinking in sequence.
2. Press [VCR] to select the VCR mode. The [VCR] button
will illuminate.
3. Press[VOL ^],then [CABLE]for CABLE volume. The
[VCR] button will blink 2 times and go out.
To return volume control back to your TV, repeat steps 1.
and 2. above, then press[VOL ^],then [TV]in step 3.
12. Your Remote’s SmartKeys™
Your remote is equipped with three (3) SmartKeys™ -
[CABLE], [TV], and [BYPASS]. Each SmartKey™ can be
programmed to transmit up to 12 functions (button presses),
which can help simplify your remote’s operation and reduce
button presses.
Here are a few examples of how you can program and use
each SmartKey™.
Programming and using the [CABLE] SmartKey™
The [CABLE] button normally turns on / off your CABLE
converter. You can program the [CABLE] button to turn on
(or off) your CABLE, TV, VCR, and AUXILIARY devices with
one button press.
1. Press [DEVICE], then [CABLE] to select the CABLE
mode of your remote.
2. Press [CABLE], then [SEL] together – hold both down
together until the [CABLE] button illuminates.
3. In this order, press [CABLE], [TV], [VCR], [AUX]. The
[CABLE] button will blink and remain illuminated.
4. Press[CH ^] to lock in this setting. The[CABLE] button
will blink and go out.
To return the [CABLE] button to its normal function, repeat
steps 1 and 2 above, then press[CH v].
Programming and using the [TV] SmartKey™
The [TV] button normally turns on / off your TV. You can
program the [TV] button to turn on your TV, then tune your
TV to channel 3 with one button press.
1. Press [DEVICE], then [CABLE] to select the CABLE
mode of your remote.
2. Press [TV], then [SEL] together – hold both down
together until the [TV] button illuminates.
3. In this order, press [TV], [DEVICE], [TV], [0], [3],
[DEVICE], [CABLE]. The [TV] button will blink and
remain illuminated.
4. Press[CH ^]to lockin thissetting. The [TV]button will
blink and go out.
To return the [TV]button to itsnormal function, repeat steps
1 and 2 above, then press[CH v].
Programming and using the [BYPASS] SmartKey™
The [BYPASS] button (CABLE mode) places your CABLE
converter in a BYPASS mode. While the CABLE converter
is in its BYPASS mode, you can record one program on your
VCR while watching a different program through your TV.
You can program the [BYPASS] button so that any time it is
pressed, it will also tune your TV to a specific channel. This
is important because when exiting the CABLE converter’s
BYPASS mode, your TV should be re-tuned to its default
channel, typically 3, for proper cable reception.
1. Press [DEVICE], then [CABLE] to select the CABLE
mode of your remote.
2. Press [BYPASS], then [SEL] together – hold both down
together until the [CABLE] button illuminates.
3. In this order, press [BYPASS], [DEVICE], [TV], [0], [3],
[DEVICE], [CABLE]. The [CABLE] button will blink and
remain illuminated.
4. Press[CH ^]tostore the setting. The [CABLE]button
will blink and go out.
To return the [BYPASS] button to its normal function, repeat
steps 1 and 2 above, then press [CH q].
Remember: When using any SmartKey™ to transmit a
series of functions, be sure to keep your remote aimed at the
devices to ensure all functions are received in their entirety.
13. Code Number Readback
To identify the 3-digit setup code for your devices, follow
these steps:
1. Press [DEVICE], then [MUTE] - hold both down until the
illuminated mode buttons start blinking in sequence.
2. Press [CABLE] to identify your CABLE converter code.
Or [TV], [VCR], [AUX] to identify these codes. The
selected mode button will illuminate.
3. Press [INFO]. The illuminated button will “blink back” the
code number, with a 1-second interval between each
digit of the code.
Example: For code “105”, the remote will blink 1 time, then
10 times, then 5 times.
14. Helpful Tips & Troubleshooting
1. Your remote has a Point and Press™ Programming label
on the back of its case. This will help you quickly
program the remote without using codes.
2. A mode button will illuminate while the remote is in a
programming mode. In the absence of an entry, the
illuminated button will go out after 40 seconds.
3. When locking in your devices, the illuminated mode
button will blink 2 times and go off.
4. When using the Point and Press™ Programming
method, you may find a code that turns your device off
but not back on (after pressing [MUTE]). If this
happens…
a. the correct code has not been found. Continue
pressing [CH p] until your devices turn on and off.
OR
b. you may have gone past the correct matching code.
Try pressing [CH v]one step at a time untilyou find
a code that turns your devices back on.
5. If you have a Scientific Atlanta 8500 series converter,
press[CH ^] or[CHv]to turn on the converter. Press
[CABLE] to turn these converters off.
6. Your remote control will automatically shut itself off if the
same key is pressed and held for 45 seconds. This
extends battery life in the event the remote becomes
lodged under or between large, heavy objects.
7. To reset your remote to its original settings…
a. Press [DEVICE], then [MUTE] together - hold both
buttons down until the lighted mode buttons start
blinking in sequence.
b. Press [CABLE]. The [CABLE] button illuminates.
c. Press [*Help], then [*HELP]. The [CABLE] button will
blink 3 times and go out.
8. When programming your TV, VCR, or AUXILIARY
devices, you may find several setup codes that can turn
on / off a specific device. However, not all of these
codes may operate all the functions on the device bring
programmed. Be sure to use the setup code that
operates all the functions on the device you are
programming.
9. If you have any questions concerning the operation of
your CABLE converter, contact your cable operator.
Rev. 11/2000
© 2001, CONTEC CORPORATION
Table of contents
Other Contec Remote Control manuals

Contec
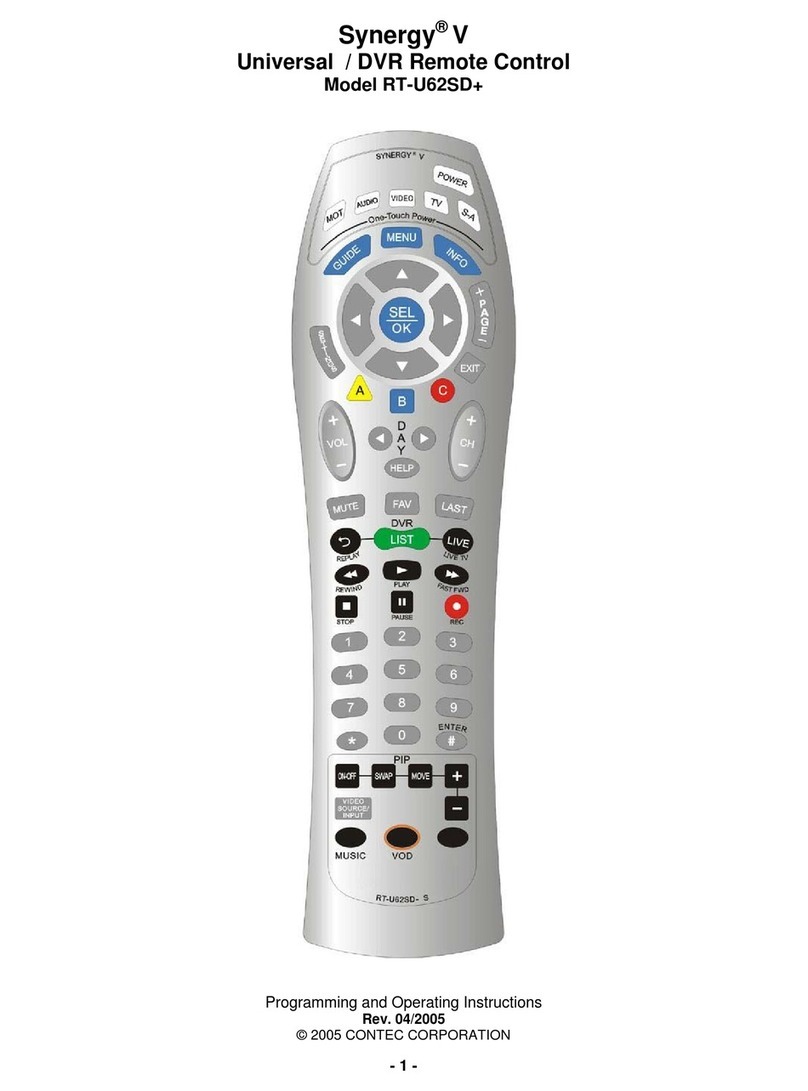
Contec RT-U62SDplus User manual

Contec
Contec RT-U50 User manual

Contec
Contec DVR Remote Control RT-U62CD Setup guide

Contec
Contec RT-M1000+TV-33 User manual

Contec
Contec SRC-350 User manual

Contec
Contec IRC 550 User manual

Contec
Contec RT-U46C User manual

Contec
Contec RT-M1000 Plus TV-33 User manual

Contec
Contec CheckMate IV RT-U49 Plus User manual

Contec
Contec Synergy V RT-U64CP User manual