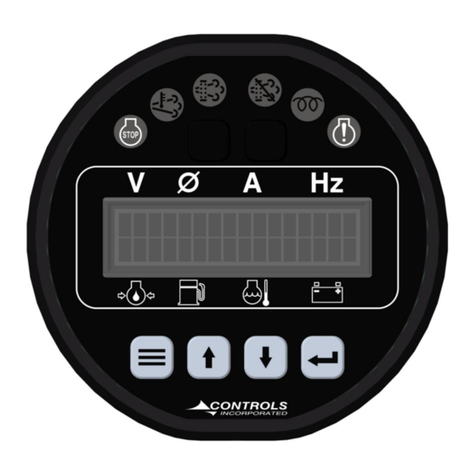
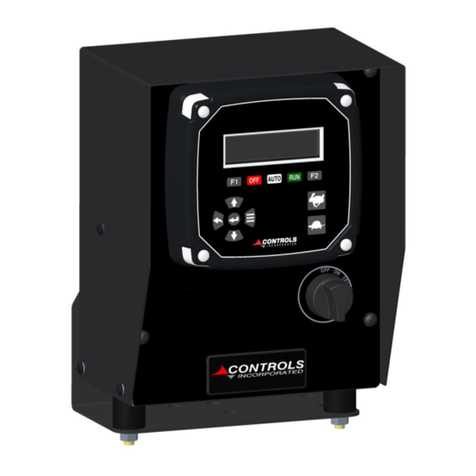
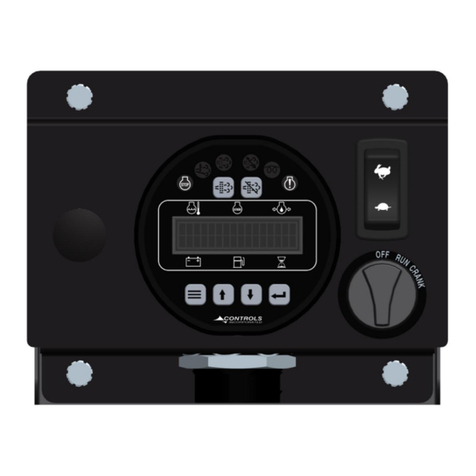
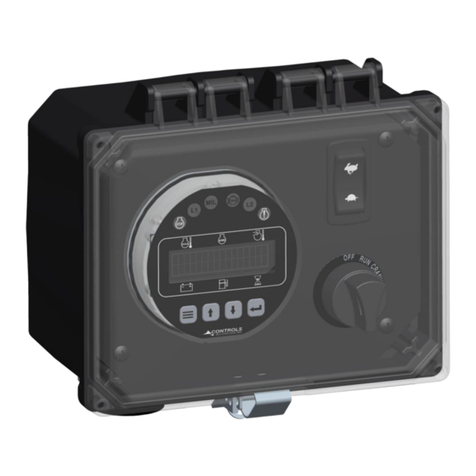
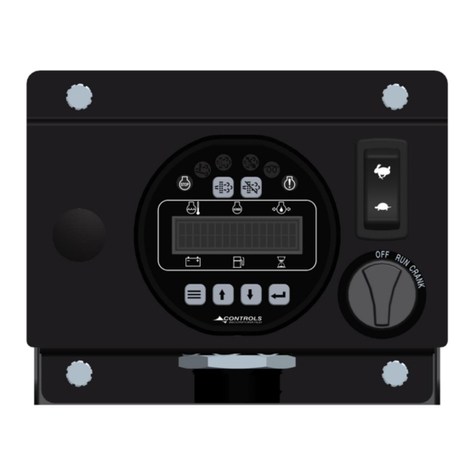
Controls XL-500E-AS User manual

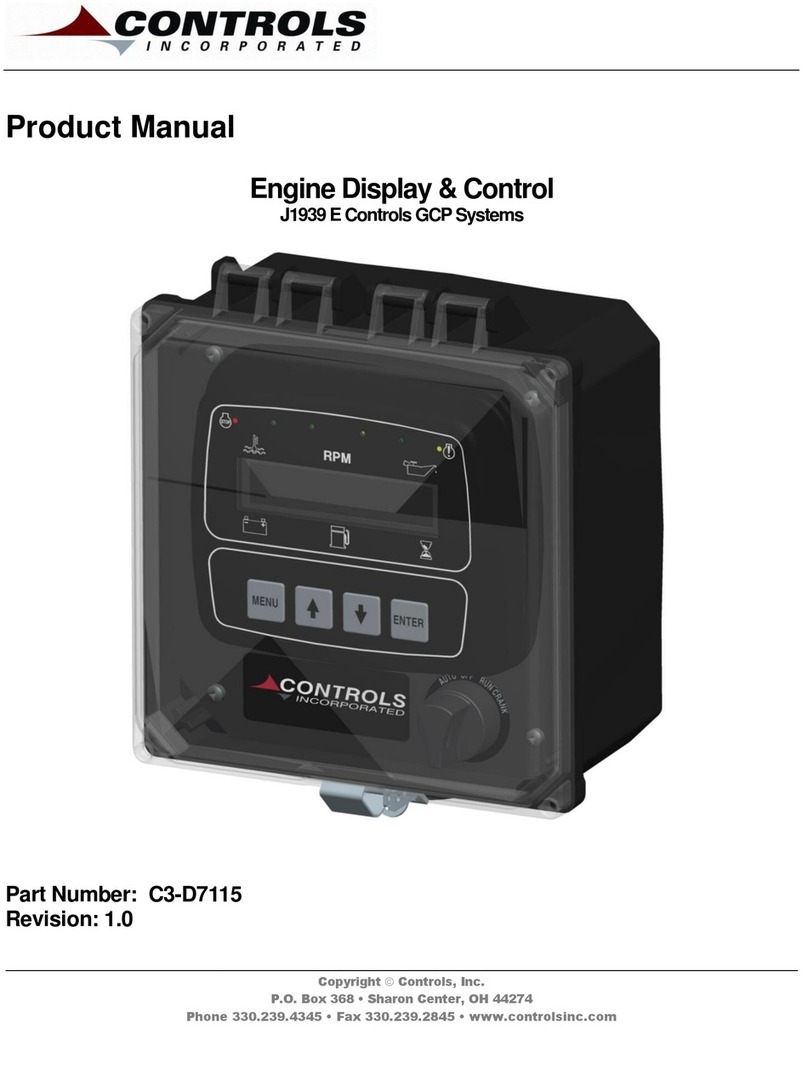
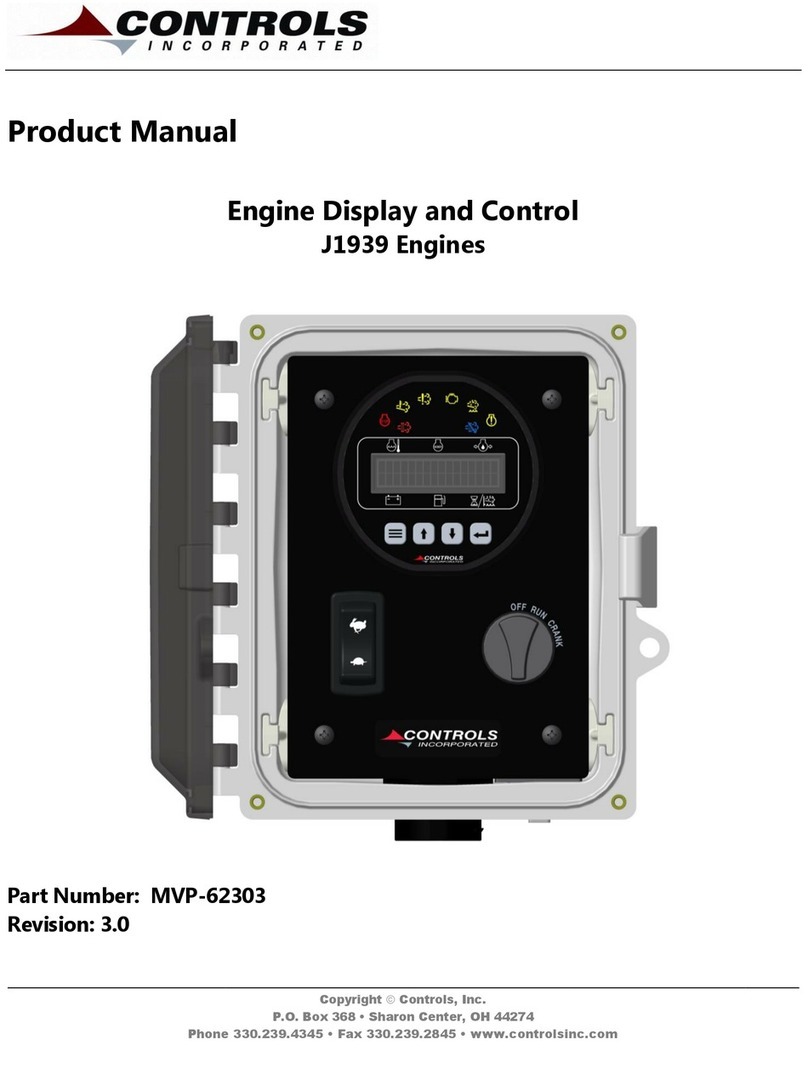
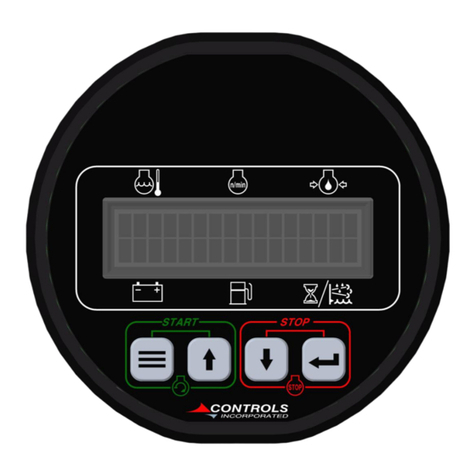
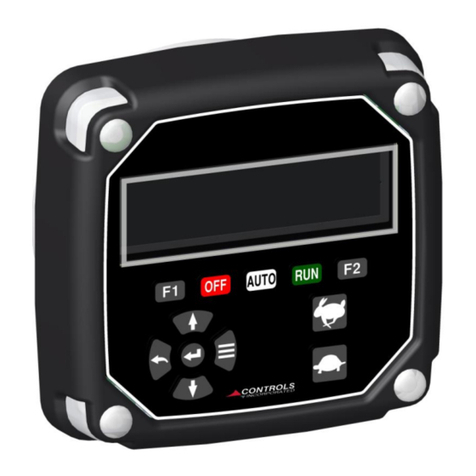
PRODUCT MANUAL
ENGINE CONTROL MODULE
Part Number: XL-500E-AS
Revision: V1.0
Engine Type: Electronic J1939 and Mechanical Engines

1
______________________________________________________________________________________________________________________________________
TABLE OF CONTENTS
INSTALLATION…….…………………………………………………………………………………….…………………………………………....………….5
CONSIDERATIONS
DIMENSIONAL
WIRING SCHEMATIC
OPERATION…………………………………………………………………………………………………….…………………..………………………………..8
POWER UP
MANUAL OFF
MANUAL STARTING
SAFETY BYPASS
ENGINE RUNNING
SPEED CONTROL ELECTRONIC
SPEED CONTROL MECHANICAL
STOPPING THE ENGINE
SPEED CONTROL OPTIONS………………………………………………………………………………………………………………………….14
ELECTRONIC ENGINE SPEED CONTROL
REQUESTED VERSUS ACTUAL SPEED
TSC VERNIER THROTTLE
TSC BUMP
TSC MULTISTATE THROTTLE
TSC HI-LO MOMENTARY THROTTLE
FLEX ANALOG THROTTLE
MODBUS THROTTLE
SPEED / TORQUE LIMIT
COOPERATIVE THROTTLE
TWIST THROTTLE KNOB
SAFETY SHUTDOWNS
LOW POWER MODE

2
DISPLAY CONFIGURATION……………………………………………………………………………………………………………………….20
GRAPHICAL DISPLAY
DISPLAY LAYOUT
DISPLAY CUSTOMIZATION
PROTECTION OPTIONS…………………………………………………………………………………………………………………..………….22
EECU SAFETY SHUTDOWNS AND WARNINGS
MODULE SAFETY SHUTDOWNS AND WARNINGS
LOW POWER MODE
OTHER MODULE FUNCTIONALITY…………………………………………………………………………………………..…………….25
STANDARD FEATURES
CUSTOM SPLASH SCREEN
SENDER FAILURE
AUDIBLE WARNING HORN
SHUTDOWN OVERRIDE
AUTO START OPERATION………………………………………………………………………………………………………………..……….27
GENERAL INFORMATION
AUTO START MODE
LEVEL TRANSDUCER AUTO START
PRESSURE TRANSDUCER AUTO START
SCHEDULER AUTO START
GENERAL TRANSDUCER AUTO START
AUTOMATIC SPEED CONTROL MODES
SINGLE SPEED
TARGET SPEED CONTROL
LINEAR SPEED CONTROL
FLOAT OPERATION………………………………………………………………………………………………….………….…………………….31
SINGLE FLOAT
DUAL FLOAT
FAILSAFE FLOAT WITH TRANSDUCER

3
TRANSDUCER INSTALLATION……………………………………………………………………………………………….….………….33
GENERAL INFORMATION
LEVEL CONTROL
PRESSURE CONTROL
MAIN MENU ACCESS……...………………………………………………...……………………………………………….……………..……….35
MAIN MENU TOPICS……...………………………………………………...…………………………………………….……..….……………….37
ACTIVE ENGINE FAULT CODES
STORED ENGINE FAULT CODES
ENGINE PARAMETERS
EMISSION PARAMETERS
SENDER PARAMETERS
PUMP PARAMETERS
OPERATION EVENT LOG
ALARM EVENT LOG
ENGINE IDENTIFICATION
ETHERNET STATUS
MODULE INFORMATION
MODULE PROGRAMMING……...………………………………………………...……………………………………………….……………….41
PROGRAMMING OPTIONS
PC BASED PROGRAMMING
MODULE BASED PROGRAMMING
CONTROLLER SETUP……...………………………………………………...……………………………………………….…………………..……….43
PASSWORD ENTERY
SETUP MENU
QUICK SETUP
ENGINE PARAMETER CONFIGURATION
PUMP PARAMETER CONFIGURATION
SCHEDULER CONFIGURATION
INPUT CONFIGURATION
OUTPUT CONFIGURATION
THROTTLE CONFIGURATION
ENGINE SAFETY CONFIGURATION
PUMP SAFETY CONFIGURATION
MODULE CONFIGURATION

4
DISPLAY CONFIGURATION
CAN CONFIGURATION
AUTO OPERATION SETTINGS
AUTO START CONFIGURATION
BATTERY RECHARGE CONFIGURATION
MODBUS CONFIGURATION
ETHERNET CONFIGURATION
MAINTENANCE CONFIGURATION
EMISSIONS CONFIGURATION
CLUTCH CONFIGURATION
CLOCK SET UP
MODULE INFORMATION
MODULE CONNECTORS………………………………………………………………………………........………………………….……………...55
MODULE PRIMARY CONNECTOR
MODULE SECONDARY CONNECTOR
WARRANTY………………………………………….……………………………………………………………………….…………………………....56

5
INSTALLATION
MOUNTING LOCATION
To ensure a long life from your module, please review the following installation guidelines.
•HEAT: Be sure to take into account excessive heat areas when mounting your control panel.
Stay away from turbo chargers, exhaust manifolds, diesel particulate filters or any other location
that would put the control panel in the vicinity of excessive heat
•ENCLOSURE MOUNT: If your installation is better suited for a full control panel rather than a
module, contact Controls, Inc. for available options or assistance in designing an enclosure for
your application.
•CONVIENCE OF USE: Study the final assembly of the piece of equipment and how it will be
used. Take into account the operator when locating the module. Ease of access to the unit,
keys and display are all critical in allowing the operator to successfully and safely operate the
module. Extension harnesses are available from Controls, Inc. if the engine harness being used
does not allow for proper location selection.
•WEATHER AND WASHDOWN: The control panel is designed to be weather tight and can be
used in open outdoor conditions. The enclosure has a Gore vent, located on the rear of the
enclosure, which will allow for breathing between the interior of the control enclosure and the
outside environment. Be sure to not apply undue water pressure during wash down and do
not directly spray the Gore vent area.
•HARNESS ROUTING: The use of common sense with respect to harness routing and drip
loops can go a long way in the prevention of unintended water intrusion. Also take into
account the stresses put on the harnessing and the proximity to heat sources as well. For spark
ignited engines, be sure to keep the panel wiring at least 12 inches from the ignition wires.
6

7

8
OPERATION
POWER UP
Turn on the power to the module. The display will illuminate and show the module part number
version in the upper left status line and the graphical logo will be centered in the screen. The LED
indicators will turn on for one second to verify operation.
Stop Lamp
Warning Lamp
Low DEF Lamp
Regen Active Lamp
Mode
Indicator
Lamps

9
MANUAL OFF
After the Power Up cycle is complete, the module will be in the Manual Off mode as shown in the
upper left status line and the corresponding red LED indicator above the Off key.

10
MANUAL STARTING
RUN KEY
Press the green RUN key. If a preheat cycle is programmed in the display, or requested by the
engine’s ECU, the status line will indicate a Wait to Start message or Preheat Countdown. Once
completed, the status line will show Ready to Start.
Press and Hold the green RUN key. The status line will display Starting Engine. The module will
energize the crank relay or send the J1939 CAN Start Engine command depending on the engine
manufacturer selected. The green status LED above the RUN key will flash while cranking is occurring.
Once the engine has started, the green LED will become solid and the RUN key can be released.
KEY SWITCH OPTION
An optional key switch with a crank position can be used if desired to start the engine. CI panel
options typically use the Key Switch option. Contact CI for further details.

11
SAFETY BYPASS
Immediately after the engine begins to run, the module will enter the “Safety Bypass” period. This
time period is typically set to 10 seconds and is programmable. During this period, any engine
parameter set to be monitored as RUN will be ignored until the bypass period is passed, at which
point the safeties will become active. If any engine or system safeties are set to be monitored as
ALWAYS, they will be active as soon as the control panel is powered up regardless of the engine’s run
state. This bypass does not apply to the engine’s ECU safeties. The status line will change to show
Engine Safeties ACTIVE briefly when the module begins monitoring the parameters.
ENGINE RUNNING
Once the engine has been running for a time that exceeds the safety bypass period, all controller
programmed engine safeties that are set to be monitored during engine run will become active. The
control will display engine oil pressure, engine coolant temperature, engine speed, battery voltage,
engine hours and fuel level if a fuel level sender is installed. Up to eight parameters can be shown at
one time. The selections are configurable.

12
SPEED CONTROL - ELECTRONIC ENGINES
The display can control the engine’s speed using J1939 Torque Speed Control (TSC1). When the
engine is started manually, the control panel will request the minimum programmed speed. Pressing
the Up-arrow key will cause the panel to increase the requested speed. The display will place an up or
down arrow to the right of the RPM displayed to indicate that a change in speed is being requested.
See Speed Control Options for more details.
SPEED CONTROL - MECHANICAL ENGINES
For mechanical engines, the module supports multiple mechanical actuators. Typically, two relays are
assigned to extend or retract a screw type actuator. Other CAN Bus driven devices are also supported.
Please contact CI for more information.

13
STOPPING THE ENGINE
When it comes time to stop the engine, simply press the red OFF key. This will de-energize the fuel
solenoid on mechanical engines or the engine ECU Run/Stop circuit on electronic engines. In some
cases, the module will send an engine STOP command over the J1939 CAN Bus to shut down the
engine. Once the engine has stopped, the status line will display Manual Off.

14
SPEED CONTROL OPTIONS
ELECTRONIC ENGINE SPEED CONTROL
The display can control the engine’s speed using J1939 Torque Speed Control (TSC1). When the
engine is started manually, the control panel will request the minimum programmed speed. Pressing
the Up-arrow key will cause the panel to increase the requested speed. The display will place an up or
down arrow to the right of the RPM displayed to indicate that a change in speed is being requested.
Please note that if the low idle speed on the engine’s ECU is higher than the minimum speed
programmed in the controller, the actual engine RPM will be the low ECU setting until the controller’s
speed request command (TSC1) exceeds the ECU low idle speed. This holds true for the high idle
speed set in the ECU as well.

15
The control panels TSC address and the engine’s ECU address must match. Most major engine
manufacturer’s TSC addresses are loaded into the control panel when that engine manufacturer is
selected in the Quick Setup. However, there may be instances where ECU programming may vary. The
control does have the ability to change the TSC address manually in the CAN Configuration menu. If
speed control continues to be elusive, verify that the engine’s ECU does have J1939 throttling enabled.
REQUESTED SPEED VERSUS ACTUAL SPEED
The requested speed by the control panel cannot exceed the maximum programmed speed of the
engine ECU. Once the speed is being controlled by the module, the acceleration will be based on the
ramp rate in the controller. If precise speed control is desired, be sure to have the ECU governing
mode set to Isochronous or Zero Droop; otherwise the actual engine speed will be somewhat below
the requested TSC. To verify the speed being requested by the control module, access the Engine
Parameters menu. From here, you can see the Requested TSC and compare it to the Actual RPM.

16
TSC VERNIER THROTTLE
TSC Vernier is the most popular throttle selection when operating in the manual start mode. The
operator can control the engine speed anywhere between the programmed speed range. This throttle
type allows you to set the minimum engine speed, maximum engine speed, ramp rate, curve type and
bump speed increments without the use of a computer. At engine start, the display will request the
minimum engine speed. When the operator presses the Rabbit key, the engine speed will ramp up at
the programmed rate until the Rabbit key is released. The display will indicate an up arrow to the right
of the RPM. If the maximum speed is reached, the up arrow on the display will be replaced by an X
indicating the maximum speed has been reached. This same operation applies to slowing the engine
speed down using the down arrow key. A single press of the Rabbit or Turtle key will cause the RPM
of the engine to change in that direction by the bump increment, typically set to 20 RPM.
In the example below, the engine would start at 800 RPM and could be operated up to 2400 RPM.
Pressing a throttle key momentarily would change the RPM by increments of 20 RPM. Holding a
throttle key down would change it by 100 RPM/Second.

17
TSC BUMP
The operator can control the engine speed anywhere between the programmed speed range.
However, changes in speed are limited to single presses of the Rabbit and Turtle keys. Each press will
change the requested RPM by the programmed Bump speed.
TSC MULTISTATE THROTTLE
Another widely used throttle type in manual mode allows the operator to increment the engine speed
between predetermined speed settings by pressing the Rabbit or Turtle keys. The number of discreet
speeds set is up to four ascending speeds. After the operator starts the engine, the controller will run
the engine at Speed 1 setting, the lowest speed. Pressing the Rabbit key momentarily will ramp the
engine speed up to the Speed 2 setting. Another press would accelerate to speed three and so on.
Pressing the down key will increment the speed to the next lower speed. You cannot operate the
engine between the speed settings. Leave all unused speeds below the previous speed and the
module will ignore them. In the example below, the engine will start at 800 RPM. Pressing the Rabbit
key will ramp the engine to 1100 RPM. Press it again and it will accelerate to 2000 RPM. Pressing the
Rabbit again will have no effect on the engine speed since Multistate Speed 4 is set below the Speed 3
setting.

18
TSC HIGH-LOW MOMENTARY THROTTLE
This throttle option can be used if only two speeds are desired, a low idle and a high operating speed.
The engine starts at the programmed minimum speed and only accelerates when the Rabbit key is
pressed and held. Once the Rabbit key is released, the speed automatically drops back to the low idle
speed. With this option, it is fairly typical to assign a digital input to the Throttle Up function to allow a
remote switch to be installed elsewhere on the equipment.
FLEX-ANALOG THROTTLE
If an analog signal is available from a PLC output or other device, it can be used to control the engine
speed. A Flex Analog channel must be configured to accept the 4-20mA or 0-5 VDC signal and the
throttle type assigned to Flex-Analog. A linear relationship will be created between the minimum and
maximum programmed speeds and the range of the analog signal.
MODBUS THROTTLE
Engine speed can be requested through the modules RS485 MODBUS interface. Contact Controls, Inc.
for a complete register map. The example for speed control is below. Use of 40004 or 40051 is
acceptable.

19
SPEED / TORQUE LIMIT
If another throttle device (not the display) is being used for speed control, the module can provide a
PGN for Speed and/or Torque Limit. The limits will be based on the programmed Speed Limit and
Torque Derate Limit found under the Throttle Configuration menu.
COOPERATIVE THROTTLE
Controls, Inc. modules can be installed together on the same engine to provide additional display and
speed control from multiple locations. The main module must be configured as the Primary, while the
remaining modules should be set to remote.
TWIST THROTTLE KNOB
The TT-100 throttle knob is available to work with Controls, Inc. modules as well. Contact CI for more
details.
Table of contents
Other Controls Control Unit manuals

Controls
Controls XCAN-AC User manual

Controls
Controls J1939 User manual

Controls
Controls G3-1015 User manual

Controls
Controls MVP-62303 User manual

Controls
Controls MVP-A3235 User manual

Controls
Controls MVP-M702 User manual

Controls
Controls CX Series User manual

Controls
Controls MVP-G342 User manual

Controls
Controls MX Series User manual

Controls
Controls MVP-A6235 User manual
Popular Control Unit manuals by other brands

SKYSMotor
SKYSMotor 3DM2283T user manual

Leica
Leica LID Module 1.0 Instructions for use

Morrison Bros. co.
Morrison Bros. co. 174 Series Installation & maintenance instructions

Advantech
Advantech PCA-TPMSPI Startup manual

Belimo
Belimo Energy Valve EV015R+BAC Technical data

MikroTik
MikroTik R11e-LR2 quick start guide