CookMax Volano 300 User guide

cookmax, cookmax+ und start! sind Marken der PENTAGAST eG
Ruhrstrauch 4, D-36100 Petersberg
Tel: +49 (0) 66 1 / 93 48 3 –0 / Fax: +49 (0) 66 1 / 93 48 3 - 25
www.pentagast.de
Vorbereitung
Aufschnittmaschine
Artikel-Nr.
90415002 (Volano300)
Handbuch

VOLANO 300
Affettatrice a volano –Uso e manutenzione
Flyweel slicer –Use and maintenance
Trancheuse à volant –Emploi et maintenance
Schneidemaschine Mit Handrad - Gebrauch und Wartung

I
Caratteristiche tecniche
Diametro lama 300 mm
Spessore di taglio 0÷2mm
Taglio utile:
-Larghezza 230 mm
-Altezza 190 mm
Dimensioni d’ingombro massime
(valori in mm)
720
600
580
Dimensioni d’ingombro e peso
Lunghezza 720 mm
Larghezza 600 mm
Altezza 580 mm
Peso 43,0 kg
Distanza tra i piedini d’appoggio 400x340 mm
2

1
2
12
3
7
10
8
9
6
15
14
4
5
3
13
1
2
12
11
16
8
7
3
6
5
14
1. Volano
2. Impugnatura
3. Carrello
4. Manopola numerata spessore fetta
5. Leva avanzamento rapido piatto
6. Piatto portamerce
7. Pressamerce
8. Affilatoio
9. Lama
10. Paralama
11. Parafetta
12. Piatto di raccolta
13. Vaschetta raccogli scarto
14. Avanzamento lento piatto
15. Pomolo bloccaggio piatto
16. Pomello bloccaggio affilatoio
3

Uso della macchina
Ruotare il volano 1avvicinando il carrello 3 (verso l’operatore); sollevare il pressamerce 7;
1
3
7
appoggiare sul piatto 6il prodotto da affettare;
6
4

Abbassare il pressamerce 7 bloccando il prodotto; abbassare e spostare la leva 5per avvicinare il prodotto
alla lama 9; l’avvicinamento e l’allontanamento del prodotto possono essere effettuati con più precisione
usando la manopola 14; azionando la manopola numerata 4 (0÷2,7 mm) predisporre lo spessore della fetta
richiesto; ruotare il volano 1avviando l’operazione di taglio con deposizione delle fette sul piatto 12.
9
7
12
1
4
14
5
Pulizia della macchina
Attenzione: utilizzare sempre guanti di protezione antigraffio ed antiscivolo eseguendo le operazioni di
seguito descritte con grande attenzione, senza distrarsi.
PERICOLO DI TAGLIO!
Togliere il prodotto dal piatto 6; ruotare il volano 1avvicinando il carrello 3(verso l’operatore); premere la
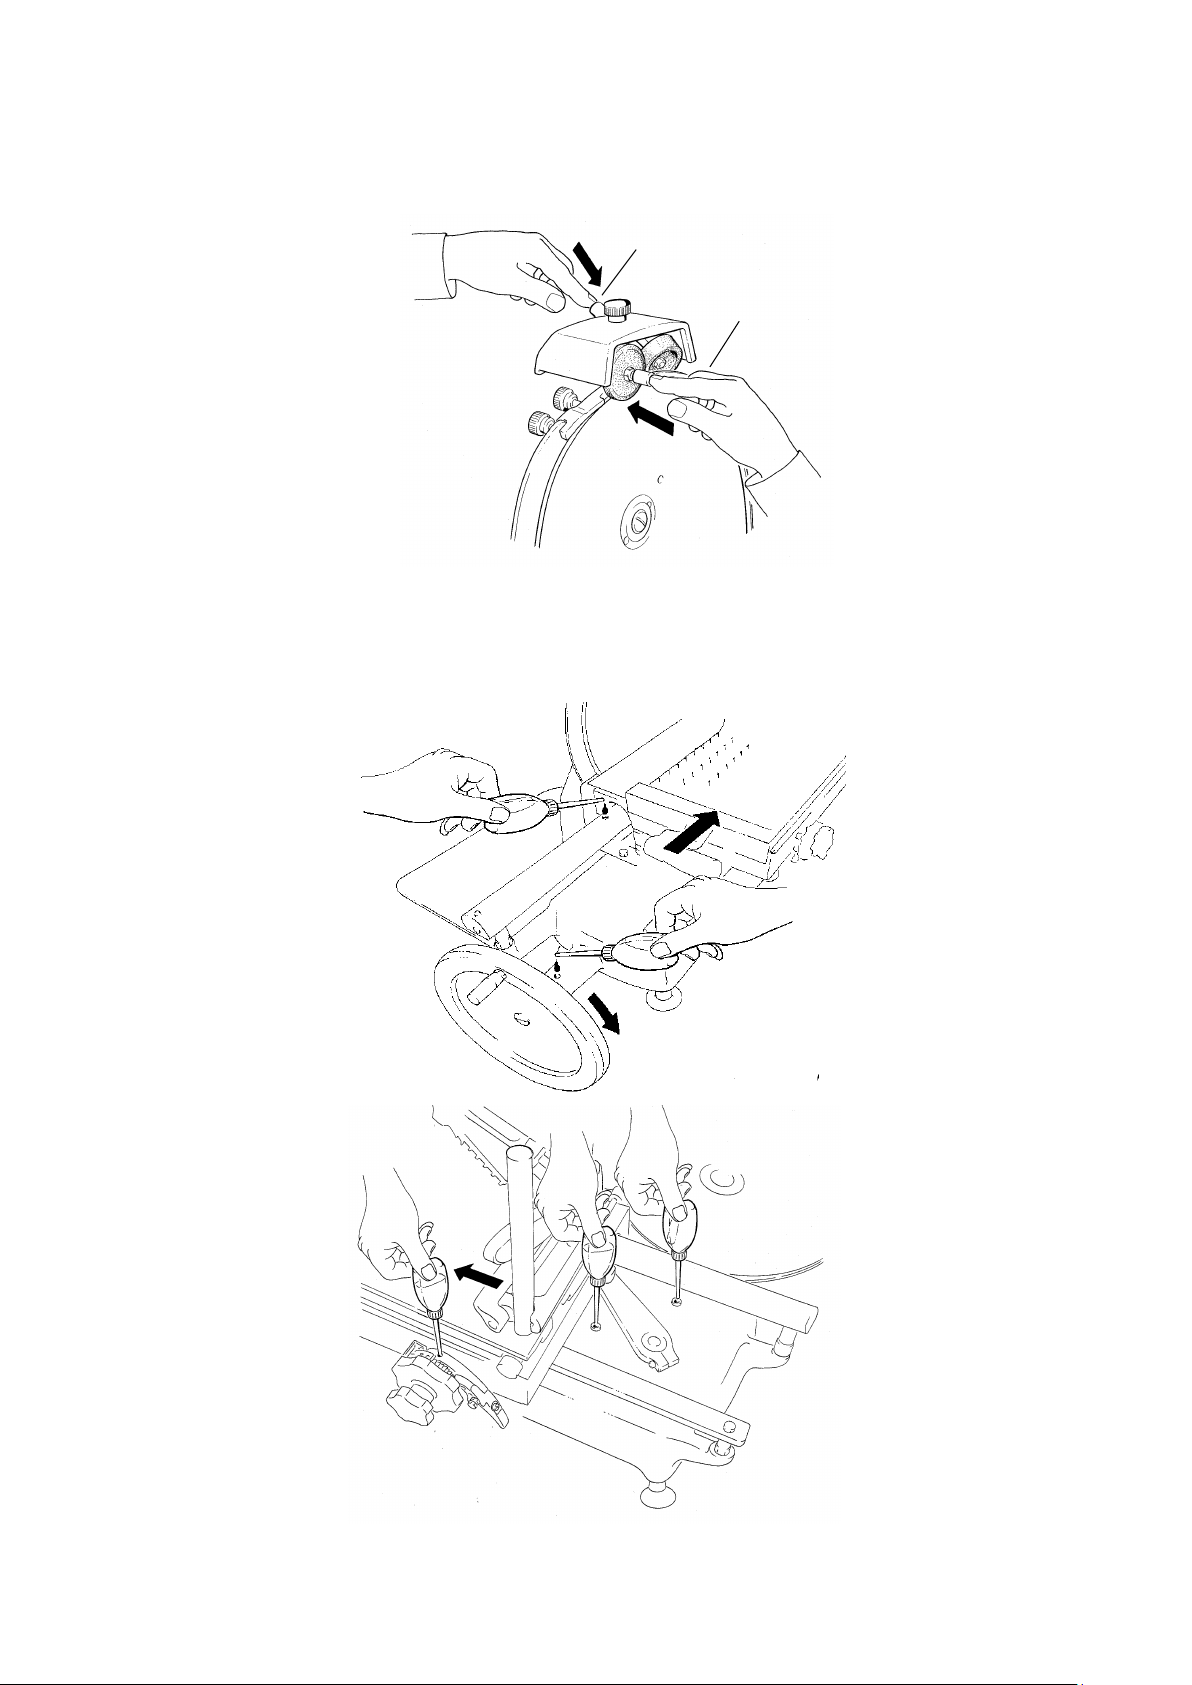
leva 5verso il basso e contemporaneamente verso destra; svitare il pomolo 15 di bloccaggio come in figura;
3
1
6
5
15
5

estrarre il piatto 6; pulire con cura la parte inferiore del piatto ed il piano del carrello 3; pulire la lama 9come
in figura, con grande attenzione, partendo dal centro verso l’esterno;
6
15
3
9
aprire il parafetta 11 e pulirne con cura l’interno; rimuovere il paralama 10 previo allentamento del relativo
pomolo di bloccaggio.
ATTENZIONE: pericolo di taglio!
Rimontare il paralama prontamente ad operazioni di pulizia terminate.
11
10
6

estrarre la vaschetta raccogli scarti 13; lavarla, aciugarla e rimetterla in sede; rimuovere il piatto 12 previo
allentamento delle due viti di fissaggio.
Per le operazioni di pulizia utilizzare esclusivamente un panno inumidito con acqua e normale detersivo
liquido per stoviglie.
13
12
Affilatura lama
Allentare il pomello di bloccaggio 16 dell’affilatoio 8; sollevare l’affilatoio e ruotarlo di 180°; riabbassare con
attenzione l’affilatoio 8, la lama si centrerà automaticamente tra le due mole; ribloccare il pomello.
8
16
8
7

Mettere in rotazione il volano e premere contemporaneamente, per circa 10-15 secondi, il pulsante 8.1;
interrompere la rotazione e controllare con una matita che sul filo della lama si sia formata una leggera bava;
mettere nuovamente in rotazione il volano e premere contemporaneamente il pulsante 8.2 per 2-3 secondi;
riportare l’affilatoio nella posizione originaria.
8.1
8.2
Lubrificazione
Una-due gocce d’olio nei punti indicati; usare esclusivamente l’olio in dotazione; pulire con cura dopo la
lubrificazione rimuovendo l’eventuale olio in eccesso.
8

EN
Technical features
Blade diameter 300 mm
Cut thickness 0÷2 mm
Cut:
-Width 230 mm
-Height 190 mm
Maximum overall dimensions
(values in mm)
720
600
580
Overall dimensions and weight
Length 720 mm
Width 600 mm
Height 580 mm
Weight 43,0 kg
Distance between the feet 400x340 mm
9

1
2
12
3
7
10
8
9
6
15
14
4
5
3
13
1
2
12
11
16
8
7
3
6
5
14
1. Flywheel
2. Handle
3. Carriage
4. Slice thickness gauge
5. Tray fast travel lever
6. Product tray
7. Product grip
8. Blade sharpener
9. Lama
10. Blade protection
11. Slice guide
12. Slice receiving tray
13. Waste tray
14. Tray slow travel
15. Tray locking knob
16. Blade sharpener locking knob
10

Machine operation
Turn the flywheel 1drawing the carriage 3 (towards the operator); pull up the product grip 7;
1
3
7
place the product to be sliced on the tray 6;
6
11

lower the product grip 7to hold the product; lower the lever 5and move it to draw the product near the blade
9; drawing the product near the blade or away can be carried out more precisely using the knob 14; set up
the slice thickness desired by operating the graduated knob 4 (0÷2,7 mm); turn the flywheel 1to start slicing
and placing the slides on the tray 12.
9
7
12
1
4
14
5
Cleaning the machine
Warning: always wear non-scratch and anti-skid protection gloves when carrying out the operations
described above. Always operate with great care and avoid any distraction.
DANGER OF CUTS!
Remove the product from the tray 6; turn the flywheel 1by drawing the carriage 3near the operator; press
the lever 5down and at the same time to the right; unscrew the locking knob 15 as shown in the image;
3
1
6
5
15
12

extract the tray 6; clean the its lower part and the carriage 3 surface carefully; clean the blade 9as shown in
the image, with great care and starting from the center to the edge;
6
15
3
9
open the slice guide 11 and clean inside carefully; remove the blade protection 10 after loosening the locking
knob.
WARNING: danger of cuts!
After cleaning, reassemble the blade protection immediately.
11
10
13

Extract the waste tray 13; wash, dry and pt it again in its seat.
Remove the tray 12 after loosening the two fixing screws.
To clean only use a cloth dampened with water and normal dishwashing liquid soap.
13
12
Sharpening the blade
Loosen the sharpener (8) locking knob; pull the sharpener up and turn it by 180°; lower the sharpener 8
back carefully, the blade will be automatically centered between the two grinding wheels. Lock up the knob.
8
16
8
14

Turn the flywheel and press the 8.1 button at the same time for 10-15 seconds; top rotation and use a pencil
to check whether a slight burr has formed on the blade edge; turn the flywheel again and press the 8.2
button for 2-3 seconds; return the sharpener to its original position.
.
8.1
8.2
Lubrication
Add one or two oil drops at the points as shown. Use only the oil supplied with the machine. After lubrication,
clean carefully and remove the extra oil if necessary.
15

F
Caractéristiques techniques
Diamètre lame 300 mm
Épaisseur de coupe 0÷2mm
Coupe utile:
-Largeur 230 mm
-Hauteur 190 mm
Dimensions d'encombrement maximum
(valeurs en mm)
720
600
580
Dimensions et poids
Longueur 720 mm
Largeur 600 mm
Hauteur 580 mm
Poids 43,0 kg
Distance entre les pieds d'appui 400x340 mm
16

1
2
12
3
7
10
8
9
6
15
14
4
5
3
13
1
2
12
11
16
8
7
3
6
5
14
1. Volant
2. Poignée
3. Chariot
4. Poignée numérotée épaisseur tranche
5. Levier d'avancement rapide plateau
6. Plateau porte produit
7. Presse produit
8. Affûteur
9. Lame
10. Protection lame
11. Guide tranche
12. Plateau de recueil
13. Cuvette déchets
14. Avancement lent plateau
15. Pommeau de blocage plateau
16. Pommeau de blocage affûteur
17

Emploi de la machine
Tourner le volant 1pour approcher le chariot 3(vers l’opérateur); soulever le presse produit 7;
1
3
7
placez-les sur la plaque 6 le produit que doit être tranché;
6
18

abaisser le presse produit 7 pour bloquer le produit; abaisser le levier 5et le déplacer pour approcher le
produit à la lame 9; le produit peut être approché ou éloigné avec plus de précision à l'aide de la poignée 14;
a l'aide de la poignée numérotée 4 (0÷2,7 mm) disposer l'épaisseur désirée de la tranche. Tourner le volant
1pour commencer le tranchage et le dépôt des tranches.
9
7
12
1
4
14
5
Nettoyage de la machine
Attention: pendant les opérations ci-dessus, utiliser toujours des gants de protection anti-rayures et anti-
dérapage, faire bien attention et éviter toute distraction.
DANGER DE COUPURE!
Ôter le produit du plateau 6; tourner le volant 1pour approcher le chariot 3(vers l’opérateur); appuyer sur le
levier 5vers le bas et en même temps vers la droite; dévisser le pommeau 15 de blocage comme montré
dans la figure.
3
1
6
5
15
19
This manual suits for next models
1
Table of contents
Languages:
Other CookMax Kitchen Appliance manuals

CookMax
CookMax HP-38A User manual

CookMax
CookMax VOLANO 350 User guide

CookMax
CookMax SA40 Service manual

CookMax
CookMax 146003 User manual

CookMax
CookMax 146007 Programming manual

CookMax
CookMax FP 36 User manual

CookMax
CookMax 513015 User manual

CookMax
CookMax 146006 User manual

CookMax
CookMax SG220 Service manual