manuals.online logo
Brands
  1. Home
  2. •
  3. Brands
  4. •
  5. Copeland Furniture
  6. •
  7. Indoor Furnishing
  8. •
  9. Copeland Furniture Canto User manual

Copeland Furniture Canto User manual

Instructions for Canto Beds
Tools required
Please
identify the
listed items
before
installation.
Components included:
Upholstered headboard (1)
Allen wrench (provided)
Step 1: Install two hair pin legs to
Installing the hair pin legs by placing
the mount plate into the cut-out in the
leg rail (Figure 2). Align the four
mounting holes on the hair pin leg
mount plate and the holes in the cut-out
in the leg rail. Make sure the bottom of
leg is facing out (Figure 1). Use the
provided Allen wrench to tighten the
legs with ¼ - 20 x 25mm Allen bolts.
Hardware included:
¼ - 20 x 15mm hex bolts (8)
1
Figure 2. Install the hair pin leg
Hair pin leg w/ mount plate
Leg rail
¼ - 20 x 25mm
hex bolt
Bottom of leg is
facing out
¼ - 20 x 25mm hex bolts (8) Footboard rail (1)
Metal hairpin legs (2)
Platform w/ hardware (1)
¼ - 20 x 50mm hex bolts (4) Siderail L (1)
Allen wrench (1)
the leg rail
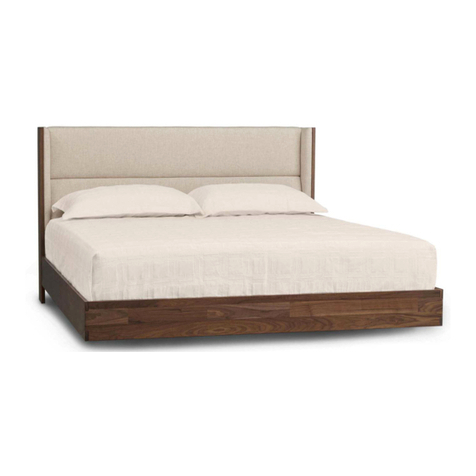
Canto bed w/ upholstered headboard
Cal King
King 78 5/8” x 87 3/8” x 43”
Queen 62 5/8” x 87 3/8” x 43”
74 5/8” x 91 3/8” x 43”
Leg rail
Figure 1. The install potion of the legs
Platform kit (1)
“L” bracket (2) Leg rail (1)
Siderail w/ hardware (1)
Siderail R (1)
1 ¾” pan head screw (3)
10 3/8” support blocks (3)
Tools required
Step 2: Attach the siderails to the headboard making sure the tapered edge is toward the bottom
Allen wrench
Assemble siderails,
2
Step 3: Mount leg rail assembly
Align the pre-drilled holes on the side rail cleats
and the holes on each end of the leg rail
assembly. Use provided Allen wrench to loosely
tighten ¼” –20 x 50mm Allen bolts on each end
of the leg rail assembly and the side rails
(Figure 3). Then fully tighten all the bolts.
to side rails
Leg rail assembly
Siderail R
Footboard leg
assembly
headboard, and footboard
Headboard leg
Curved washer
Screw the threaded stud into the
insert in the headboard leg until it
stops.
Slide the rail into mating holes for
dowels on the headboard leg. Slide the curved washer and
the nut in place as shown, and
tighten the nut with the wrench
provided in the side rail
hardware kit.
Headboard leg
Side rail
leg assembly
Figure 3.
Side rail cleat
¼” – 20 x 50mm
Allen bolts
Wrench (in the siderail hardware kit)
Siderail L
(see Figure 3)
Tapered edge of siderail
Tools required
Connect the footboard rail and side rails
with the metal “L” bracket (Figure 4).
Align each embedded nut on the end of
the side rail and footboard rail with the
holes on each “L” bracket. Then tighten
with ¼” - 20 x 15mm Allen bolts.
Step 4: Install the footboard rail
Philips head screwdriver
Figure 6.
Figure 4.
Install the
footboard rail
3
Leg rail assembly
Headboard
¼” - 20 x 15mm
Allen bolt
Install platform
Side rail
Footboard rail
Footboard rail
1 ½” pan
head screw
Allen wrench
Side rail
“L” bracket
Side rail
Step 5: Install support legs on three
bed platform assemblies
Align the holes on the support leg and
platform assembly spine. Tighten with 1
¾” pan head screws (Figure 5).
Figure 5.
Step 6: Install the platform assembly
Platform
assembly
Support leg
Platform
spine
Install support leg
1 ¾” pan
head screw
on platform
Align the holes on each end of the
platform assembly and the holes on the
side rail cleats (Figure 6). Tighten each
platform assembly and side rail with 1 ½”
pan head screws. Try to arrange the
three platform assemblies with support
legs in the middle area of the bed setup.
Make sure to extend the leveler on the
support leg till it reaches the floor.
Care Instructions
To care for and preserve the finish on your new Copeland Furniture piece, please keep the following
recommendations in mind.
While our furniture has been finished with a durable top coat, the surface may be sensitive to
dents and abrasions during the first 30 days in your home.
Treat the surface finish gently so it does not dent or chip. Tape or stickers should not be put on
the finish.
For general care use a soft cloth to dust the furniture.
Use damp cloth with a mild, pure soap to clean-up spills or dirt. Dry the surface thoroughly.
Please do not use any polishes, waxes or sprays to clean the surface of the furniture. This holds
true for new Copeland Furniture pieces as well as items you may already have in your home.
Please do not place any candles directly on the surface of your furniture. The perfumes and
dyes in the candles may penetrate the finish.
Beds must be disassembled before moving to avoid damage. Never attempt to move the bed
while it is assembled.
If you have any questions or difficulties, please call us at the number below between the hours of 8:00 am and 4:30 pm eastern time.
156 Industrial Drive, Bradford, VT 05033 Tel: 802.222.9282 Fax: 802.222.9285 www.copelandfurniture.com

Other Copeland Furniture Indoor Furnishing manuals

Copeland Furniture Invigo User manual

Copeland Furniture

Copeland Furniture Invigo User manual

Copeland Furniture Plinth Bed User manual

Copeland Furniture

Copeland Furniture Plinth Bed User manual

Copeland Furniture Catalina Credenza User manual

Copeland Furniture

Copeland Furniture Catalina Credenza User manual

Copeland Furniture Veneer User manual

Copeland Furniture

Copeland Furniture Veneer User manual

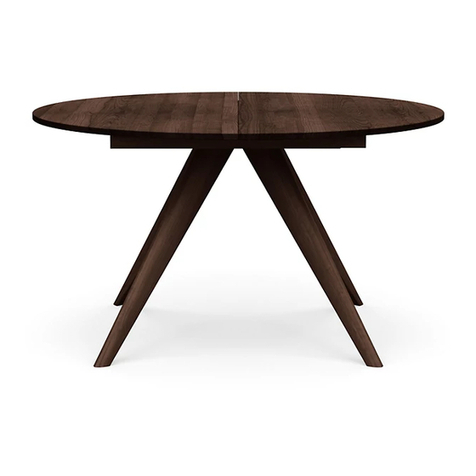
Copeland Furniture Catalina Extension Table User manual

Copeland Furniture

Copeland Furniture Catalina Extension Table User manual

Copeland Furniture Catalina Four Leg Extension Tables User manual

Copeland Furniture

Copeland Furniture Catalina Four Leg Extension Tables User manual

Copeland Furniture Astrid King User manual

Copeland Furniture

Copeland Furniture Astrid King User manual

Copeland Furniture Sloane Floating Bed User manual

Copeland Furniture

Copeland Furniture Sloane Floating Bed User manual

Copeland Furniture Berkeley CF5BER30 User manual

Copeland Furniture

Copeland Furniture Berkeley CF5BER30 User manual

Copeland Furniture Keaton Queen User manual

Copeland Furniture

Copeland Furniture Keaton Queen User manual

Copeland Furniture Wave Queen Bed User manual

Copeland Furniture

Copeland Furniture Wave Queen Bed User manual

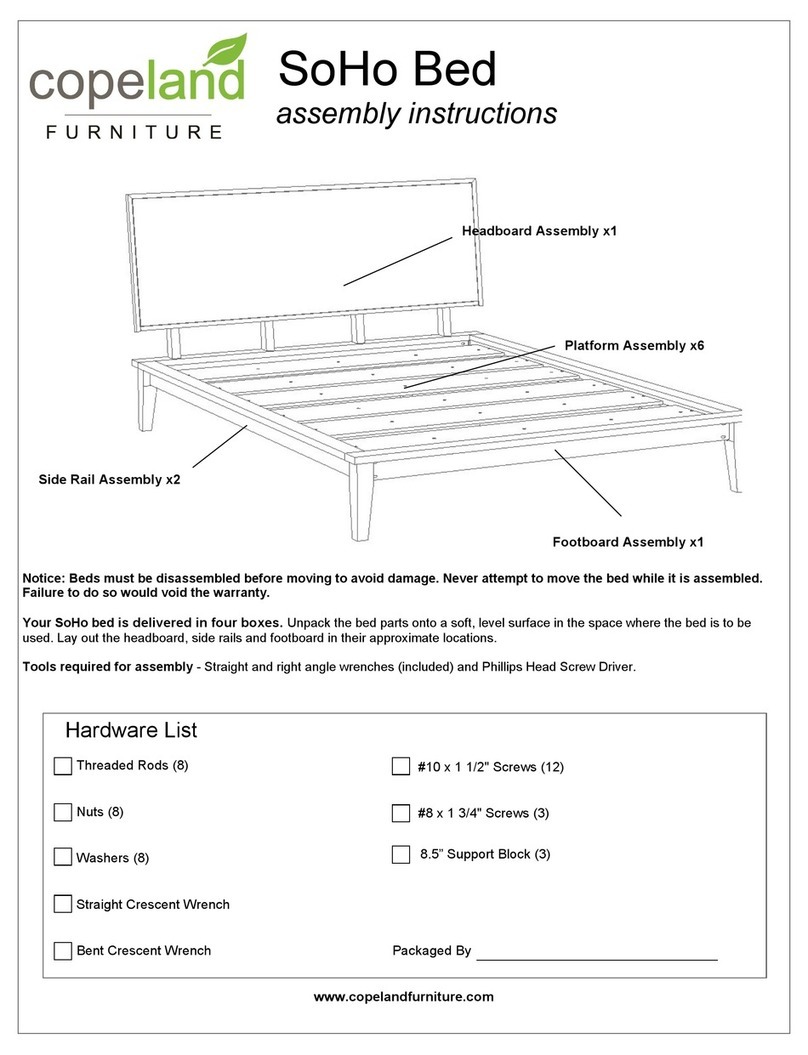
Copeland Furniture SoHo Bed User manual

Copeland Furniture

Copeland Furniture SoHo Bed User manual

Copeland Furniture Sarah 6-SAR-01 Series User manual

Copeland Furniture

Copeland Furniture Sarah 6-SAR-01 Series User manual

Popular Indoor Furnishing manuals by other brands

Cooper Lighting 1433 Specification sheet

Cooper Lighting

Cooper Lighting 1433 Specification sheet

OUT OLA Assembly instructions

OUT

OUT OLA Assembly instructions

Argos Atlantic 651/1548 Assembly instructions

Argos

Argos Atlantic 651/1548 Assembly instructions

Timbers 6151015C0 Assembly instructions

Timbers

Timbers 6151015C0 Assembly instructions

Forte KLZL1122 Assembling Instruction

Forte

Forte KLZL1122 Assembling Instruction

Kvik OU844 manual

Kvik

Kvik OU844 manual

Birlea STRATUS Assembly instructions

Birlea

Birlea STRATUS Assembly instructions

Radius KABELLARASA 1100 a Assembly instructions

Radius

Radius KABELLARASA 1100 a Assembly instructions

BDI BRADEN 8828 Assembly instructions

BDI

BDI BRADEN 8828 Assembly instructions

BUT LIT BANQUETTE 820132 manual

BUT

BUT LIT BANQUETTE 820132 manual

Habitat ALTO-TA-SS15-A Assembly instructions

Habitat

Habitat ALTO-TA-SS15-A Assembly instructions

Trinity EcoStorage THA-3328 owner's manual

Trinity

Trinity EcoStorage THA-3328 owner's manual

ANREX MODERN 2D1S/45 Assembly instructions

ANREX

ANREX MODERN 2D1S/45 Assembly instructions

SIT&MORE SONOMA manual

SIT&MORE

SIT&MORE SONOMA manual

Niche NBC2930 Assembly instructions

Niche

Niche NBC2930 Assembly instructions

AMQ Revi installation guide

AMQ

AMQ Revi installation guide

Fontanot RING LINE Assembly instructions

Fontanot

Fontanot RING LINE Assembly instructions

Argos Kensington Assembly & instruction manual

Argos

Argos Kensington Assembly & instruction manual

manuals.online logo
manuals.online logoBrands
  • About & Mission
  • Contact us
  • Privacy Policy
  • Terms and Conditions

Copyright 2025 Manuals.Online. All Rights Reserved.