manuals.online logo
Brands
  1. Home
  2. •
  3. Brands
  4. •
  5. Copeland Furniture
  6. •
  7. Indoor Furnishing
  8. •
  9. Copeland Furniture Plinth Bed User manual

Copeland Furniture Plinth Bed User manual

Moduluxe Box Nightstand Instructions for Plinth Bed
Tools required Phillips head screw driver
Insert and tighten two 2”Allen bolts
through the holes in the back of the
back panel to the holes on the back
of the nightstand box.
Step 1: Assemble the box nightstand
Step 2: Attach the shelf support to
Align the 3 holes in the shelf support
with the 3 holes in the bottom of the
nightstand. Insert and tighten a set
of 1-¼” screw and washer in each
of the 3 holes with a Philips screw
driver (Figure 2-1&2).
These instructions are for the
Moduluxe box nightstand. Please
identify the following items before
assembly.
Hardware included:
Alignment bracket (1) Allen wrench (1)
5/8” pan head screws (2)1 3/8” Allen bolts (3)
Allen wrench (provided)
2” Allen bolts (2)
2” Allen bolt
Back panel
Nightstand box
Shelf
support
the nightstand
1 ¼” screws &
washers
Figure 2-1. Locations to attach screws
Figure 2-2. Attach screws and washers from the
and washers
Figure 1. Locations to attach screws
and washers
holes under the shelf support to the
holes under the nightstand box.
1 ¼” screws & washers (3 sets)
Back panel
Case Front
Page1
Tools required Page2
Allen wrench (provided)
Align the 3 holes in the shelf support
with the 3 holes in the bottom of the
bed deck. Loosely attach an Allen bolt
in each of the 3 holes with the Allen
wrench (Figure 3).
Step 3: Attach shelf support to bed deck
FTBD Deck
Box nightstand
HDBD
HDBD Deck
Plinth base
Allen bolts
HDBD deck
Shelf support
Box
nightstand
Level the nightstand by turning the
leveler nuts on the bottom of the
nightstand. Align the back of the
nightstand with the back of the
headboard. Align the holes on the
alignment bracket to the holes on the
box nightstand and headboard. Insert
and tighten the 5/8”pan head screws.
Finally, fully tighten all the Allen bolts on
the shelf support (Figure 4).
Step 4: Level with headboard
Box Nightstand
FTBD Deck
HDBD
Headboard Deck
Level the nightstand by turning the
bottom leveler nuts
Alignment bracket
5/8” pan head screw
Figure 3. Attach nightstand to bed
Figure 4. Level and fix the nightstand
To remove drawers from the slides,
press both handles on the front slide
clips on the drawer bottom and firmly
pull drawer forward (Figure 1).
Figure 1. Release the slides
Front slide clips
Press the
handle
Figure 2.
Attach slides
Figure 3. Adjust slides
How to release the drawer slides
How to reinstall the drawer
Fully extend the drawer slides (from the
case) and place drawer box on top of the
slides. Pull each slide forward until it locks
into both left and right slide clips. You will
hear a locking “click” when the slide is
locked properly (Figure 2). After the
drawers are installed, they can be further
leveled by sliding the small adjustment
knob forward or back. This raises or lowers
the drawer box in the case (Figure 3).
Level the drawer (optional)
Care Instructions
To care for and preserve the finish on your new Copeland Furniture piece, please keep the following
recommendations in mind.
While our furniture has been finished with a durable top coat, the surface may be sensitive to
dents and abrasions during the first 30 days in your home.
Treat the surface finish gently so it does not dent or chip. Tape or stickers should not be put on
the finish.
For general care use a soft cloth to dust the furniture.
Use damp cloth with a mild soap to clean-up spills or dirt. Dry the surface thoroughly.
Please do not use any polishes, waxes or solvents to clean the surface of the furniture. This
holds true for new Copeland Furniture pieces as well as items you may already have in your
home.
Please do not place any candles directly on the surface of your furniture. The perfumes and
dyes in the candles may penetrate the finish.
Beds must be disassembled before moving to avoid damage. Never attempt to move the bed
while it is assembled.
Special Care Instructions for Cherry Furniture
Furniture crafted from cherry wood darkens with age. This change in color, from a reddish tan to a reddish
brown, results from the natural oxidation of the wood when it is exposed to light. Objects left on a piece of
cherry furniture for an extended period will retard this oxidation process and when removed, may leave a lighter
colored outline of the object on the surface. With continued exposure to light, this color difference will eventually
disappear and the wood will reach a mature even tone.
Page3
If you have any questions or difficulties, please call us at the number below between the hours of 8:00 am and 4:30 pm eastern time.
156 Industrial Drive, Bradford, VT 05033 Tel: 802.222.9282 Fax: 802.222.9285 www.copelandfurniture.com

Other Copeland Furniture Indoor Furnishing manuals
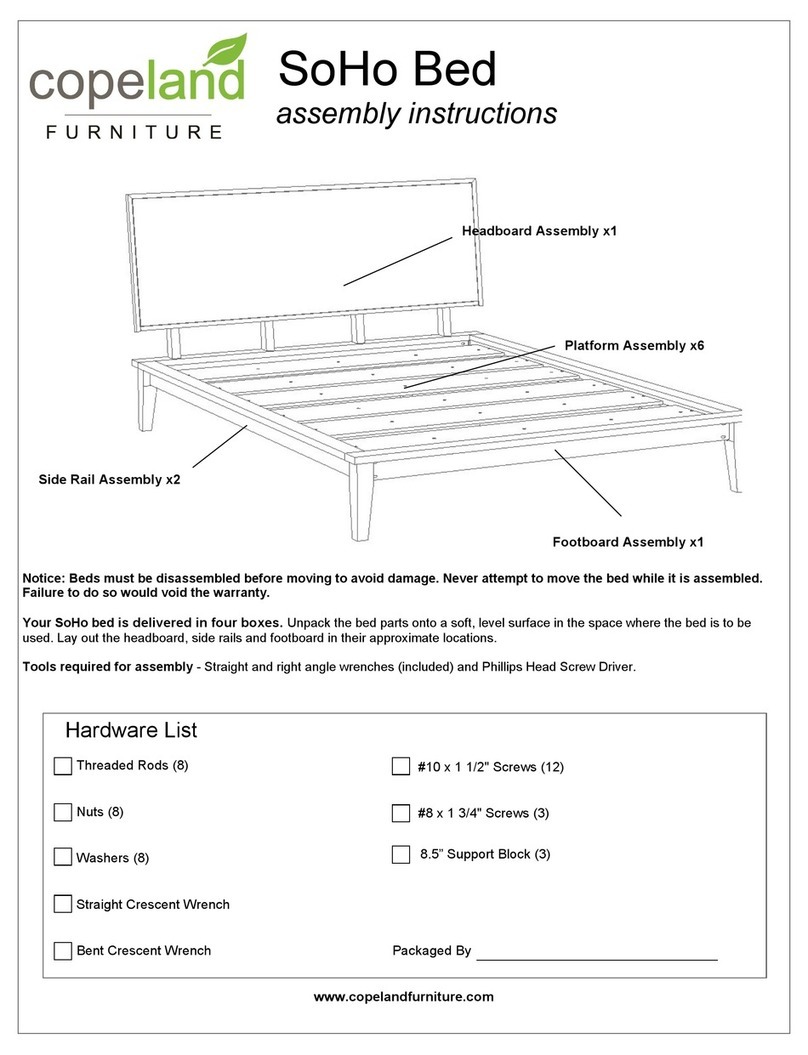
Copeland Furniture Catalina Credenza User manual

Copeland Furniture

Copeland Furniture Catalina Credenza User manual

Copeland Furniture Wave Queen Bed User manual

Copeland Furniture

Copeland Furniture Wave Queen Bed User manual

Copeland Furniture Astrid King User manual

Copeland Furniture

Copeland Furniture Astrid King User manual

Copeland Furniture Sloane Floating Bed User manual

Copeland Furniture

Copeland Furniture Sloane Floating Bed User manual

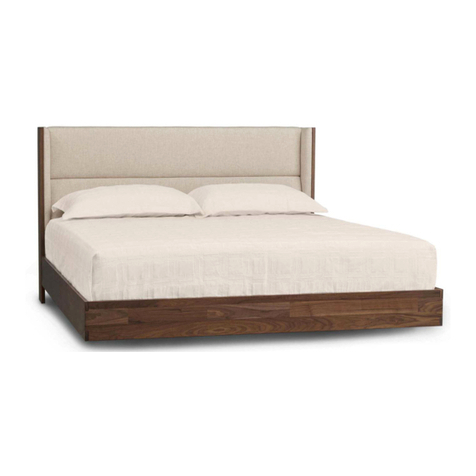
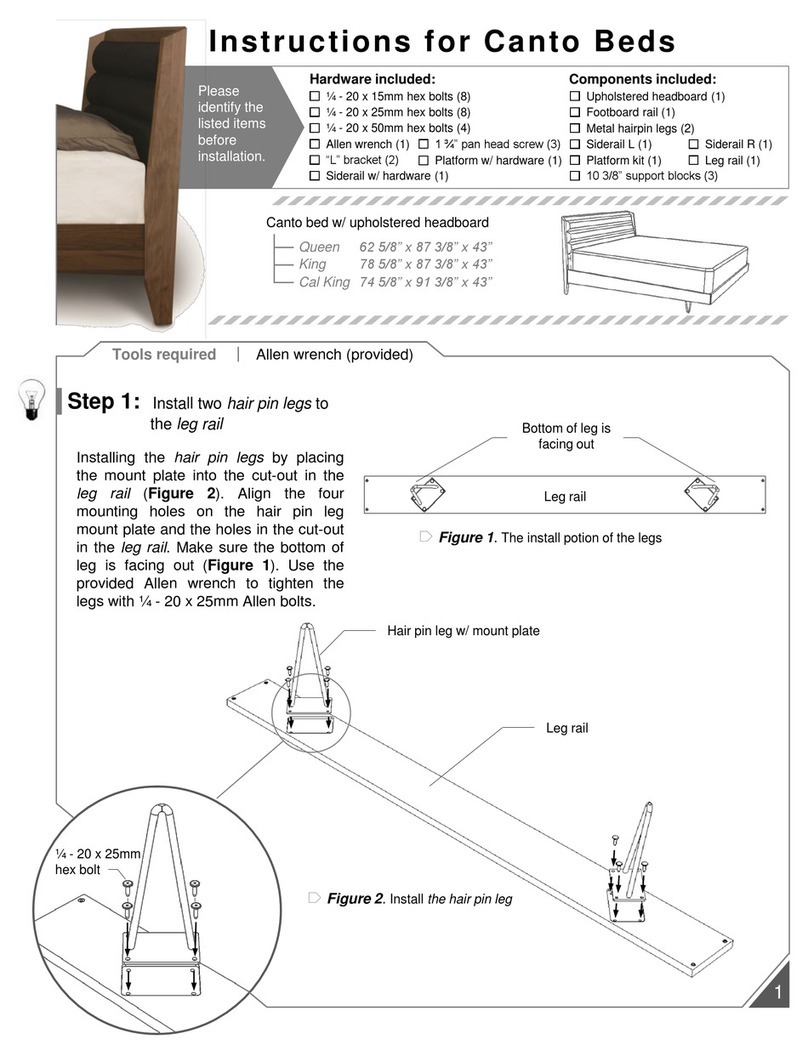
Copeland Furniture Canto User manual

Copeland Furniture

Copeland Furniture Canto User manual

Copeland Furniture Catalina Four Leg Extension Tables User manual

Copeland Furniture

Copeland Furniture Catalina Four Leg Extension Tables User manual

Copeland Furniture Veneer User manual

Copeland Furniture

Copeland Furniture Veneer User manual

Copeland Furniture Sarah 6-SAR-01 Series User manual

Copeland Furniture

Copeland Furniture Sarah 6-SAR-01 Series User manual

Copeland Furniture Berkeley CF5BER30 User manual

Copeland Furniture

Copeland Furniture Berkeley CF5BER30 User manual

Copeland Furniture Keaton Queen User manual

Copeland Furniture

Copeland Furniture Keaton Queen User manual

Copeland Furniture Catalina Extension Table User manual

Copeland Furniture

Copeland Furniture Catalina Extension Table User manual

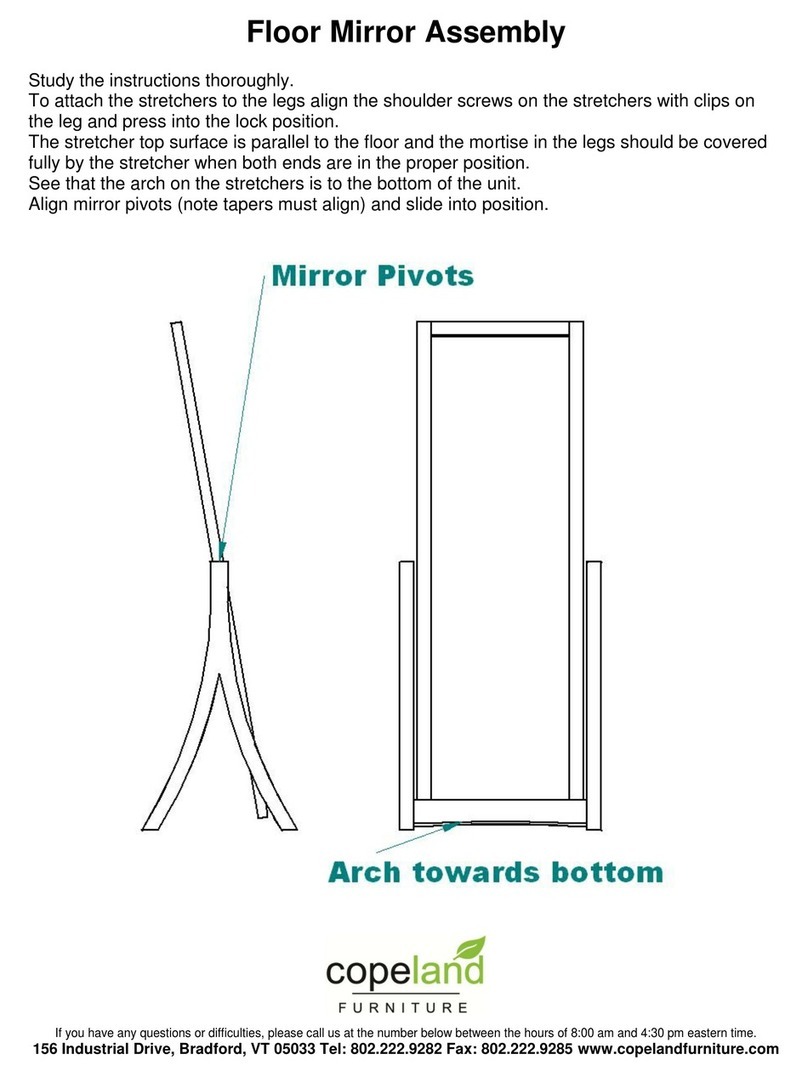
Copeland Furniture SoHo Bed User manual
Copeland Furniture

Copeland Furniture SoHo Bed User manual

Copeland Furniture Invigo User manual

Copeland Furniture

Copeland Furniture Invigo User manual
Popular Indoor Furnishing manuals by other brands

Argos Puerto Rico 641/7697 Assembly instructions

Argos

Argos Puerto Rico 641/7697 Assembly instructions

GFW HAMPTON ACACIA TV UNIT Assembly instructions

GFW

GFW HAMPTON ACACIA TV UNIT Assembly instructions

Poliform LEXINGTON NIGHT Assembly instructions

Poliform

Poliform LEXINGTON NIGHT Assembly instructions

Iron Age Office FORTIS U-SHAPE Assembly instructions

Iron Age Office

Iron Age Office FORTIS U-SHAPE Assembly instructions

Castleton Home TY-581 manual

Castleton Home

Castleton Home TY-581 manual

symphony sleep SXELV quick start guide

symphony sleep

symphony sleep SXELV quick start guide

FEZIBO CUBIKER BIG STORAGE TOWER WITH 7-DRAWERS manual

FEZIBO

FEZIBO CUBIKER BIG STORAGE TOWER WITH 7-DRAWERS manual

Echogear EGAV1 instruction manual

Echogear

Echogear EGAV1 instruction manual

alpro EL900 instructions

alpro

alpro EL900 instructions

LIVIQUE Hedy 6716237 Assembly instructions

LIVIQUE

LIVIQUE Hedy 6716237 Assembly instructions

Argos Osaka 2556868 Assembly instructions

Argos

Argos Osaka 2556868 Assembly instructions

for Living 068-6472 instruction manual

for Living

for Living 068-6472 instruction manual

FIAM. RITRATTO Product information

FIAM.

FIAM. RITRATTO Product information

INK+IVY Lounge Assembly instructions

INK+IVY

INK+IVY Lounge Assembly instructions

Freistil 181 manual

Freistil

Freistil 181 manual

Crate&Barrel Caicos quick start guide

Crate&Barrel

Crate&Barrel Caicos quick start guide

KidKraft Firefighter Toddler Cot Assembly instructions

KidKraft

KidKraft Firefighter Toddler Cot Assembly instructions

Allen + Roth Landen 2550860 installation manual

Allen + Roth

Allen + Roth Landen 2550860 installation manual

manuals.online logo
manuals.online logoBrands
  • About & Mission
  • Contact us
  • Privacy Policy
  • Terms and Conditions

Copyright 2025 Manuals.Online. All Rights Reserved.