manuals.online logo
Brands
  1. Home
  2. •
  3. Brands
  4. •
  5. Coram Showers
  6. •
  7. Bathroom Fixture
  8. •
  9. Coram Showers 01746 User manual

Coram Showers 01746 User manual

PENTAGON SHOWER ENCLOSURE
(CUP) PREM 00 71128 00 / Issue 4/ 10
To the installer: Please read these instructions carefully and leave with the home owner
for future reference. Incorrect fitting will invalidate the guarantee.
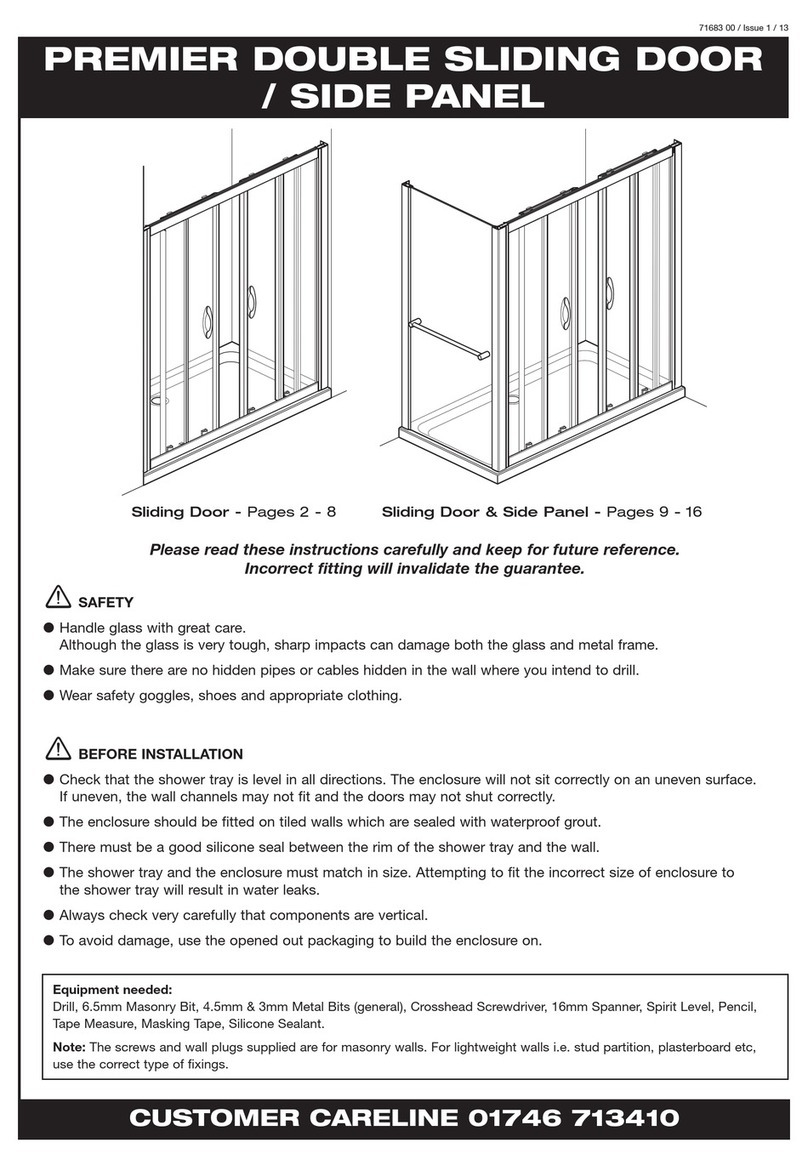
SAFETY
● Handle glass with great care. Although the glass is very tough, sharp impacts can damage both the
glass and metal frame.
●Make sure there are no hidden pipes or cables hidden in the wall where you intend to drill.
● Wear safety goggles, shoes and appropriate clothing.
●If you have long hair, tie it back out of the way.
BEFORE INSTALLATION
● This instruction leaflet must be used in conjunction with the instruction supplied with your shower
door. (A swing door shown in the example here).
●Check that the shower tray is level in all directions.The enclosure will not sit correctly on an uneven
surface. If uneven, the wall channels may not fit and the doors may not shut correctly.
●The enclosure should be fitted on tiled walls which are sealed with waterproof grout.
●There must be a good silicone seal between the rim of the shower tray and the wall.
● The shower tray and the enclosure must match in size. Attempting to fit the incorrect size of enclosure
to the shower tray will result in water leaks.
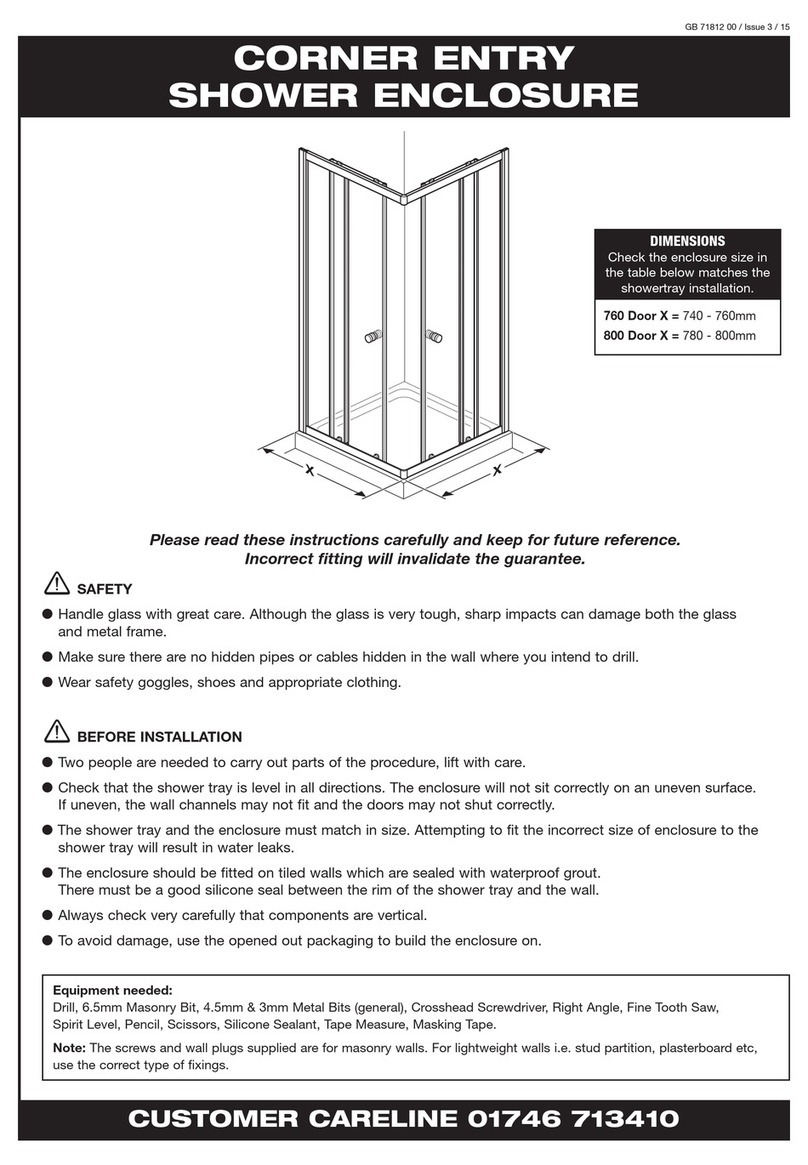
Equipment needed:
Drill, 6.5mm masonry bit, 4.5mm & 3mm metal bits (general), Crosshead Screwdriver, Spirit Level,
Pencil, Silicone Sealant, Tape Measure, Masking Tape.
Note:
The screws and wall plugs supplied are for masonry walls.
For lightweight walls i.e. stud partition, plasterboard etc, use the correct type
of fixings.
CUSTOMER CARELINE 01746 713410
Mark off drill hole positions on the wall and on the enclosure with a pencil. Drill 6.5mm holes 30mm
deep in the wall and push fit wall plugs. Drill 3mm holes in the inside face of the enclosure frame (not too
deep). Fix using 25mm screws + washer in the wall and 13mm screws + washer in the enclosure. Push fit
support bracket end covers.
CORAM SHOWERS LTD
Stanmore Industrial Estate, Bridgnorth, Shropshire WV15 5HP, UK • Tel: +44 (0) 1746 766466 • Fax: +44 (0) 1746 764140
www.coram.co.uk
8
7Fit support bracket ends to brackets
using 13mm screws. Fit wall brackets
where shown (plan view).
13mm
13mm
25mm
10mm Max
ø 3
mm
ø 3
mm
Check contents of pack before installation.
If there is anything missing, contact our
Customer Careline for assistance, rather than
your supplier
CUSTOMER CARELINE: 01746 713410
2
PN3230
Wall Plug
2
18
2
4
4
4
PN9202
Screw
PN9203
Screw
PN8212
Washer
PN10159
Extension
PN50145
Bracket
Moulding
PN10745
Corner
Post
PN50146
Bracket
Moulding
PN10745
Corner
Post
25mm
13mm
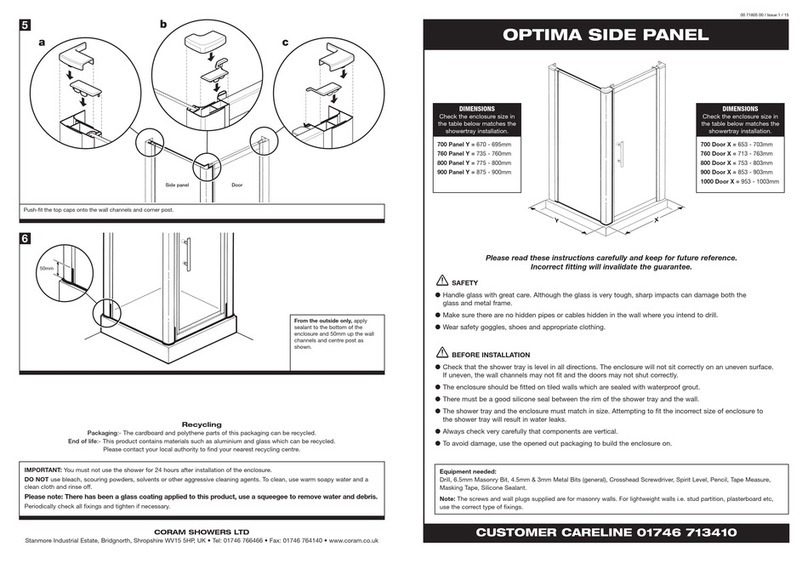
Push fit wall channel covers on the inside. From the outside only, apply sealant to the bottom of the
enclosure and 50mm up the wall channels and corner posts as shown.
50mm
9
Cleaning and Maintenance
After each use the glass should be wiped down with a window squdgee and the framework wiped dry. This will reduce the build up
of limescale and water marks on the glass and framework. DO NOT use bleach, scouring powders, solvents or other aggressive
cleaning agents which may damage the framework.
To ensure the doors continue, the top and bottom runners should be lubricated regulary. This should be done using a silicone wipe,
These can be purchased from Customer Care if required.
In some instances mould spores may build up under the glazing seal of the unit. The mould spores are most commonly black or
red in colour. It is possible for a qualified person to remove the glazing seal to clean and replace. Please contact Customer Care for
advice. Mould build up is not covered by the guarentee.
Toughened Safety Glass is twice as strong as untoughened glass. However it is still possible for it to shatter. Care should be taken
when opening and closing the door panels so not to stress the glass.
Stressed glass may shatter at anytime and not necassarily at the time of stress.
PN40065
Wall Channel
Cover
PN40065
Wall Channel
Cover
RECYCLING
Packaging: The cardboard and polythene parts of this packaging can be recycled
End of life: This product contains materials such as aluminium and glass which can be recycled
Please contact your local authority to find your nearest recycling centre
Drill holes in corner posts where shown using 3mm drill bit and fix using 13mm screws. Check door is
straight and perfectly vertical (see door instructions). Drill remaining holes in corner posts using 3mm drill
bit and fix using 13mm screws.
4
6
5
Insert side panels into wall channels and place corner posts on to side panels as shown. Allow space for
door as shown. Drill inside wall channels and corner posts using 3mm drill bit only where shown. Do not
drill too deep. Fix using 13mm screws. Insert your door into corner posts. Check enclosure is perfectly
vertical and door frame is not twisted.
Drill holes in both wall channels at
points shown using a 4.5mm drill
bit, through the edge shown and
between the grooves. Ensure shower
tray is level in all directions.
An out of level shower tray will
prevent the doors from closing
correctly.
1
ø 4.5
mm
ø 3
mm
32mm
ø 3
mm
ø 3
mm
ø 6.5
mm
Trial the whole enclosure on the tray to get the best fit. When you are happy with the position of the
enclosure, mark off the wall channel positions on the wall and remove the enclosure from the tray.
x
X = DOOR WIDTH + 10mm
2
Place wall channels on tray and against the wall where marked and ensure they are vertical. Both wall
channels should be set an equal distance back from the front of the tray. Failure to do this will put twist
into the enclosure and prevent the doors from closing correctly. Place masking tape against the wall before
marking the drill hole positions. This will prevent the drill bit slipping. Drill 6.5mm holes - 30mm deep and
insert wall plugs.
3
Clean shower tray of dust and debris after drilling and seal gap between the tray surface and tiles. It is
important the tray is sealed right to the tray edge so that sealant is behind the bottom of the wall channel.
Failure to do this will cause water to leak under the wall channel and between the tray and tiles. resulting in
damp patches on the wall and under the tray. Apply sealant to the back of wall channels. Fix to wall using
32mm screws.
100mm max
100mm max
13mm
13mm 13mm

This manual suits for next models

1

Other Coram Showers Bathroom Fixture manuals

Coram Showers OPTIMA User manual

Coram Showers

Coram Showers OPTIMA User manual

Coram Showers OFFSET QUADRANT User manual

Coram Showers

Coram Showers OFFSET QUADRANT User manual

Coram Showers PREMIER User manual

Coram Showers

Coram Showers PREMIER User manual

Coram Showers 760 User manual

Coram Showers

Coram Showers 760 User manual

Coram Showers OPTIMA User manual

Coram Showers

Coram Showers OPTIMA User manual

Coram Showers OPTIMA User manual

Coram Showers

Coram Showers OPTIMA User manual

Popular Bathroom Fixture manuals by other brands

Kohler Mira Sport Max J03G Installation and user guide

Kohler

Kohler Mira Sport Max J03G Installation and user guide

Moen 186117 Series installation guide

Moen

Moen 186117 Series installation guide

Hans Grohe Raindance Showerpipe 27235000 Instructions for use/assembly instructions

Hans Grohe

Hans Grohe Raindance Showerpipe 27235000 Instructions for use/assembly instructions

Signature Hardware ROUND SWIVEL BODY SPRAY 948942 Install

Signature Hardware

Signature Hardware ROUND SWIVEL BODY SPRAY 948942 Install

fine fixtures AC3TH installation manual

fine fixtures

fine fixtures AC3TH installation manual

LIXIL HP50 Series quick start guide

LIXIL

LIXIL HP50 Series quick start guide

KOLO ATOL PLUS installation manual

KOLO

KOLO ATOL PLUS installation manual

Hans Grohe PuraVida 15073000 Instructions for use/assembly instructions

Hans Grohe

Hans Grohe PuraVida 15073000 Instructions for use/assembly instructions

Toto TS111B8 Installation and owner's manual

Toto

Toto TS111B8 Installation and owner's manual

Kohler K-1158-H2 Homeowner's guide

Kohler

Kohler K-1158-H2 Homeowner's guide

baliv DU-2010 manual

baliv

baliv DU-2010 manual

odass OD-1710 instruction manual

odass

odass OD-1710 instruction manual

Oxygenics Evolution Easy installation instructions

Oxygenics

Oxygenics Evolution Easy installation instructions

Bradley Express SS Series installation instructions

Bradley

Bradley Express SS Series installation instructions

Helvex TH-974 installation guide

Helvex

Helvex TH-974 installation guide

DURAVIT C.1 C15240 0090 Instructions for mounting and use

DURAVIT

DURAVIT C.1 C15240 0090 Instructions for mounting and use

Sunshower PURE SOLO manual

Sunshower

Sunshower PURE SOLO manual

Heatstore HSTRL500WTN Installation and operating instructions

Heatstore

Heatstore HSTRL500WTN Installation and operating instructions

manuals.online logo
manuals.online logoBrands
  • About & Mission
  • Contact us
  • Privacy Policy
  • Terms and Conditions

Copyright 2025 Manuals.Online. All Rights Reserved.