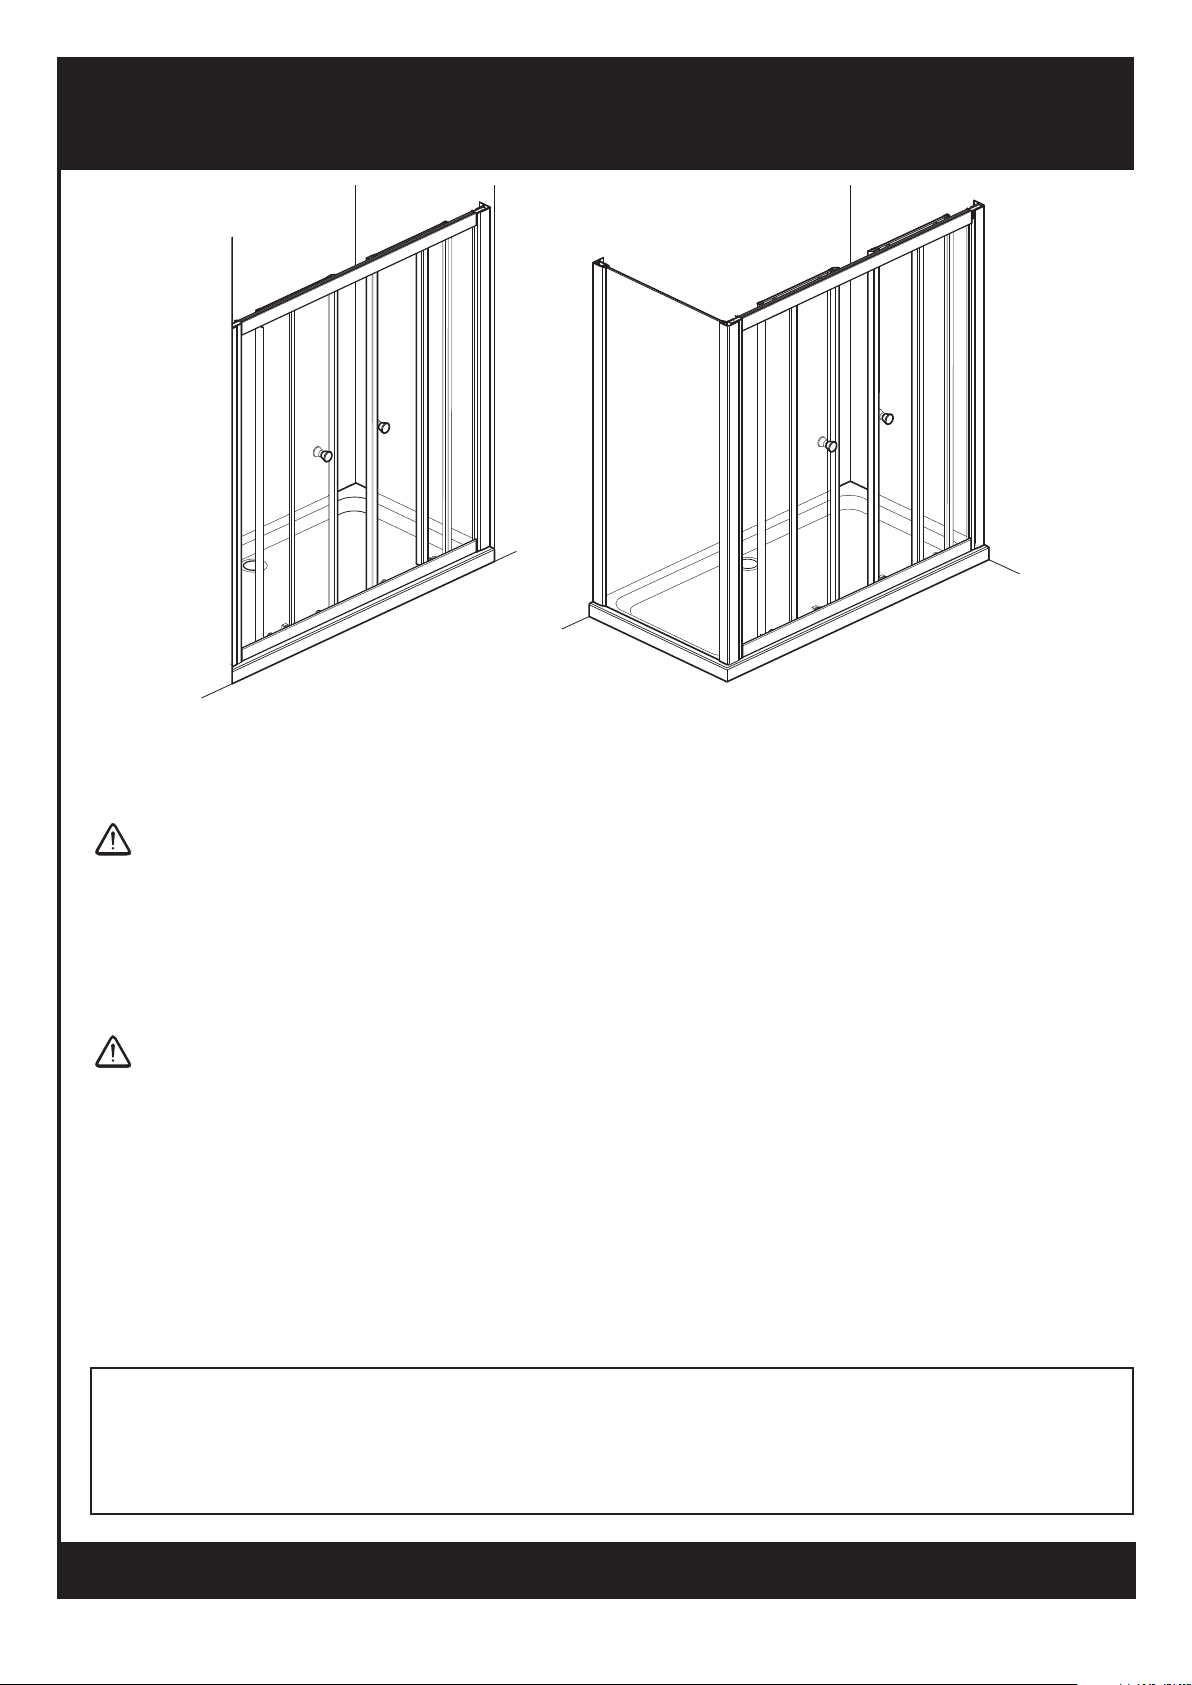
Coram Showers OPTIMA User manual
Other Coram Showers Bathroom Fixture manuals


Popular Bathroom Fixture manuals by other brands

Kohler
Kohler Mira Sport Max J03G Installation and user guide

Moen
Moen 186117 Series installation guide

Hans Grohe
Hans Grohe Raindance Showerpipe 27235000 Instructions for use/assembly instructions

Signature Hardware
Signature Hardware ROUND SWIVEL BODY SPRAY 948942 Install

fine fixtures
fine fixtures AC3TH installation manual

LIXIL
LIXIL HP50 Series quick start guide


Oxygenics
Oxygenics Evolution Easy installation instructions

Bradley
Bradley Express SS Series installation instructions

Helvex
Helvex TH-974 installation guide

DURAVIT
DURAVIT C.1 C15240 0090 Instructions for mounting and use

Sunshower
Sunshower PURE SOLO manual

Heatstore
Heatstore HSTRL500WTN Installation and operating instructions