UNIV
Ranger II ER Pillow w/Sling 23-2460
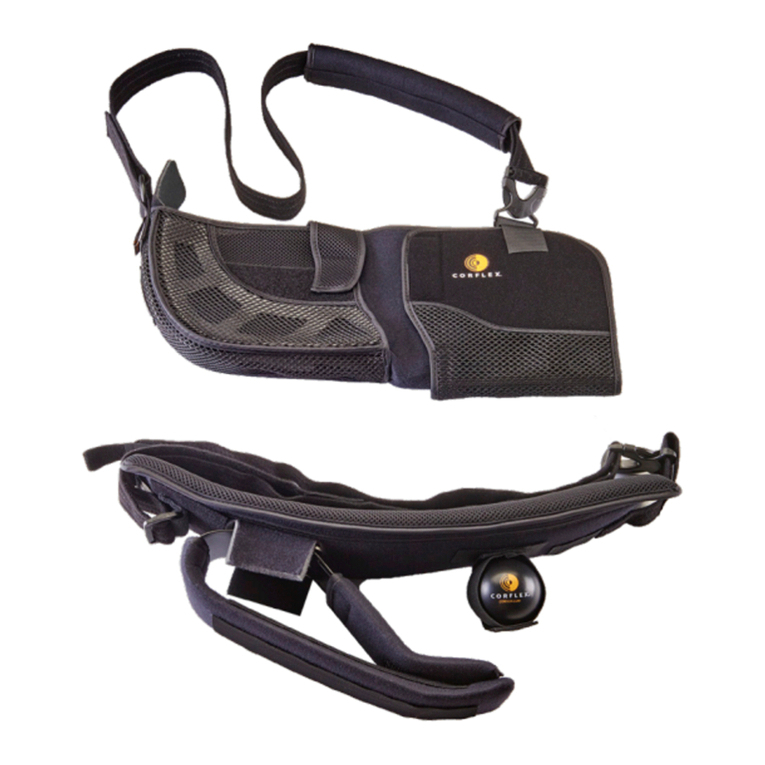
A. Remove waist strap from
pillow by releasing the hook
fastener attached to the
front end of the pillow.
B. At the opposite end of
waist strap, release the hook
fastener and thread strap out
through the plastic buckle.
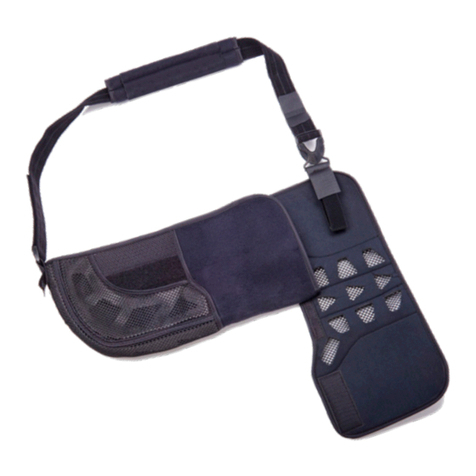
C. Remove pillow from sling
by detaching the hook and loop fasteners. 2” x 9” mesh strap should now
be secured to the front and back sling panels close to the upper arm.
A. Locate webbing loop on
the back end of the sling.
B. Thread hook end of strap
through webbing loop and
secure back onto strap.
1337/12-19GM-1191-000
Care instructions
Sling should be hand washed only using warm water and
detergent for delicate fabrics, repeatedly rinsed and line dried
only. Do not use bleach or place in a dryer. Waist pillow can be
surface washed using warm water and a detergent for delicate
fabrics or wiped clean with a mild disinfectant. Do not immerse
pillow in liquids.
Caution
This product has been designed and tested based on single
patient use only. It should never be used by multiple patients. If
additional pain, swelling or symptoms occur while using the
device, seek medical attention. Product should be applied by a
licensed or certied healthcare practitioner and as prescribed by
a physician or other qualied medical authority.
Indications
Indicated for protocols involving shoulder immobilization in
external rotation to help reduce the incidence of recurrent
dislocation.
Warranty
Products manufactured by Corex are warranted to the original
purchaser against defects in workmanship and material for the
life of the product. The foregoing warranty shall not apply to
normal wear and tear; or if the product has been subjected to
misuse or misapplication the warranty will be voided at the
discretion of Corex.
APPLICATION INSTRUCTIONS (continued)
CORFLEX | 669 EAST INDUSTRIAL PARK DRIVE | MANCHESTER, NH 03109
CORFLEX.COM
|
TOLL FREE: 800 426 7353
|
FAX: 603 623 4111
To Reorder
Sizing: Fits waist circumference of 24”-48”. Sling ts forearm length from
9”-20”, length is measured from wrist to elbow.
Product Number
A. Wrap strap around the
patient’s waist and secure
the hook fastener to the
front sling panel.
B. Adjust waist strap length
as needed for a secure t.
Strap should be snug but
not cause discomfort.
1. Pillow Removal
2. Attaching Strap to Sling
3. Final Waist Strap Fit
Converting to Shoulder Immobilizer
This product can also be stepped-down to a shoulder immobilizer. Use
as a shoulder immobilizer should only be at the direction of the patient’s
physician or other qualied healthcare provider.
NOTE:
The three-point adjustable strapping system makes it easy to apply when
intravenous (IV) lines are present. Simply release the lower front tab (F),
adjust the position of the IV lines and reattach the hook tab.
2. Sizing the Comfort Harness
A. To ensure a proper t,
always adjust back strap rst.
B. Locate the plastic triangle
along the inside border of
the scapula aligning the
point with the spine of the
scapula or roughly the level
of the T3 vertebrae.
C. With the abduction
pillow properly positioned,
adjust the strap length that
connects the plastic triangle
to the sling. Remove alligator
tab and trim if needed.
D. Next adjust the location
of the C-shaped pad that will
sit on the front of the patient.
The top edge of the pad
should be located at the tip
of the shoulder or AC joint.
E. For the initial tting
reposition the hook tabs that
contact the elastic portion of
the strap, not the ends that
fall on the C-shaped pad.
F. A more precise t can be
controlled by moving the
location of the front tabs that
fasten to the C-shaped pad.
D
A
ADJUST BACK
STRAP FIRST
HOOK TAB
(ADDITIONAL TAB
LOCATED UNDER
ARM AREA)
C
F
PLACE
PLASTIC
TRIANGLE
IN PROPER
POSITION
POSITION FRONT TABS
FOR A MORE PRECISE FIT
ADJUST STRAP
LENGTH FOR
BEST FIT
B
E
C-SHAPE PAD


