corob EVOSHAKE 500 V2 User manual

EVOSHAKE 500 V2
Vibrational Shaker
User manual
V1.0 - RC (10/2019)

User Manual
Vibrational shaker
EVOshake 500 v2
Version 1.0 RC (10/2019)
ORIGINAL INSTRUCTIONS
© COPYRIGHT 2019, COROB Oy
All rights reserved in all countries
If you require additional copies of this manual or further technical information about it, please write to:
COROB Oy Päivöläntie 5 • FIN-28400 Ulvila • FINLAND
Phone: +358 20 171 0400 • E-mail: corob.oy@corob.com
Web site: www.corob.com
INTELLECTUAL PROPERTY RIGHTS AND DISCLAIMER
No part of this manual may be translated into any other languages and/or adapted and/or reproduced in any form, or by
any means, electronic or mechanical, including but not limited to photocopying and recording, without prior written
permission of COROB Oy.
COROB™ is a registered trademark and/or commercial trademark used on an exclusive basis by COROB Oy and its affil-
iated companies (hereinafter “COROB”).
A failure of a trademark to appear hereunder does not mean that COROB does not use the trademark in question nor
does it constitute a waiver by COROB of any related intellectual property rights.
Valuable proprietary technical information contained in the present manual are referring to proprietary know-how,
designs, drawings and/or applications used on an exclusive basis by COROB frequently covered by Patents and/or Patent
Applications and thus protected by International and National Intellectual Property Laws.
Unless otherwise indicated, all references to other companies other than COROB and its affiliated companies, their
names, data and addresses used in the screens and/or examples are purely coincidental and serve as a reference only to
clarify the use of the COROB™ products.
COROB has carefully reviewed the wording and imagines contained in the present manual, nevertheless COROB reserves
the right to modify and/or update the information herein to correct editorial errors and/or inaccuracy of the information
herein without notice or commitment on its part.
The present manual contains all information necessary for the foreseeable and normal use of the COROB™ products by
the final user.
The manual does not contain guidelines and/or information for product repair. For safety reasons, only trained and
authorized technical personnel should perform such interventions. Failure to do so may result in personal injury or
damage to the product.
For the purpose mentioned above, COROB has appointed authorized technical personnel.
Authorized technical personnel shall mean technicians who have attended a technical training course held by COROB
and/or its affiliated companies.
Unauthorized interventions could void the warranty coverage of your COROB™ product pursuant to the sales contract or
to the General Sales Conditions of COROB. COROB can be held responsible only within the limits of the warranty
coverage provided by the General Sales Conditions.
COROB does not intend to limit or exclude its liability against any statutory provisions under any applicable law.
Therefore the reference to above warranty limitations or exclusions may not apply.
The final user can ask COROB or visit the web site www.corob.com for contact details about the nearest authorized
technical service.

- 1 - EVOSHAKE 500 v2
TABLE OF CONTENTS
1 GENERAL INFORMATION ..............................................................................................................................................2
1.1 Purpose and use of this manual..........................................................................................................................................................2
1.2 Definitions ..................................................................................................................................................................................................2
2 FEATURES.......................................................................................................................................................................3
2.1 Description of the machine ..................................................................................................................................................................3
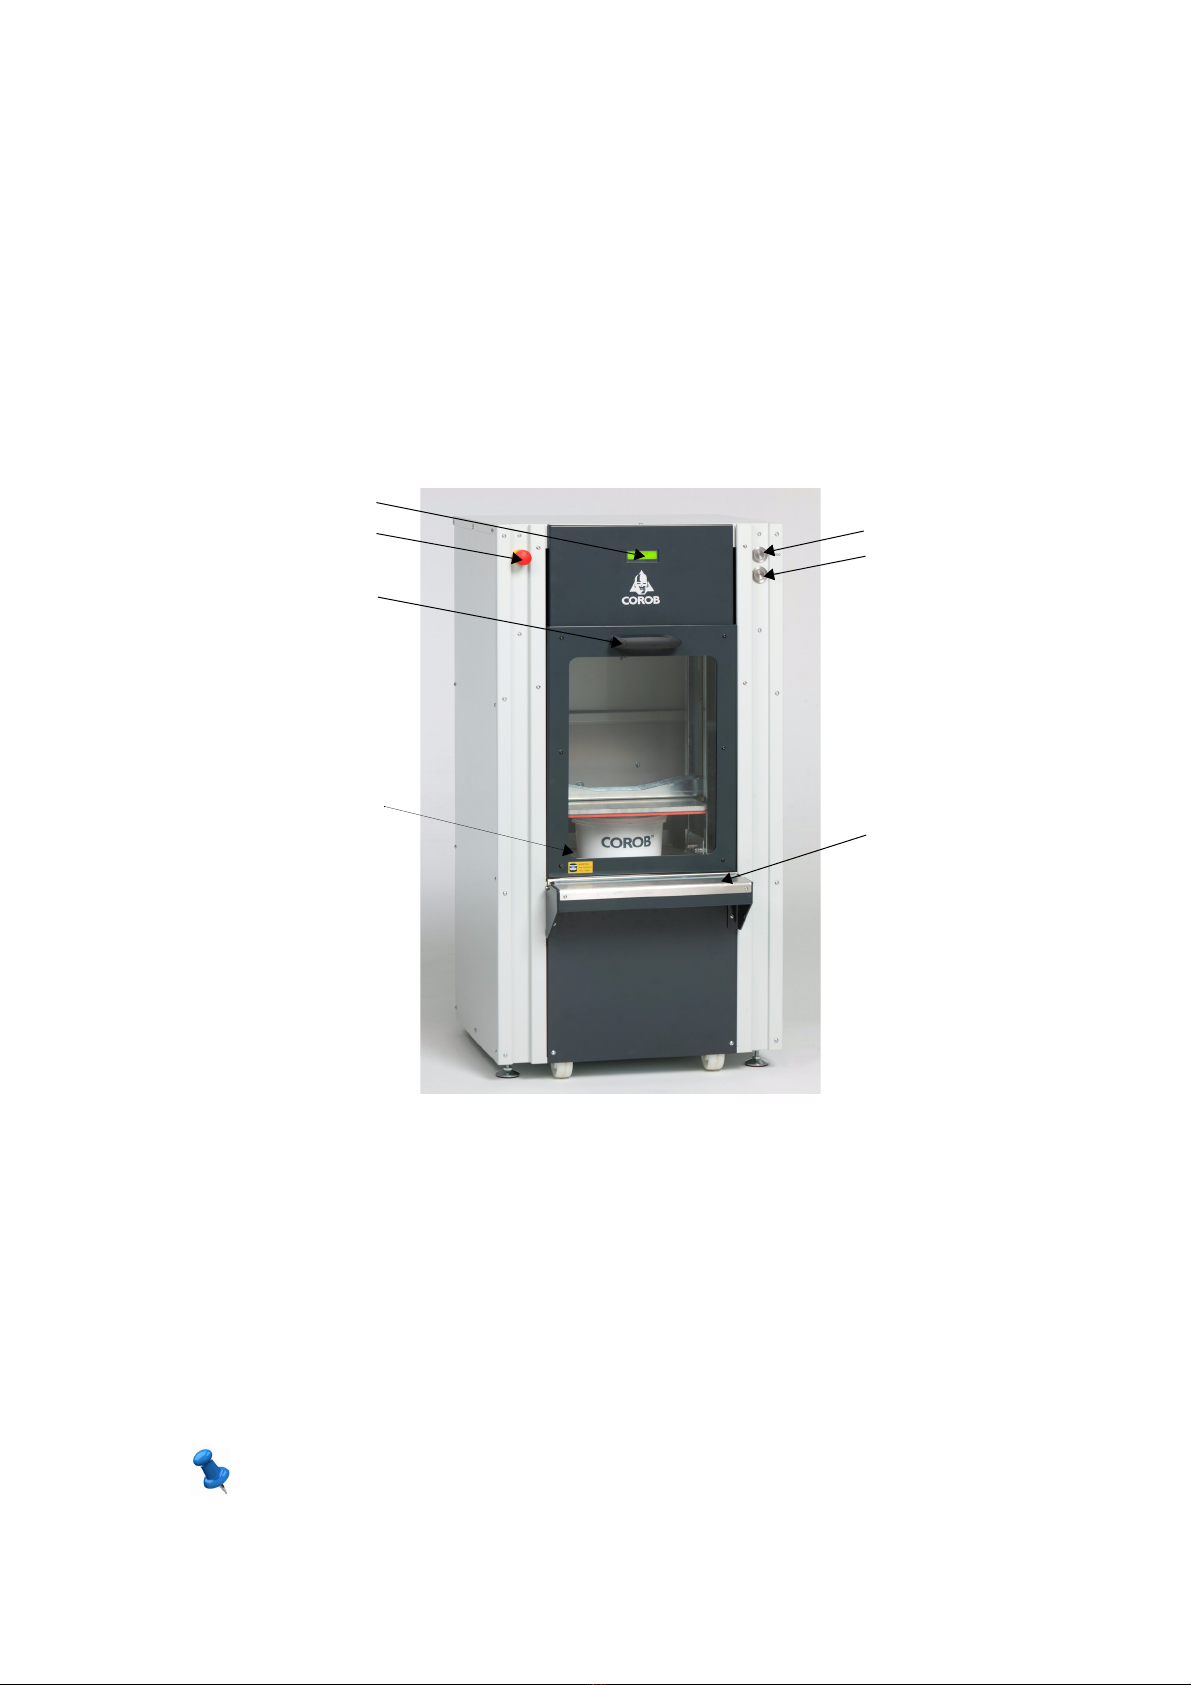
2.2 EVOshake 500 v2’s parts ........................................................................................................................................................................3
2.3 Usable cans ............................................................................................................................................................................................4
2.4 Identifying information..........................................................................................................................................................................4
3 SAFETY INSTRUCTIONS ..............................................................................................................................................5
3.1 Connecting and disconnecting the machine to the mains .....................................................................................................5
3.2 Emergency stop .......................................................................................................................................................................................5
3.3 Danger caused by the shaking mechanism ...................................................................................................................................6
3.4 Danger caused by chemicals ...............................................................................................................................................................6
3.5 Explosion safety ........................................................................................................................................................................................7
3.6 Residual risks..............................................................................................................................................................................................7
3.7 Position of labels ......................................................................................................................................................................................8
4 TRANSPORTATION, STORAGE AND DISPOSAL ...........................................................................................................9
4.1 Contents of the basic package ............................................................................................................................................................9
4.2 Handling......................................................................................................................................................................................................9
4.3 Product disposal and recycling ...........................................................................................................................................................9
5 MACHINE INSTALLATION............................................................................................................................................10
5.1 General warnings ................................................................................................................................................................................. 10
5.2 Installation site requirements ........................................................................................................................................................... 10
5.3 Unpacking and placement ........................................................................................................................................................... 10
5.4 Electrical connection and start up ................................................................................................................................................ 13
6 INSTRUCTIONS FOR USE .............................................................................................................................................14
6.1 General warnings ................................................................................................................................................................................ 14
6.2 Control devices and connections.................................................................................................................................................... 14
6.3 The display............................................................................................................................................................................................... 15
6.4 Opening the door.................................................................................................................................................................................. 15
6.5 Loading of cans ..................................................................................................................................................................................... 16
6.6 Handle holder......................................................................................................................................................................................... 16
6.7 Shaking ..................................................................................................................................................................................................... 16
6.8 Changing the language and the preferred height.................................................................................................................... 17
6.9 Special functions ................................................................................................................................................................................... 17
6.10 Troubleshooting ................................................................................................................................................................................ 17
7 ORDINARY MAINTENANCE .........................................................................................................................................18
7.1 General warnings ................................................................................................................................................................................. 18
7.2 External cleaning ................................................................................................................................................................................... 18
7.3 Cleaning the threaded axels ........................................................................................................................................................... 18
8 TECHNICAL SPECIFICATIONS......................................................................................................................................19
8.1 Technical information ......................................................................................................................................................................... 19
8.2 Dimensions ............................................................................................................................................................................................. 19
8.3 Declaration of conformity.................................................................................................................................................................. 20
8.4 Warranty ................................................................................................................................................................................................... 20
APPENDIX: EC DECLARATION ........................................................................................................................................22

EVOSHAKE 500 v2 - 2-
1 GENERAL INFORMATION
1.1 Purpose and use of this manual
Read this manual carefully before using the machine.
The manual is to be considered an integral part of the machine, and must be stored until it is fully dismantled.
Should it be lost or partially ruined,so that its contents can no longer be read in full,you must request a new manual from
the manufacturer.
Some of the illustrations in this manual were taken from prototypes; some details may differ on machines in
standard production.
Conventially used graphics
Boldface type is used to highlight notes or information of particular importance to a topic.
1.2 Definitions
DANGER
Indicates a risk of personal injury
WARNING
Indicates a risk of damage to the machine that could interfere with its operation.
dd
Indicates important instructions referring to precautionary rules and/or measures to adopt.
OPERATOR
A person familiar with the methods to mix paints or similar products, trained and authorized to operate and use the
machine by its controls and to load and unload production materials with all safety devices installed and enabled.
He or she must work only in safety conditions and is allowed to carry out routine maintenance operations.
MAINTENANCE TECHNICIAN / INSTALLATION TECHNICIAN
Specialist prepared and trained in a technical field (mechanical and electrical) and assigned by the manufacturer
to work on the machine to perform machine installation, adjustments, repair breakdowns or carry out
maintenance.

- 3 - EVOSHAKE 500 v2
2FEATURES
2.1 Description of the machine
The EVOshake 500 v2 is an advanced and flexible vibrational shaker. It has optimal mixing time and speed. The
EVOshake 500 v2 is easy to use and it is meant for paint shops.
EVOshake 500 v2 has automatic clamping system which allows mixing of non-explosive paints contained into metal or
plastic containers. It is suitable to handle cans of different size and shape, and is capable to shake more than one can
simultaneously. The machine is equipped with a upwards sliding door.
The shaking cycle is completely automatic involving can clamping, activations of the shaking motion, unclamping of the
can, and opening the door.
2.2 EVOshake 500 v2’s parts
Table 1. Parts of the shaker
* The Emergency button is a safety device. Pressing this button causes all machine dangerous movements to be
stopped,by cutting off power supply to all power circuits. For more specified explanation see chapter “Emergency stop”
on page 5.
The PROG and STOP buttons are explained in chapter “Control devices and connections” on page 14.
1. Display 2. Emergency button *
3. Door handle 4. Lower plate
5. PROG button 6. STOP button
7. Shelf
dd Some of the pictures in this manual were taken from prototypes; some details may differ in machines in
standard production.
1
3
6
5
Figure 2-1: EVOshake 500 v2’s parts
2
4
7

EVOSHAKE 500 v2 - 4-
2.3 Usable cans
2.4 Identifying information
The product identification data is printed on the type shield behind the
machine, see figure 3-3 on page 5. The type shield is indicating:
• Manufacturer’s name and address
•Marking
• Machine model
•Yearofmanufacture
• Serial number (S/N)
• Electrical specifications
Can handling features
Type of cans Round / square / oval
Max can diameter 370 mm
Min. height 50 mm
Max height 410 mm
Max can weight 40 kg
Multiple can handling Yes
Loading height from floor 430 mm
dd Do not remove or tamper with the identification plate in any
way.
Figure 2-2: The machine serial
number, S/N, is in the type shield.

- 5 - EVOSHAKE 500 v2
3 SAFETY INSTRUCTIONS
The EVOshake 500 v2 shaker has been designed to be functional, safe and easy to use. Excellent design has removed
several dangers posed by the machine. However, in order for the machine to function properly, it still has points that
could cause a dangerous situation. This is why the machine has safety guards that help prevent accidents when used
correctly.
Only qualified and appropriately trained personnel (MAINTENANCE TECHNICIAN) are authorized to access the machine
parts protected by panels for extraordinary maintenance and repair interventions.
Any routine maintenance intervention performed by the operator must be carried out with the machine off and the
power supply cable disconnected from the mains socket outlet.
3.1 Connecting and disconnecting the machine to the mains
Before connecting the mains cable:
• Ensure that starting up the machine will not cause any danger
Before service, repairs and cleaning:
• Unplug the machine from the mains socket.
Periodically check the condition of the mains cable; if it is damaged, replace it with a new cable supplied by the
manufacturer.
Do not use extension cords to power the machine.
Do not use multisockets to connect other equipment to the same socket that powers the machine.
3.2 Emergency stop
The EVOshake 500 v2 is equipped with an emergency button, which is
located in the front left corner of the machine, see figure 3-3.
The purpose of the emergency button is to stop the machine safely in a
dangerous situation. Pressing the button causes the machine to stop immedi-
ately in emergency mode, ceasing all movements.
DANGER
This machine is meant for mixing paint. Any other use can cause a safety risk.
Neglecting to follow these safety instructions may lead to personal injury. Read the user manual carefully before
operating the machine. Never operate contrary to the instructions.
WARNING
The shaker may only be serviced by a qualified service representative.
DANGER
Electrical shock or sudden start up of the machine may cause personal injury.
DANGER
This equipment must be grounded. Check the grounding of the power supply system before connecting the
machine.
Figure 3-3: The emergency button.

EVOSHAKE 500 v2 - 6-
To activate the emergency button
Press the emergency button down.
To release the emergency button
Turn the red mushroom-head button either clock or counterclockwise =>STOP button blinks red
Press STOP button => The PROG button blinks green and the door opens.
3.3 Danger caused by the shaking mechanism
The EVOshake 500 v2 shaker is based on the principle of shaking
action. The shaker is equipped with a clamping mechanism to fasten
the can during shaking. Clamping and shaking can create a danger of
crushing, cutting and entangling. The EVOshake 500 v2 has a sliding
door to minimize hazards caused by the shaking mechanism.
The machine is equipped with a safety device that prevents the
machine to be started when the door is open and it also prevents the
door to be opened during machine operation.
The machine must not be used with cans exceeding the limits set forth
in chapter 8.1 Technical information.
The OPERATOR must not carry out operations reserved to the
MAINTENANCE TECHNICIAN or the INSTALLATION TECHNICIAN. The
manufacturer CANNOT BE HELD RESPONSIBLE for damages deriving
from the non‐observance of this prohibition.
It is strictly forbidden to use the machine without protections or with
any safety devices present on the machine disabled, broken down, or
removed.The panels must be kept closed at all times.
3.4 Danger caused by chemicals
The substances that may be used on the machine ‐‐ such as colorants, paints, solvents, lubricants and cleansers --
may be hazardous to your health; handle, store and dispose of these substances in keeping with current regulations
and the instructions provided with the product.
DANGER
The emergency button does not completely cut off power to the entire machine.The power supply unit box inside
the machine still remains powered.
To completely remove power from the machine it is necessary to shut it off (the switch behind the machine, see
figure 6-18 on page 14) and unplug the power supply cable from the wall socket outlet.
DANGER
The movement of the clamping mechanism may cause personal injury.
DANGER
Handle, store, and dispose of all agents according to the instructions supplied with them.
When shaking paints containing volatile solvents, do not use naked flames, electrical tools or other types of devices
that could cause sparks or fire hazards close to the machine.
Figure 3-4: The sliding door is closed.

- 7 - EVOSHAKE 500 v2
3.5 Explosion safety
The EVOshake 500 v2 is not designed to be used in spaces where there is a danger of explosion. An explosive space is a
room in which burning gas, vapours or mist from burning liquid or burning dust are mixed with air or explosives, causing
a danger of explosion.
Avoid naked flames or material that may create sparks and cause a fire.
3.6 Residual risks
DANGER
EVOshake 500 v2 must not be used in spaces which pose the danger of an explosion.
Risk Preventive measure P. P. E : Ch. in
this
manual
Risk of electrocution - Risk of
electrical shock if you power the
machine from a socket not
equipped with ground
connection.
Power the machine through a grounded
socket outlet.
/ch.5.2
Risk of electrocution - Risk of
electrical shock if you access
machine parts protected by
panels without first cutting off
electrical power.
The operator is not authorized to access
the machine parts protected by panels.
For the maintenance technician: before
performing any maintenance
intervention, shut off the machine and
disconnect the power supply cable from
the mains socket outlet.
/ch. 6
Dorsal/lumbar injuries -
Handling heavy loads when
moving the machine and loading
cans on the shelf may cause
injuries.
Do not exceed the weight limits stated by
the current regulations in force.
If necessary, use appropriate lifting
equipment.
ch. 8.1
ch. 6.5
Risk of falling objects /
crushing ‐When positioning a
can on the shelf, there is a risk it
may fall onto the operator.
Position the can so that the whole base
rests on the shelf surface.
ch. 6.5
Risk of crushing /
entanglement ‐The automatic
movement of the door and of the
plates may cause injuries.
The door opens upward. Keep enough
free space. Do not put objects on top.
Keep your hands away.
Before performing any intervention, press
Emergency stop button.
ch. 3.3
ch. 6.4
ch. 6.7
Risk of contusion - When fixing
the handle holder, it may cause
injuries.
Handle the holder firmly, take a good
grip.
ch. 6.6
Risk of explosion - Fumes
generated by the colorants used
may cause an explosion.
Do not use the machine in in classified
areas (areas at risk for explosion).
Avoid naked flames or material that may
create sparks and cause a fire.
/
Risk of poisoning and
sensitization -
Fumes generated by the
colorants used may cause
poisoning and/or sensitization
during machine cleaning and
disposal.
Read the warnings reported in the
Material Safety Data Sheets of the
colorants used. The MSDS must be
provided by the colorant manufacturer.
Keep the room suitably ventilated.
Personal
Protective
Equipment
as
specified in
MSDS.
ch. 3.4

EVOSHAKE 500 v2 - 8-
3.7 Position of labels
1. Type shield (2.4 Identifying information on page 4)
2. Label “General warnings”
3. Label “PROG STOP”
4. Label “Place the can”
5. Label “Warning max can size”
6. Label “Electrical danger”
7. Label “Serial Number”
dd Do not remove or make illegible the safety or instruction labels. Replace any label has become illegible or is
missing, by requesting it to the manufacturer.
3
4
56
UYYS0XXX
7
1
2
Figure 3-5: Position of the labels.

- 9 - EVOSHAKE 500 v2
4 TRANSPORTATION, STORAGE AND DISPOSAL
4.1 Contents of the basic package
Placed on a pallet
•Shaker
• Equipment bag including:
Mains cable
User manual
Declaration of conformity
Spare fuses
Supporting foot
4.2 Handling
The EVOshake 500 v2 and its equipment have been placed on pallet for transportation, which can be handled with a
forklift and a pump-operated cart. The package must be handled and stored upright
The transportation and storage temperature must be between -25 and +55°C, and the relative humidity in the storage
room from 30 to 95%. Protect the crate from rain. The 24-hour average temperature in the storage room must be below
+70°C.
In some cases, the machine is packed into special corrosion protection plastic. This plastic can be disposed of like other
PE plastics, taken to a dumping site or burned. We recommend recycling.
If the machine is protected by the plastic, there are corrosion protection capsules inside the machine. Capsules do not
impede the machine's operation and they can be removed after one year (service life one year).
4.3 Product disposal and recycling
This equipment must not be disposed of with unsorted municipal waste. Carry out a separate
collection.
Pursuant to the WEEE Directive,collection, treatment,recovery and environmentally sound
disposal of Waste Electrical and Electronic Equipment (WEEE) shall be carried out in compliance
with the national measures of each EU-Member State implementing the Directive.
Differentiate the parts making up the machine based on the various materials they are made of
(plastic, iron, etc.).
For the machine components most soiled with colorant and if any products have been used on
the machine that require special disposal procedures, follow local regulations when disposing of
waste.
dd If any of the above equipment (including the optional equipment mentioned in the purchase order) is
missing, please contact your service centre.
WARNING
Damaging, tilting or mishandling the packed machine may lead to malfunction when the machine is first used.
Special care and caution must be observed when handling the EVOshake 500 v2 and its transportation pallet.
Figure 4-6: The
WEEE symbol

EVOSHAKE 500 v2 - 10 -
5 MACHINE INSTALLATION
5.1 General warnings
Personnel in charge of these operations must wear the following personal
protective equipment.
5.2 Installation site requirements
The structural design of the EVOshake 500 v2 is geared towards it being functional and user-friendly. To ensure ease of
use, take into account the following details when installing the machine:
1. The machine should be operated at room temperature (10 °C - 40 °C), in a room with no harmful humidity (relative
humidity: 5% - 85%) or drafts and without condensation.
2. The machine must be placed in a clean and dust free place.
3. The room must be ventilated to prevent concentration of harmful fumes.
4. The operating site must have adequate lighting.
5. Place the mains plug in such a place that it can be unplugged without moving the machine.
6. Check that the floor is not slippery or uneven.
7. Reserve 40 cm free space above the machine, as the door opens upwards and needs space.
8. Electrical interface:
220 - 240 V ±5%
50 Hz / 6.3 A
Earthed wall socket.
5.3 Unpacking and placement
Tools required:
• 10 and 17 mm set wrench
One person is enough to carry out the following procedure.
The service representative will install the machine so that it is ready to be used. In addition, he will give training on how
to use the machine.
1. Remove the carton box covering the machine.
2. Remove the cover from top of the EVOshake 500 v2.
3. Check that the EVOshake 500 v2 and accompanying equipment have not been damaged during transport.
4. Check that all the ordered items have been delivered, see the section “4.1 Contents of the basic package” on page 9.
DANGER
To avoid personal injuries and property damage, use the utmost care and caution when handling the machine, and
carefully follow the instructions given in this chapter
WARNING
Only a service representative authorised by the supplier may install the machine.
WARNING
When using colorants containing volatile solvents the room in which the machine is installed must be spacious,
with good ventilation (air exchange) and no type of parts must be leant against or stocked close to the machine.
For indoor use only!
dd Make sure the packing has not suffered any damage or tampering during shipping; if so, contact the
authorized technical service or your dealer.

- 11 - EVOSHAKE 500 v2
5. Unscrew the three fixing plates which fasten the shaker to the pallet, see
figure 5-9. There is one on each side and one at the back of the shaker.
6. Mount the cover to the front of the pallet with two screws from one of the
fixing plates you just removed.
7. The EVOshake 500 v2 has two supporting feet in front of the machine and
one in the back. Lift the front ones higher to ease the removal of the shaker.
See figure 5-8 how to adjust the supporting foot.
8. Take a grip from the front of the machine and slide the machine forward, see
figure 5-10.
9. When the back leg reaches the ramp, tilt more, see figure 5-11.
10. Carefully slide the shaker along the ramp (cover) to the floor, see figure on
the next page.
11. Move the shaker to its working place bearing in mind the site requirements
mentioned on page 10.
12. Adjust the three supporting feet so that the wheels no longer touch the
floor and to ensure that the shaker stands steadily.
13. Make sure the shaker is levelled. Shaker may be tilted backwards for 2-3 mm.
dd The machine must be perfectly level in order to operate properly and
prevent from vibrating during the shaking cycle.
10mm
Figure 5-7: Fix the cover to the pallet with two screws.
17mm
Figure 5-8: EVOshake 500 v2 has
three supporting feet. The lower
nut (1) is for adjusting the height
and the upper (2) for locking.

EVOSHAKE 500 v2 - 12 -
Removing the machine from the pallet
If the shaker is equipped with height riser, a stand below the shaker, with the help of additional wheels it is easy to
remove the shaker from the pallet. After that
1. Move the shaker to its working place bearing in mind the site requirements mentioned on page 10.
2. Remove the axel and the wheels.
3. Adjust the four supporting feet to ensure that the shaker stands steadily.
4. Make sure the shaker is levelled. Shaker may be tilted backwards for 2-3 mm.
Figure 5-10: Get hold of the front of the machine.
Figure 5-11: Steadily slide the machine
along the ramp.
Figure 5-13: Slide the EVOshake 500 v2
slowly to the ground.
10mm
Figure 5-9: Remove the three fixing plates; one on both sides
and one on the back.
Figure 5-12: Tilt the shaker little to ease
the movement on the ramp.
Figure 5-14: The stand with additional wheels (1)
and an axel (2).
1
12

- 13 - EVOSHAKE 500 v2
5.4 Electrical connection and start up
1. Plug the mains plug in a earthed wall socket and to the socket behind the machine, see figure 6-18 on page 15.
2. Turn the power switch on (I) and the door opens.
If the door does not open, see instructions “ The door is locked and does not open normally” on page 17.
3. Press the emergency button.
4. Unfasten the two ratchet tie downs inside the machine, see
figure 5-15.
5. To remove the wooden block, push the lower plate
backwards.
6. Release the emergency button and press the STOP button,
see “3.2 Emergency stop” on page 5.
7. Check the display. The arrow is blinking on language line.
8. Select the preferred language by pressing PROG-button.
9. Confirm selection by pressing STOP-button for 3 seconds =>
stops blinking.
10. Press STOP-button to move arrow to Pref height -line.
11. Press STOP-button until arrow starts blinking (3 seconds).
12. Select preferred height by pressing PROG-button (+ 10 mm
per push) or STOP-button (-10 mm per push).
13. Verify selection by pressing STOP-button for 3 seconds =>
stops blinking.
14. Close menu by pressing PROG-button for 3 seconds
=> the display says ‘Auto mode; ready’.
Preferred height is the standard opening height to which the upper plate opens after shaking the can.
dIf the shaker is brought in from a cold temperature, wait one day before using the machine. The temperature
difference may condense moisture on the machine's components, which could damage the machine's
electronics when the power is switched on.
DANGER
The door opens upwards, higher than the machine.
DANGER
Neglecting safety instructions may result in an accident. Familiarise yourself with the safety instructions and
instructions for use before using the machine.
Figure 5-15: There are two ratchet tie downs and
one block inside the machine. These must be
removed before shaking.
Auto mode
READY
Figure 5-17: The text on the
display, when the shaker is on
standby.
Bootloader v.1.0
Welcome Evoshake
Select language
Figure 5-16: The first text in the
display when installing the
machine.

EVOSHAKE 500 v2 - 14 -
6 INSTRUCTIONS FOR USE
6.1 General warnings
Personnel in charge of these operations must wear the following personal
protective equipment.
6.2 Control devices and connections
The socket is located behind the machine, see figure 6-18. The machine power switch is next to the fuses. This switch
cuts off power from the machine.
The EVOshake 500 v2 has control devices in front of the machine:
• the emergency button on the top left corner, see fig. 2-1 on page 3
• the display in the middle, see fig. 2-1 on page 3.
• the PROG and STOP button, see fig. 6-19.
The machine has four preset shaking programs:
DANGER
Neglecting to follow safety instructions may lead to personal injury. Read the safety instructions before operating
the machine. Never operate contrary to the instructions.
Before starting up the machine, ensure that it will not cause danger.
WARNING
The shaker must only be operated by trained personnel.
Program Function
Auto Mode Clamping force and time are selected automatically
1 min Shaking time: 60s Speed: 10s 270 rpm + 50s 599 rpm
2 min Shaking time: 120s Speed: 10s 270rpm + 110s 595 rpm
3 min Shaking time: 180s Speed: 10s 270rpm + 170s 584 rpm
Fuses
Machine
power
switch
Mains
cable
socket
Figure 6-18: The mains cable is connected to the back of
the machine.
PROG
button
STOP
button
Figure 6-19: Control devices are in the
front of the EVOshake 500 v2.

- 15 - EVOSHAKE 500 v2
You can select the program by pressing PROG button and start it by closing the door manually.
6.3 The display
The display shows the status of the EVOshake 500 v2, giving information about the process being done. When you start
up the machine, switch the power on, the display lights up and shows what progam is selected.
The display also shows when
• the upper plate is moving (clamping),
• the emergengy button is pressed,
• an error has occured.
Possible display readings:
6.4 Opening the door
The EVOshake 500 v2 is equipped with a sliding door that opens automatically upwards. When the power is switched on,
the door opens. After shaking and unclamping, the door opens automatically.
If the door is closed and you want to open it press STOP button.
Program Function
Unclamp max Lifts the upper plate to max open position
Close door You can close the door manually, for example for the weekend
=> the machine stays in stand-by mode
=> the door opens when pressing STOP button
Cleaning Drives the upper plate down and up couple of times and cleans the spindles
=> shows Torque avg, max and min
Position reset Resets encoder position
WARNING
Only qualified service personnel are allowed to service and repair the EVOshake 500 v2.
POSITION RESET
The upper plate is driven to the zero position that is max open.
UNCLAMP MAX
The upper plate rises to max open and the door opens.
DANGER
The door opens upwards, higher than the machine.

EVOSHAKE 500 v2 - 16 -
6.5 Loading of cans
More than one can may be mixed at the same time provided they are of the same height and do not overlap the
clamping plates. Moreover, the sum of the capacities of the cans must not be greater than the machine’s maximum
capacity.
The overall dimensions of the cans are listed in the chapter “8.1 Technical information” on page 19. Also see the chapter
“2.3 Usable cans” on page 4.
6.6 Handle holder
The handle of the can must be fixed with a holder during mixing.
6.7 Shaking
After the primary installation or service, you can start up the machine by switching the power on (I) => the door opens.
The door opens automatically at the end of the shaking process.
To carry out a shaking cycle, execute the following steps:
1. If the upper plate is too low, raise it as follows:
- Select declamp
- Close the door manually.
=> the machine declamps the upper plate to max open position
=> the door opens.
2. Centre the can on the lower plate.
3. Fix the handle of the can with the handle holder, see fig. 6-21.
4. Select the shaking program by pressing PROG button.
5. Close the door and the shaking cycle starts.
6. When shaking is finished, the upper plate rises, and the door opens.
7. Remove the can.
WARNING
Never use cans weighing more than 40 kgs.
Do not put one can on top of another.
Do not load damaged cans into the machine.
Make sure that the can lid is perfectly closed.
Place the cans to be mixed in the center of the bottom clamping plate.
dd
During the whole shaking cycle, the PROG button green lamp is on.
Figure 6-20: The handle holder is fixed to the
body of shaker.
Figure 6-21: The can’s holder is now fixed.

- 17 - EVOSHAKE 500 v2
6.8 Changing the language and the preferred height
If you need to change the program settings done in the primary installation, do the following:
1. Press the emergency button.
2. Press both the PROG and the STOP button and keep them pressed.
3. Release the emergency button, the STOP button blinks red.
4. Wait until display says >LANGUAGE in the display and proceed as described in section “5.4 Electrical connection and
start up” on page 13.
6.9 Special functions
Just to close the door manually, press the PROG button and simultaneously close the door => display says CLOSE DOOR.
To declamp the upper plate to max open position, press the STOP button and simultaneously close the door => display
says CLAMPING.
6.10 Troubleshooting
The door is locked and does not open normally
First try following steps to open the door:
1. Press the STOP button => you will hear clicking noise.
2. Sharply push the door downwards => the door opens.
If the door still does not open, you can open it manually through the hole behind the shelf. This hole is covered with a
plug. To open the door manually, do the following:
1. Press the emergency button.
2. Remove the plug.
3. Place a sharp tool, like a screwdriver, on the left side of the hole.
4. Move the tool sideways to the right and the door opens.
5. Release the emergency button and press the STOP button.
Sometimes it helps just lightly lift from the door handle.
Error message
If a function does not work, the display will show an error message and the STOP button blinks red. When this happens,
press the STOP button.
If the error message recurs, contact authorized service personnel.
Before you contact a service representative, take note of the machine's serial number (see fig. 2-2 on page 4).
dd The power to the EVOshake 500 v2 must be switched off and the machine disconnected from the mains for
servicing and repairs.
dd
Only qualified service personnel are allowed to service and repair the EVOshake 500 v2.
Figure 6-22: Under the shelf there is a hole covered
with a plug.
Figure 6-23: Insert a tool into the hole to manually
open the door.

EVOSHAKE 500 v2 - 18 -
7 ORDINARY MAINTENANCE
7.1 General warnings
Personnel in charge of these operations must wear the following personal
protective equipment.
7.2 External cleaning
Keep the EVOshake 500 v2 clean. In case of paint spills, clean the machine immediately.
1. Press the emergency button down.
2. Clean coverings,panels, plates and control devices of the machine,to remove dirt, dust and any colorant stains,
using a soft and dry cloth, or slightly moistened with a mild cleansing solution.
3. Release the emergency button by turning it clock or counterclockwise.
4. Press the STOP button => the machine is ready for use.
7.3 Cleaning the threaded axels
On both side of plates there is a threaded axel. These axels raise the upper
plate. In time, these threads will get dirty and then they need cleaning.
When this happens the following message appears on the display
and the STOP button blinks red.
1. Press the STOP button
=> the upper plate rises to Preferred height and the door opens.
=> the display says: Cleaning Remove can
2. Remove the can, if present, from the plate.
3. Close the door
=> the Cleaning starts and the machine runs cleaning cycle.
Display: Cleaning Torque xx (xx = number that is changing)
When the Cleaning is finished the upper plate stops at Preferred height
and the display says: Cleaning Torque min/max/avg
=> the door opens.
4. Press the PROG button to select the Auto mode to continue shaking.
If the notification High torque is repeated shortly, after couple of shakings,
do the following:
1. Press the emergency button down.
2. Check the threads visually and remove the possible dirt.
3. Grease the axels with synthetic lubricant.
4. Release the emergency button by turning it clock or counterclockwise and press the STOP button.
5. Ensure that the Cleaning program is selected (in the display reads Cleaning..).
6. Close the door to start Cleaning.
7. Follow the steps from 1 to 4 above.
If the notice appears again shortly, contact authorized service company.
DANGER
Before carrying out any maintenance operations, you must activate the emergency button and disconnect from
mains.
dThe operator is not allowed to carry out any other maintenance operations than those mentioned in this
manual. The operator is not allowed to open any panels.
Contact our authorized service company for service and repair.
Figure 7-24: The left threaded axel.
High torque
Table of contents
Other corob Laboratory Equipment manuals
Popular Laboratory Equipment manuals by other brands

Sarin Energy
Sarin Energy Commercial UVC Sterilizer instructions

V&P Scientific
V&P Scientific SpinVessel VP 418SV3-1-850RB-CC operating instructions

Sarstedt
Sarstedt Microvette 100 ml user guide

Munchkin
Munchkin Steam Guard manual

Metrohm
Metrohm 916 Ti-Touch manual

Cole Parmer
Cole Parmer V-100 Series instruction manual