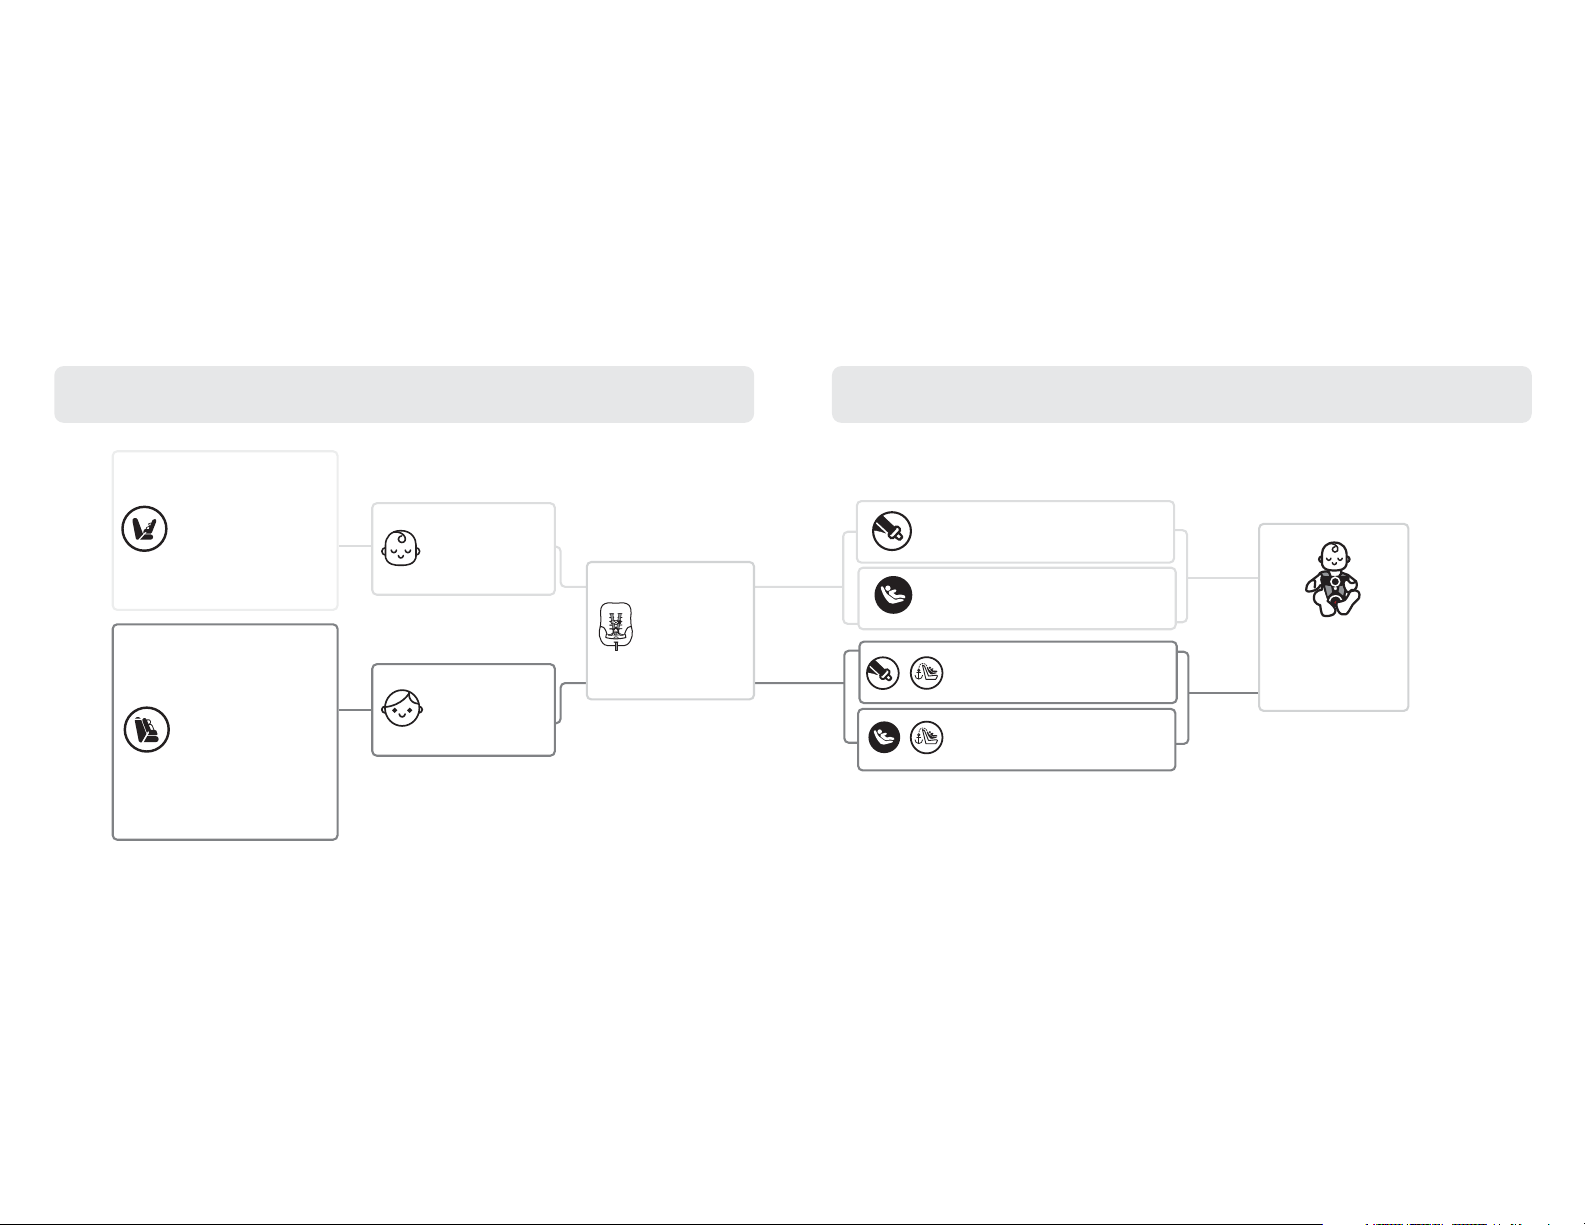
Accessory Use (On Select Models) Choosing Car Seat Mode
3 4
Measure your child’s weight and
height (do not guess) before choosing
the car seat’s mode.
Your child’s height, weight, and age
determine how the car seat should be
placed in the vehicle.
Children vary widely in body size, shape,
and temperament—please consult
your doctor before switching between
any of these modes within the limits
and fit requirements of the seat.
Provincial Laws: Please be certain to
follow your province’s laws regarding car
seat use.
American Academy of Pediatrics
Recommendations
Infants and Toddlers: Should ride in a
rear-facing car seat as long as possible,
until they reach the highest weight or
height allowed by their seat.
Toddlers and Preschoolers: Once they
are facing forward, children should use
a forward-facing car seat with a harness
for as long as possible, until they reach
the height and weight limits for their
seats.
School-Aged Children: Once they have
outgrown their forward-facing car seat,
children should use a belt-positioning
booster seat until the vehicle’s lap and
shoulder seat belt fits properly. This is
often when they have reached at least 4
feet 9 inches in height and are 8 to 12
years old.
continued on next page
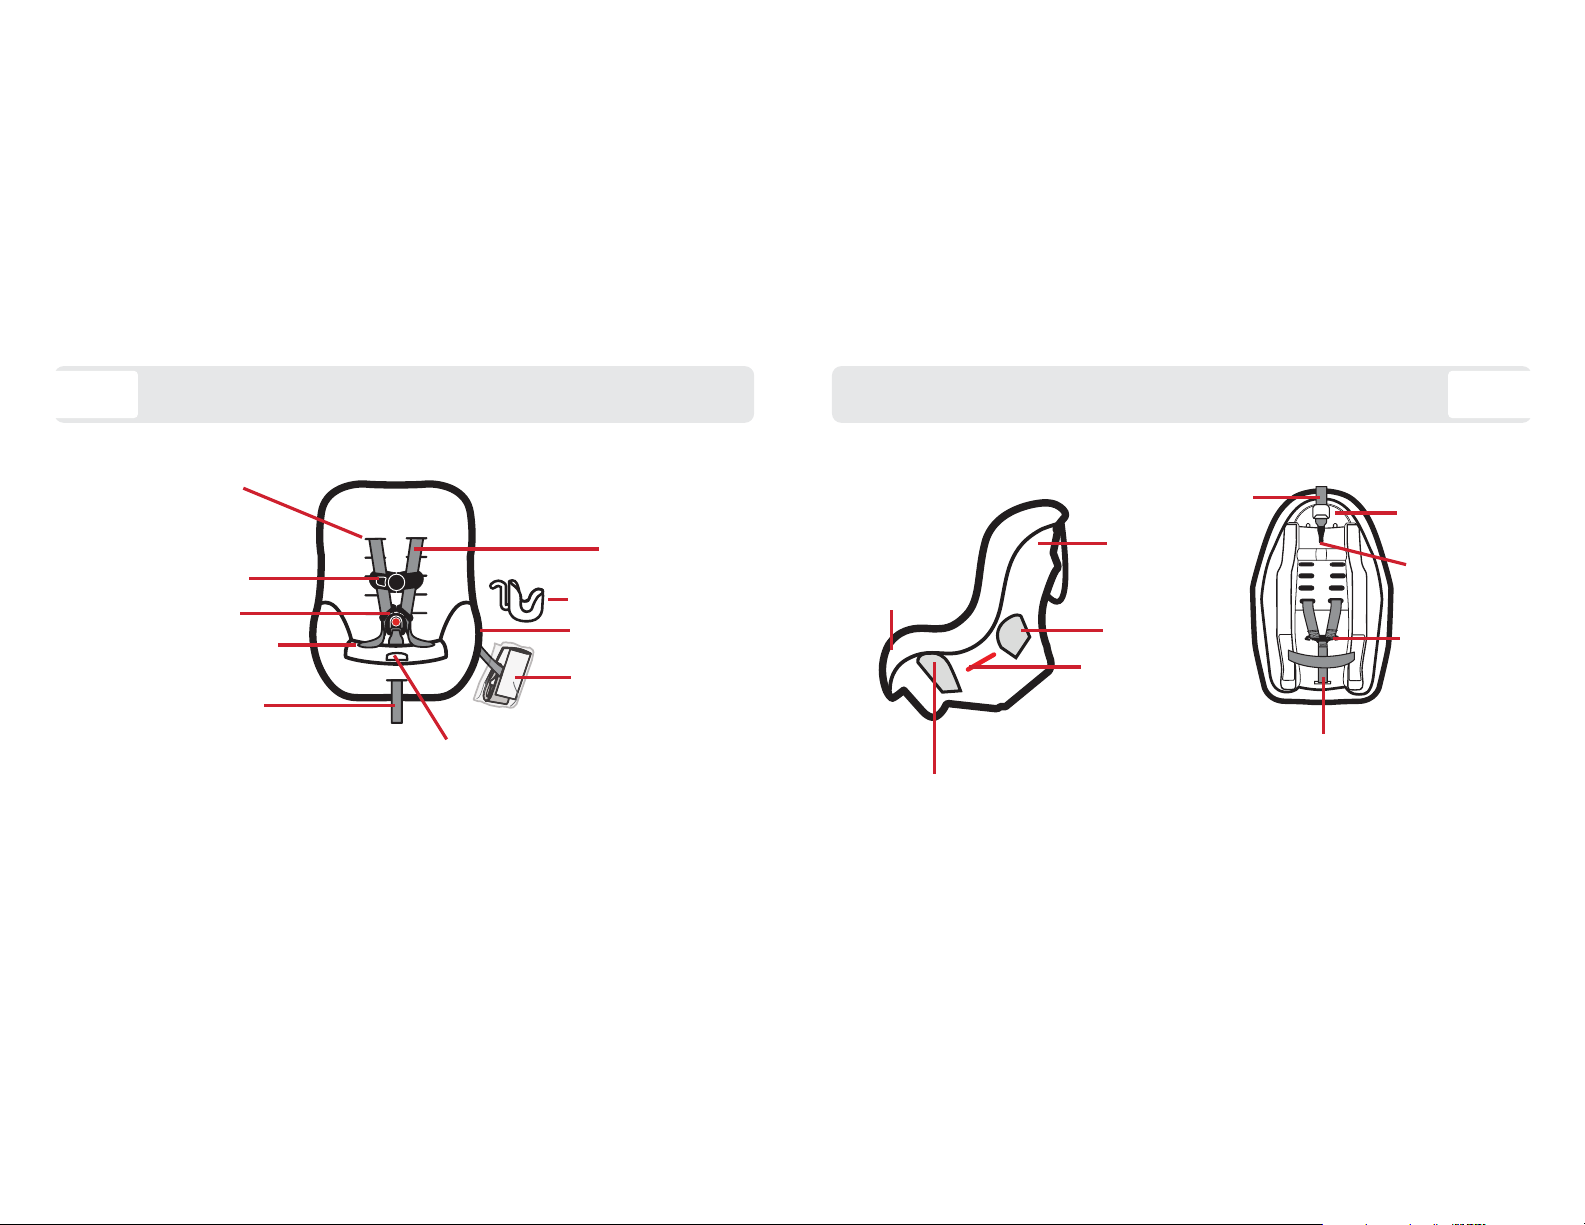
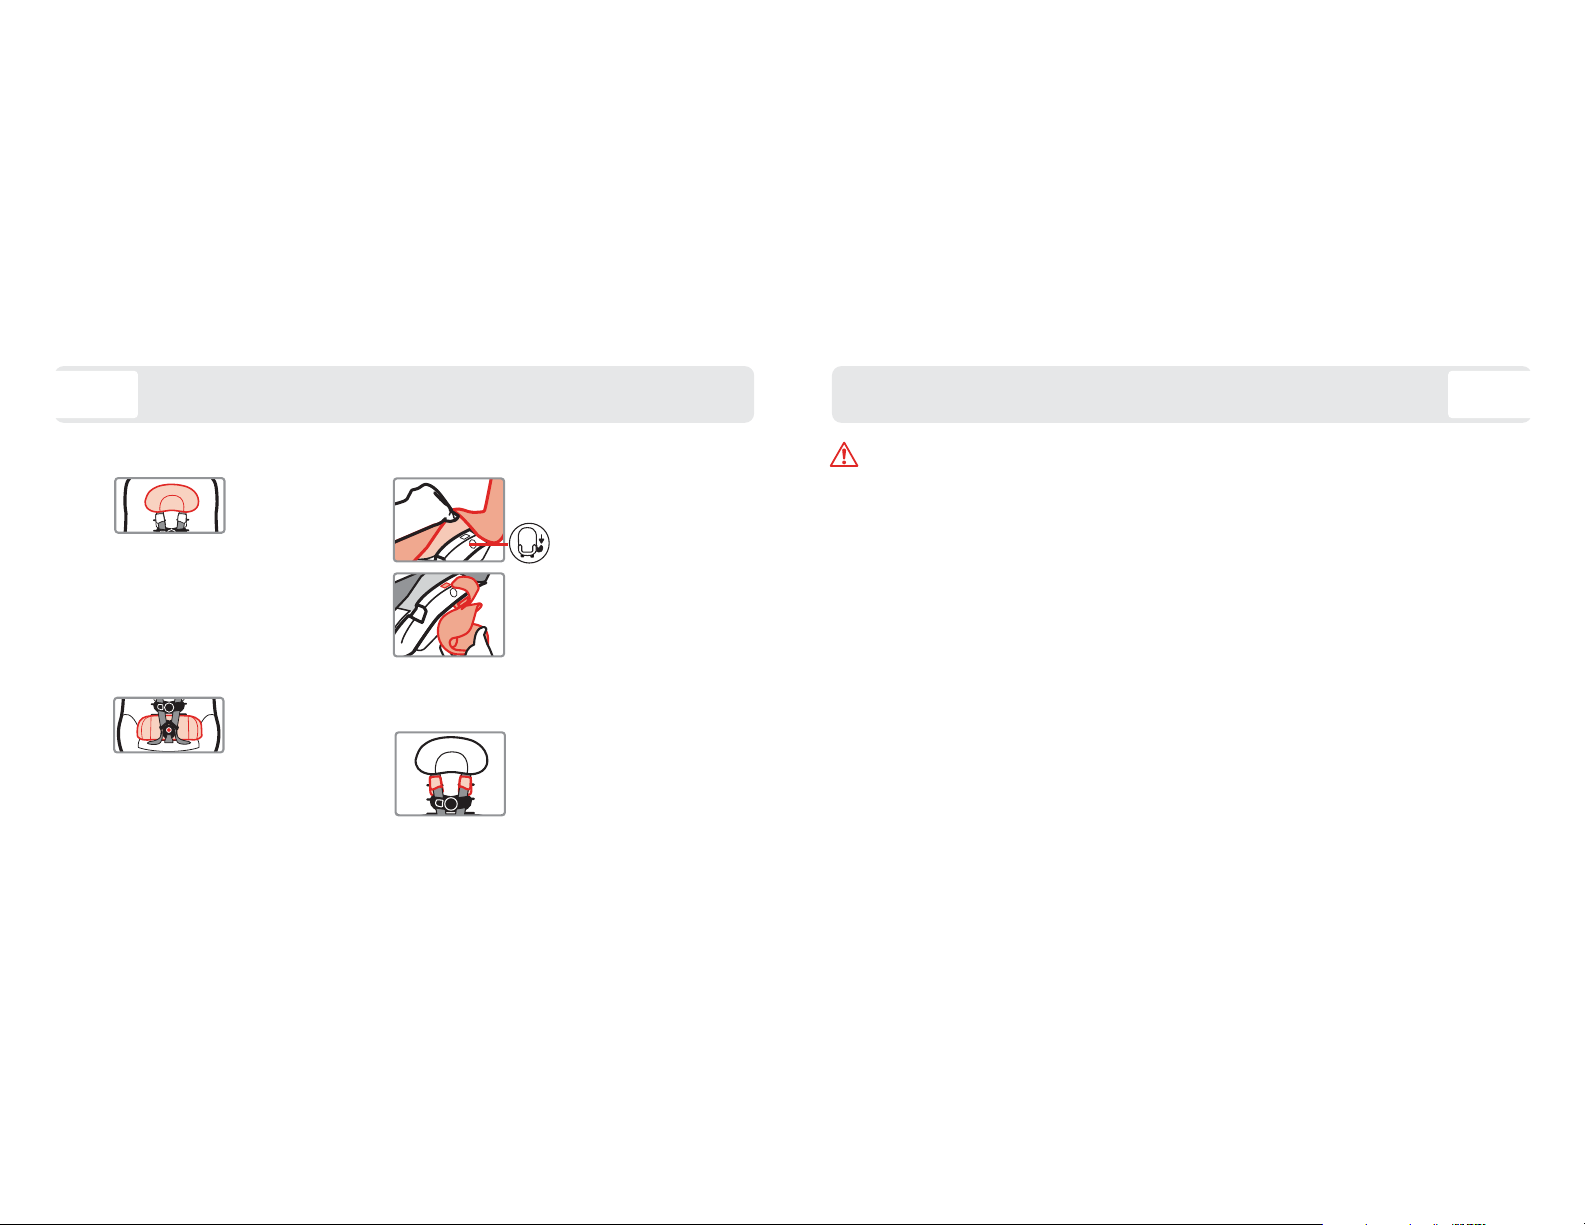
Body Pillow
To remove,
1. Loosen
Harness Straps 2. Slide It Out From
Behind Harness Straps To install,
1. Loosen Harness Straps
2. Slide It Behind Harness Straps
Cup Holder
The cup holder can be
attached to either side
of the shell. Pull pad
off corner of shell. Align
symbol on cup holder with
symbol on shell. Hook
bottom of cup holder under
edge of shell. Snap top of
cup holder over edge of
shell. Replace pad.
Head Pillow
To remove, from
the back of the
head pillow gently pull the fabric
tabs out from the shoulder harness
slots.
To attach, slide the fabric tabs
into shoulder harness slots.
Harness Covers
To remove, pull the
fastening strips apart
and pull them off of the
harness strap.
For Use in Rear-Facing or Forward-Facing Mode
For wash and care instructions, see page 50.
Only For Use in Rear-Facing Mode