manuals.online logo
Brands
  1. Home
  2. •
  3. Brands
  4. •
  5. Costway
  6. •
  7. Outdoor Furnishing
  8. •
  9. Costway KC55107 User manual

Costway KC55107 User manual

THIS INSTRUCTION BOOKLET CONTAINS IMPORTANT SAFETY INFORMATION. PLEASE READ AND KEEP FOR FUTURE REFERENCE.
EN DEFR ES IT PL
USER'S MANUAL/HANDBUCH
/MANUEL DE L'UTILISATEUR/MANUAL DEL USUARIO
/MANUALE UTENTE/INSTRUKCJA OBSŁUGI
KC55107
Kitchen Cart / Küchenwagen
/ Chariot de Cuisine / Carrito de Cocina /
Carrello da Cucina / Wózek kuchenny
EN
DE
FR
ES
IT
PL
With your inspiring rating, COSTWAY will be more consistent to offer you EASY
SHOPPING EXPERIENCE, GOOD PRODUCTS and EFFICIENT SERVICE!
Mit Ihrer inspirierenden Bewertung wird COSTWAY konsistenter sein, um Ihnen EIN
SCHÖNES EINKAUFSERLEBNIS, GUTE PRODUKTE und EFFIZIENTEN SERVICE zu
bieten!
Avec votre évaluation inspirante, COSTWAY continuera à fournir une EXPÉRIENCE
D’ACHAT PRATIQUE, des PRODUITS DE QUALITÉ et un SERVICE EFFICACE !
Con su calificación inspiradora, COSTWAY será más consistente para ofrecerle
EXPERIENCIA DE COMPRA FÁCIL, BUENOS PRODUCTOS y SERVICIO EFICIENTE.
Con la tua valutazione incoraggiante, COSTWAY sarà più coerente per offrirti
ESPERIENZA DI ACQUISTO FACILE, BUONI PRODOTTI e SERVIZIO EFFICIENTE!
Dzięki twojej opinii COSTWAY będzie mógł oferować jeszcze WYGODNIEJSZE
ZAKUPY, LEPSZE PRODUKTY i SPRAWNIEJSZĄ OBSŁUGĘ KLIENTA.
US office: Fontana UK office: Ipswich AU office: Truganina
DE office: FDS GmbH, Neuer Höltigbaum 36, 22143 Hamburg, Deutschland
FR office: Saint Vigor d'Ymonville
PL office: Gdańsk
02 03
Hook/Haken/
Crochet/Gancho/
Gancio/Hak
M6*20mm
A x1 B x1 C x1 D x1
E x1 F x2 G x1 H-1 x2
H-2 x1 I x1 J x1 K x1
L x1 M x1 N x1
Screw/Schraube/Vis/
Tornillo/Vite/Śruba
Screw/Schraube/
Vis/Tornillo/Vite/
Śruba
Screw/Schraube/Vis/
Tornillo/Vite/Śruba
Nut/Mutter/Écrou/
Tuerca/Dado/Nakrętka
Nut/Mutter/Écrou/
Tuerca/Dado/Nakrętka
M6 M8
M8
M6*16mm
M8*80mm
M6*40mm
O.
R x4 S x2
T x2 U x2
V x2 W x2
F
N
A
M
B
G
E
L
H-1
H-2
K
C
D
R
J
I
P x30 Q x2
Parts List/Teileliste/Liste des Pièces/
Lista de Piezas/Lista di Parti/ Lista części
F x2
M6*16mmM8*80mm
U x2
M8
V x2 P x4
04 05
Assembly Instructions/Montageanleitung/
Instructions de Montage/Instrucciones de Montaje/
Istruzioni di Montaggio/ Instrukcje montażu
A
B
H-2
P
FV
W
U
1
EN:
Leg A and Leg B is connected by beam H-2 with 4pcs screw P.
Attach two wheels F to the legs using screw V and nut W, and
lock with nut U.
DE:
Bein A und Bein B werden durch die Verbindungsstange H-2
mit 4 Schrauben P verbunden.
Die beiden Räder F werden mit der Schraube V an und den
Mutter W Beinen befestigt und mit der Mutter U gesichert.
FR:
Le pied (A) et le pied (B) sont reliées par la poutre (H-2) avec
4 vis (P).
Fixez les deux roues (F) aux pieds avec les vis (V) et le écrous
(W)bloquez-les avec les écrous (U).
ES:
La pata (A) y la pata (B) están conectadas por la barra (H-2)
con 4 tornillos (P). Fije las dos ruedas (F) a las patas con los
tornillos (V) y la tuercas (W), y bloquee con las tuercas (U).
IT:
La Gamba (A) e la Gamba (B) sono collegate con la trave
(H-2) con 4 viti (P). Fissare le due ruote (F) alle gambe con le
viti (V) e la dadi (W), bloccarle con i dadi (U).
PL:
Połącz nogi A i B za pomocą belki łączącej H-2 i 4 śrub P.
Zamocuj 2 koła F na nogach A i B za pomocą śrub V i W i
nakrętek U.
H-2 x1 A x1 B x1 W x2
M8
06 07
EN:
Connect leg A with beam H-1 by
2PCS screw P.
Connect leg B with beam H-1 by
2PCS screw P.
2
H-1
P
H-1 x2
M6*16mm
P x4
EN:
Connect Leg C with beam
H-1 by 2PCS screw P.
Connect Leg D with beam
H-1 by 2PCS screw P.
3C x1 D x1
M6*16mm
P x4
DE:
Verbinden Sie Bein A mit der Verbindungsstange H-1 durch 2
Schrauben P.
Verbinden Sie Bein B mit der Verbindungsstange H-1 durch 2
Schrauben P.
FR:
Connectez le pied (A) avec la poutre (H-1) par 2 vis (P).
Connectez le pied (B) avec la poutre (H-1) par 2 vis (P).
ES:
Conecte la pata (A) con la barra (H-1) mediante 2 tornillos (P).
Conecte la pata (B) con la barra (H-1) mediante 2 tornillos (P).
IT:
Collegare la gamba (A) con la trave (H-1) con 2 viti (P).
Collegare la gamba (B) con la trave (H-1) con 2 viti (P).
PL:
Zamocuj belkę łączącą H-1 na nodze A za pomocą 2 śrub P.
Zamocuj belkę łączącą H-1 na nodze B za pomocą 2 śrub P.
DE:
Verbinden Sie Bein C mit der Verbindungsstange H-1 mit 2
Schrauben P.
Verbinden Sie Bein D mit der Verbindungsstange H-1 mit 2
Schrauben P.
FR:
Connectez le pied (C) avec la poutre (H-1) par 2 vis (P).
Connectez le pied (D) avec la poutre (H-1) par 2 vis (P).
ES:
Conecte la pata (C) con la barra (H-1) mediante 2 tornillos (P).
Conecte la pata (D) con la barra (H-1) mediante 2 tornillos (P).
IT:
Collegare la gamba (C) con la trave (H-1) con 2 viti (P).
Collegare la gamba (D) con la trave (H-1) con 2 viti (P).
PL:
Przymocuj nogę C do belki łączącej H-1 za pomocą 2 śrub P.
Przymocuj nogę D do belki łączącej H-1 za pomocą 2 śrub P.
D
C
P
K x1
08 09
EN:
Assemble the bottom plate K to the legs with 4pcs screw P.
DE:
Befestigen Sie die Bodenplatte K mit 4 Schrauben P an den Beinen.
FR:
Assemblez le panneau inférieur (K) aux pieds avec 4 vis (P).
ES:
Ensamble el tablero inferior (K) a las patas con 4 tornillos (P).
IT:
Assemblare il pannello inferiore (K) sulle gambe con 4 viti (P).
PL:
Przymocuj dolną półkę K do nóg za pomocą 4 śrub P.
M6*16mm
P x4
4
P
K
EN:
NOTE: Keep the hole on the same side as the H-2.
DE:
HINWEIS: Das Loch muss sich auf der gleichen Seite wie H-2
befinden.
FR:
REMARQUE: Gardez le trou du même côté que la poutre (H-2).
ES:
NOTA: Mantenga el agujero en el mismo lado que la barra (H-2).
IT:
NOTA: Tenere il foro sullo stesso lato della trave (H-2).
PL:
UWAGA: Otwory w półce K powinny znaleźć się po tej samej
stronie co belka łącząca H-2.
10 11
EN: Assemble the Top plate L to the legs with 6pcs screw P.
DE: Befestigen Sie die obere Platte L mit 6 Schrauben P an den
Beinen.
FR: Assemblez le panneau supérieur (L) aux pieds avec 6 vis (P).
ES: Ensamble el tablero superior (L) a las patas con 6 tornillos (P).
IT: Assemblare il pannello superiore (L) sulle gambe con 6 viti (P).
PL: Przymocuj blat L do nóg za pomocą 6 śrub P.
5L x1
M6*16mm
P x6
NOTE: Keep the hole on the opposite side as the H-2.
HINWEIS: Die Bohrung muss sich auf der gegenüberliegenden Seite
von H-2 befinden.
REMARQUE: Gardez le trou du côté opposé à la poutre (H-2).
NOTA: Mantenga el agujero en el lado opuesto al de la barra (H-2).
NOTA: Tenere il foro sull’opposto lato della trave (H-2).
UWAGA: Otwory w blacie L powinny znaleźć się po przeciwnej
stronie belki łączącej H-2.
NOTE:Assemble this hole in step 7.
HINWEIS: Dieses Loch in Schritt 7 montieren.
REMARQUE: Assemblez ce trou à l'étape 7.
NOTA: Monte este agujero en el paso 7.
NOTA: Assemblare questo foro in passo 7.
UWAGA: Otwory będą potrzebne w kroku 7.
WARNING
Please follow the directions we have instructed. If you change
panel direction, it will cause a subsequent installation to fail.
WARNUNG
Befolgen Sie bitte die Anweisungen, die wir Ihnen gegeben haben.
Wenn Sie die Richtung der Platte ändern, wird eine spätere
Montage fehlschlagen.
AVERTISSEMENT
Veuillez suivre les instructions que nous vous avons données. Si
vous changez la direction du panneau, cela entraînera l'échec
d'une installation ultérieure.
ADVERTENCIA
Por favor, siga las instrucciones que le hemos indicado. Si cambia
la dirección del tablero, provocará un fallo en el montaje posterior.
AVVERTENZA
Si prega di seguire le direzioni che abbiamo introdotto. Se cambia
la direzione del pannello, potrebbe accadere il fallimento
dell’installazione succesiva.
OSTRZEŻENIE
Zmontuj części zgodnie z instrukcją. Jeśli zmienisz kierunek
montażu części, nie będzie mógł przejść do kolejnych etapów
montażu.
L
P
1
1
2
2
EN:
DE:
FR:
ES:
IT:
PL:
EN:
DE:
FR:
ES:
IT:
PL:
EN:
DE:
FR:
ES:
IT:
PL:
EN:
Assemble the side handle E to the Desktop with 2pcs washers
and 2pcs screw P.
DE:
Befestigen Sie den Seitengriff E mit 2 Unterlegscheiben und 2
Schrauben P an der Arbeitsplatte.
FR:
Assemblez la poignée latérale (E) au panneau supérieur avec
2 rondelles et 2 vis (P).
ES:
Monte la manija lateral (E) en el tablero superior con 2
arandelas y 2 tornillos (P).
IT:
Assemblare la maniglia laterale (E) sulla superficie con 2
rondelle e 2 viti (P).
PL:
Przymocuj uchwyt boczny E do blatu za pomocą 2 podkładek i
2 śrub P.
E x1
12 13
M6*16mm
P x2
6
ONLY ALLOWED TO MOVE WHEN THERE IS NOTHING LEFT ON
TOP TABEL OR BOTTOM SHELF!
DER KÜCHENWAGEN DARF NUR BEWEGT WERDEN, WENN
NICHTS MEHR AUF DEM OBEREN TISCH ODER IM UNTEREN
REGAL LIEGT!
UNIQUEMENT AUTORISÉ À SE DÉPLACER LORSQU'IL N'Y A
PLUS RIEN SUR LE PANNEAU SUPÉRIEUR OU L'ÉTAGÈRE
INFÉRIEURE!
¡SOLO SE PUEDE MOVER CUANDO NO QUEDA NADA EN EL
TABLERO SUPERIOR O EN EL ESTANTE INFERIOR!
È PERMESSO DI SPOSTARE IL CARRELLO A CONDIZIONE CHE
NON CI SIANO GLI OGGETTI RIPOSTI SUL PANNELLO
SUPERIORE O SUL RIPIANO INFERIORE!
PRZED PRZYSTĄPIENIEM DO PRZESUWANIA WÓZKA USUŃ
WSZYSTKIE PRZEDMIOTY Z BLATU I DOLNEJ PÓŁKI.
P
E
EN:
DE:
FR:
ES:
IT:
PL:
14 15
EN: Assemble the Hinges I & J to the side of top plate with
4pcs screw P (Identify the LH and RH before assembling
the hinges).
DE: Montieren Sie die Scharniere I und J an der Seite der
oberen Platte mit 4 Schrauben P (Identifizieren Sie die
linke und rechte Seite, bevor Sie die Scharniere
montieren).
FR: Assemblez les charnières (I et J) sur le côté du panneau
supérieur avec 4 vis (P) (Identifiez les côtés gauche et droit
avant d'assembler les charnières).
ES: Monte las bisagras (I y J) en el lado del tablero superior con 4
tornillos (P). <Identifique el lado izquierdo y el derecho antes
de montar las bisagras.>
IT: Assemblare le cerniere (I e J) sul lato del pannello superiore
con 4 viti (P). (Distringere i lati sinistro e destro prima di
assemblare le cerniere.)
PL: Zamocuj zawiasy I i J w bocznej części blatu za pomocą 4 śrub
P. (Przed przystąpieniem do montażu rozróżnij zawias lewy i
prawy.)
7J x1I x1
M6*16mm
P x4
NOTE:The hole with the screw faces upwards.
Hinweis: Das Loch mit der Schraube zeigt nach oben.
REMARQUE: Le trou avec la vis est orienté vers le haut.
NOTA: El agujero con el tornillo está orientado hacia arriba.
NOTA: Il fore con la vite verso l’alto.
UWAGA: Otwór ze śrubą znajduje się u góry.
WARNING
Please follow the directions we have instructed. If you change I/J
direction, it will cause a subsequent installation to fail.
WARNUNG
Befolgen Sie bitte die Anweisungen, die wir Ihnen gegeben
haben. Wenn Sie die Richtung der Scharniere I/J ändern, wird
eine spätere Montage fehlschlagen.
AVERTISSEMENT
Veuillez suivre les instructions que nous vous avons données. Si
vous changez la direction de la charnière (I/J), cela entraînera
l'échec d'une installation ultérieure.
ADVERTENCIA
Por favor, siga las instrucciones que le hemos indicado. Si
cambia la dirección de la bisagra (I/J), provocará un fallo en el
montaje posterior.
AVVERTENZA
Si prega di seguire le direzioni che abbiamo introdotto. Se
cambia la direzione delle cerniere (I/J), potrebbe accadere il
fallimento dell’installazione succesiva.
OSTRZEŻENIE
Zmontuj części zgodnie z instrukcją. Jeśli zmienisz kierunek
montażu części I/J, nie będzie mógł przejść do kolejnych etapów
montażu.
EN:
DE:
FR:
ES:
IT:
PL:
P
JI
EN:
DE:
FR:
ES:
IT:
PL:
G x1
16 17
EN: Assemble the side table G with screw S and nuts T.
DE: Montieren Sie den Seitentisch G mit der Schraube S und
der Mutter T.
FR: Assemblez le panneau latéral (G) avec les vis (S) et les
écrous (T).
ES: Monte el tablero lateral (G) con los tornillos (S) y las
tuercas (T).
IT: Assemblare il pannello laterale (G) con le viti (S) i dadi (T).
PL: Przymocuj boczny blat G za pomocą śrub S i nakrętek T.
EN: Hang the side table on it.
DE: Hängen Sie den Seitentisch daran auf.
FR: Accrochez-y le panneau latéral.
ES: Cuelgue el tablero lateral.
IT: Appendere il pannello laterale.
PL: Zamocuj boczny blat na śrubach znajdujących się w
zawiasach.
M6
T x2
M6*20mm
S x2
8
S
T
G
1.
2.
18 19
EN:
Assemble the upper hook M on side beam with 2pcs screw Q.
Assemble the lower hook N on bottom plate with 2 pcs screw P.
DE:
Montieren Sie den oberen Haken M mit 2 Schrauben Q an der
Seitenverbindungsstange.
Montieren Sie den unteren Haken N mit 2 Schrauben P an der
Bodenplatte.
FR:
Assemblez le crochet supérieur (M) à la poutre latérale avec 2 vis
(Q).
Assemblez le crochet inférieur (N) au panneau inférieur avec 2
vis (P).
ES:
Monte el gancho superior (M) en la barra lateral con 2 tornillos
(Q).
Monte el gancho inferior (N) en el tablero inferior con 2 tornillos
(P).
IT:
Fissare il gancio superiore (M) alla trave laterale con 2 viti (Q).
Fissare il gancio inferiore (N) alla trave laterale con 2 viti (P).
PL:
Zamocuj górny hak M na belce łączącej H-2 za pomocą 2 śrub Q.
Zamocuj dolny hak N na dolnej półce za pomocą 2 śrub P.
9N x1M x1
M6*40mm
Q x2
M6*16mm
P x2
M
N
P
Q

Other Costway Outdoor Furnishing manuals
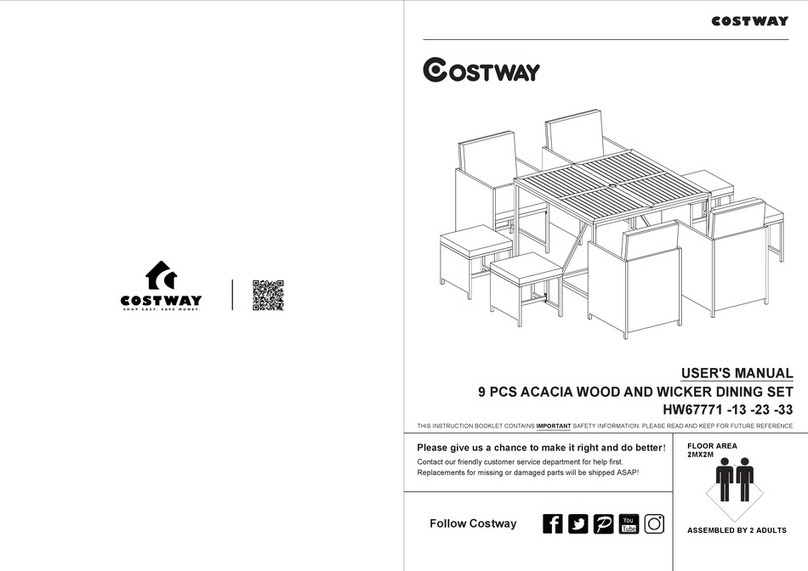
Costway HW65850 User manual

Costway

Costway HW65850 User manual

Costway HW67778 User manual

Costway

Costway HW67778 User manual

Costway GoPlus OP3879 User manual

Costway

Costway GoPlus OP3879 User manual
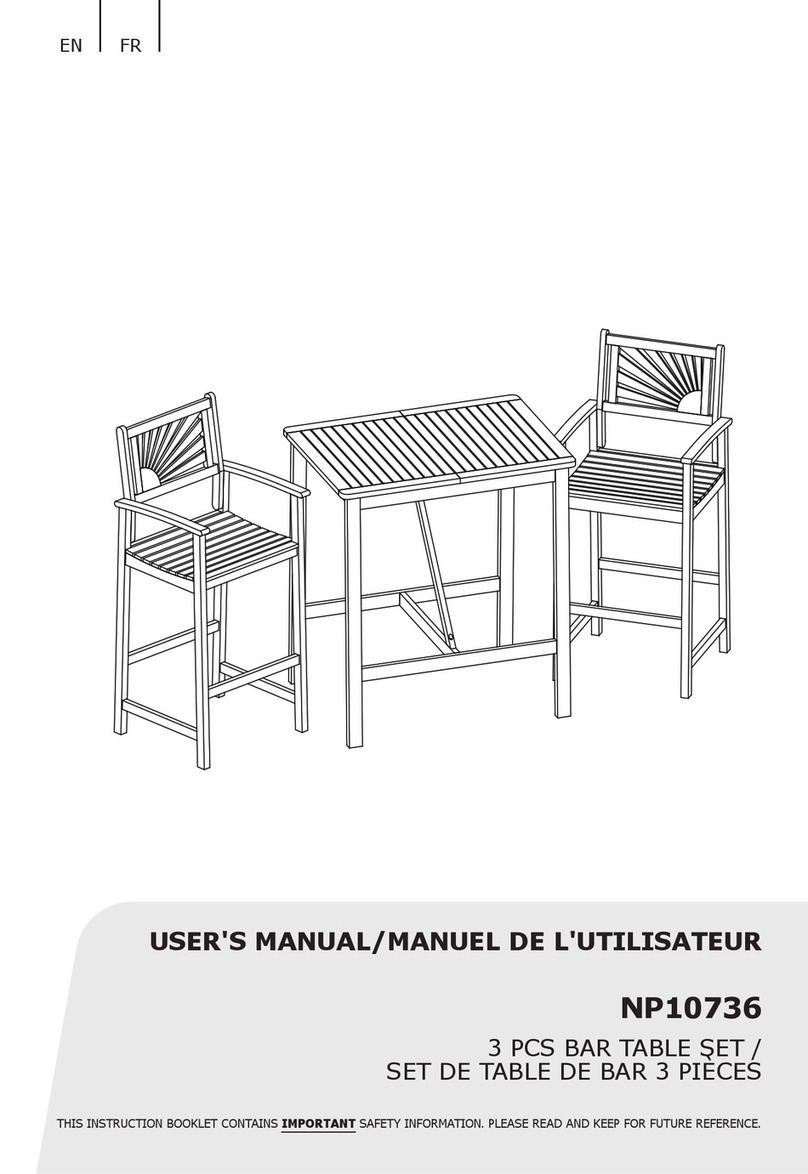
Costway HW65227 User manual

Costway

Costway HW65227 User manual

Costway GoPlus NP10028 User manual

Costway

Costway GoPlus NP10028 User manual

Costway 41289370 User manual

Costway

Costway 41289370 User manual

Costway HW63886 User manual

Costway

Costway HW63886 User manual

Costway OP70542 User manual

Costway

Costway OP70542 User manual

Costway OP70836 User manual

Costway

Costway OP70836 User manual

Costway OP70702 User manual

Costway

Costway OP70702 User manual

Costway HW66368 User manual

Costway

Costway HW66368 User manual

Costway GT2558 User manual

Costway

Costway GT2558 User manual

Costway HW70915 User manual

Costway

Costway HW70915 User manual

Costway NP11061 User manual

Costway

Costway NP11061 User manual

Costway HW68260-12-22 User manual

Costway

Costway HW68260-12-22 User manual

Costway HW66524-13 User manual

Costway

Costway HW66524-13 User manual
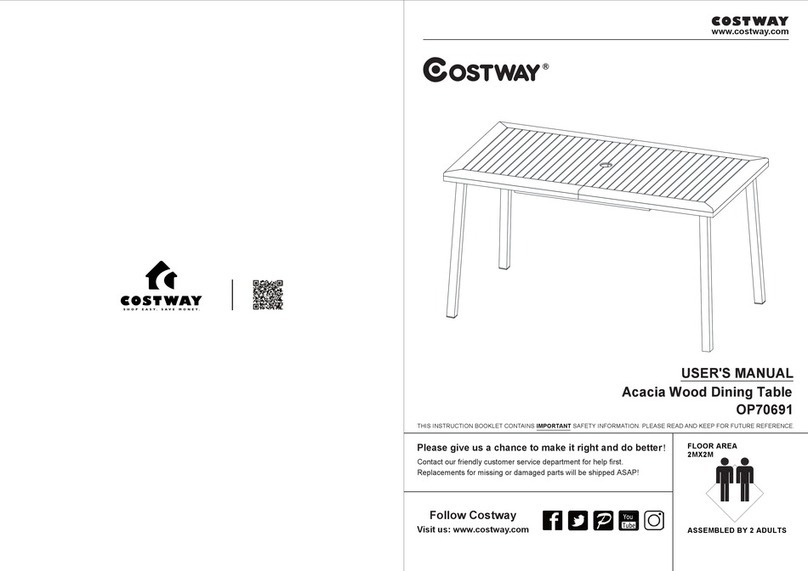
Costway NP10512 User manual

Costway

Costway NP10512 User manual

Costway HW66461-12-22 User manual

Costway

Costway HW66461-12-22 User manual

Costway HW66422 User manual

Costway

Costway HW66422 User manual

Costway HW63218 User manual

Costway

Costway HW63218 User manual

Costway HW67050 User manual

Costway

Costway HW67050 User manual

Costway HW68237-13 User manual

Costway

Costway HW68237-13 User manual

Costway NP10577 User manual

Costway

Costway NP10577 User manual

Costway GoPlus OP3638 User manual

Costway

Costway GoPlus OP3638 User manual

Popular Outdoor Furnishing manuals by other brands

PHI VILLA E02GF-039-BU Use and care guide

PHI VILLA

PHI VILLA E02GF-039-BU Use and care guide

RTS 5M3 Assembly instructions

RTS

RTS 5M3 Assembly instructions

Salsbury Industries Designer Wood 77781D-ADA Series Assembly/installation instructions

Salsbury Industries

Salsbury Industries Designer Wood 77781D-ADA Series Assembly/installation instructions

velopa Vivanti 01143300 manual

velopa

velopa Vivanti 01143300 manual

Pacific Casual 176-204-3SS-V4 Assembly and use instructions

Pacific Casual

Pacific Casual 176-204-3SS-V4 Assembly and use instructions

Allen + Roth TPPER9137 manual

Allen + Roth

Allen + Roth TPPER9137 manual

BENITO Toledo UM370C quick start guide

BENITO

BENITO Toledo UM370C quick start guide

Broyhill CRESTFIELD GBO23-908C2-B Assembly instructions

Broyhill

Broyhill CRESTFIELD GBO23-908C2-B Assembly instructions

Blumfeldt Pantheon Solid Sky Ambient Solar manual

Blumfeldt

Blumfeldt Pantheon Solid Sky Ambient Solar manual

Cuscini ABRI Step by step assembly instructions

Cuscini

Cuscini ABRI Step by step assembly instructions

Thule Thule Rain Blocker G2 Series instructions

Thule

Thule Thule Rain Blocker G2 Series instructions

Festival Depot PF21185 Assembly instructions

Festival Depot

Festival Depot PF21185 Assembly instructions

Dunster House Utopia 200 H3-GS2X2MK2 installation manual

Dunster House

Dunster House Utopia 200 H3-GS2X2MK2 installation manual

Noble House Home Furnishings RECLINING ADIRONDACK Assembly instructions

Noble House Home Furnishings

Noble House Home Furnishings RECLINING ADIRONDACK Assembly instructions

Sojag E500-5157857 Assembly manual

Sojag

Sojag E500-5157857 Assembly manual

Living Spaces 53004187 Assembly instructions

Living Spaces

Living Spaces 53004187 Assembly instructions

Kettler 0193337-2100 Assembly instructions

Kettler

Kettler 0193337-2100 Assembly instructions

Alice's Garden LEVITO GLIDX2 quick start guide

Alice's Garden

Alice's Garden LEVITO GLIDX2 quick start guide

manuals.online logo
manuals.online logoBrands
  • About & Mission
  • Contact us
  • Privacy Policy
  • Terms and Conditions

Copyright 2025 Manuals.Online. All Rights Reserved.