manuals.online logo
Brands
  1. Home
  2. •
  3. Brands
  4. •
  5. COUGAR
  6. •
  7. Indoor Furnishing
  8. •
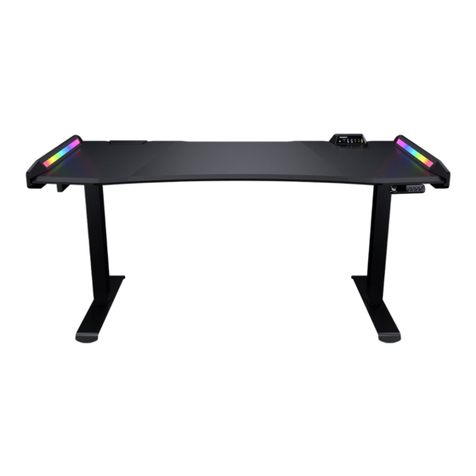
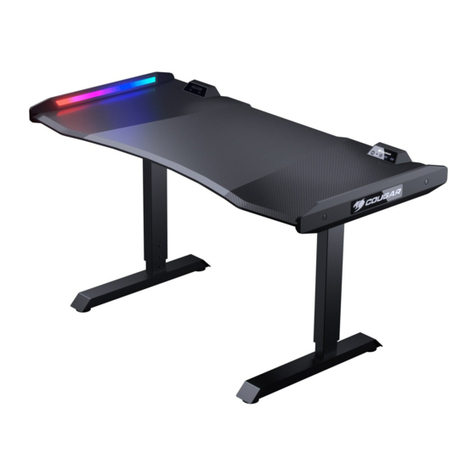
  9. COUGAR E-DEIMUS 120 User manual

COUGAR E-DEIMUS 120 User manual

K
M
4
5Install the “Cover of Drive Rod” with “Holders.”
Insert the “Drive Rod” and install the “Bracket for Power Unit.”
x4
Bag # 2x2
Bag # 2
4-5
4-1 4-4
4-2
Unscrew the cap.
Make sure the full insert.
Insert to the bump Tighten the cap.
x1
M6
Tools
4-3
5-1
5-2
N
G
G
E-DEIMUS
120
ELECTRICAL GAMING DESK
1
3
7
8
9
2
FEATURES
FRANÇAIS
Réglage électrique de la hauteur
Quatre réglages de mémoire de hauteur
Extension E/S pratique au niveau du panneau arrière du PC
Effets d'éclairage RGB double face
Verrouillage du panneau pour éviter les risques
Boucliers pour arbre de transmission et moteur
Chemin de câbles pour une gestion facile
Bureau concave pour une organisation facile des fils
Espace spacieux pour un jeu et un travail parfaits
DEUTSCH
Elektrische Höhenverstellung
Vier Höhenspeicher-Einstellungen
Komfortable I/O-Erweiterung der PC-Rückblende
Zweiseitige RGB-Beleuchtungseffekte
Bedienfeldsperre zur Vermeidung von Risiken
Schilde für Getriebewelle und Motor
Kabelwanne für einfaches Management
Konkaver Desktop für einfache Kabelorganisation
Große Fläche für perfektes Spielen und Arbeiten
한국어
전기 높이 조정
4개의 하이트 메모리 설정
편리한 PC 후면 패널 I/O 확장
듀얼사이드 RGB 조명 효과
위험 방지를 위한 패널 잠금
변속기 샤프트 및 모터용 실드
간편한 관리를 위한 케이블 트레이
손쉬운 배선 정리를 위한 트레이
완벽한 게이밍 및 업무를 위한 넓은 공간
PORTUGUÊS
Ajuste de altura elétrico
Quatro configurações de memória de altura
Extensão conveniente de E/S do painel traseiro do PC
Efeitos de iluminação RGB de dupla face
Bloqueio do painel para evitar riscos
Blindagens para Eixo de Transmissão e Motor
Bandeja de cabos para fácil gerenciamento
Área de trabalho côncava para fácil organização dos fios
Área espaçosa para jogos e trabalho perfeitos
ESPAÑOL
Ajuste eléctrico de altura
Cuatro ajustes de memoria de altura
Extensión cómoda de E/S en el panel trasero del PC
Efectos de iluminación RGB de doble cara
Bloqueo de panel para evitar riesgos
Escudos para eje de transmisión y motor
Bandeja de cables para una fácil gestión
Escritorio cóncavo para facilitar la gestión de cables
Espaciosa área para juegos y trabajo perfectos
日本語
電動の高度調整
4つの高度設定をメモリーへ保存
PCの背面から便利にI/Oを拡張
両側のRGB照明
誤動作を防ぐためのパネルロックを設定可能
ドライブシャフトとモーターに保護カバーを設置
ケーブル管理スロットにてケーブル管理しやすい
裏側の溝にてケーブル管理しやすい
ゲームも仕事の時も利用できる広々としたスペース
简 中
电动桌面高度调节
四种高度记忆选择
便利的桌机背板I/O延伸
侧翼RGB灯条
避免不当行为的面板锁定
传动轴和马达的防护罩
理线槽易于整理线材
后方凹型桌面,便于走线
适合游戏和工作的宽敞桌面
繁 中
電動桌面高度調節
四種高度記憶選擇
便利的桌機背板I/O延伸
側翼RGB燈條
避免不當行為的面板鎖定
傳動軸和馬達的防護罩
理線槽易於整理線材
後方凹型桌面,便於走線
適合遊戲和工作的寬敞桌面 ●Например, AG = 17 = 2017 год
ABCDEFGH I J
1234567890
год и месяц изготовления продукции указаны в серийном номере продукта.
(существует 2 способа определения даты изготовления, оба способа описаны ниже)
После S/N: первые две цифры означают год, вторые две – месяц изготовления.
Например, S/N: H1702000001 означает, что товар был произведен в феврале 2017 года.
После S/N: если указаны буквы, то две буквы представляют цифры из таблицы ниже,
и означают год, последующие две цифры – месяц изготовления.
Например, S/N: DAG02REVI000001 означает, что товар был произведен в феврале 2017 года.
ДАТА ИЗГОТОВЛЕНИЯ ПРОДУКЦИИ
A
B
БЪЛГАРИЯ
• Подробни инструкции за употреба изтеглете от: https://cougargaming.com/bg
България QR код
SPECIFICATIONS
I/O Panel
Model No.
Product Name COUGAR E-DEIMUS 120 Gaming Desk
CGR-E-DEIMUS120-B01
USB-A 3.0 X2, USB-C X1, Light Control Button
100~240Vac
Voltage Requirement for
Electric Adjustment
1223.8(W) x 605(D) x 750.3~1180.3(H)Dimension(mm)
720~1150
Desktop Height Range(mm)
ACCESSORY KIT
Desktop
Left Lifting Column
Bracket for Power Unit Cover of Drive Rod Power Unit Power Cord
Right Lifting Column with Motor Main Beam Drive Rod L-shape Supports
Desk Controller with Cable Side Wings Cable Tray
Holders for Rod CoverColumn FootsLifting Controller with Cables
Panel Lock for Avoiding Risk
Shields for Transmission Shaft and Motor
Cable Tray for Easy Management
Concave Desktop for Easy Wire Organization
Electrical Height Adjustment
Four Hight Memory Settings
Convenient PC Back Panel I/O Extension
Dual-sided RGB Lighting Effects
CARTON #1
PACKAGE CONTENTS
CARTON #2
CARTON #2
CARTON #2
A
B
E F G
H I J K L
M N O P
C D
Holes aim at this direction.

Put the “Left Lifting Column” and “Right Lifting Column with
Motor” on the ground.
Screw the “Main Beam” on both columns.
Stand the columns right up and screw the “Column Foots.”
Reversely turn and stand the structure and install the
“L-shape Supports.”
x6 x1
Bag # 2
Tools x1
Right column
Hoist the Columns
Stand the structure
MOVE
WITH 2 PEOPLE
MOVE
WITH 2 PEOPLE
Install the ” Desk Controller .”
Install the ”Cable Tray.”
Install the ”Side wings.”
x6
Bag # 4
x4 x1
Tools
B
J
H
I
C
C
M6
x8
Bag #
x1
6x4
Bag # 7
x4
Bag # 8Tools
M6
M6 M6
F
F
L
L
Tools
FRONT
BACK
A
D
x2
Bag # x1
1Tools
F
x6
Bag # x1
1Tools
6Install the "Desktop 「A」."
Note: If the screw hole is mismatched slightly, loosen the screws
a bit from STEP1.Tightened the STEP1's screws after finishing
the STEP6.
BACK
A
Bag # 2
ToolsBag #1
x 8 x 1
M6
x 1 x 3x 4
Bag #7
x 4
Bag #8
x 6
Bag #4
x 2
Bag #3
x 6 x 6
Bag #5
x 8
Bag #6Bag #2
x 14 x 2
R-type
C-type
R-type
C-typeR-type
C-type
x6
Bag # x1
5x6
Bag # 5M6
Tools
DISCLAIMERS
●COUGAR products should not be used as critical components in life support devices.
●COUGAR is not liable for any damage of life and limb or damage or loss of property caused by or during
COUGAR products’ use as or with medical equipment, military equipment, traffic equipment and disaster
prevention systems.
●COUGAR's warranty liability is limited to repair or replacement. The decision on whether to repair
or replace belongs exclusively to COUGAR.
●COUGAR is, to the extent not prohibited by law, not liable for any damages; expenses; lost data,
revenues, savings or profits; or any incidental or consequential damages happened while the use
of a defective product from COUGAR or due to its use.
WARRANTY AGREEMENT
●If the product has defects in material or manufacture, COUGAR will provide product repair and
replacement service within the warranty period.
●Our warranty service is based on the date of the invoice or warranty card.
GLOBAL WARRANTY POLICY
WARRANTY PERIODS OF COUGAR GAMING DEVICES
Product : COUGAR E-DEIMUS 120 GAMING DESK
Warranty : 1 Year
This warranty gives you specific legal rights. You may also have other rights granted under local law.
These rights may vary.
CONDITIONS WHERE FREE MAINTENANCE IS NOT PROVIDED
●Any fault or damage caused by natural disasters (including storm, fire, flood, thunder, earthquake, etc).
●Any fault or damage caused by accidental factors and man-made reasons (including hit, scrape, crash,
moving, compression, stain, corrosion, riot, misuse, malicious damage, etc).
●Use in an improper operating environment (including high temperature, high humidity, water inflow, etc).
●Inability to provide the product warranty card, purchase receipt or invoice to prove the product is still
within the warranty period and the shipping date of the product is out of warranty.
●The warranty card has been altered or its number is hard to identify.
●The warranty period has expired.
●Any fault or damage caused by non-compliance with regulations stated on the user manual or improper,
rough and careless treatment.
●Any fault or damage caused by use of parts not certified by COUGAR original manufacturer.
●The problem is caused by improper repair or adjustment by the buyer or any manufacturer without
authorization from COUGAR.
●The product is not acquired from an authorized distributor of the company or is acquired from illicit sources.
●Paper carton, instruction and other accessories are not warranted.
LEGAL NOTICES
This manual was created by Compucase Enterprise and may not be completely or partially
copied, passed on, distributed or stored without written consent by Compucase Enterprise.
COUGAR® is a registered brand of Compucase Enterprise Other product and company names
mentioned in this documentation may be brands or trademarks of their respective owners.
Compucase Enterprise reserves the right to make changes concerning the contents of the
manual and the technical data of the product without previous announcement.
MANUFACTURER CONTACT
Compucase Enterprise Co.,Ltd.
No. 225, Lane 54, An Ho Road Sec. 2 Tainan, Taiwan
Tel:+886-6-356-0606
Compucase Enterprise Co.,Ltd. All rights reserved. Made in China
WARNING
●Please wear protective gloves when assembling the Desk. It is your own responsibility to use
appropriate protection to prevent any physical damage.
●Do not use abrasive products or scrub energetically when cleaning. Please stick to gentle products
suitable for delicate materials.
●All parts should be checked monthly to confirm their integrity and to make sure that the screws
are not loose.
●If any part of the product is or appears to be damaged, missing or loose, please contact the local
distributor and do not use the product. WARNING facebook.com/cougargaming
youtube.com/user/COUGARGLOBAL
www.cougargaming.com
Made in China
HOW TO CONNECT
FUNCTION &
TROUBLESHOOTING DISPLAY INSTRUCTION
RGB Fluid Gradual Change Breath Red Orange Yellow Lemon
GreenLight GreenBlueSky BluePurpleFusciaPinkWhiteOff
Right wing RGB connector
PC I/O PANEL
Left wing RGB connector
LIFTING CONTROLLER
Make sure to connect the controller before AC Power plugging.

While the lifting unit is over-loading, the height adjustment will automatically inoperable for protection, please wait for 15~20
minutes.
Reset the Lifting System
Lock the Height Adjustment
Unlock the Height Adjustment
Height Memory
Temporary Malfunction
Overheat Protection
E-DEIMUS 120 featured an electric brake, which is for obstacles in-between, such as cabinet or PC case.
It is highly suggested to avoid the human underneath as the height movement.
The physical injuries from height adjustment are excluded from the after-service.
LIGHT CONTROL SWITCH
STEP 1
STEP 3 STEP 4STEP 2
Press “ ” and “ ” simultaneously for 5 seconds.
Press “ ” to the lowest height.
Then release the button and press “ ” for 5 seconds, it will show "rSt" and press “ ” again.
It will display the lowest height to complete the reset.
Press “ ” and “ ” simultaneously for 5 seconds again.
Firstly, press “ ” or “ ” to adjust the height.
While the height is as expected, press the “number” button for 3 seconds to memorize the height with the corresponding button.
TYPE-A
FOR LED POWER
TYPE C
TYPE A
TYPE-A FOR LED POWER
AC Power plugging
1.Follow the "rSt" procedure. Press “ ” to the lowest height.
Then release the button and press “ ” for 5 seconds, it will show "rSt" and press “ ” again.
It will display the lowest height to complete the reset.
If the issue remains, follow the next step.
2.Unplug the AC plug.Check every connection followed by the manual and examine the connectors.
3.Re-connect the AC and Reset the desk.If the malfunction issue remains, please contact the distributor for after-service.
Do not fix or open the system by yourself.
10 Install the “Lifting Controller .”
E
x1
Tools
x2
Bag # 3

This manual suits for next models

1

Other COUGAR Indoor Furnishing manuals

COUGAR E-MARS Series Guide

COUGAR

COUGAR E-MARS Series Guide

COUGAR HOTROD ROYAL Guide

COUGAR

COUGAR HOTROD ROYAL Guide

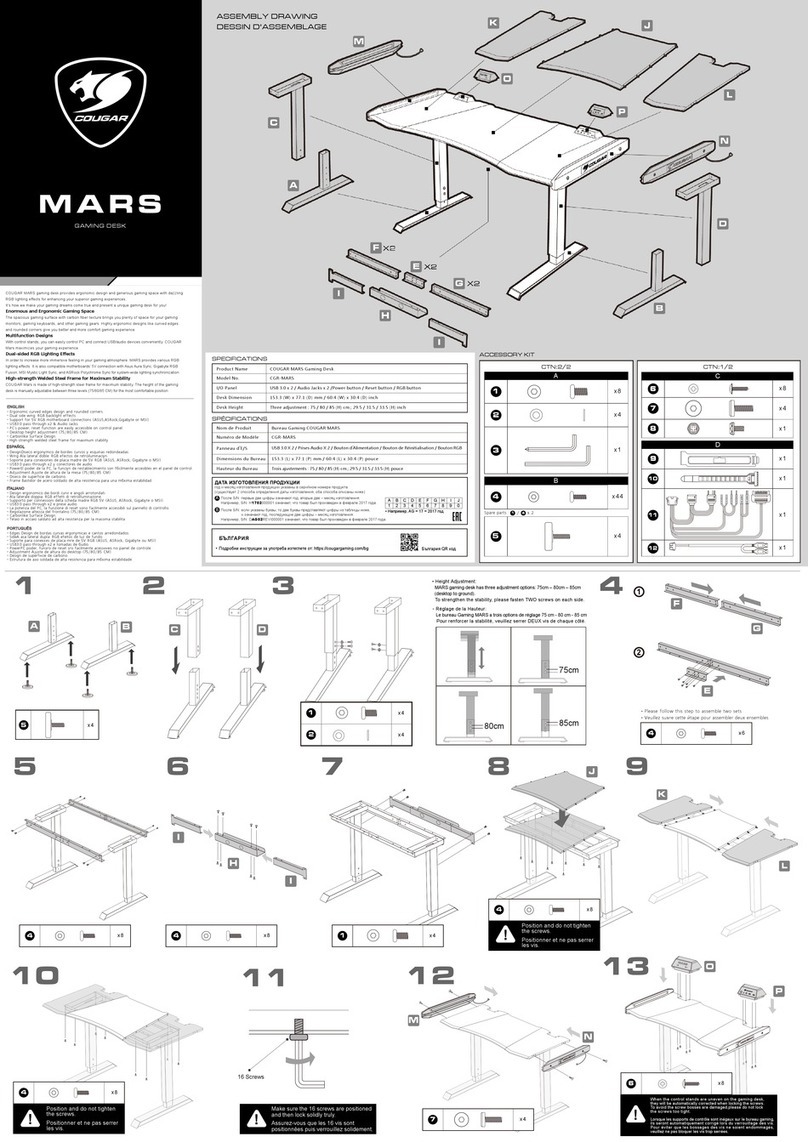
COUGAR MARS GAMING DESK Guide

COUGAR

COUGAR MARS GAMING DESK Guide

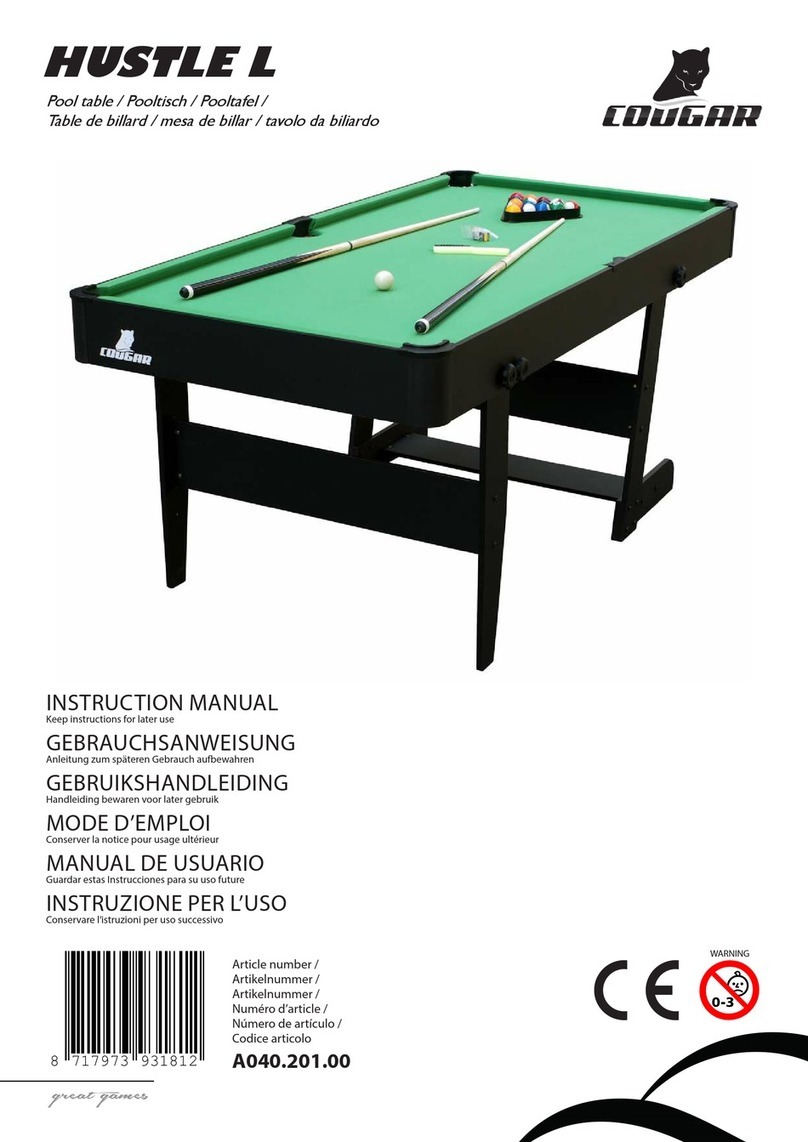
COUGAR HUSTLE L User manual

COUGAR

COUGAR HUSTLE L User manual

COUGAR ROYAL MOSSA User manual

COUGAR

COUGAR ROYAL MOSSA User manual

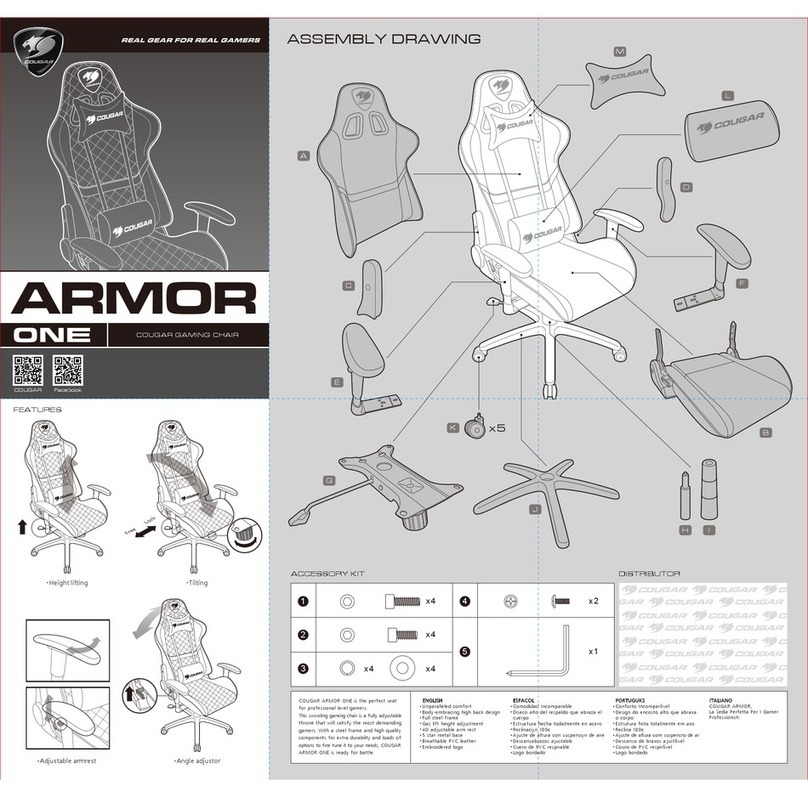
COUGAR Armor One User manual

COUGAR

COUGAR Armor One User manual

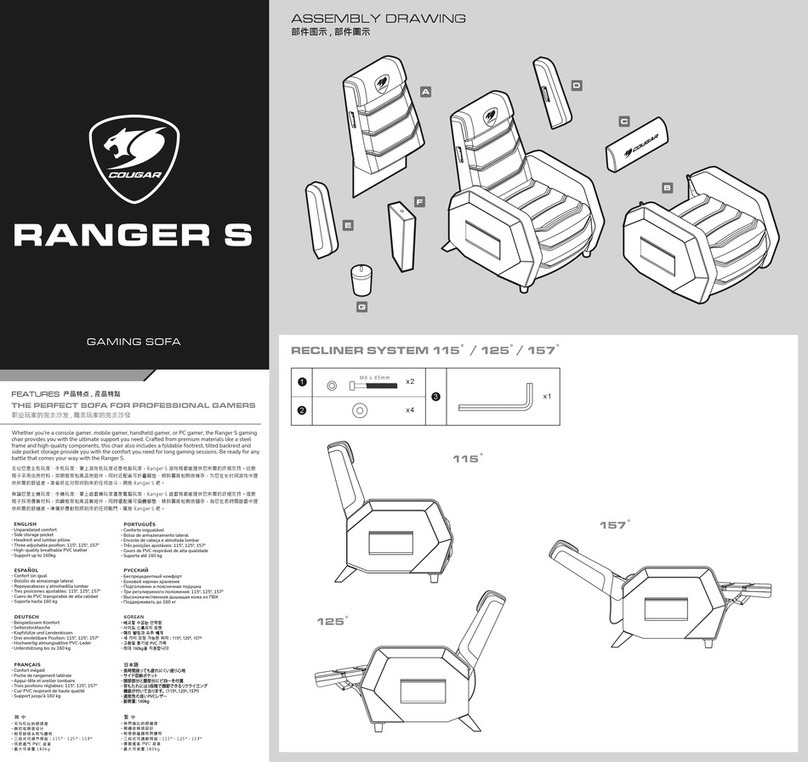
COUGAR RANGER S User manual

COUGAR

COUGAR RANGER S User manual

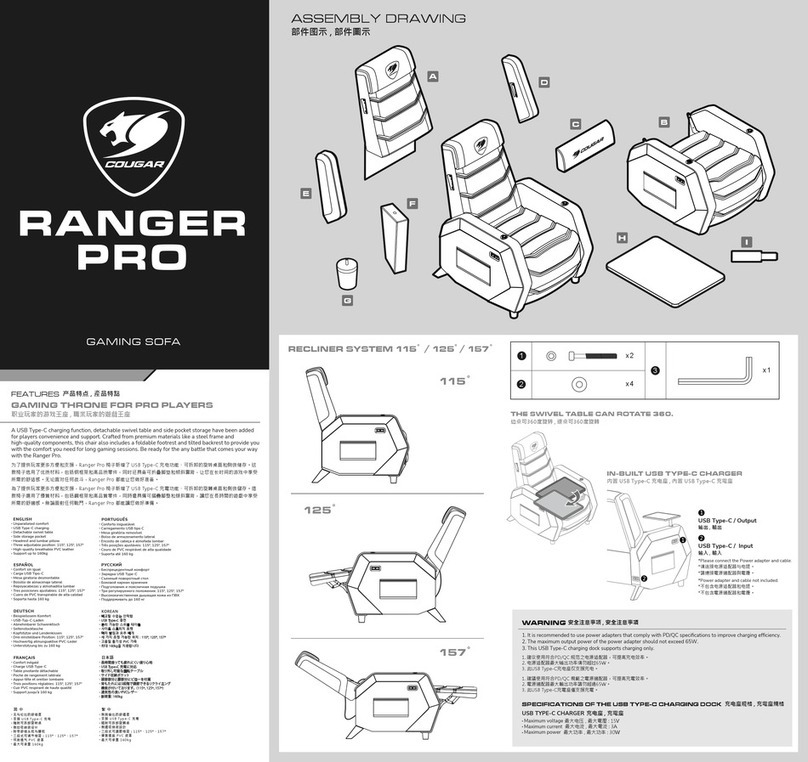
COUGAR RANGER PRO User manual

COUGAR

COUGAR RANGER PRO User manual

COUGAR NxSys AERO User manual

COUGAR

COUGAR NxSys AERO User manual

COUGAR PURE ROYAL ELECTRIC STANDING DESK User manual

COUGAR

COUGAR PURE ROYAL ELECTRIC STANDING DESK User manual

COUGAR MARS 120 User manual

COUGAR

COUGAR MARS 120 User manual

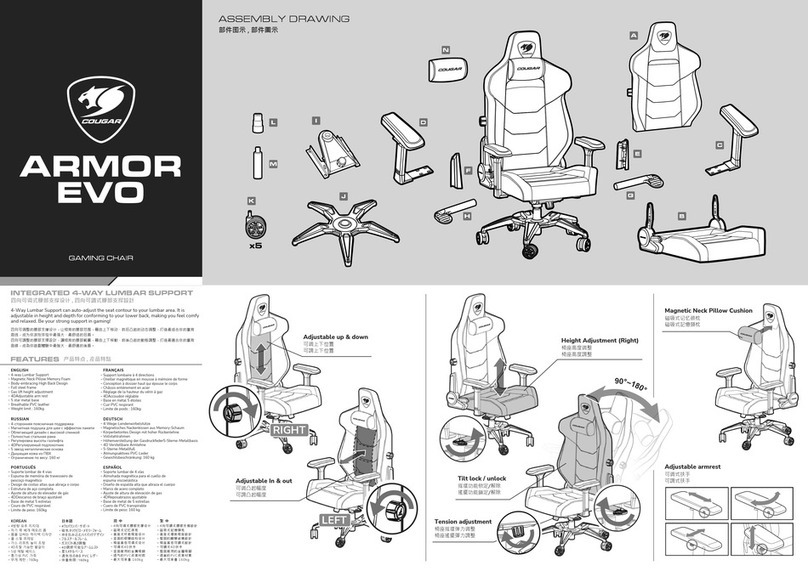
COUGAR ARMOR EVO Guide

COUGAR

COUGAR ARMOR EVO Guide

COUGAR MARS User manual

COUGAR

COUGAR MARS User manual

COUGAR ARMOR AIR User manual

COUGAR

COUGAR ARMOR AIR User manual

Popular Indoor Furnishing manuals by other brands

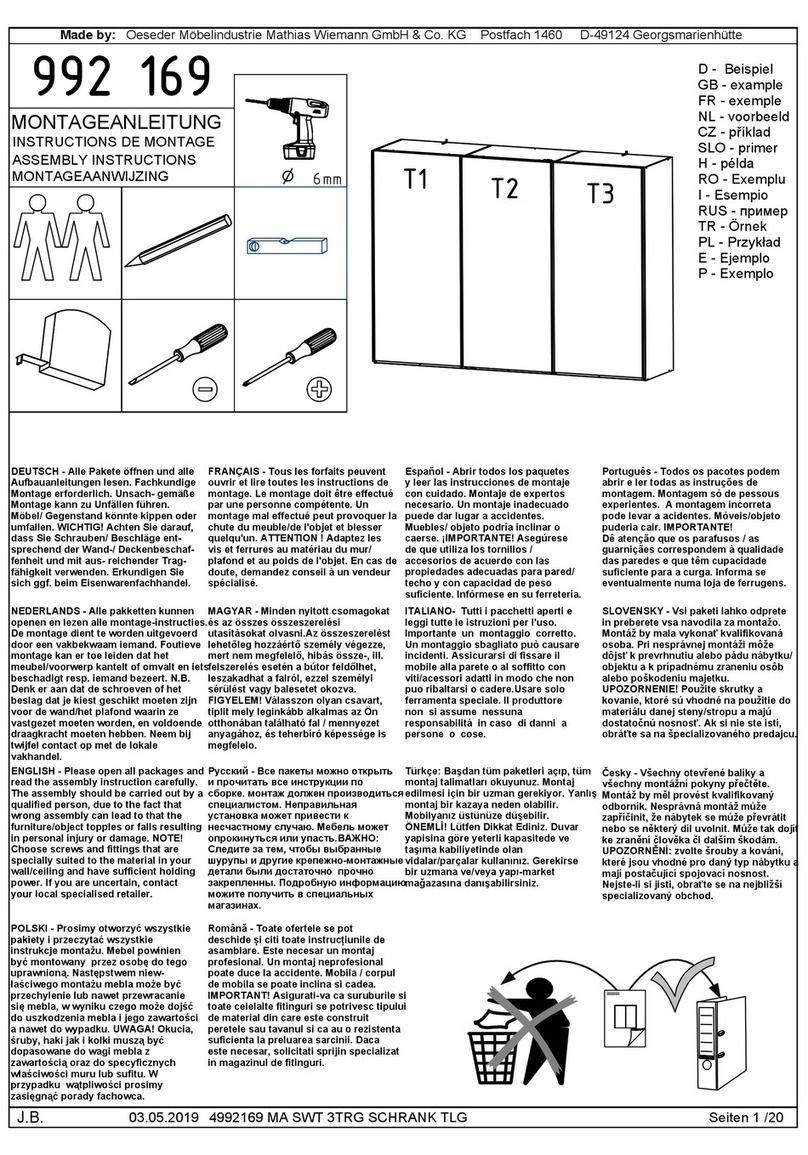
WIEMANN Shanghai Assembly instructions

WIEMANN

WIEMANN Shanghai Assembly instructions

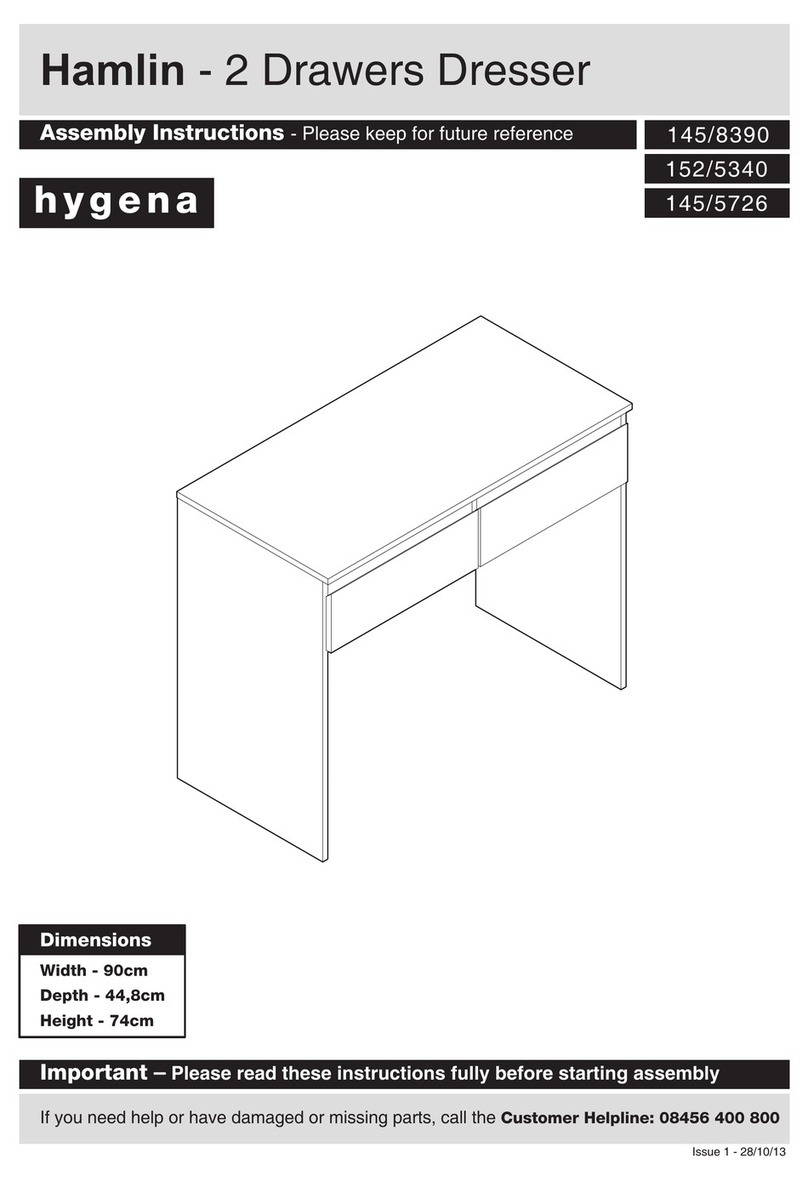
hygena Hamlin 145/8390 Assembly instructions

hygena

hygena Hamlin 145/8390 Assembly instructions

TRICA Q-TIM-008-801 manual

TRICA

TRICA Q-TIM-008-801 manual

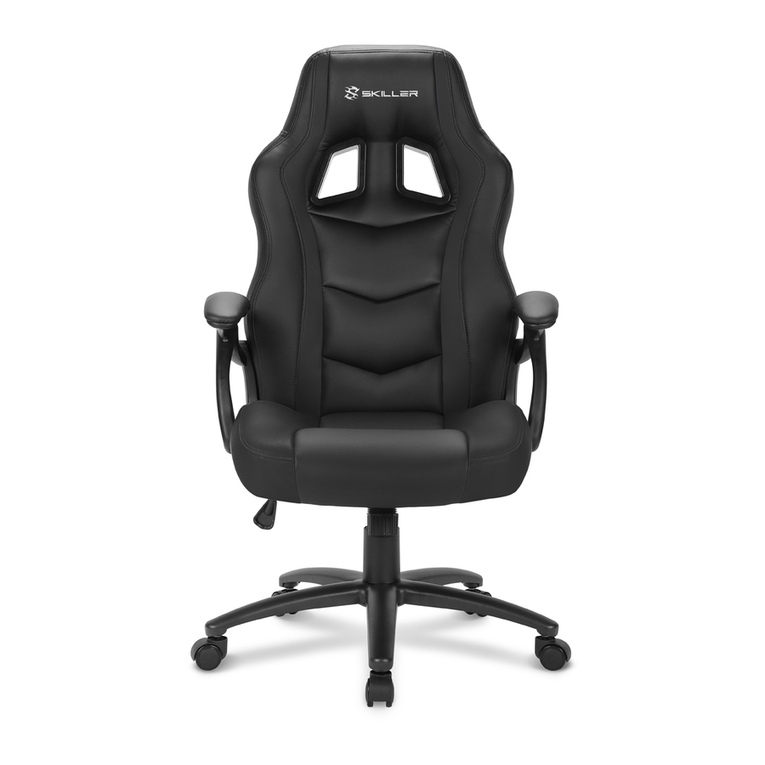
Snarkoon Skiller SGS1 manual

Snarkoon

Snarkoon Skiller SGS1 manual

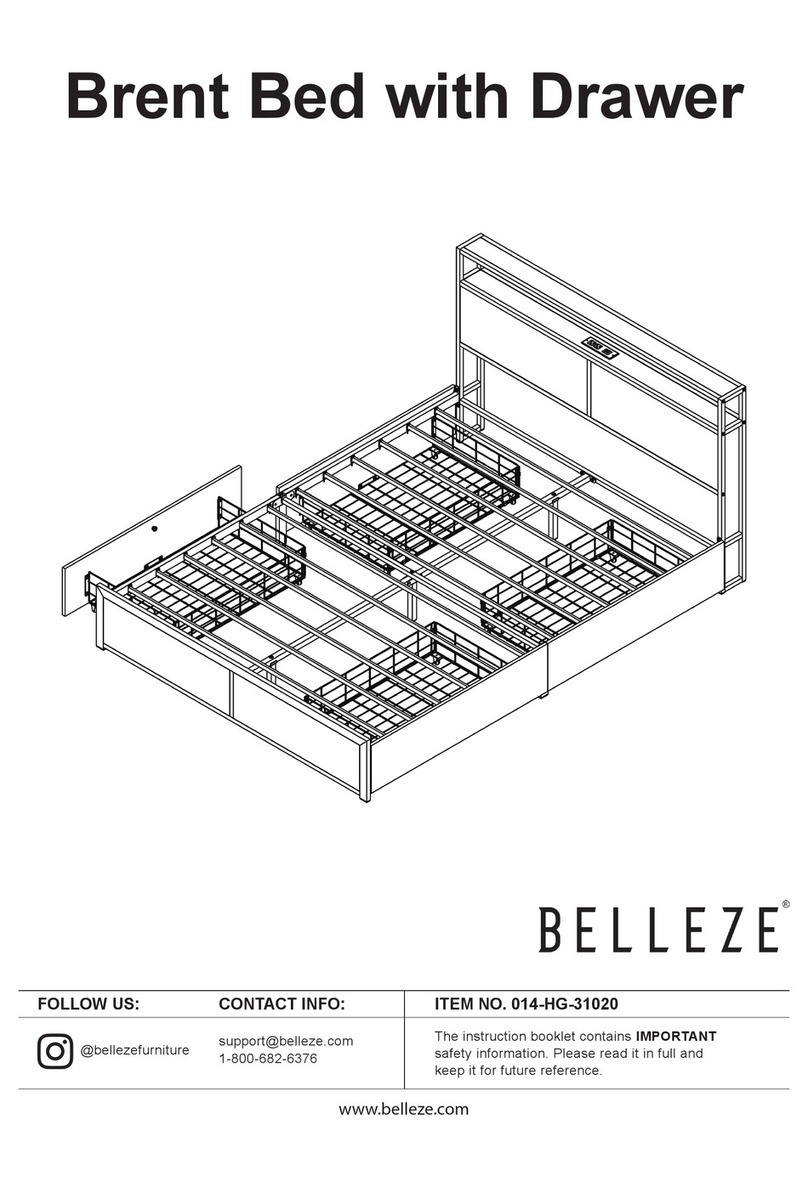
Belleze Brent 014-HG-31020 Assembly instructions

Belleze

Belleze Brent 014-HG-31020 Assembly instructions

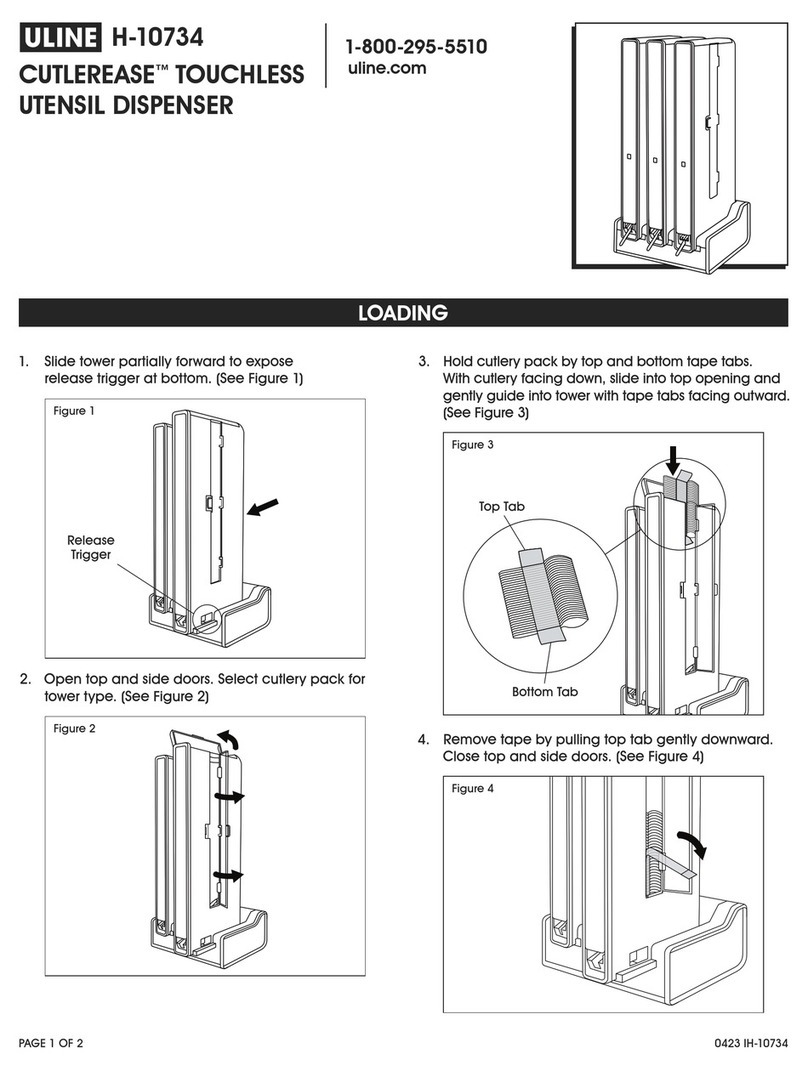
U-Line CUTLEREASE H-10734 quick start guide

U-Line

U-Line CUTLEREASE H-10734 quick start guide

Jaxpety LOTOLE HG61L1128 user manual

Jaxpety

Jaxpety LOTOLE HG61L1128 user manual

Universal Explore Home U178653 instruction sheet

Universal

Universal Explore Home U178653 instruction sheet

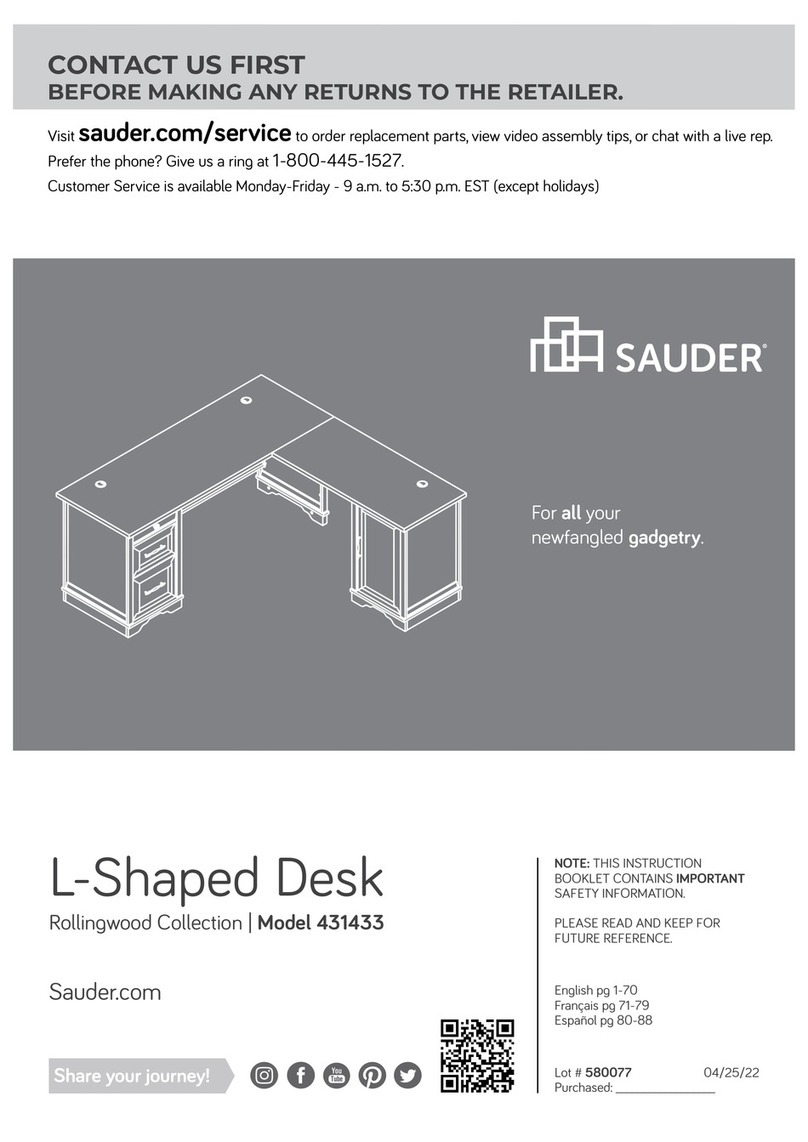
Sauder Rollingwood 431433 manual

Sauder

Sauder Rollingwood 431433 manual

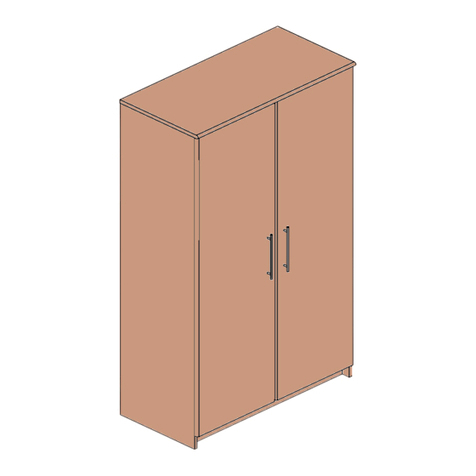
Argos Anderson 2 Door Tall Robe 274/3750 Assembly instructions

Argos

Argos Anderson 2 Door Tall Robe 274/3750 Assembly instructions

Lift Bridge Kitchen & Bath 50202 Assembly instructions

Lift Bridge Kitchen & Bath

Lift Bridge Kitchen & Bath 50202 Assembly instructions

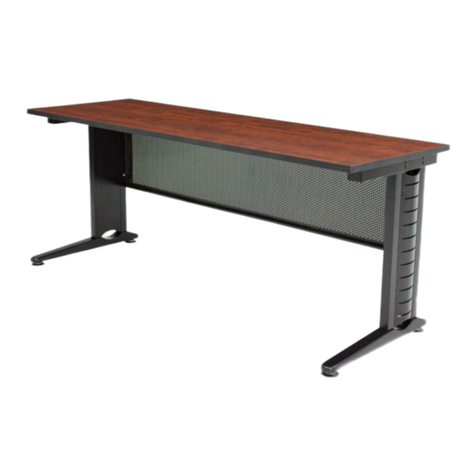
Regency Fusion MFTT Series instructions

Regency

Regency Fusion MFTT Series instructions

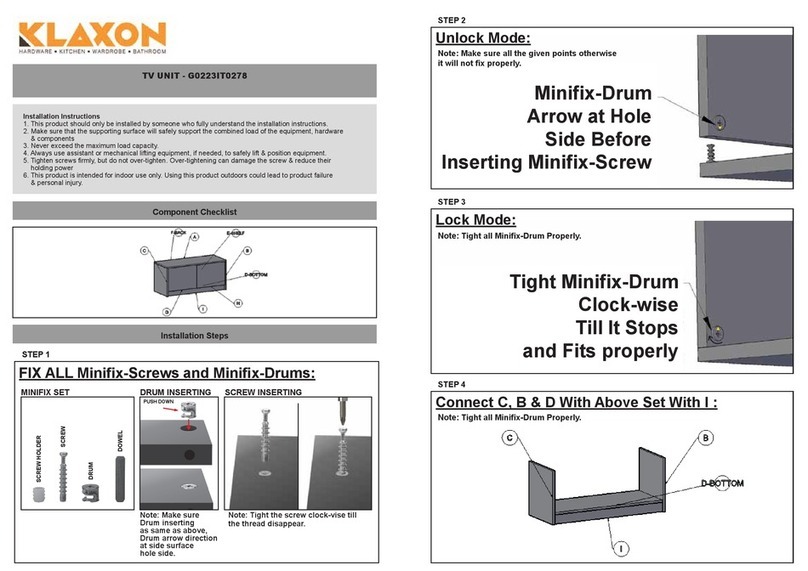
Klaxon G0223IT0278 installation guide

Klaxon

Klaxon G0223IT0278 installation guide

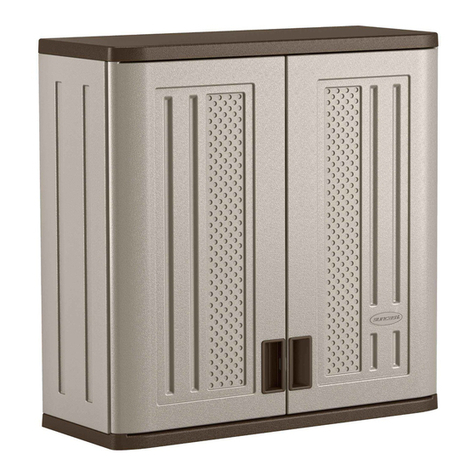
Suncast BMC3000 Assembly instructions

Suncast

Suncast BMC3000 Assembly instructions

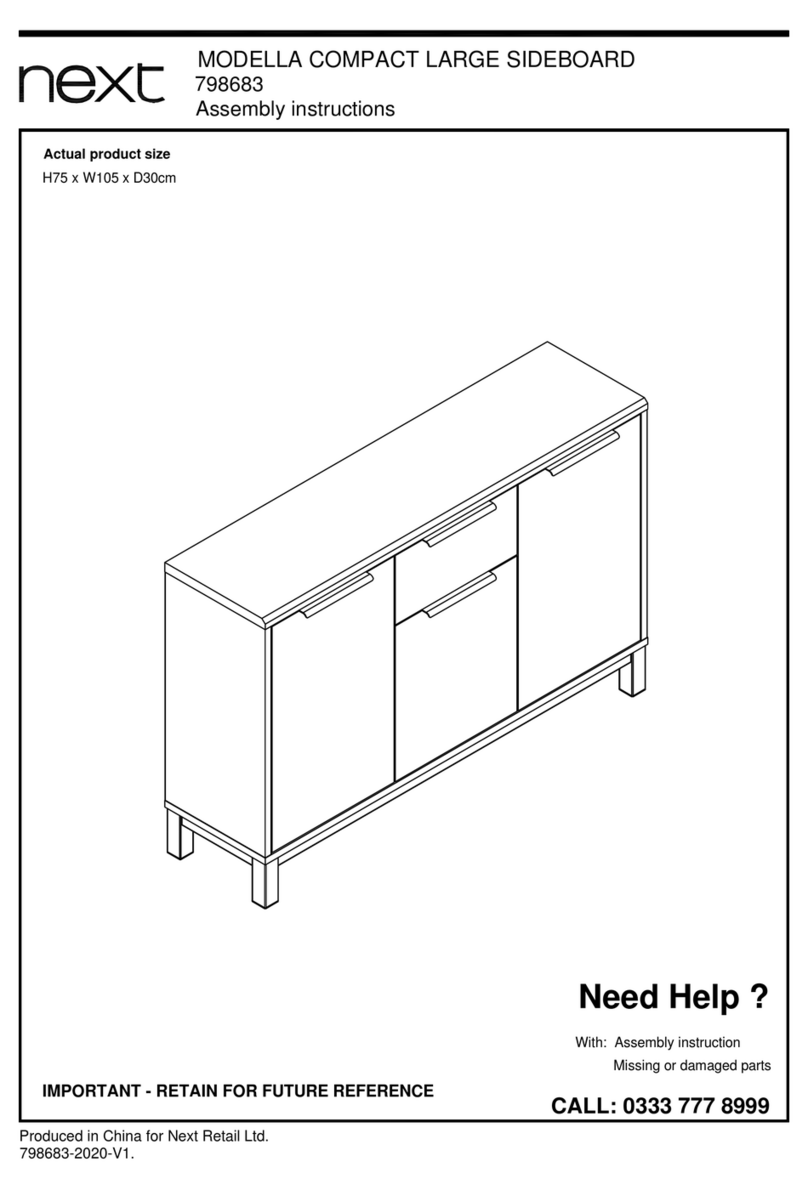
Next 798683 Assembly instructions

Next

Next 798683 Assembly instructions

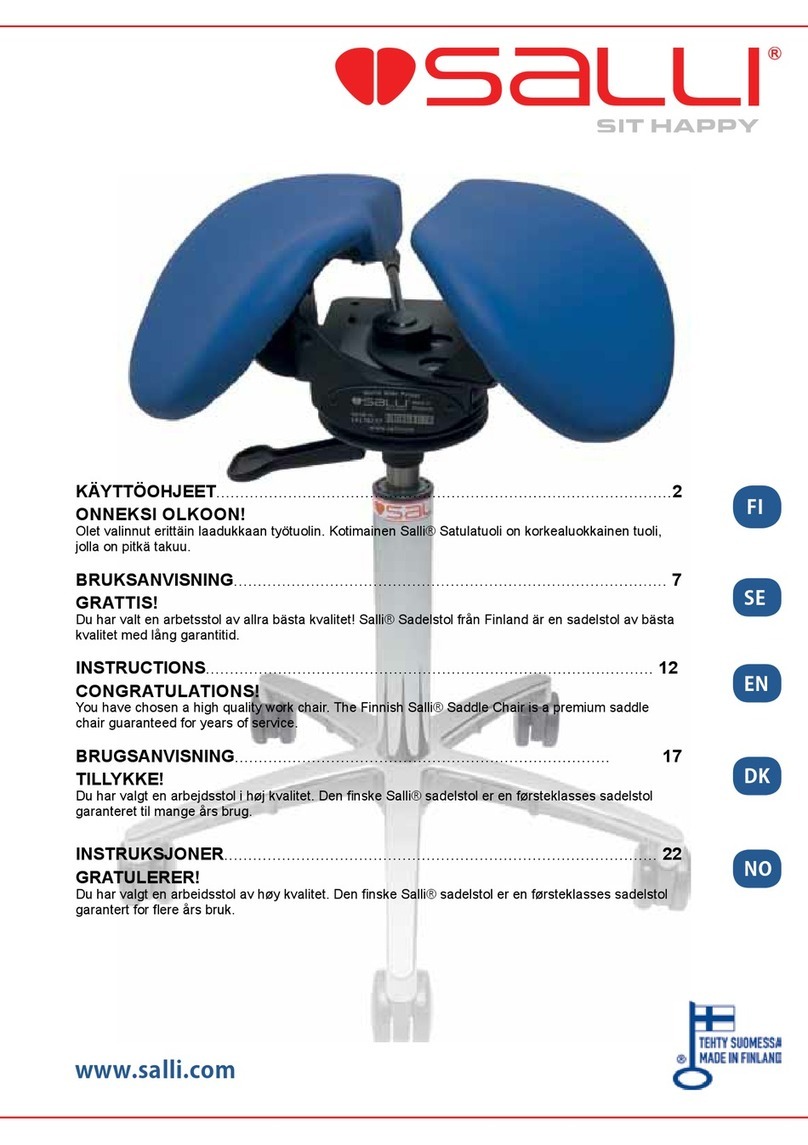
Salli Professional instructions

Salli

Salli Professional instructions

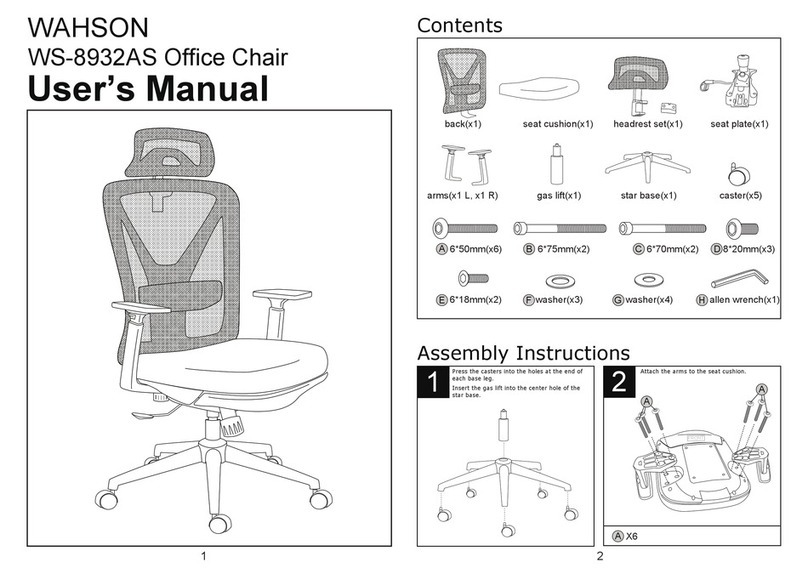
WAHSON WS-8932AS user manual

WAHSON

WAHSON WS-8932AS user manual

SEGUE VK-1851 Assembly

SEGUE

SEGUE VK-1851 Assembly

manuals.online logo
manuals.online logoBrands
  • About & Mission
  • Contact us
  • Privacy Policy
  • Terms and Conditions

Copyright 2025 Manuals.Online. All Rights Reserved.