manuals.online logo
Brands
  1. Home
  2. •
  3. Brands
  4. •
  5. hygena
  6. •
  7. Indoor Furnishing
  8. •
  9. hygena Hamlin 145/8390 User manual

hygena Hamlin 145/8390 User manual

Hamlin - 2 Drawers Dresser
145/8390
Assembly Instructions - Please keep for future reference
Issue 1 - 28/10/13
152/5340
If you need help or have damaged or missing parts, call the Customer Helpline: 08456 400 800
Important –Please read these instructions fully before starting assembly
Dimensions
Width - 90cm
Depth - 44,8cm
Height - 74cm
145/5726
h y g e n a
Safety and Care Advice
Important – Please read these instructions fully before starting assembly
Note: If required the next page
can be cut out and used as
reference throughout the
assembly. Keep this page with
these instructions for future
reference.
1
Check you have all the
components and tools listed on
pages 2 and 3.
Remove all fittings from the
plastic bags and separate them
into their groups.
Keep children and animals
away from the work area, small
parts could choke if swallowed.
Make sure you have enough
space to layout the parts before
starting.
We do not
recommend the
use of power
drill/drivers for
inserting screws,
as this could damage the unit.
Only use hand screwdrivers.
Parts of the assembly will be
easier with 2 people.
Dispose of all packaging
carefully and responsibly.
Do not stand or put weight on
the product, this could cause
damage.
Assemble the item as close
to its final position (in the same
room) as possible.
Assemble on a soft level
surface to avoid damaging the
unit or your floor.
Care and maintenance
Avoid placing the furniture in
direct sunlight as this will cause
the timber to prematurely age.
Use a dry cloth to clean the
product, furniture polish is
not recommended.
From time to time check
that there are no loose
screws on this unit.
This product should not be
discarded with household
waste. Take to your local
authority waste disposal
centre.
Components - Panels
Please check you have all the panels listed below
2
1Top panel (90 x 44.8cm)
2Right side panel (72 x 43cm)
3Left side panel (72 x 43cm)
Top
Top
6Middle wall panel
(17.5 x 43cm)
12 Drawer bottom x 2
(39.8 x 38.5cm)
11 Top front frame x 2
(42.6 x 6cm)
7Drawer front x 2
(43.6 x 15cm)
8Drawer back x 2
(37.2 x 8cm)
9Drawer right side x 2
(40 x 8cm)
10 Drawer left side x 2
(40 x 8cm)
5Back panel (88.8 x 19.5cm)
4Base panel (86.8 x 43cm)
L
3
Please check you have all the fittings listed below
Note: The quantities below are the correct amount to complete the assembly. In some cases more
fittings may be supplied than are required.
Ruler - Use this ruler to help correctly identify the screws
0510 15 20 25 30 35 40 45 50 55 60 65 70 75 80 85 90 95 100 105 110 115 120 125 130 135 140 145 150 155 160 165 170
Tools required
Phillips screwdriver
(small & medium)
Eye protection
(when using a
hammer or glue)
Small
hammer
Ruler/tape
measure
2m
Components - Fittings If you have damaged or missing components,
call the Customer Helpline: 08456 400 800
N
A B C
Ø 6X30 Wooden dowel x 24
D E F
IG H
J
Right runner
x 2 pair Left runner
x 2 pair
Plastic
cap x 14
K
M
Plastic
bracket x 4
Plastic
feet x 4
Nail x 4Nail x 30
Locking
nut x 16
Metal dowel x 16
40mm Screw x 4
20mm Screw x 4
14mm Screw x 16
Ø 6X50 Wooden dowel x 2
Step 1
Assembly Instructions
4
Insert dowels into the
indicated parts.
A
A
B
A
A
A
AA
A
A
A
2x
1x
2x
2
3
4
6
9
10
11
8
2x
A
A
1x
11
Step 2
Insert dowels and
into the top front frame
, as shown.
AB
11
Step 3
Step 4
Assembly Instructions
5
F
Fitting Metal dowels.
Screw metal dowels
into top panel , base
panel , right side panel
, left side panel
and drawer fronts .
Insert metalNote:
dowels as far as
shown.
Do not over tighten.
F
F
F
F
F
F
2 3
4
1
7
2x
2x
1
4
23
7
G
G
4
6
G
G
Fixing middle wall panel.
With help, fit middle wall
panel to base panel
.
Insert 2 locking nuts
into middle wall panel
where shown.
Use a screwdriver to turn
locking nuts clockwise
to lock.
Do not over tighten.
Make sure finished
edges of middle
wall painel and base
panel are facing down.
4
6
G
G
Painted edge to
face down.
F
Assembly Instructions
6
Step 5
Fixing runners.
a: Attach right runner
to the pre drilled holes
on the right side panel
using screws .
B2
B
c: Attach right runner
to the pre drilled holes
on the left side of middle
wall panel using
screws .
Attach left runner to
the pre drilled holes on
the right side of middle
wall panel using
screws .
B
B
3
2
M
M
N
M
N
B
M
M
6
6
B
N
M
N
b: Attach left runner
to the pre drilled holes on
the left side panel
using screws .
3
N
B
N
6
B
b:
c:
a:
Assembly Instructions
7
Step 6
Step 7
Fitting top front frames.
Fit top front frames to
middle wall.
Attention!
Top front frame
with longer wooden dowel
should be fitted first.
Fixing side panels.
With help, fit right side
panel and left side
panel to base panel
and top front frames.
Insert 4 locking nuts
into base panel where
shown.
Use a screwdriver to turn
locking nuts clockwise
to lock.
Do not over tighten.
After screwing locking
nuts, insert plastic caps
.
Important:
After inserting
plastic caps, with help,
carefully stand the
product upright.
L
G
G
11
11
Attention!
B
2
3
2
3
GG
G
G
L
11
Painted side to
face down.
Assembly Instructions
8
Step 8
Fixing top panel.
With help, fit top panel
to the cabinet.
Insert 4 locking nuts
into side panels and 2
locking nuts into middle
wall panel where shown.
Use a screwdriver to turn
locking nuts clockwise
to lock.
Do not over tighten.
After screwing locking
nuts, insert plastic caps
.
G
1
G
G
G
L
L
G1
G
G
G
Finished edge
Assembly Instructions
9
Step 9
Fixing back panels.
Important:
Cabinet beMUST
‘square’ when back panel
is attached.
Attach back panel
using nails .
After attach back panel,
with help, carefully lay
down the product.
5
H
Step 10
Attach plastic feet.
Attach p in
lastic feet
the bottom edge of the
right and left side panels
using nails .
Make sure nails
are fully nailed.
After attach plastic feet,
with help, carefully stand
the product upright.
I
J
I
J
H
H
H
J
J
J
Assembly Instructions
10
Step 11
E
E
12
c: With help, fit drawer
front to the drawer
sides.
Insert 2 locking nuts
into drawer sides where
shown.
Use a screwdriver to turn
locking nuts clockwise
to lock.
Do not over tighten.
After screwing locking
nuts, insert plastic caps
.
Repeat step 11 for the
other drawer.
Drawer assembly.
a: Fix drawer sides
and to the drawer
back using screws .
b: Slide drawer bottom
into slots on drawer
sides.
E
a:
b:
c:
Step 12
Attach plastic bracket.
Attach plastic bracket
of thein the bottom
drawers using screws .
89
10
7
D
G
GG
G
G
K
7
L
L
9
10
8
12
K
K
K
D
Assembly Instructions
11
If you need help or have damaged or missing parts, call the Customer Helpline: 08456 400 800
Step 13
Fixing runners.
Attach right runners
and left runners in the
bottom edge of the
drawers using screws ,
as shown.
Make sure
runners are
correctly positioned
according to the diagram
prior to fixing.
Step 14
Hook the wheels of the
runner on the back of the
drawers over the wheels
of the runners on the left
and right sides, then hold
the drawers level and
slide backwards into
position.
Assembly is complete.
M
N
C
C
N
M
C
C
IN FLUSH
IN FLUSH
Correct position of the screws.
BB
C

This manual suits for next models

2

Other hygena Indoor Furnishing manuals

hygena 614/9305 User manual

hygena

hygena 614/9305 User manual

hygena HYG 724/1673 User manual

hygena

hygena HYG 724/1673 User manual

hygena 296/7378 User manual

hygena

hygena 296/7378 User manual

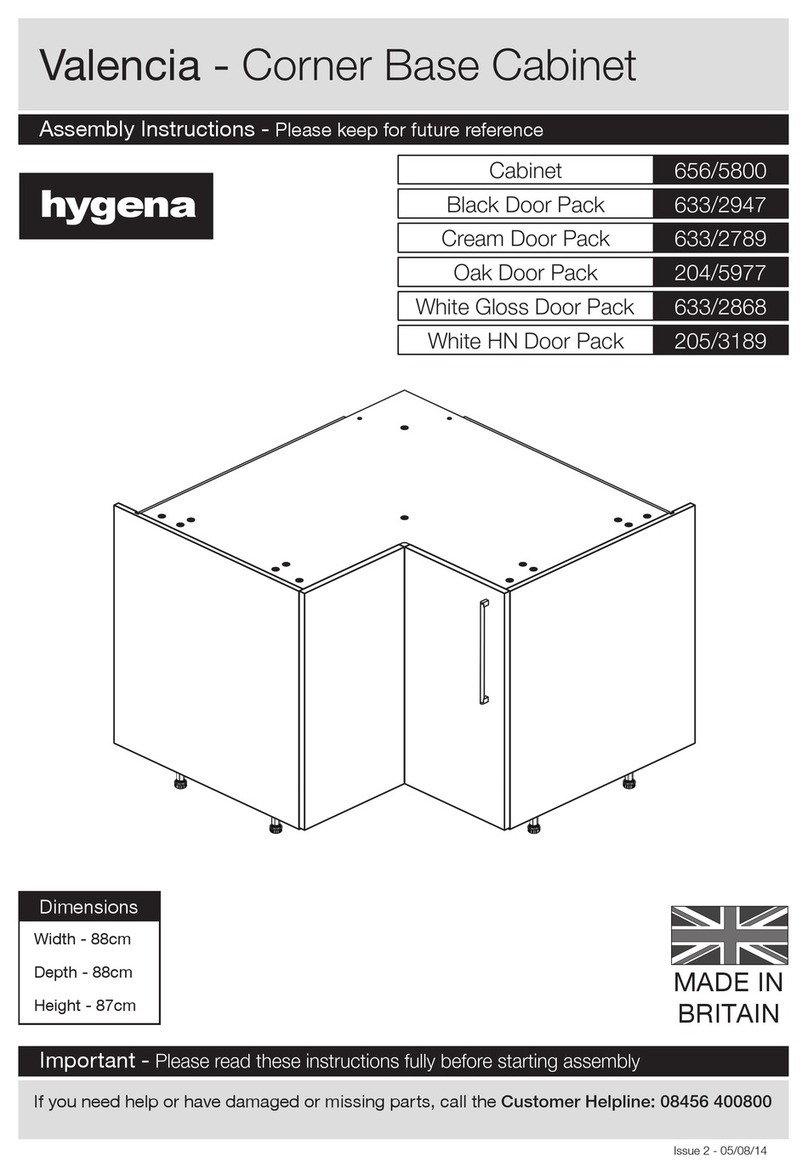
hygena Valencia 1000mm Wall Cabinet User manual

hygena

hygena Valencia 1000mm Wall Cabinet User manual

hygena 462/5670 User manual

hygena

hygena 462/5670 User manual

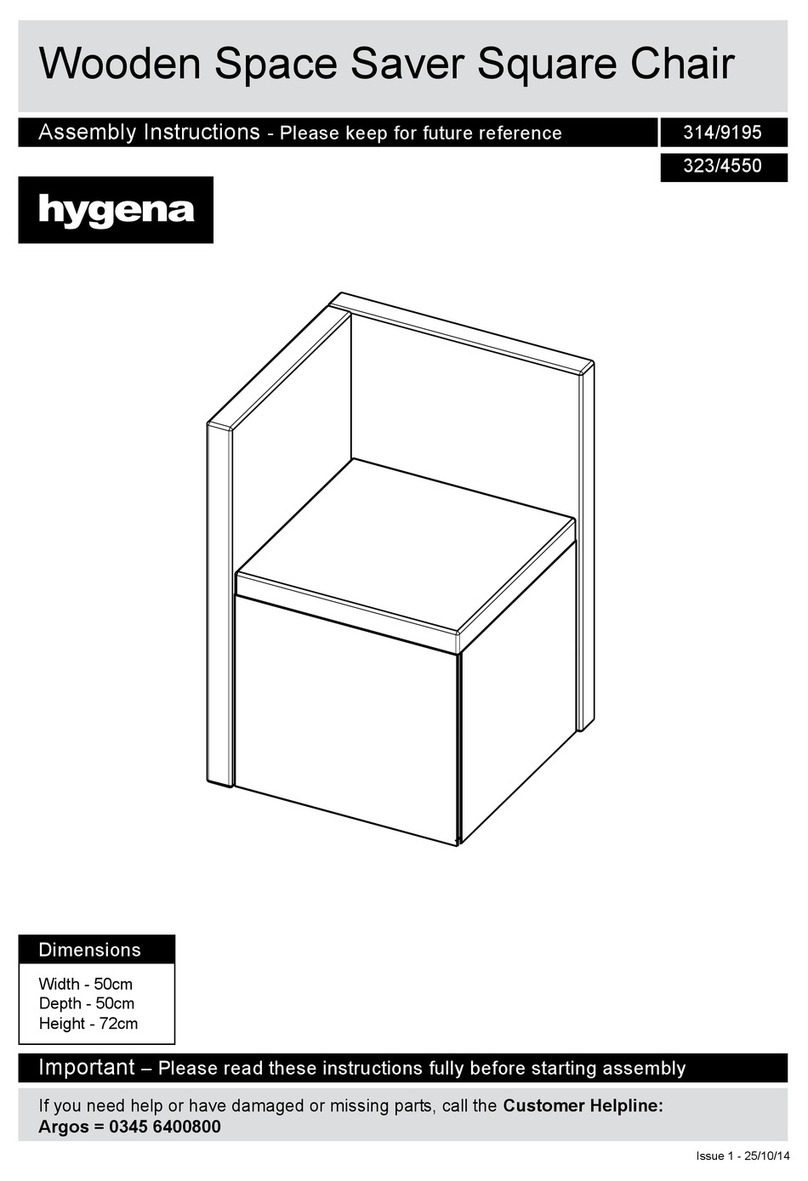
hygena 314/9195 User manual

hygena

hygena 314/9195 User manual

hygena Valencia 656/5824 User manual

hygena

hygena Valencia 656/5824 User manual

hygena Luna 460/5339 Datasheet

hygena

hygena Luna 460/5339 Datasheet
hygena Chapton 545/9223 User manual

hygena

hygena Chapton 545/9223 User manual

hygena Luna 461/8436 User manual

hygena

hygena Luna 461/8436 User manual

hygena Luna TV Unit 464/9883 Datasheet

hygena

hygena Luna TV Unit 464/9883 Datasheet

hygena Underbasin 539/9974 Datasheet

hygena

hygena Underbasin 539/9974 Datasheet

hygena Hamlin 152/6909 User manual

hygena

hygena Hamlin 152/6909 User manual

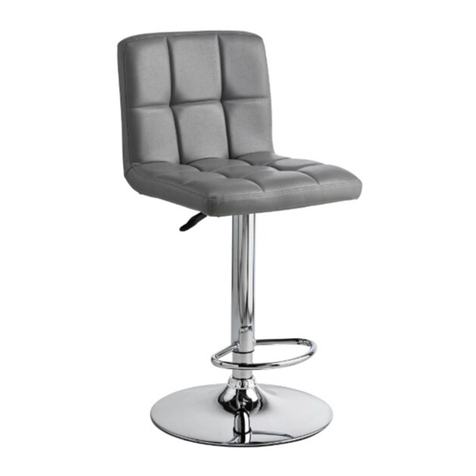
hygena Nitro Bar Stool User manual

hygena

hygena Nitro Bar Stool User manual

hygena 1664672 User manual

hygena

hygena 1664672 User manual

hygena 417/9810 User manual

hygena

hygena 417/9810 User manual

hygena Harcourt 412/1806 Datasheet

hygena

hygena Harcourt 412/1806 Datasheet

hygena Monza User manual

hygena

hygena Monza User manual

hygena Tallboy 833/4448 User manual

hygena

hygena Tallboy 833/4448 User manual

hygena 833/4431 User manual

hygena

hygena 833/4431 User manual

hygena Valencia 656/5790 User manual

hygena

hygena Valencia 656/5790 User manual

hygena 600/0372 User manual

hygena

hygena 600/0372 User manual

hygena Valencia User manual

hygena

hygena Valencia User manual
hygena Vince Ottoman Bed Frame User manual

hygena

hygena Vince Ottoman Bed Frame User manual

Popular Indoor Furnishing manuals by other brands

Vivo DESK-V000VN instruction manual

Vivo

Vivo DESK-V000VN instruction manual

Invacare Softform Premier Active 2 user manual

Invacare

Invacare Softform Premier Active 2 user manual

U-Line H-7034 manual

U-Line

U-Line H-7034 manual

Ivena International 2127049 Assembly and care instructions

Ivena International

Ivena International 2127049 Assembly and care instructions

Costway JV10677 manual

Costway

Costway JV10677 manual

Flash Furniture NH-WT-2448BSP-GG Assembly instructions

Flash Furniture

Flash Furniture NH-WT-2448BSP-GG Assembly instructions

Kettler HUC31539C Assembly instructions

Kettler

Kettler HUC31539C Assembly instructions

Garden Treasures VINEHAVEN FZS80329B manual

Garden Treasures

Garden Treasures VINEHAVEN FZS80329B manual

ROOMS TO GO GBHS 1708-3 Assembly instruction

ROOMS TO GO

ROOMS TO GO GBHS 1708-3 Assembly instruction

Powell 449H Assembly instructions

Powell

Powell 449H Assembly instructions

Bouclair 9398675 Assembly instructions

Bouclair

Bouclair 9398675 Assembly instructions

Quelle PADUA-V Assembly Instructions Instruction Manual

Quelle

Quelle PADUA-V Assembly Instructions Instruction Manual

Costway HW68589 user manual

Costway

Costway HW68589 user manual

Rejuvenation Tolson Frameless Mirror C100447 installation instructions

Rejuvenation

Rejuvenation Tolson Frameless Mirror C100447 installation instructions

Edsal RTA361872-BLK Assembly guide

Edsal

Edsal RTA361872-BLK Assembly guide

Better Homes and Gardens BH17-084-097-45 Instruction booklet

Better Homes and Gardens

Better Homes and Gardens BH17-084-097-45 Instruction booklet

Mainstays FULTON MS16-D4-1007-22 Assembly instructions

Mainstays

Mainstays FULTON MS16-D4-1007-22 Assembly instructions

Woltra TRONDHEIM T-19 Assembly instructions

Woltra

Woltra TRONDHEIM T-19 Assembly instructions

manuals.online logo
manuals.online logoBrands
  • About & Mission
  • Contact us
  • Privacy Policy
  • Terms and Conditions

Copyright 2025 Manuals.Online. All Rights Reserved.