Coway BA16-CR User manual

Coway Electronic Bidet
BA16-CR
•
• For your safety and proper use of the product, please read this User’s Manual before use.
• Warranty card is included in this User’s Manual.

CONTENTS
FEATURES
Power
-saving
Lock
Silent
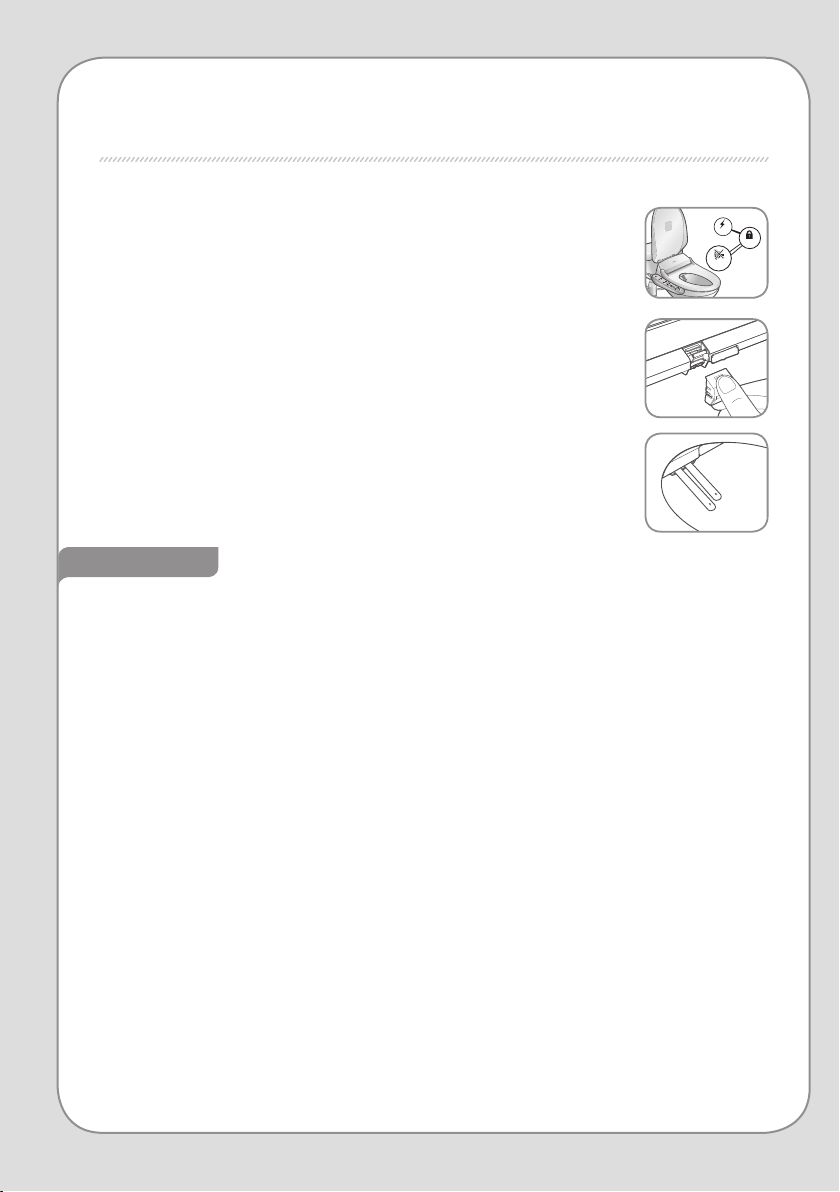
1. Specialized functions for better convenience
2. Easy-to-clean nozzle duct
3. Stainless steel twin nozzle adopted for enhanced hygiene
01
01
02
10
10
11
11
11
12
13
13
13
15
17
17
18
19
19
19
21
21
21
22
23
24
27

2
1
FEATURES / CONTENTS / SAFETY PRECAUTIONS | Danger
Coway
SAFETY PRECAUTIONS
IMPORTANT SAFEGUARDS
READ ALL INSTRUCTIONS BEFORE USING.
Save these instructions for future reference.
SAVE THESE INSTRUCTIONS
DANGER : If not observed, serious injury or even death may
occur as a result of electrocution.

DANGER : If not observed, serious injury or even death may
occur as a result of electrocution.
SAFETY PRECAUTIONS
IMPORTANT SAFEGUARDS
SAVE THESE INSTRUCTIONS

SAFETY PRECAUTIONS | Danger
4
3
※
※
SAVE THESE INSTRUCTIONS

SAFETY PRECAUTIONS
IMPORTANT SAFEGUARDS
WARNING : If these warnings are not observed, considerable
physical injury or property damage may occur as
a result of burns, electrocution, re, or injury.
※
℃
SAVE THESE INSTRUCTIONS

SAFETY PRECAUTIONS | Warning
6
5
SAVE THESE INSTRUCTIONS

SAFETY PRECAUTIONS
IMPORTANT SAFEGUARDS
CAUTION : If these cautions are not observed, slight physical
injury or property damage may occur.
※
SAVE THESE INSTRUCTIONS

SAFETY PRECAUTIONS | Caution | GROUNDING INSTRUCTIONS
8
7
GROUNDING INSTRUCTIONS
Caution
SAVE THESE INSTRUCTIONS

GROUNDING INSTRUCTIONS
SAVE THESE INSTRUCTIONS
Extension cord

10
9
Bidet dimensions
PRODUCT COMPONENTS
140 mm ~ 210 mm
(5.5 ~ 8.3 inch)
140 mm ~ 210 mm
(5.5~8.3 inch)
400 mm
(15.7 inch)
489 mm
(19.2 inch)
200 mm
(7.8 inch)
346 mm
(13.6 inch)
148 mm
(5.8 inch)
140 mm ~ 210 mm
(5.5~ 8.3 inch)
400 mm
(15.7 inch)
489 mm
(19.2 inch)
200 mm
(7.8 inch)
346 mm
(13.6 inch)
148 mm
(5.8 inch)
400 mm
(15.7 inch)
489 mm
(19.2 inch)
200 mm
(7.8 inch)
379 mm
(14.9 inch)
148 mm
(5.8 inch)
Rear fixing distance : 179 mm
(7 inch)
41 mm
(1.6 inch)
130 mm ~ 202 mm
(5.1 ~ 7.9 inch)
If the dimensions of your toilet are incompatible, do not install the product.
>> BA16-CR (Round shape)
140 mm~210 mm
(5.5 ~ 8.3 inch)
400 mm
(15.7 inch)
489 mm
(19.2 inch)
200 mm
(7.8inch)
346 mm
(13.6 inch)
148 mm
(5.8 inch)
400 mm
(15.7 inch)
489 mm
(19.2 inch)
200 mm
(7.8inch)
379 mm
(14.9 inch)
148 mm
(5.8 inch)
Rear fixing distance : 179 mm
(7 inch)
41 mm (1.6inch)
130 mm~ 2
02 mm
(5.1 ~ 7.9 inch)
>> Bottom view >> Distance between xing holes
SAFETY PRECAUTIONS | GROUNDING INSTRUCTIONS | Extension cord / PRODUCT COMPONENTS
400 mm
(15.7 inch)
489 mm
(19.2 inch)
200 mm
(7.8 inch)
346 mm
(13.6 inch)
148 mm
(5.8 inch)
400 mm
(15.7 inch)
489 mm
(19.2 inch)
200 mm
(7.8 inch)
379 mm
(14.9 inch)
148 mm
(5.8 inch)

Front / Rear view
PART NAMES
1
Toilet seat lid
2
Warning label
3
Nozzles
4
Seat sensor
5
Bidet seat
6
Display / Control panel
7
Main body
8
Water tank hose
9
Bidet hose
10 Main water supply pipe
11 T-shaped connector
12 Main water supply valve
13 Power cord
14 Product sticker
15 Drain plug
16
8
9
11
12
1
2
3
5
6
7
4
10
14
15
16
13
BA16-CR
Control panel

PART NAMES
12
11
Installation parts
1
2
3
4
5
8 9
10
6
7
PART NAMES
1
2
3
4
5
6
7
8
9
10
11
12
1211
▶
Tips

∗
∗
∗
∗
∗
CHECK UP BEFORE USE
Open the main water supply valve.
Set on/off for special modes as you desire
Connect the power.
Check whether the product is in power-saving mode.
Please keep in mind!
How to set special modes
Tips

14
13
CHECK UP BEFORE USE
CHECK UP BEFORE USE
Caution
After installation
Regular filter replacement
∗
For prolonged periods of non-usage
Please keep in mind!
▶
Tips

1
2
4
5
1
8
10
2
3
7
9
3
11
PRODUCT COMPONENTS
※
Display Control panel

16
15
PRODUCT COMPONENTS
PRODUCT COMPONENTS
2
1
‘Water pressure’ indicator
12
‘Water/Dry Temp.’ indicator
※
3
‘Seat Temp.’ indicator
4
3
‘Front’ button
‘Dry’ button
5
‘Move’ button
‘Water pressure’ button
12
‘Stop’ button
‘Rear’ button
8
7
‘Nozzle Position’ button
‘Water/Dry Temp.’ button
9
‘Seat Temp.’ button
10
‘Nozzle cleaning’ button
Display
Control panel
11
‘Power’ button
※

Rear
Sit down on the seat and press the ‘Rear’ button on the remote control.
Move
Press the ‘Move’ button.
Dry
Press the ‘Dry’ button.
Stop
Press the ‘Stop’ button to stop the current operations.
HOW TO USE
For rear cleansing

18
17
HOW TO USE
HOW TO USE
Front
Sit down on the seat and press the ‘Front’ button on the remote control.
Move
Press the ‘Move’ button.
Dry
Press the ‘Dry’ button.
Stop
Press the ‘Stop’ button to stop the current operations.
For front cleansing

1
2
1. Remove the mounting bolts to detach the existing toilet seat and seat cover.
1
2
1. Close the tap water supply valve. Then unscrew and remove the existing toilet tank
hose.
3. Fix the MF filter onto filter fixing stopper shown as image.
INSTALLATION
Caution
2. Connect the T-shaped connector to the tap water supply valve along with the
rubber washer.
Remove existing toilet seat
Install the product
▶
▶
▶
Tips
Tips
Table of contents
Languages:
Other Coway Toilet manuals
Popular Toilet manuals by other brands

brondell
brondell Swash Eco Thinline T66 owner's manual

Thetford
Thetford C220 Series user manual

Cornat
Cornat ORCHIS Assembly instructions

Drive DeVilbiss Healthcare
Drive DeVilbiss Healthcare TS 130 Instructions for use

BEMIS
BEMIS bioBidet Prodigy P700 owner's manual

American Standard
American Standard Lexington 718AA installation instructions

Kohler
Kohler K-4026T-2A-0 Homeowner's guide

American Standard
American Standard CCAS3162 quick start guide

Toto
Toto Washlet G400 installation guide

LIXIL
LIXIL American Standard Cadet 2794.709 INSTALLATION INSTRUCTIONS CARE AND MAINTENANCE

iDo
iDo Porsgrund WC-14 Users' installation and service instructions

Cornat
Cornat KSBSSC51 Assembly instructions