Test the Shade Travel
Test the travel of the shade fabric to ensure that it does not come in
contact with building materials and that the upper and lower shade
limits are properly set.
WARNING: Care has been taken to ensure that the shade is properly
balanced. Prior to initial operation, confirm that the shade assembly
is level and centered and that the brackets are level and plumb. To
prevent damage to the fabric, do not leave the shade unattended
during the first few open and close cycles. Failure to follow these
instructions may result in damage to the shade fabric, which is not
covered by the warranty.
To test the shade travel:
1. Press DN to lower the shade until it reaches its lower limit. Stop
immediately if the following occurs:
lThe shade fabric contacts the mounting brackets or building
materials.
lThe shade fabric telescopes.
2. Verify that the shade stops at the desired lower limit. If the shade
does not travel to the desired lower limit, adjust the shade limits. For
details, refer to Adjust the Shade Limits.
3. Press UP to raise the shade until it reaches its upper limit. Stop
immediately if the following occurs:
lThe shade fabric contacts the mounting brackets or building
materials.
lThe shade fabric telescopes.
4. Verify that the shade stops at the desired upper limit. If the shade
does not travel to the desired upper limit, adjust the shade limits. For
details, refer to Adjust the Shade Limits.
5. After adjusting the shade travel, perform several complete open and
close cycles to verify that the shade is functioning properly.
Adjust the Shade Limits
Shades are shipped from the factory with upper and lower limits set. If
the shade limits are not set, the LED flashes red three times, pauses for
1 second, flashes once, pauses for 5 seconds, and then repeats this
pattern until the limits are set. If necessary, adjust the upper and lower
shade limits.
NOTE: Limit Setupmode exits after 120 seconds of inactivity.
To adjust the lower limit:
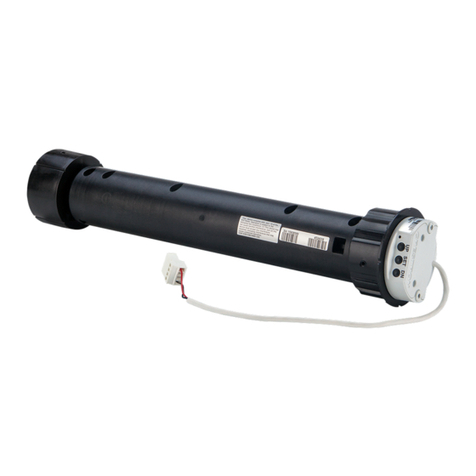
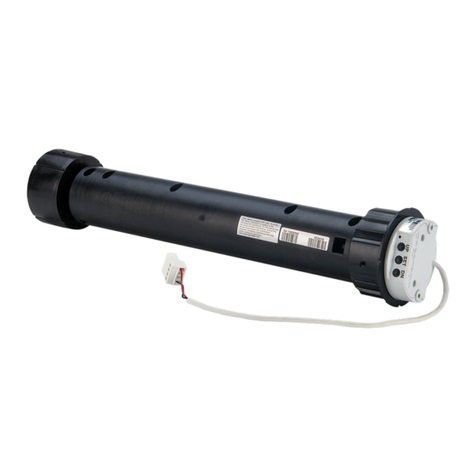
1. Press and hold SET for 4 seconds to enter Limit Setupmode. The LED
alternates between amber and green.
2. To begin lower limit setup, press DN. The green LED flashes.
3. Press UP and DNto set the shade to its desired position.
4. Press and hold SETfor 4seconds. The LED turns solid red to confirm
that the lower limit was successfully set.
5. If the upper limit is not set, the motor automatically enters Limit
Setup mode for the upper limit. To set the upper limit, refer to step 3
in the procedure below.
To adjust the upper limit:
1. Press and hold SETfor 4 seconds to enter Limit Setup mode. The LED
alternates between amber and green.
2. To begin upper limit setup, press UP. The amber LED flashes.
3. Press UP and DN to set the shade to its desired position.
4. Press and hold SET for 4 seconds. The LED turns solid red to confirm
that the upper limit was successfully set.
5. If the lower limit is not set, the motor automatically enters Limit
Setup mode for the lower limit. To set the lower limit, refer to step 3
in the procedure above.
4
CSM(I)QMTDC-163-1-SG-RPR/RPL QuickStart
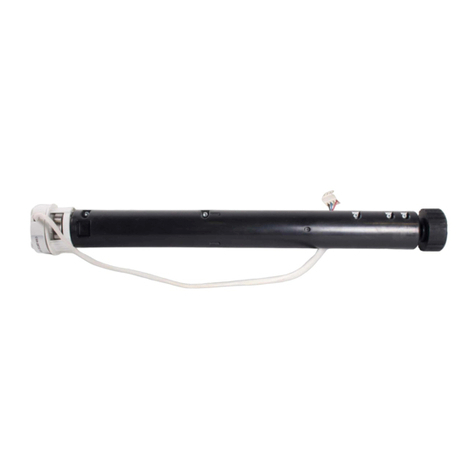
QMT® Shade Motor Replacement, Battery Operated
