manuals.online logo
Brands
  1. Home
  2. •
  3. Brands
  4. •
  5. croydon
  6. •
  7. Commercial Food Equipment
  8. •
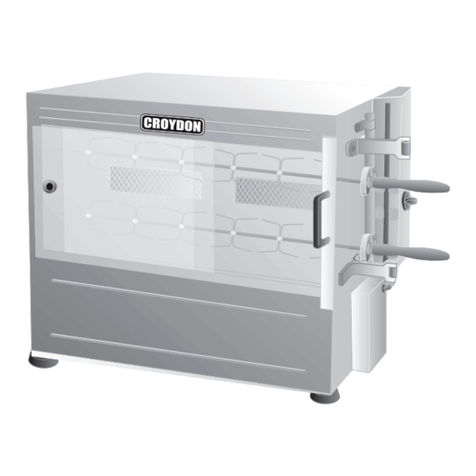
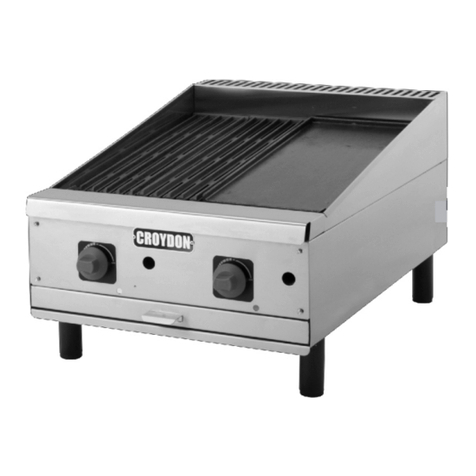
  9. croydon FRG 11 User manual

croydon FRG 11 User manual

This manual suits for next models

1

Other croydon Commercial Food Equipment manuals

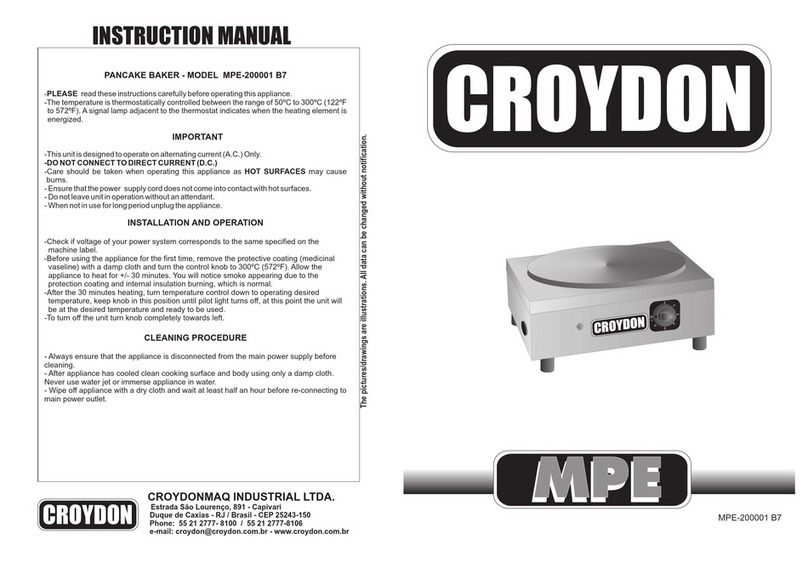
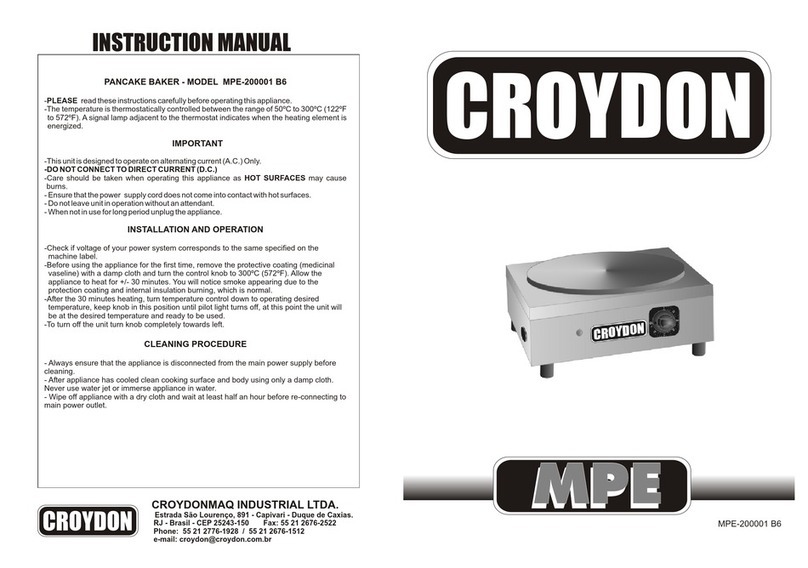
croydon MPE-200001 User manual

croydon

croydon MPE-200001 User manual

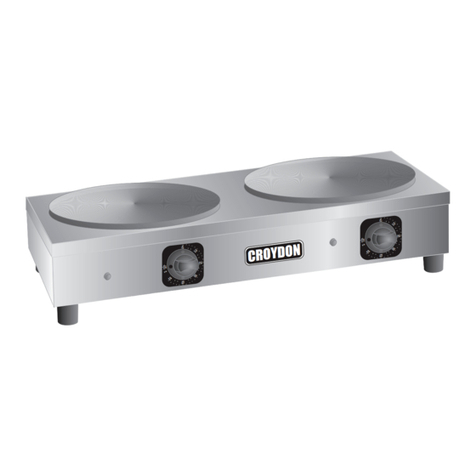
croydon MPED Series User manual

croydon

croydon MPED Series User manual

croydon F25 User manual

croydon

croydon F25 User manual

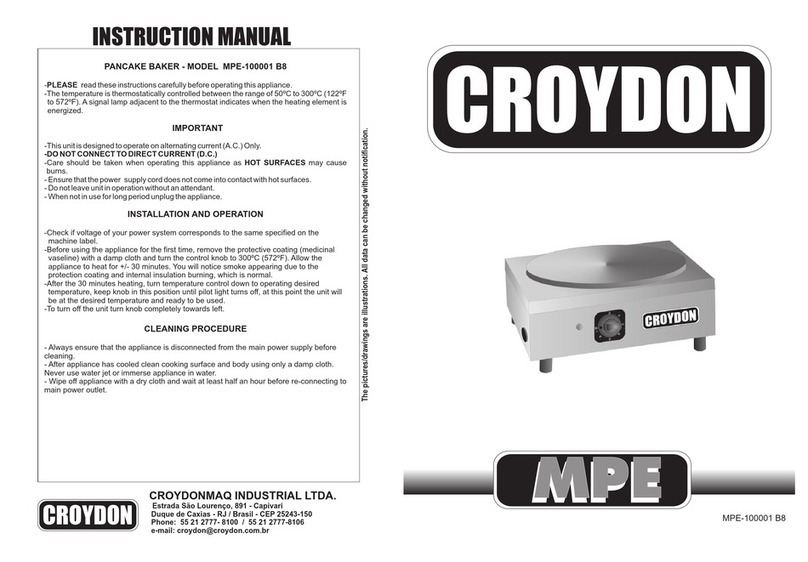
croydon MPE-100001 B8 User manual

croydon

croydon MPE-100001 B8 User manual

croydon CRPP Series User manual

croydon

croydon CRPP Series User manual
croydon RSDJ-256B01 B0 User manual

croydon

croydon RSDJ-256B01 B0 User manual

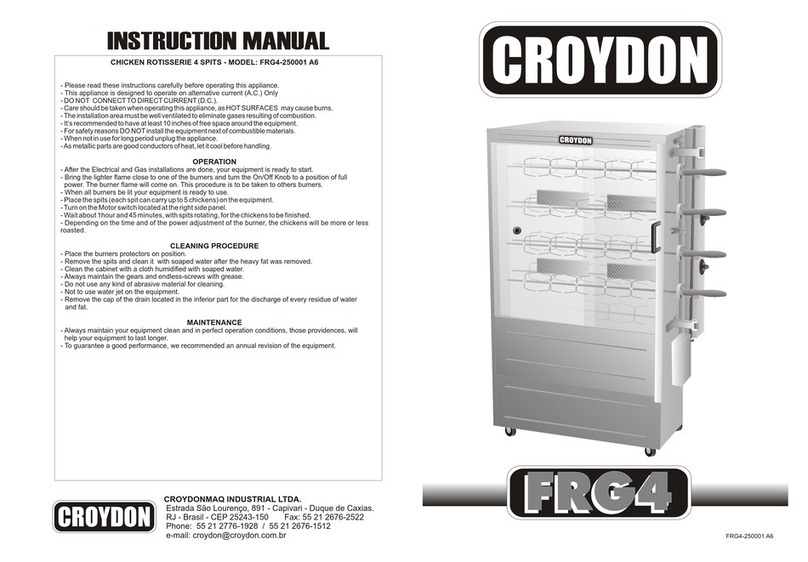
croydon FRG4 User manual

croydon

croydon FRG4 User manual

croydon MPED-100001-B5 User manual

croydon

croydon MPED-100001-B5 User manual

croydon TGCR-26540-700 User manual

croydon

croydon TGCR-26540-700 User manual

croydon MPED Series User manual

croydon

croydon MPED Series User manual

croydon MWQD-10544-700 User manual

croydon

croydon MWQD-10544-700 User manual

croydon MPED-200001 B9 User manual

croydon

croydon MPED-200001 B9 User manual

croydon CCR2 User manual

croydon

croydon CCR2 User manual

croydon MPE-200001 W4 User manual

croydon

croydon MPE-200001 W4 User manual

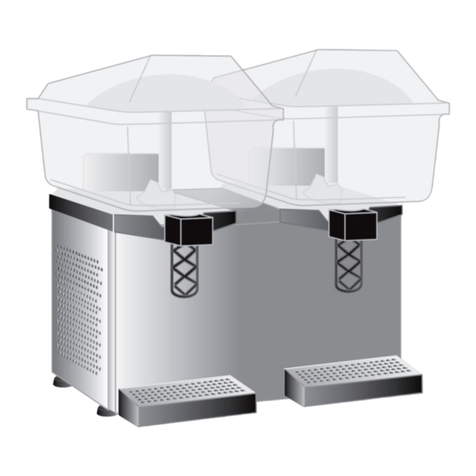
croydon RDACO-250001 B9 User manual

croydon

croydon RDACO-250001 B9 User manual
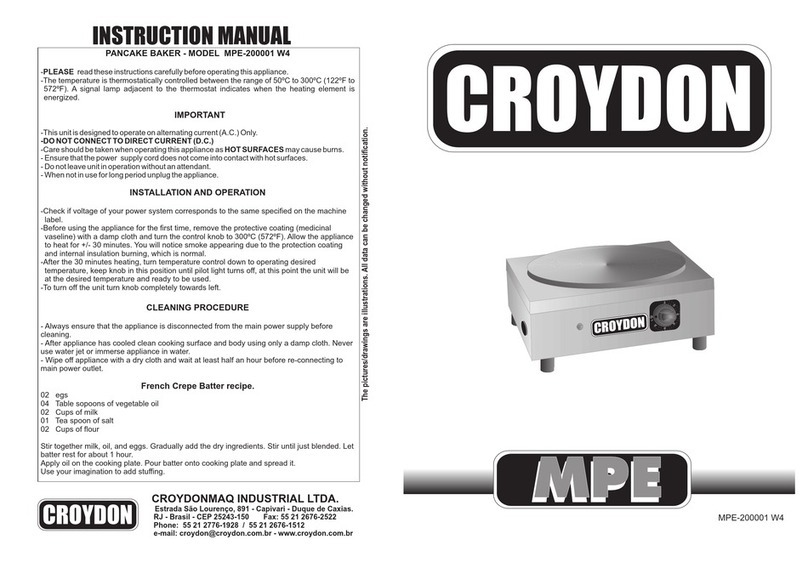
croydon MPE-200001 B6 User manual

croydon

croydon MPE-200001 B6 User manual

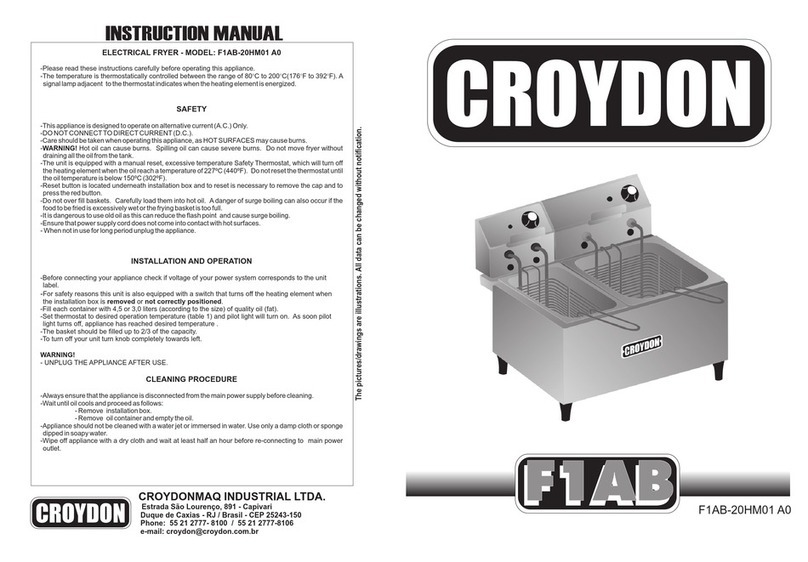
croydon F1A Series User manual

croydon

croydon F1A Series User manual

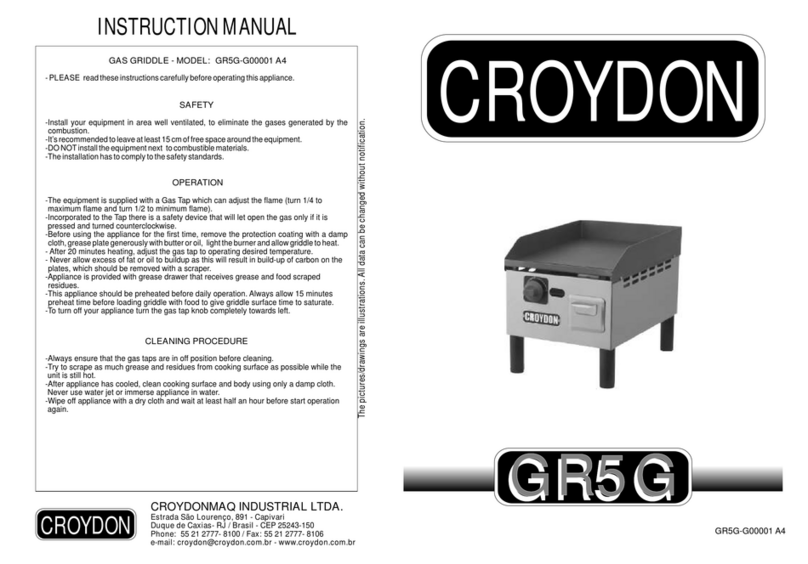
croydon GR5G User manual

croydon

croydon GR5G User manual
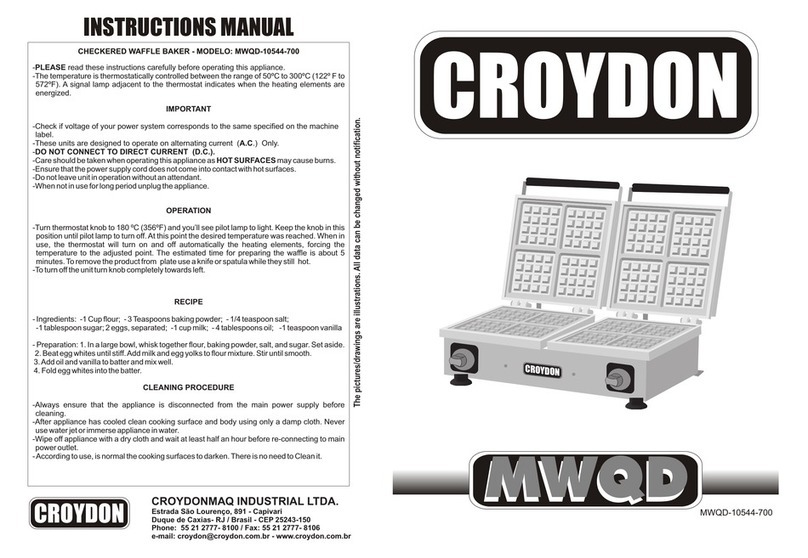
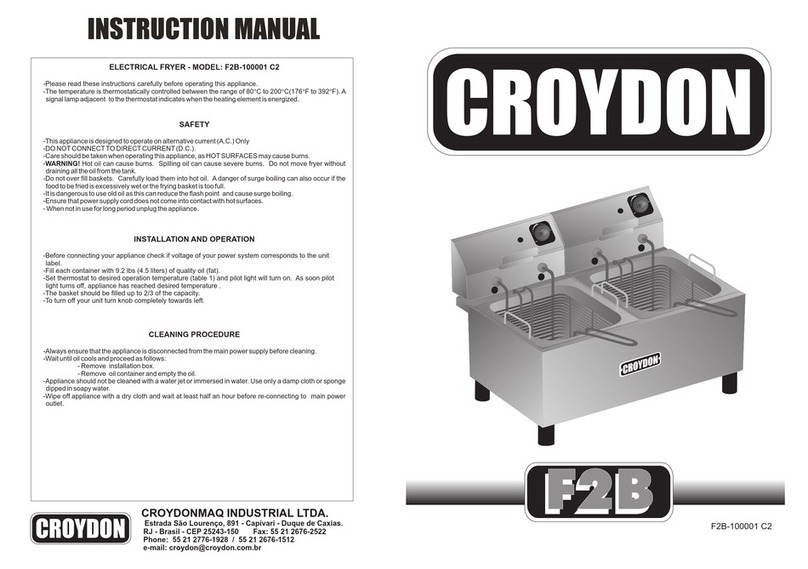
croydon F2B User manual

croydon

croydon F2B User manual

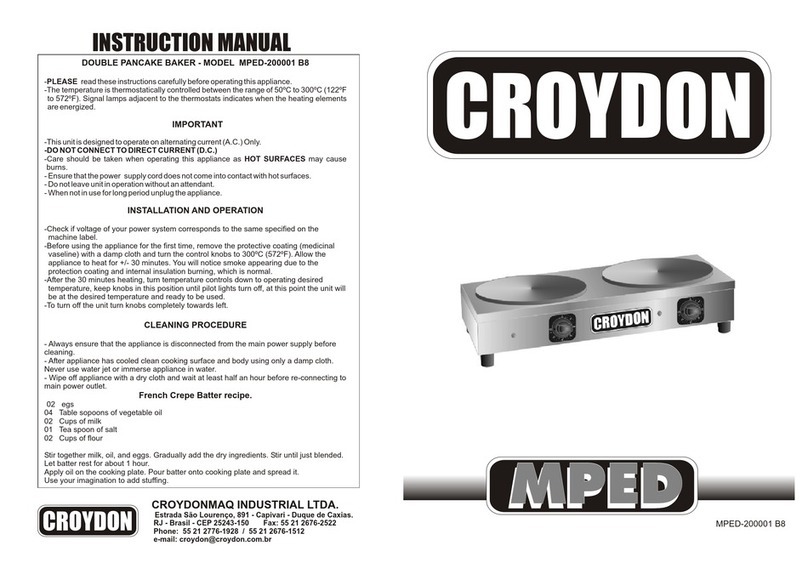
croydon MPED-200001 B8 User manual

croydon

croydon MPED-200001 B8 User manual

croydon MPED-100001 B9 User manual

croydon

croydon MPED-100001 B9 User manual
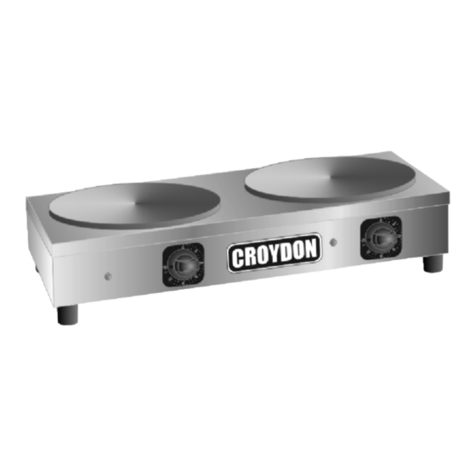
croydon RDACO User manual

croydon

croydon RDACO User manual

croydon MPE-200001 B7 User manual

croydon

croydon MPE-200001 B7 User manual
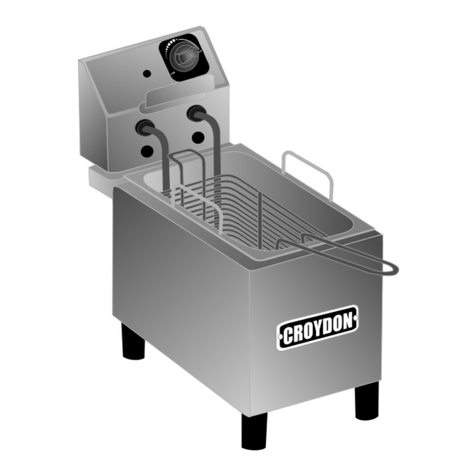
croydon FZM8 User manual

croydon

croydon FZM8 User manual
Popular Commercial Food Equipment manuals by other brands

Costco 5P-08WT manual

Costco

Costco 5P-08WT manual

Beper BT.651Y manual

Beper

Beper BT.651Y manual

Blue Seal EF30 Installation & operation manual

Blue Seal

Blue Seal EF30 Installation & operation manual

Tecfrigo Snelle 400 GS installation instructions

Tecfrigo

Tecfrigo Snelle 400 GS installation instructions

Follett PFT Series Operation and maintenance manual

Follett

Follett PFT Series Operation and maintenance manual

MEFE CAT 206 PTR User manual and maintenance

MEFE

MEFE CAT 206 PTR User manual and maintenance

Diamond AL1TB/H2-R2 Installation, Operating and Maintenance Instruction

Diamond

Diamond AL1TB/H2-R2 Installation, Operating and Maintenance Instruction

Salva IVERPAN FC-18 User instructions

Salva

Salva IVERPAN FC-18 User instructions

Allure Melanger JR6t Operator's manual

Allure

Allure Melanger JR6t Operator's manual

saro FKT 935 operating instructions

saro

saro FKT 935 operating instructions

Hussmann Rear Roll-in Dairy Installation & operation manual

Hussmann

Hussmann Rear Roll-in Dairy Installation & operation manual

Cornelius IDC PRO 255 Service manual

Cornelius

Cornelius IDC PRO 255 Service manual

Moduline HSH E Series Service manual

Moduline

Moduline HSH E Series Service manual

MINERVA OMEGA DERBY 270 operating instructions

MINERVA OMEGA

MINERVA OMEGA DERBY 270 operating instructions

Diamond OPTIMA 700 Installation, use and maintenance instructions

Diamond

Diamond OPTIMA 700 Installation, use and maintenance instructions

Diamond G9/PLCA4 operating instructions

Diamond

Diamond G9/PLCA4 operating instructions

Cuppone BERNINI BRN 280 Installation

Cuppone

Cuppone BERNINI BRN 280 Installation

Arneg Atlanta Direction for Installation and Use

Arneg

Arneg Atlanta Direction for Installation and Use

manuals.online logo
manuals.online logoBrands
  • About & Mission
  • Contact us
  • Privacy Policy
  • Terms and Conditions

Copyright 2025 Manuals.Online. All Rights Reserved.

FRG11-16PGN1-A3
INSTRUCTION MANUAL
CROYDON
CROYDON
CROYDONMAQ INDUSTRIAL LTDA.
Estrada São Lourenço, 891 - Capivari - Duque de Caxias.
RJ - Brasil - CEP 25243-150 Fax: 55 21 2676-2522
Phone: 55 21 2776-1928 / 55 21 2676-1512
e-mail: [email protected]
FRG 11FRG 11
FRG 11FRG 11
CHICKEN ROTISSERIE 11 SPITS - MODEL: FRG11-16PGN1-A3
- The installation area must be well ventilated to eliminate gases resulting of combustion.
-
OPERATION
CLEANING PROCEDURE
- Remove the spits and clean it with soaped water after the heavy fat was removed.
- Clean the cabinet with a cloth humidified with soaped water.
- To remove the top cover, loosen two screws( see item 69 at the drawing) located at superior part of
the back cover.
- Do not use any kind of abrasive material for cleaning.
-
- Remove the cap of the drain located in the inferior part for the discharge of every residue of water
and fat.
MAINTENANCE
- A little periodical maintenance is needed to get a best performance of the equipment:
- Always maintain your equipment clean and in perfect operation conditions, those providences will
help your equipment to last longer.
- Please read these instructions carefully before operating this appliance.
- This appliance is designed to operate on alternative current (A.C.) Only
- DO NOT CONNECT TO DIRECT CURRENT (D.C.).
- Care should be taken when operating this appliance, as HOT SURFACES may cause burns.
It’s recommended to have at least 10 “ of free space around the equipment.
- For safety reasons DO NOT install the equipment next of combustible materials.
INSTALLATION
- Unpack the equipment and remove the accessories from the internal part.
- Remove the doors' handles and assemble on the correct side.
- Position the equipment in the point of installation and adjust the feet to regulate the closing of the
doors.
- Make the gas installation according to your local safety standards.
- Check the equipment requirements and your power supply conditions and connect it.
- Check if all on/off gas knobs are in "off" position.
- Open the gas line tap.
- Light the burners from top to bottom.
- Place the spits (each spit can carry up to 6 chickens) on the equipment.
- Turn on the Motor switch located at the left side of the frontal panel (inferior button)
- Wait about 45 minutes, with spits rotating, for the chickens to be finished.
- Depending on the time and of the power adjustment of the burner, the chickens will be more or less
roasted.
- Place the burners protectors on position.
Do not use water jet on the equipment.
- Connect a tube or place a recipient under the drain valve.
Chain and gears Keep it with a thin layer or fine oil.
Tension of chain Check periodically (within 6 months) the tension.
Bearings Maintenance free.
Motor/reducer Maintenance free. A certain level of noise is expected and it will
reduce accordingly to the use (aprox.300h).
CHICKEN ROTISSERIE 11 SPITS
CROYDONCROYDON
1
2
4
9
5
7
6
8
3
17
12
13
14
15 16
17
18
19
21
22
23
24
31
39
34
33 35
40
36
37
38
67
53
45
60
55
61
62
63
64
58
54
47
59
48
11
25
29
26
27
44
20
56
32
30
51
50
43
46
28
57
41
66
65
52
49
10
68
Top Cover
Right Support
Left Support
Deflection Plate
Right Back Cover
Superior Back Cover
Left Back Cover
Burners Panel
Secondary Gas Pipe
Gas Tap
Buner
Intermediate Back Panel
Motor Cover Plate
Lower Back Cover
Gears Panel
Left Internal Panel
Side Cover
Motor/ Reducer 110V 60 HZ
Motor/ Reducer Gear
Gear Locker
Spit End Locker
Spit End
Spit
Left Spit Support
Foot
Cord Rentainer
Wire Connector
Wiring
Power Connection Cord
Chain
Transmission Wheel
Gear Wheel
Gear Wheel Locker
Transmission Gear
Gap Maker
Gear Supportl
Transmission Axle
Blind Axle
Tension Regulator Support
Bearing
Spit Hook
Injection Device
Lower Frontal Cover
Drain Valve
Left Frontal Cover
Glass Support
Glass Door
Door Handle
Hinge’s Plate
Hinge’s Pin
Hinge’s Screw
Nut (1/4”)
Grill
On/Off Switchl
Tray
Door Spring
Door Spring Support
Knob
On/Off Indicador Plate
Right Frontal Cover
Upper Frontal Cover
Lamps Support Plate
Screw (3/8”)
Frame
Lamp
Lamp Socket
Main Gas Pipe
Right Internal Panel
Special Screw 3/16”x3/8”
Gas Line Tap
Pilot Injection Device
Pilot Burner
Pilot Support
Pilot Gas Pipe Sml
Pilot Gas Pipe Lrg
Burner Protection
Loking Plate
Simple Union
Curved Union
Lamp Protection
Metal Ring
Nut
Item Code Description
CHICKEN ROTISSERIE 11 SPITS
1
2
3
4
5
6
7
8
9
10
11
12
13
14
15
16
17
18
19
20
21
22
23
24
25
26
27
28
29
30
31
32
33
34
35
36
37
38
39
40
41
42
43
44
45
46
47
48
49
50
51
52
53
54
55
56
57
58
59
60
61
62
63
64
65
66
67
68
69
70
71
72
73
74
75
76
77
78
79
80
81
82
94.736-3
94.753-3
94.752-3
94.751-3
94.732-3
94.731-3
94.719-3
94.735-3
94.756-3
94.072-3
94.064-3
94.748-3
94.702-3
94.749-3
94.711-2
94.733-3
94.718-3
94.762-3
94.111-2
94.042-3
94.701-3
94.740-3
94.710-3
94.703-3
1.917-3
9.413-3
2.191-3
94.730-3
2.096-3
94.100-3
94.098-3
94.099-3
94.041-3
94.084-3
94.714-1
94.724-2
94.725-2
94.709-1
94.755-2
94.743-1
94.742-3
94.119-3
94.717-3
94.032-3
94.715-3
94.723-3
94.712-3
94.060-3
94.747-3
94.706-3
94.704-3
621
94.741-3
94.713-3
94.720-3
94.067-3
94.737-3
1.965-3
94.063-3
34.716-3
94.721-3
94.722-3
327
94.700-3
94.745-3
94.744-3
94.770-3
94.734-3
481
5.336-3
22.010-3
22.012-3
94.026-3
94.086-3
94.087-3
94.025-3
94.046-3
94.101-3
94.104-1
94.739-3
22.009-3
22.008-3
CROYDON
49
69
63
70
73
72
75
74
71
76
77
78 79
80
Voltage (V)
GAS (BTU/h)
Electric Power (W)
Spit Speed (rpm)
Consumption GLP (g/h)
Weight (kg/lbs)
Dimension W x H x D (cm)
Capacity
110
54000
280
2
2000
148/325,6
128/50,4 x 163/64,2 x 57/22,5
66 chicken
Technical Data
FRG11-16PGN1-A3
81
82
42