RTX220 QR - Manual
1.3 Warnings and Notices
Please read the following before beginning installation.
• ThemaincircuitboardoftheHDDcarrierissusceptibleto
staticelectricity.Propergroundingisstronglyrecommendedto
preventelectricaldamagetotheenclosureorotherconnected
devices,includingthecomputerhost.Avoidalldramatic
movement,vibrationandpercussion.
• AvoidplacingtheHDDcarrierclosetomagneticdevices,high
voltagedevices,ornearaheatsource,includinganyplace
wheretheproductwillbesubjecttodirectsunlight.DoNOT
allowwatertomakecontactwithanySecurityKeys,carrieror
receivingframe.
• ThoughtheSecurityKeyportismechanicallyidenticaltothe
standardMini-USBport,insertingSecurityKeysintoanyother
Mini-USBportwilldamagethekeysandrenderthemuseless.
PleaseonlyuseSecurityKeysinDataPortSecureproducts.
• Likewise,insertingaMini-USBcableorotherdeviceintothe
DataPort10SecureSecurityKeyportonthecarriercancause
internaldamageandpotentiallyleadtolossofdata.
• AnytimepoweriscycledontheDataPort10Secure,the
encryptionkeywillneedtobeinstalledinordertoaccessthe
dataonthedrive.
2. Installation Steps
2.1 Receiving Frame Installation
a.Slidethereceivingframeintoanopen5.25”bay.
b.Securethereceivingframetothechassiswiththefourscrews
provided.
c.AttachtheSATAdatacabletotherearofthereceivingframe
andtheotherendtothecorrespondingSATAportonthecom-
puter’smotherboard.
d.AttachtheSATApowerconnectorstotherearofthereceiving
frame.IfnoSATApowerconnectorsareavailable,attachthe
includedMolex-to-SATAadaptercabletoaMolexpowerplug.
ThenplugtheSATAendoftheadaptercableintotherearofthe
receivingframe.
2.2 Hard Drive Installation
a.Ifthecarrierisbundledwithaframe,usetheincludedsetofData-
PortKeystounlockthecarrierandthenremoveitfromtheframe.
b.UseaPhillips-headscrewdrivertoremovethescrewsecuringthe
carriercovertothebackofthecarrier,thenslidethecoveroff.
c.InsertaSATAharddriveintotheuniedpoweranddatacon-
nectorinsidethecarrier.
d.Securetheharddrivetothecarrierbyusingthemounting
screwsprovided.
e.AttachtheTemperatureControlCoolingSensortothetopofthe
harddrivewithapieceoftape.
f.Replacethecoverandsecureitwiththescrewyouremovedin
StepB.intotherearofthecarrier.
g.Reinsertthecarrierintotheframe.
2.3 Operating your DataPort 10 Secure
a.Ifyouhavenotalreadydoneso,slidetheDataPort10Secure
carrierintoanopenDataPort10frame(maybesoldseparately)
onyourcomputer.
b.InserttheSecurityKeyintotheMini-USBSecurityKeyPorton
thefaceofthereceivingframe.
c.InsertaDataPortKeyintothekeylockandturnit90degrees
clockwisetopowerontheunit.
d.WhenbothgreenLEDsarelit,showingthatthedriveisready
andencryptionisactivated,removetheSecurityKeyandstore
itinasafelocation.
WhenanyharddriveisrstusedwiththeDataPort10Secureit
willshowupasablank,unallocateddriveandyou’llneedtoformat
thedriveinsidetheenclosurebeforeyoucanuseit.Note that
formatting a drive will erase all data on the drive, so be sure
to back up your data before beginning this operation.See
Section3forinstructionsonhowtoformatthedrivewithMacor
Windowsoperatingsystems.
2.4 Safe Carrier Removal
a.Turnoffthecomputerorproperlydismountthedrivefrom
Page2
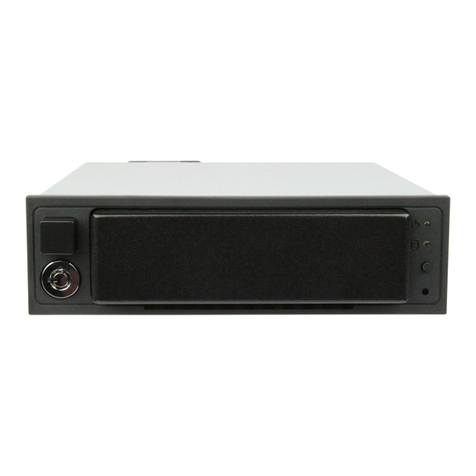
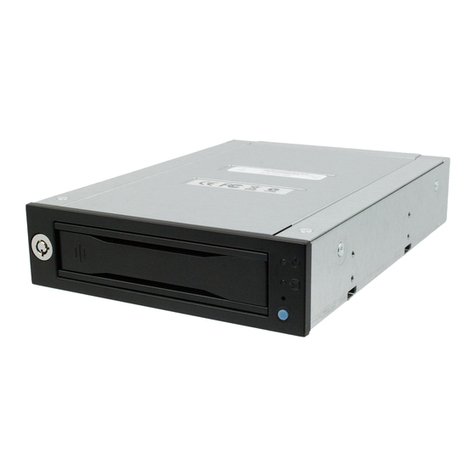
SecurityKey
ErrorLED PowerLED
Encryption
EnabledLED
