manuals.online logo
Brands
  1. Home
  2. •
  3. Brands
  4. •
  5. CRU
  6. •
  7. Storage
  8. •
  9. CRU DataPort 25 IDE-to-SATA User manual

CRU DataPort 25 IDE-to-SATA User manual

Rugged, Reliable, Mobile, SecureTM
1-800-260-9800 www.CRU-DataPort.com
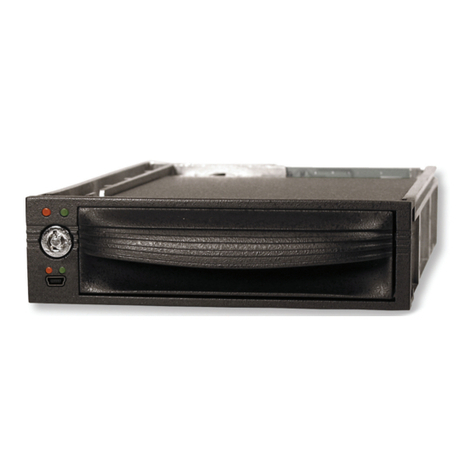
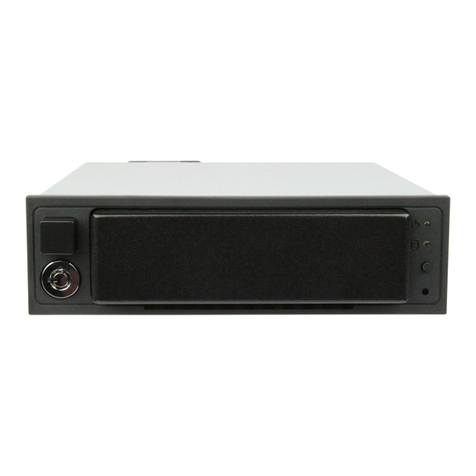
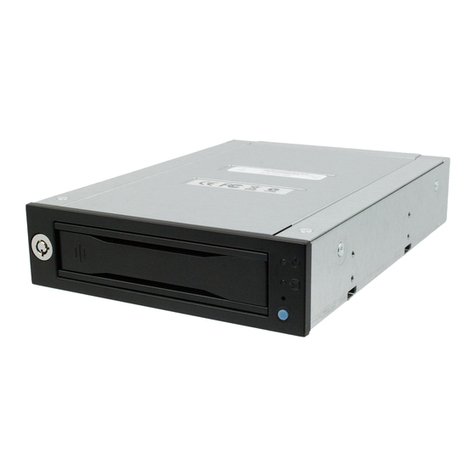
DataPort 25 IDE-to-SATA Carrier
The DataPort 25 IDE (host)-to-SATA (drive) carrier allows newer and larger SATA drives to be
used in older systems without available SATA ports or with older IDE host DataPort 25s.
Package Contents
1 - DataPort 25 IDE (host)-to-SATA carrier assembly
1 - Screw kit
2 - Keys for lock
Installing the Frame Into Your Computer
1. Locate an available 3.5” drive bay and remove the front bezel.
2. To mount the frame assembly in the drive bay:
a. Check the drive bay to see if mounting rails are required (they
should be provided by your computer system manufacturer.) If
required, install one on each side of the frame. Then slide the
frame in the computer and check that it is secure.
b. If mounting rails are not required, attach the frame directly to
the PC case using the screws provided. Either the side or bottom
mount holes on the frame may be used.
3. Locate and connect an available 4-pin power connector (the type
used for floppy drives) to the back of the DataPort 25 frame.
4. Connect the data cables to the rear of the frame. See Operations sec-
tion for details on proper cabling.
Installing the Drive in the Carrier
1. Remove the two screws holding the carrier cover in place. Slide the
cover off the carrier.
Note: The DataPort 25 IDE-to-SATA carrier ships as a Master
device. For operation as a Slave device jumper JP2 on the carrier
board (see figure 1).
2. Insert the SATA hard drive and connect it to the SATA connector. Use
the provided screws to secure the hard drive in place.
3. Slide the carrier cover on and secure it with the cover screws.
4. Insert the carrier into the frame and engage the lock.
Your carrier assembly is complete.
Operation
Warning! Please do not touch the connector on the back of the carrier.
Internal damage could result from electrostatic discharge.
The lock on the DataPort 25 serves as a power switch. It must be en-
gaged for the DataPort 25 to power up and function properly.
IDE Operation
For IDE operation, the IDE connector on the frame board must be
connected to an IDE host bus adapter or the primary or secondary IDE
channel on the motherboard. The IDE-to-SATA DataPort 25 carrier must
be jumpered properly to function. Determine whether it will be used as
a Master or Slave before hard drive installation. If used with another
device, make sure the Master/Slave settings are unique.
LED Activity
The front of the DataPort 25 has two LEDs; a green LED that lights up
when the power to the hard drive is on and an amber LED that flashes
when the drive is active.
Note: The green LED will flash if an incorrect data cable for the
carrier is connected.
Figure 1: Master/Slave Jumper
Rugged, Reliable, Mobile, SecureTM
1-800-260-9800 www.CRU-DataPort.com
Product Warranty
CRU-DataPort (CRU) warrants the DataPort 25 to be free of significant defects in material and workmanship for a period of one year from the original
date of purchase. CRU’s warranty is nontransferable and is limited to the original purchaser.
Limitation of Liability
The warranties set forth in this agreement replace all other warranties. CRU expressly disclaims all other warranties, including but not limited to, the
implied warranties of merchantability and fitness for a particular purpose and noninfringement of third-party rights with respect to the documentation
and hardware. No CRU dealer, agent or employee is authorized to make any modification, extension, or addition to this warranty. In no event will CRU
or its suppliers be liable for any costs of procurement of substitute products or services, lost profits, loss of information or data, computer malfunc-
tion, or any other special, indirect, consequential, or incidental damages arising in any way out of the sale of, use of, or inability to use any CRU
product or service, even if CRU has been advised of the possibility of such damages. In no case shall CRU’s liability exceed the actual money paid for
the products at issue. CRU reserves the right to make modifications and additions to this product without notice or taking on additional liability.
Register your product at www.CRU-DataPort.
A5-025-0013 Rev. 1.0
Rugged, Reliable, Mobile, SecureTM
1-800-260-9800 www.CRU-DataPort.com

Other CRU Storage manuals

CRU DataPort I User manual

CRU

CRU DataPort I User manual

CRU Data Express DX175 User manual

CRU

CRU Data Express DX175 User manual

CRU Data Express DE110 SATA 6G User manual

CRU

CRU Data Express DE110 SATA 6G User manual

CRU RTX220-3QR User manual

CRU

CRU RTX220-3QR User manual

CRU ToughTech Secure m3 User manual

CRU

CRU ToughTech Secure m3 User manual

CRU ioSafe Solo Hawk User manual

CRU

CRU ioSafe Solo Hawk User manual

CRU DataPort DP20 User manual

CRU

CRU DataPort DP20 User manual

CRU RAX RAX210-SJ User manual

CRU

CRU RAX RAX210-SJ User manual

CRU Dataport 25 SL User manual

CRU

CRU Dataport 25 SL User manual

CRU DataPort 3 User manual

CRU

CRU DataPort 3 User manual

CRU RTX 3QJ Series User manual

CRU

CRU RTX 3QJ Series User manual

CRU Mouse Jiggler MJ-2 User manual

CRU

CRU Mouse Jiggler MJ-2 User manual

CRU RTX Secure 410-3QR User manual

CRU

CRU RTX Secure 410-3QR User manual

CRU QX118 User manual

CRU

CRU QX118 User manual

CRU RAX210-3QR User manual

CRU

CRU RAX210-3QR User manual

CRU DataPort 10 Secure Series User manual

CRU

CRU DataPort 10 Secure Series User manual

CRU Forensic Labdock S5 User manual

CRU

CRU Forensic Labdock S5 User manual

CRU Data Express DX115 DC User manual

CRU

CRU Data Express DX115 DC User manual

CRU DataPort 25 User manual

CRU

CRU DataPort 25 User manual

CRU DataPort HotDock External Drive Bay User manual

CRU

CRU DataPort HotDock External Drive Bay User manual

Popular Storage manuals by other brands

Kingston Technology SSDNow 07-16-2009 installation guide

Kingston Technology

Kingston Technology SSDNow 07-16-2009 installation guide

Kobalt 45576PKDLG quick start guide

Kobalt

Kobalt 45576PKDLG quick start guide

Sony MicroVault USM8GL operating instructions

Sony

Sony MicroVault USM8GL operating instructions

OWC Express Assembly manual

OWC

OWC Express Assembly manual

Apricorn Xtreme Upgrade Specifications

Apricorn

Apricorn Xtreme Upgrade Specifications

IBM DARA-206000 - Travelstar 12 GB Hard Drive Quick installation guide

IBM

IBM DARA-206000 - Travelstar 12 GB Hard Drive Quick installation guide

Philips FMXXFD02B/00 user manual

Philips

Philips FMXXFD02B/00 user manual

Hitachi G1000 user guide

Hitachi

Hitachi G1000 user guide

FieldServer FS-8704-07 instruction manual

FieldServer

FieldServer FS-8704-07 instruction manual

Klaxon G0250IT0004 installation guide

Klaxon

Klaxon G0250IT0004 installation guide

Sony MS-MT16G operating instructions

Sony

Sony MS-MT16G operating instructions

Olixir 2LX 100GB Specifications

Olixir

Olixir 2LX 100GB Specifications

Huawei FusionModule1000A20 Maintenance Guide

Huawei

Huawei FusionModule1000A20 Maintenance Guide

Blueshark Studio Vertical Modular Paint Storage instructions

Blueshark Studio

Blueshark Studio Vertical Modular Paint Storage instructions

StarTech.com SDOCK2U33 instruction manual

StarTech.com

StarTech.com SDOCK2U33 instruction manual

Cisco NSS32 Administration guide

Cisco

Cisco NSS32 Administration guide

HP Surestore Disk Array 12h - And FC60 Service manual

HP

HP Surestore Disk Array 12h - And FC60 Service manual

Maxtor Computer Drive product manual

Maxtor

Maxtor Computer Drive product manual

manuals.online logo
manuals.online logoBrands
  • About & Mission
  • Contact us
  • Privacy Policy
  • Terms and Conditions

Copyright 2025 Manuals.Online. All Rights Reserved.