manuals.online logo
Brands
  1. Home
  2. •
  3. Brands
  4. •
  5. Curt Manufacturing
  6. •
  7. Automobile Accessories
  8. •
  9. Curt Manufacturing LIPPERT 18109 User manual

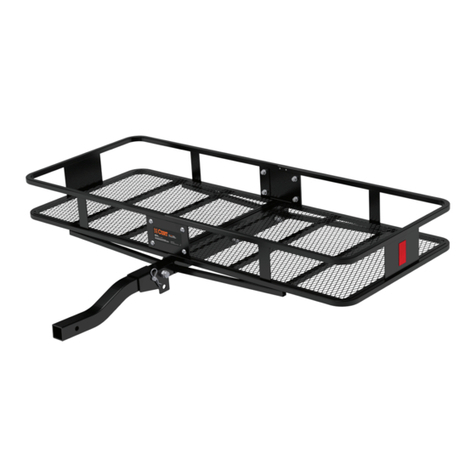
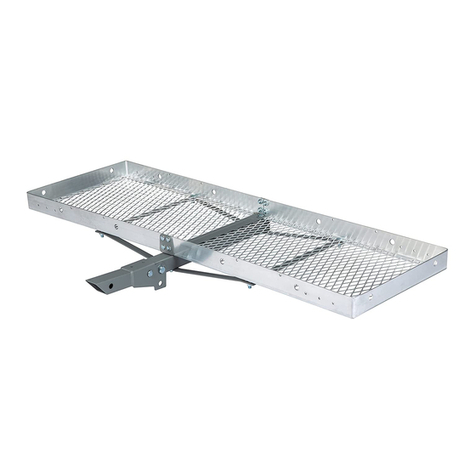
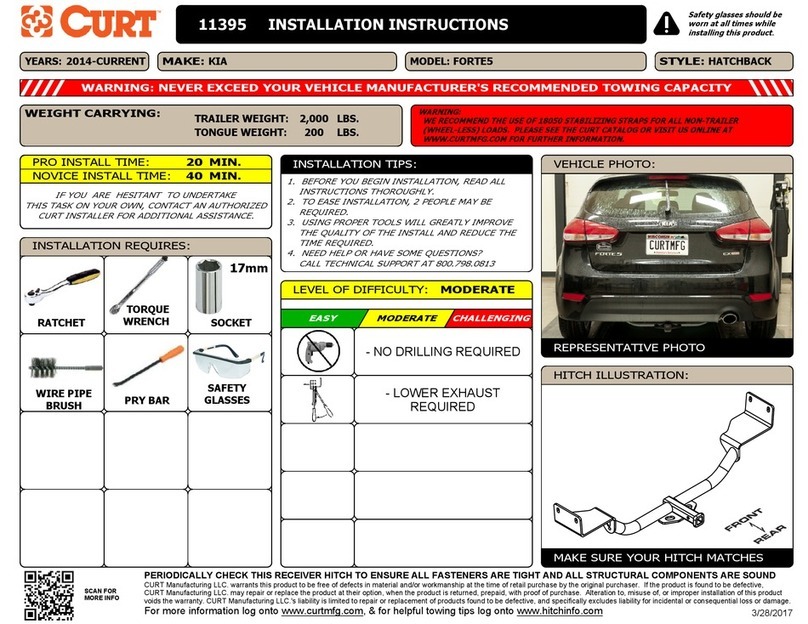
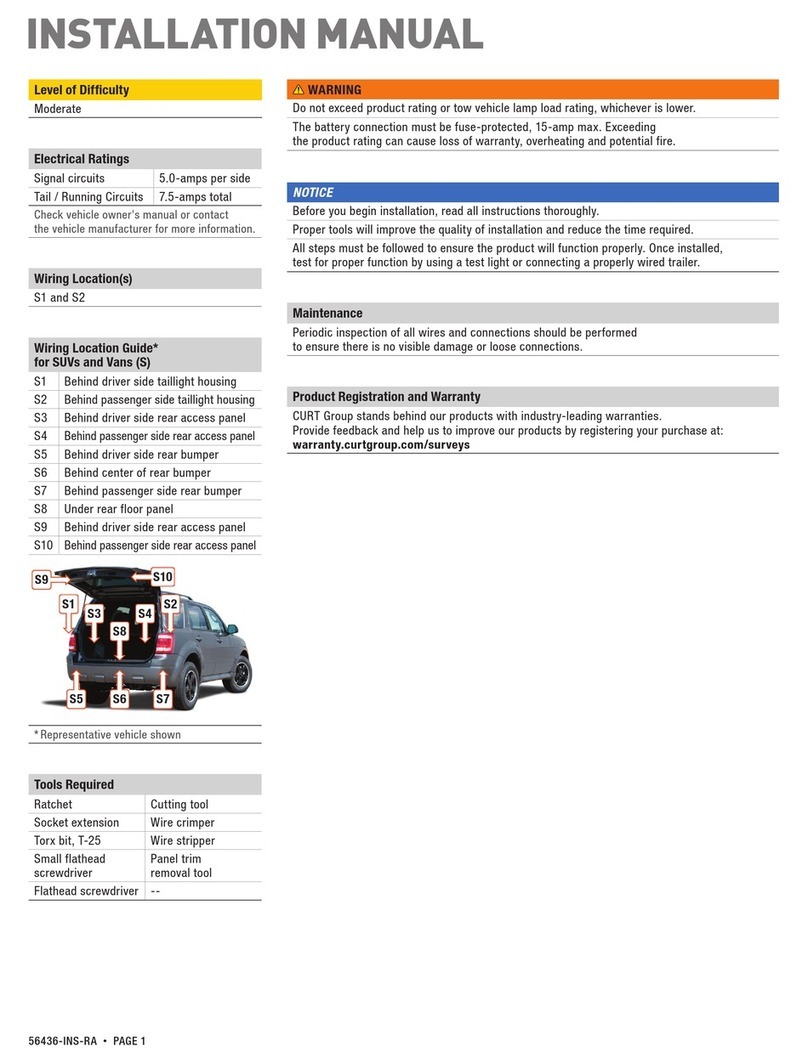
Curt Manufacturing LIPPERT 18109 User manual

CURTMFG.COM •PRODUCT SUPPORT: 877.287.8634 •18109-INS-RC •05/10/2021 •ECN8300 •PAGE 1
Product Registration and Warranty
CURT stands behind our products with industry-leading warranties. To get copies of the product
warranties, register your purchase or provide feedback, visit: warranty.curtgroup.com/surveys
WARNING
Never exceed the vehicle manufacturer's recommended towing capacity.
Do not exceed maximum weight capacity of 500 lbs. when using 2" receiver tube.
Distribute the weight evenly on platform when hauling a load.
Do not carry loads taller, wider or deeper than the cargo carrier. Do not carry flammable items
on carrier or allow exhaust fumes to blow directly on your cargo. This is a fire hazard.
Always use caution when in reverse (R) to help avoid personal injury.
Loads must be evenly distributed.
Never use as a step or platform - injury may result.
Do not use to carry flammable items or allow exhaust
fumes to blow directly on items in the carrier – fire hazard.
Do not use to transport people.
Do not block brake lights or turn signals.
Weight Carrying Capacity
Weight capacity 500 lbs.
INSTALLATION MANUAL 18109
Tools Required
Wrench, 17mm Wrench, 24mm
Adjustable wrench --
Level of Difficulty
Easy
Installation difficulty levels are based on time
and effort involved and may vary depending on
the installer level of expertise, condition of the
vehicle and proper tools and equipment.
NOTICE
Visit www.curtmfg.com for a full-color copy of this
instruction manual, as well as helpful videos, guides and much more!
Before you begin installation, read all instructions thoroughly.
Proper tools will improve the quality of installation and reduce the time required.
Periodic inspection of your product should be performed
to ensure all hardware and / or components remain secure.
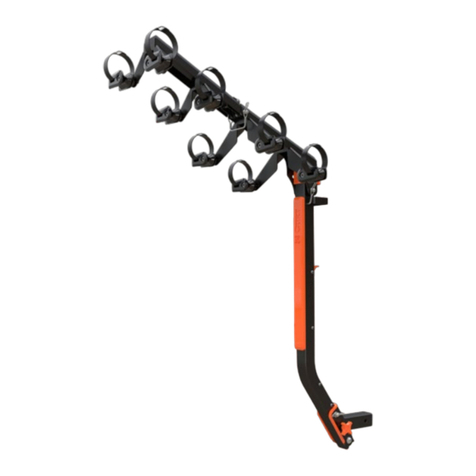
Product Photo
Torque Specifications
M10 bolt 16 ft-lbs.
M16 bolt 70 ft-lbs.
Use above torque setting unless otherwise noted
Parts List
Item Qty Description
1 2 Platform frame, half
2 1 Shank, 2"
3 2 Connecting plate
4 1 Folding shank assembly
5 1 Clip
6 1 Pin, 5/8"
7 1 Lock nut, M16
8 1 Hex bolt, M16 x 80mm
914 Lock nut, M10
10 12 Carriage bolt, M10 x 20mm
11 2Carriage bolt, M10 x 75mm
12 1Flat brace
13 2Support bridge
CURTMFG.COM •PRODUCT SUPPORT: 877.287.8634 •18109-INS-RC •05/10/2021 •ECN8300 •PAGE 2
1
10
10
11
12
13
9
8
7
4
3
2
6
5
9
9
ASSEMBLY
Parts List
Item Qty Description
1 2 Platform frame, half
2 1 Shank, 2"
3 2 Connecting plate
4 1 Folding shank assembly
5 1 Clip
6 1 Pin, 5/8"
7 1 Lock nut, M16
8 1 Hex bolt, M16 x 80mm
914 Lock nut, M10
10 12 Carriage bolt, M10 x 20mm
11 2Carriage bolt, M10 x 75mm
12 1Flat brace
13 2Support bridge
CURTMFG.COM •PRODUCT SUPPORT: 877.287.8634 •18109-INS-RC •05/10/2021 •ECN8300 •PAGE 3
1
TOWING BASICS & SAFETY INFORMATION
For information on safely towing your trailer, visit curtmfg.com/understanding-towing.
Step 1
Align the two platform halves (#1), as shown. Using the top two holes
only, connect the platform halves (#1) and connecting plates (#3) with
M10 x 20mm carriage bolts (#10) and M10 lock nuts (#9).
Hand tighten.
Step 2
Put the 2" shank (#2) under the middle of platform (#1). Place the
support bridge (#13) under the 2" shank. Place the flat brace (#12) in
the top middle of the platform. Connect by hand-tightening the M10 x
75mm carriage bolt (#11) and M10 lock nut (#9).
Step 3
Using the bottom two holes, finish connecting the platform halves (#1)
and connecting plates (#3) with M10 x 20mm carriage bolts (#10) and
M10 lock nuts (#9). Hand tighten.
Fully tighten all of the bolts and
lock nuts to the specified torque specs.
Step 4
Insert the 2" shank (#2) into the folding shank assembly (#4).
Align all of the holes. Insert the M16 x 80mm hex bolt (#8) through the
hole closest to the cargo carrier and secure with M16 lock nut (#7).
The pin (#6) should be inserted in the hole closest to the vehicle. To
fold the basket, remove pin, fold basket up, and place pin in the lower
hole. The clip (#5) must always be attached to the pin.
10
9
3
10
13
9
10
3
11
12
2
9
8
7
4
65

Other Curt Manufacturing Automobile Accessories manuals

Curt Manufacturing 13118 User manual

Curt Manufacturing

Curt Manufacturing 13118 User manual

Curt Manufacturing 16050 User manual

Curt Manufacturing

Curt Manufacturing 16050 User manual

Curt Manufacturing 18100 Operator's manual

Curt Manufacturing

Curt Manufacturing 18100 Operator's manual

Curt Manufacturing 13434 User manual

Curt Manufacturing

Curt Manufacturing 13434 User manual

Curt Manufacturing 56446 User manual

Curt Manufacturing

Curt Manufacturing 56446 User manual

Curt Manufacturing 2060 User manual

Curt Manufacturing

Curt Manufacturing 2060 User manual

Curt Manufacturing 13231 User manual

Curt Manufacturing

Curt Manufacturing 13231 User manual

Curt Manufacturing 31048 User manual

Curt Manufacturing

Curt Manufacturing 31048 User manual

Curt Manufacturing 13364 User manual

Curt Manufacturing

Curt Manufacturing 13364 User manual

Curt Manufacturing 55525 User manual

Curt Manufacturing

Curt Manufacturing 55525 User manual

Curt Manufacturing ECHO User manual

Curt Manufacturing

Curt Manufacturing ECHO User manual

Curt Manufacturing REFLEX User manual

Curt Manufacturing

Curt Manufacturing REFLEX User manual

Curt Manufacturing 11065 User manual

Curt Manufacturing

Curt Manufacturing 11065 User manual
Curt Manufacturing 12113 User manual

Curt Manufacturing

Curt Manufacturing 12113 User manual

Curt Manufacturing 16320 User manual

Curt Manufacturing

Curt Manufacturing 16320 User manual

Curt Manufacturing Quick Goose II User manual

Curt Manufacturing

Curt Manufacturing Quick Goose II User manual

Curt Manufacturing 51451 User manual

Curt Manufacturing

Curt Manufacturing 51451 User manual

Curt Manufacturing 52042 User manual

Curt Manufacturing

Curt Manufacturing 52042 User manual

Curt Manufacturing 13287 User manual

Curt Manufacturing

Curt Manufacturing 13287 User manual

Curt Manufacturing 70103 User manual

Curt Manufacturing

Curt Manufacturing 70103 User manual

Curt Manufacturing 18009 User manual

Curt Manufacturing

Curt Manufacturing 18009 User manual

Curt Manufacturing 13277 User manual

Curt Manufacturing

Curt Manufacturing 13277 User manual

Curt Manufacturing 70112 User manual

Curt Manufacturing

Curt Manufacturing 70112 User manual

Curt Manufacturing 51453 User manual

Curt Manufacturing

Curt Manufacturing 51453 User manual

Popular Automobile Accessories manuals by other brands

Magneti Marelli AC161 Installation instruction

Magneti Marelli

Magneti Marelli AC161 Installation instruction

FDI uEZ GUI Start here

FDI

FDI uEZ GUI Start here

JCROffroad JT Install instructions

JCROffroad

JCROffroad JT Install instructions

Rostra VOXXElectronics 250-1930 owner's guide

Rostra

Rostra VOXXElectronics 250-1930 owner's guide

TOP VEHICLE TECH GR3FORD5 installation manual

TOP VEHICLE TECH

TOP VEHICLE TECH GR3FORD5 installation manual

Safe Fleet PRIME DESIGN AR-2000-BLK manual

Safe Fleet

Safe Fleet PRIME DESIGN AR-2000-BLK manual

Skoda Fabia Combi 5J Fitting instructions

Skoda

Skoda Fabia Combi 5J Fitting instructions

Camcar 40077 Al Mounting instructions

Camcar

Camcar 40077 Al Mounting instructions

Camcar 40089 AL Mounting instructions

Camcar

Camcar 40089 AL Mounting instructions

Impac Tradesman 2000 installation manual

Impac

Impac Tradesman 2000 installation manual

DVB OFFROAD BRSB-01 installation manual

DVB

DVB OFFROAD BRSB-01 installation manual

Safari Snorkel SS385HF installation guide

Safari Snorkel

Safari Snorkel SS385HF installation guide

ULTIMATE SPEED 279746 Assembly and Safety Advice

ULTIMATE SPEED

ULTIMATE SPEED 279746 Assembly and Safety Advice

SSV Works DF-F65 manual

SSV Works

SSV Works DF-F65 manual

ULTIMATE SPEED CARBON Assembly and Safety Advice

ULTIMATE SPEED

ULTIMATE SPEED CARBON Assembly and Safety Advice

Witter F174 Fitting instructions

Witter

Witter F174 Fitting instructions

WeatherTech No-Drill installation instructions

WeatherTech

WeatherTech No-Drill installation instructions

TAUBENREUTHER 1-336050 Installation instruction

TAUBENREUTHER

TAUBENREUTHER 1-336050 Installation instruction

manuals.online logo
manuals.online logoBrands
  • About & Mission
  • Contact us
  • Privacy Policy
  • Terms and Conditions

Copyright 2025 Manuals.Online. All Rights Reserved.