Cycle Protect The Liberator Operating instructions

“Liberating you from motorcycle theft”

Installation & Owner’s Manual
Included in your Liberator package:
1) Yellow / Important Registration Notice
2) Liberator Unit / 3 Axis Accelerometer
3) Red and Black Wires w/eyelets attached - connect to main motorcycle battery
4) Long Yellow Wire –connect to positive wire of running tail light
5) Red Scott Lock –connect to yellow wire and positive wire of running tail light
6) Serial # Sticker (you decide whether or not to put on unit)
7) Void Warranty if opened sticker
8) 2 FREE Cycle Protect Stickers
9) Velcro- 1 large piece for Liberator Unit
10) Zip Ties: 4 black
If purchased the optional Immobilizer:
1) Orange Wire –connect to start button
2) Blue Wire –connects to starter
3) Long Black Wire with an Alarm Status Indicator Light on it
4) 2 Key Fobs (shown below)
Page 1

Installation Instructions: For All Vehicles
IF PURCHASED THE OPTIONAL IMMOBILIZER SYSTEM,
PLEASE GO TO PAGE 9 OF THIS MANUAL FOR INSTALLATION
INSTRUCTIONS.
For Troubleshooting Dial 1-877-617-9606
1) Remove Cycle Protect parts from box.
2) Motorcycle / Vehicle must be outdoors with a clear view of the sky (no obstacles)
during installation and testing process for initial accuracy.
3) Using a tape measure, determine space inside your motorcycle / vehicle for your
Liberator unit (you choose location, but consider recommendations and hints given in this
manual):
RECOMMENDATION: Cycle Protect recommends you install the Liberator unit under
your locked rear seat (where storage space or tool kit is located) of your motorcycle.
**IMPORTANT NOTE: Unit MUST be mounted in a location that looks upward toward
the sky (satellite) and where metal is not present ABOVE the Liberator (rear seats are
plastic –be sure unit is not placed under metal screws). Install unit with the screw side
facing the sky.
**Mount the unit parallel to the ground with good visibility to the sky.
sky
Liberator Unit
(Screw side facing upward)
Ground
**IMPORTANT NOTE: Unit MUST NOT be mounted near high temperature areas (i.e.
pipes or engine) Prolonged high temperatures can cause damage to the system.
** WARNING: This product contains a back-up battery. Do not use it in a humid, wet
and/or corrosive environment. Do not put, store or leave your product in or near a heat
source, in a high temperature location, in strong direct sunlight, in a microwave oven or
in a high pressurized container, and do not expose it to temperatures over 60 C (140 F).
Failure to follow these guidelines may cause the back-up battery to leak acid, become
hot, explode or ignite and cause injury and/or damage. Do not pierce, open or
disassemble the battery. If the battery leaks and you come into contact with the leaked
fluids, rinse thoroughly with water and seek medical attention immediately.
Note: If the backup battery system is initiated it will continue to run the Liberator unit
Page 2

for 4 to 8 hours. The backup battery should be replaced every 4 to 5 years.
4) Remove rear seat and/or any fairings to get to space easily.
5) Install:
a) Place Liberator unit (screw side facing the sky), using included Velcro strip, in
the selected space.
b) Attach long black (-) and red (+) lead wires with eyelets to your motorcycle battery
(Here forth referred to as “main battery”). ALWAYS INSTALL THE BLACK (-)
WIRE FIRST because this is the ground wire. If you decide to remove or transfer the
unit, always remove the red (+) wire first before the black (-) wire. NEVER CUT
ANY OF THE LIBERATOR UNIT WIRES.
c) Attach the red Scott Lock to either the positive (+) wire of the running tail light or
the positive (+) wire of the headlight (the headlight that is “on”when the key is in the
ignition and it is turned to “on”) and the yellow wire (included with the unit).
**IMPORTANT NOTES re: Scott Lock: 1) Before attaching the Red Scott Lock to
wires, first make sure that the positive wire of the running tail light or the positive wire of
the head light are the same size (diameter) as the yellow wire included with the unit. IF
THEY ARE NOT THEN DO NOT ATTACH THE RED SCOTT LOCK TO THE
WIRES –PLEASE CONTACT CUSTOMER SUPPORT AT 877-617-9606. 2) On most
motorcycle models, the positive (+) wire of the running tail light will be red.
6) See Owner’s Manual below for next steps…
Page 3

Owner’s Manual
Next Steps after Installation:
1) Please review all GPS website functions at http://www.cycleprotect.com under
Products / GPS Website Features before you begin the next steps.
2) Login to Cycle Protect GPS website by going to www.cycleprotect.net and using the
same login and password you selected for yourself at the Cycle Protect registration
website.
IMPORTANT NOTE: Most feature setups require the Liberator to be in normal power
mode. On the initial power up (when black (-), red (+) and yellow wires are first
attached), your Liberator unit has gone into power save mode if it has been more than 15
minutes since you installed the system. To get the Liberator back into normal power
mode: set off the 3-axis accelerometer by tilting the box by about 2-5 degrees OR start
your motorcycle and let it run.
3) Click on Cell Phone / Notifications button and indicate here where you wish for your
text messages to be sent.
IMPORTANT NOTE: Please make sure that if you are receiving the text messages to a
yahoo, msn, hotmail, etc. account that you save the Cycle Protect email address as a
favorite so we are not considered SPAM email. Thank You!
4) Since you have already correctly installed the three (black, red, and yellow) wires,
please turn on your motorcycle engine and let it run for approximately 5 minutes.
Because you have already set up your cell phone notifications (see above), you should
receive a text message that will say “Low Power Mode Set”within 2-6 minutes. If you do
not receive this alert, please check the connection of the yellow wire and the running tail
light wire –they must not be connected properly. Fix this connection and start the above
(#4) process again.
5) Next, click GPS Signal Strength button and follow the instructions listed.
6) Check History page to see how many satellites you are tracking. You will notice that
the system may take a location on its own when the system is first connected to your
motorcycle battery.
Note: This Update can take 1-4 minutes. If satellite strength results do not equal 4 or
more satellites, please move your unit to another location and test again.
Page 4

7) In order to configure the rest of your Liberator features, simply click on the remaining
Cycle Protect GPS website buttons and follow ALL of the instructions.
IMPORTANT NOTE: After features are setup on your Cycle Protect Liberator, please
run your motorcycle for an hour to charge the backup battery or use a battery tender.
After the initial charge, the backup battery will continue to stay charged when you run
your motorcycle.
Liberator Features:See http://www.cycleprotect.com and click on Products / “The
Liberator”Features button for basic features.
Troubleshooting:
1) Poor Reception: Unit is mounted directly under metal which is decreasing reception.
Go to Cycle Protect GPS login site, press “Request GPS Signal Status”button to
determine signal strength.
2) Liberator is not working: Check motorcycle battery to ensure working/charged.
3) Location (or “hit”) is up to 100 yards off on the GPS website: Triangulation has
not occurred with the satellites. Wait 10 minutes and test again. Triangulation will correct
itself.
4) Motorcycle battery is draining faster than usual: Cycle Protect has taken every
precaution to ensure that your motorcycle battery drains at the slowest rate possible.
RECOMMENDATION: Cycle Protect recommends that customers of the Liberator unit
purchase a battery tender for the winter season or for when your motorcycle sits for
months at a time. Go to www.cycleprotect.com under Products / Battery Tenders for
suggested product.
5) You receive an error message on the History page of the GPS site: Please follow
the directions in the message section to rectify the issue. Most of these errors occur
because the Liberator has gone into power save mode.
6) Unit is no longer in normal power mode (and you want it to be):
a) Set off the 3-axis accelerometer by tilting the box / motorcycle by about 2-5 degrees.
b) Start your motorcycle and let it run for at least 10-20 seconds.
Note: If the 3-axis accelerometer alert occurs but no others, the system will go back into
power save mode after 10 minutes.
Page 5

TROUBLESHOOTING CONTINUED
7) You want to override your Liberator product so you can fix, wash, or trailer your
motorcycle: Use your override PIN number (standard setting for each Liberator unit is
1234) to send an override command. This command is sent as a Text message from your
cellular phone and requires a 4 digit PIN number that only you should know. When
sending the Text message, the Liberator must be in normal power mode (please see # 6
above to get system into normal power mode).
IMPORTANT NOTE:To change your PIN, go to www.cycleprotect.net, login, and then
press the change configurations button. Follow the instructions for item #3 on that page.
Once this override command is received, the alarm system will be disabled until you re-
enable your alarm. This can be accomplished by simply sending an override cancel
command or by starting your motorcycle engine for approximately 60 seconds.
PLEASE NOTE: The override commands are sent from your cell phone as a Text
Message to your serial number of your Liberator unit (Example:
2025551212@mobile.mycingular.com), and hav
e the following format:
*!11**** to override the alarm system, where **** is your PIN Number (example
!111234 to override)
*!00**** to cancel the override, where **** is your PIN Number (example: !001234 to
cancel override)
Important: Manual Override turns off all of the Liberator features, so make sure you re-
enable your alarm by sending an override cancel command or by starting your
motorcycle engine and letting it run for approximately 60 seconds. Make sure you check
the GPS site History page to see if the function was performed.
Page 6

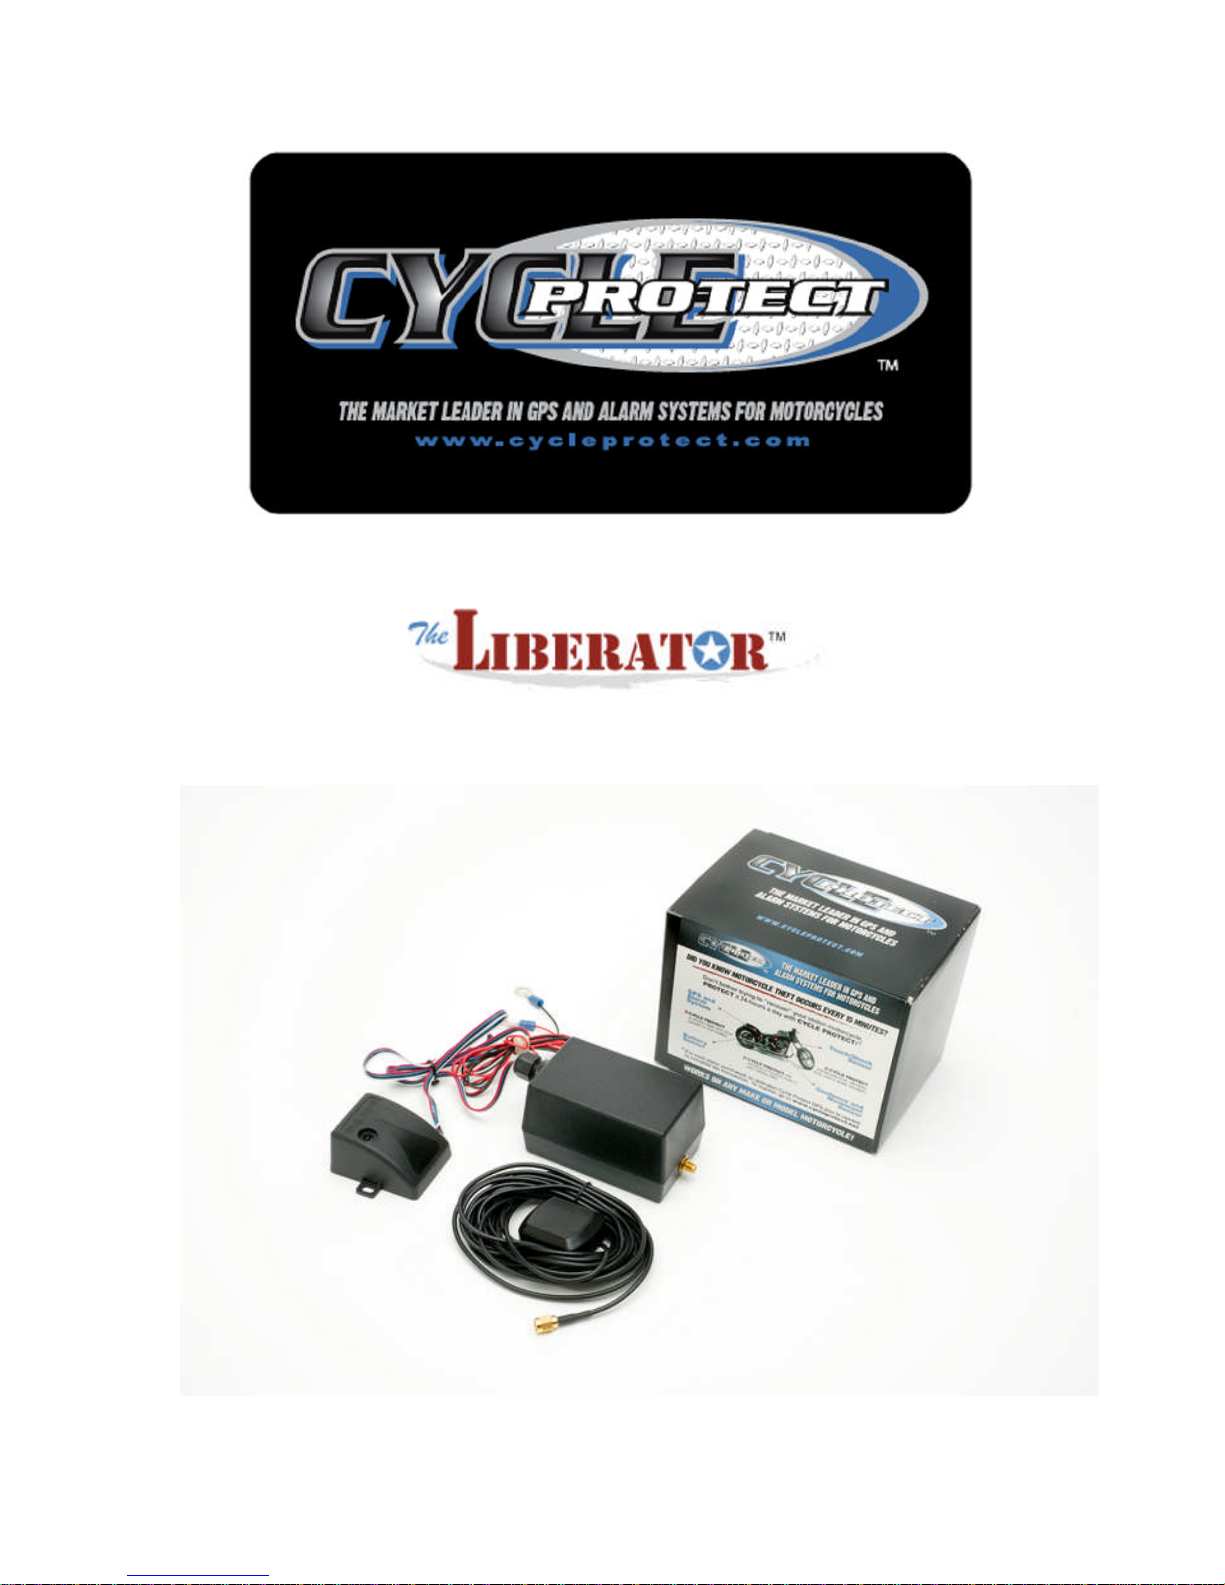
Important Tips / Additional Information:
Availability & Interruption of Services: Services are available to Subscriber only: (a)
within the 48 contiguous United States, Alaska, Hawaii, Puerto Rico, Canada and
Mexico; (b) if hardware enabling the Services ("Hardware") is installed correctly
according to the instruction manual; (c) when the Cycle Protect equipped vehicle
("Vehicle") is within the operation range of the wireless service provider; and (d) during
the period for which Subscriber paid for Services. Subscriber acknowledges and agrees
that no form of communication is error-free and that Services are subject to wireless
transmission capacity, network availability and equipment limitations, atmospheric and
topographic conditions, configuration of the Vehicle and other conditions Cycle Protect
does not control. Signals from the Vehicle are transmitted to Cycle Protect over wireless
networks and, if signal transmissions or Services are interrupted at any time or for any
reason, such events are wholly beyond Cycle Protects control. Global-positioning
capabilities used to deliver Services will not be available in all areas at all times. Cycle
Protect will use reasonable efforts to contact the appropriate third-party service provider
and request assistance, but cannot promise they will respond in a timely manner, or at all.
Cycle Protect will not be liable if the Services are interrupted by strike, riot, flood,
storms, earthquakes, fires, power failures, insurrection, interruption or unavailability of
telephone service, faulty telephone lines, faulty or unavailable cellular/radio transmitters
and/or receivers, any damage to Cycle Protects equipment or facilities, acts of God, or
any other cause beyond the control of Cycle Protect. Cycle Protect is not required to
provide the Services while any such interruption continues.
*Cycle Protect has taken every measure to insure that all functions and updates (satellite,
location, etc.) will take 1-4 minutes to appear on the GPS web site under the History page
as well as transmit the data via text messages.
1) TIP: Whether the Liberator is Armed or Disarmed it will take locations (hits) of your
motorcycle every 10 minutes when it is moving/not stopped for longer than 8 minutes. If
the motorcycle is stopped longer than 8 minutes, the 10 minute timer resets itself once the
motorcycle moves again.
2) TIP: The Cycle Protect system will ARM itself 50 Seconds after the motorcycle engine
has stopped running. To DISARM without alerts, you have to put the key in the ignition
and start your motorcycle. If you set the touch / shock sensor off in the process of getting
ready to go for a ride you will have 20 seconds to put the key in the ignition and start the
motorcycle before the alerts will be sent to your cell phone and email.
Page 7

3) TIP: Geofencing allows you to create an invisible circle around your motorcycle. If the
motorcycle leaves this circle, it will notify you. This circle can range from 100 feet to
99999 feet. DO NOT ACTIVATE Geofence unless you are not moving your motorcycle
for an extended time period. Please make sure to deactivate Geofence when you want to
ride, because you will be receiving alerts every 1-3 minutes if you do not.
*Before setting Geofence, request a location of the system to make sure the Geofence
location is in close proximity of your motorcycle.*
4) TIP: Movement Alerts occur when the Liberator system is ARMED and your
motorcycle begins to move over 2-3 M.P.H. When this occurs, the system will take
locations of your motorcycle every 1-3 minutes until it stops. The last Movement Alert
sent to your cell phone or email is the location where your motorcycle stopped moving.
5) TIP: When the Liberator is running on its backup battery (which will last for 4-8
hours) the 3-axis accelerometer will not function. All other Liberator features (Geofence,
Movement, etc.) will continue to work properly.
6) TIP: Do not reply to text messages sent from the Cycle Protect Liberator. These are
read only text messages.
IMPORTANT NOTE: Please make sure that if you are receiving the text messages to a
yahoo, msn, hotmail, etc. account that you save the Cycle Protect email address as a
favorite so we are not considered SPAM email. Thank You!
7) TIP: History for your Cycle Protect Liberator unit is stored for 30 days and then
archived for a minimum of one year. To access archived history for your Liberator unit,
contact Cycle Protect at 703-222-3313.
Page 8

Installation Instructions & Owner’s Manual
FOR THE OPTIONAL IMMOBILIZER SYSTEM
For Troubleshooting Dial 1-877-617-9606
General Product Description
Systems that come equipped with the optional immobilizer circuit will have a blue and
orange wire incorporated into the wiring harness. As well as an alarm status indicator
light. The optional immobilizer is designed to prevent the motorcycle from starting even
if someone has copied the original ignition key. A relay incorporated inside of the Cycle
Protect System prevents +12 volts from going to the starter unless it has seen an
authorized Key Fob.
To Battery Ground
To Battery +12 volts Alarm Status Indicator
To Ignition ON (When the Light
Key is turned to the on position
This wire has +12 volts)
Optional Immobilizer
To key Start Button Cut Wire To Starter
Page 9

Installation Instructions for the Immobilizer System
1) Remove Cycle Protect parts from box.
2) Motorcycle / Vehicle must be outdoors with a clear view of the sky (no obstacles)
during installation and testing process for initial accuracy.
3) Using a tape measure, determine space inside your motorcycle / vehicle for your
Liberator unit (you choose location, but consider recommendations and hints given in this
manual):
RECOMMENDATION: Cycle Protect recommends you install the Liberator unit under
your locked rear seat (where storage space or tool kit is located) of your motorcycle.
**IMPORTANT NOTE: Unit MUST be mounted in a location that looks upward toward
the sky (satellite) and where metal is not present ABOVE the Liberator (rear seats are
plastic –be sure unit is not placed under metal screws). Install unit with the screw side
facing the sky.
**Mount the unit parallel to the ground with good visibility to the sky.
sky
Liberator Unit
(Screw side facing upward)
Ground
**IMPORTANT NOTE: Unit MUST NOT be mounted near high temperature areas (i.e.
pipes or engine) Prolonged high temperatures can cause damage to the system.
** WARNING: This product contains a back-up battery. Do not use it in a humid, wet
and/or corrosive environment. Do not put, store or leave your product in or near a heat
source, in a high temperature location, in strong direct sunlight, in a microwave oven or
in a high pressurized container, and do not expose it to temperatures over 60 C (140 F).
Failure to follow these guidelines may cause the back-up battery to leak acid, become
hot, explode or ignite and cause injury and/or damage. Do not pierce, open or
disassemble the battery. If the battery leaks and you come into contact with the leaked
fluids, rinse thoroughly with water and seek medical attention immediately.
Note: If the backup battery system is initiated it will continue to run the Liberator unit
for 4 to 8 hours. The backup battery should be replaced every 4 to 5 years.
4) Remove rear seat and/or any fairings to get to space easily.
Page 10

DO NOT PLUG IN THE WIRING HARNESS INTO THE CYCLE PROTECT
SYSTEM UNTIL YOU MAKE THE FOLLOWING WIRING CONNECTIONS
5) Wiring Connections:
a) Attach long black (-) and red (+) lead wires with eyelets to your motorcycle battery
(Here forth referred to as “main battery”). ALWAYS INSTALL THE BLACK (-)
WIRE FIRST because this is the ground wire. If you decide to remove or transfer the
unit, always remove the red (+) wire first before the black (-) wire. NEVER CUT
ANY OF THE LIBERATOR UNIT WIRES.
b) Attach the red Scott Lock to either the positive (+) wire of the running tail light or
the positive (+) wire of the headlight (the headlight that is “on”when the key is in the
ignition and it is turned to “on”) and the yellow wire (included with the unit).
**IMPORTANT NOTES re: Scott Lock: 1) Before attaching the Red Scott Lock to
wires, first make sure that the positive wire of the running tail light or the positive wire of
the head light are the same size (diameter) as the yellow wire included with the unit. IF
THEY ARE NOT THEN DO NOT ATTACH THE RED SCOTT LOCK TO THE
WIRES –PLEASE CONTACT CUSTOMER SUPPORT AT 877-617-9606. 2) On most
motorcycle models, the positive (+) wire of the running tail light will be red.
c) Attach the blue wire to the starter.
d) Attach the orange wire to the start button.
e) Put the alarm status indicator light somewhere that only you can see it.
NOW YOU CAN PLUG THE WIRING HARNESS INTO THE WHITE
RECEPTICAL OF THE CYCLE PROTECT SYSTEM
Page 11

6) Once you have plugged the wiring harness into the Cycle Protect Box the following
items will occur.
a. Three status lights will begin to illuminate on the Cycle Protect Box
(opposite end of the wiring harness). When all three lights are illuminated
it indicates that you have;
i. +12 volts power
ii. GPS satellite lock
iii. GSM communication with the cell network
(If none of these lights turn on, then tilt the box by about 2-5 degrees to activate the
accelerometer)
b. The alarm in process LED will illuminate RED
Alarm Status Indicator Light
Page 12

7) Press and hold the button on the KEY FOB and the Alarm Status Indicator light will
turn GREEN indicating it has seen a valid Key Fob.
8) If all three status lights are illuminated, and the Alarm Status Indicator light changed
from red to green then you are ready to secure the Cycle Protect Box into the location
that you chose using the included Velcro strip. Although the Cycle Protect Box is
designed to be water resistant, it is preferable to mount the system where it does not get a
lot of exposure to wet conditions.
9) The Cycle Protect System uses a 3 axis accelerometer to monitor movement of the
motorcycle. Therefore, mounting of the Liberator Box at one specific angle in not critical,
however best performance will be attained if the Box is also mounted parallel to the
ground.
Customer Operating Instructions
Once the Cycle Protect System is correctly installed the system operates as follows;
1. Once you park your motorcycle and turn the ignition key to the off position, you
have about 50 seconds before the system automatically arms itself, looking for
any unauthorized movement of the motorcycle.
2. Once the system has been armed, all power to the GPS and GSM portion of the
system are powered down so that the current draw on the motorcycle battery is
less than 3 mA.
3. Once you take the motorcycle of the kickstand (any movement of the motorcycle
by more than 2-5 degrees in any direction), the alarm indicator light will
illuminate RED showing that the system is now active, and the System must see a
valid Key Fob within 30 seconds or an alarm notification will be sent to the
owner’s cell phone. The GPS and GSM systems are both powered up and will
remain powered until a valid Key Fob is seen.
4. Once you have pressed the button on the Key Fob and the alarm status light
changes to Green, The GSM and GPS portions of the system will be turned on
and remain on until the motorcycle remains in one position for at least sixty
seconds. (This feature allows you to move the motorcycle around in your garage
without having to actually put a key in the ignition and turn it on.)
Page 13

5. If you are driving the motorcycle, once you take it off the kick stand, press the
Key Fob button (green alarm status) and put your key into the ignition and turn it
on, the Green Alarm Status light will go off, but the GPS/GSM portion of the
system remains on until you turn the ignition key off and park the motorcycle.
6. Once the key has been turned off the System resets itself in about 50 seconds.
** For more functions / features please read the rest of the owner’s manual on page 4.
Page 14
Table of contents