manuals.online logo
Brands
  1. Home
  2. •
  3. Brands
  4. •
  5. Ohlins
  6. •
  7. Motorcycle Accessories
  8. •
  9. Ohlins BM 344 User manual

Ohlins BM 344 User manual

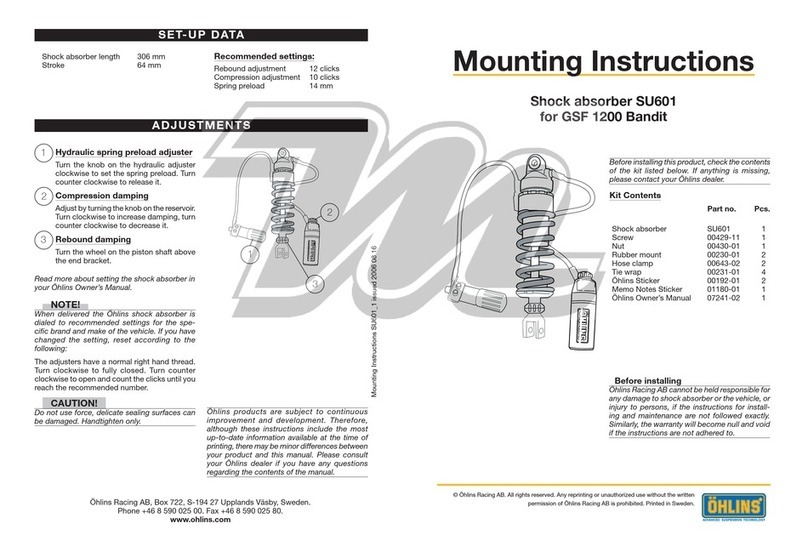
Mounting Instructions
Öhlins shock absorber kit
BM 344 for BMW F 650 GS
© Öhlins Racing AB. All rights reserved. Any reprinting or unauthorized use without the
written permission of Öhlins Racing AB is prohibited. Printed in Sweden.
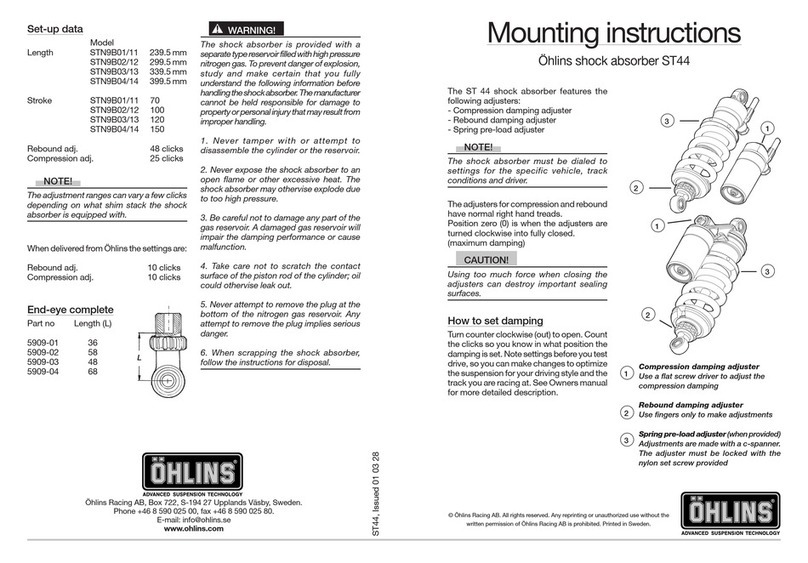
Öhlins shock absorber 46 ERS
Your Öhlins shock absorber type 46 ERS features
the following adjusters:
Rebound damping adjuster
Adjuster wheel on the piston shaft above the end
bracket.
Spring pre-load adjuster
Adjustments are made by turning the knob on
the hydraulic adjuster. Clockwise for harder
adjustment, counter clockwise too release the
pre-load.
NOTE!
When delivered the Öhlins shock absorber is
dialed to recommended settings for the specific
brand and make of the motorcycle. If you have
changed the settings, check like this:
The adjusters have a normal right hand thread. Turn
the damping adjusters clockwise to fully closed (pos.
zero [0]). Turn counter clockwise to open and count
the clicks until you reach the recommended number
of clicks. See Setup data at last page.
CAUTION!
Do not use too much force, delicate sealing sur-
faces can be damaged.
Spring pre-
load adjuster
Rebound
damping
adjuster
Öhlins Racing AB, Box 722, S-194 27 Upplands Väsby, Sweden.
Phone +46 8 590 025 00. Fax +46 8 590 025 80.
www.ohlins.com
Part No. BM 344. Issued 03 11 27
Setup data
Shock absorber length 316 mm
Shock absorber stroke 50 mm
Spring pre-load 14 mm
Rebound damping adjuster 14 clicks
Compression damping adj. 12 clicks
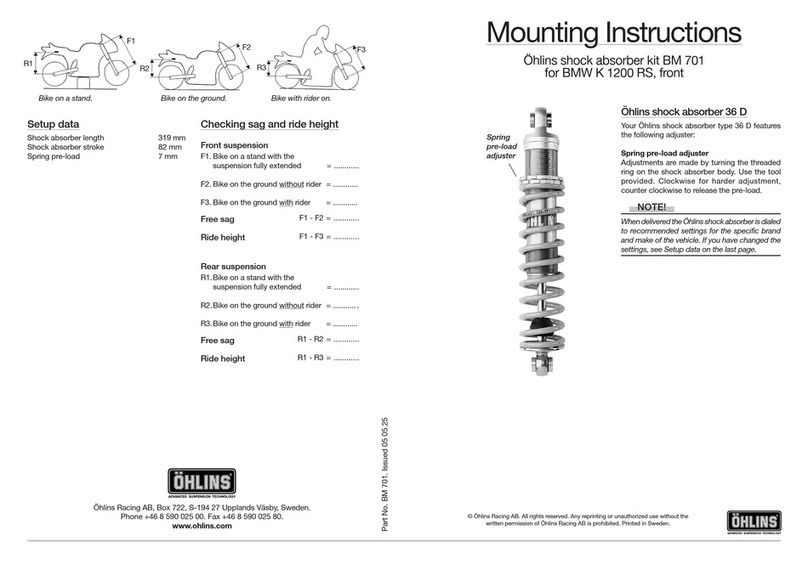
Checking sag and ride height
Front suspension
F1. Bike on a stand with the
suspension fully extended = ............
F2. Bike on the ground without rider = ............
F3. Bike on the ground with rider = ............
Free sag F1 - F2 = ............
Ride height F1 - F3 = ............
Rear suspension
R1.Bike on a stand with the
suspension fully extended = ............
R2.Bike on the ground without rider = ........... .
R3.Bike on the ground with rider = ............
Free sag R1 - R2 = ............
Ride height R1 - R3 = ............
Bike on a stand.
F1
R1
Bike on the ground.
F2
R2
Bike with rider on.
F3
R3
Recommendations
F1 - F2: 40 - 50 mm
F1 - F3: 55 - 65 mm
R1 - R2: 20 - 30 mm
R1 - R3: 55 - 65 mm
Issued 09 05 13
Before installation
Öhlins Racing AB can not be held responsible for
any damage whatsoever to shock absorber or
vehicle, or injury to persons, if the instructions for
fitting and maintenance are not followed exactly.
Similarly, the warranty will become null and void
if the instructions are not adhered to.
WARNING!
1. Installing a shock absorber, that is not
approved by the vehicle manufacturer, may
affect the stability of your vehicle. Öhlins
Racing AB cannot be held responsible for
any personal injury or damage whatsoever
that may occur after fitting the shock
absorber. Contact an Öhlins dealer or other
qualified person for advice.
2. Please study and make certain that you
fully understand all the mounting instructions
and the owners manuals before handling this
shock absorber kit. If you have any questions
regarding proper installation procedures,
contact an Öhlins dealer or other qualified
person.
3. The vehicle service manual must be referred
to when installing the Öhlins shock absorber
Safety signals
Important information concerning safety is
distinguished in this manual by the
following notations:
The Safety alert symbol means:
Caution! Your safety is involved.
WARNING!
Failure to follow warning instructions
could result in severe or fatal injury
to anyone working with, inspecting or
using the suspension, or to bystanders.
CAUTION!
Caution indicates that special pre-
cautions must be taken to avoid dam-
age to the suspension.
NOTE!
This indicates information that is of
importance with regard to procedures.
Öhlins products are subject to continual improve-
ment and development. Consequently, although
these instructions include the most up-to-date
information available at the time of printing, there
may be minor differences between your suspen-
sion and this manual. Please consult your Öhlins
dealer if you have any questions with regard to
the contents of the manual.
NOTE!
During storage and transportation, especially
at high ambient temperature, the oil and
grease used for assembling may run out
inside the packing and damage the expanded
polystyrene packing material. This is not
unusual and is in no way detrimental to the
shock absorber.
Kit contents
Before installing the shock absorber, please
check the contents of the kit. If anything is
missing, contact your Öhlins dealer.
Description Pcs. Part No.
Shock absorber 46 ERS 1 BM 344
Tie-rap 2 00231-01
Sticker memo notes 1 01180-01
Sticker Öhlins 2 00192-01
Owners manual 1
Notes
WARNING!
1. It’s advisable to have an Öhlins dealer or other
qualified person to fit your shock absorber.
2. Instructions in the vehicle service manual are
to be followed when changing the shock
absorber.
3. When working on a lifted vehicle it must be
securely supported to prevent it from falling.
2
Mounting instructions
1
Put the motorcycle on a stand so the rear wheel
is clear of the ground. Make sure it’s steadily fixed
so it will not fall over.
2
Open the toolbox and pull the T-handle to loosen
the rear seat and lift it off.
3
Loosen the screw of the right silencer bracket
and remove the right silencer just by pulling it
outwards.
4
Loosen the exhaust pipe with a 15mm key and
remove the left silencer by pulling it straight rear-
wards.
5
Loosen the brake fluid reservoir on the right side
and let it hang down.
3
5
Notes
WARNING!
The shock absorber is provided with a separate type
reservoir filled with high pressure nitrogen gas. To
prevent danger of explosion, study and make cer-
tain that you fully understand the following infor-
mation before handling the shock absorber. The
manufacturer cannot be held responsible for dam-
age to property or personal injury that may result
from improper handling.
1. Never tamper with or attempt to disassemble
the cylinder or the reservoir.
2. Never expose the shock absorber to an open
flame or other excessive heat. The shock absorber
may othervise explode due to too high pressure.
3. Be careful not to damage any part of the gas
reservoir. A damaged gas reservoir will impair the
damping performance or cause malfunction.
4. Take care not to scratch the contact surface of
the piston rod of the cylinder; oil could othervise
leak out.
5. Never attempt to remove the plug at the bot-
tom of the nitrogen gas reservoir. Any attempt to
remove the plug implies serious danger.
6. When scrapping the shock absorber, follow
the instructions for disposal.
6
Remove the control box and all electric connec-
tions (4 pcs) and let the loose wiring hang out to
the right side of the motorcycle.
CAUTION!
When removing the fuet ank it must be emptied
or contain very small amounts of fuel. Otherwise
it will flow over when the fuel lines are loosened.
7
Loosen the two fuel lines.
8
Loosen the four bolts holding the rear subframe
unit.
9
Lift the rear unit backwards, uppwards and re-
move it from the motorcycle.
10
Remove the original reservoir by loosening the
two o-rings of the bracket.
11
Loosen and remove the original hydraulic pre-
load adjuster and the bracket.
12
Loosen the lower bracket of the right droplink
and pull it backwards, so the lower shock ab-
sorber mount is reachable.
13
Loosen the lower shock absorber mounting bolt
to release the shock absorber from the triangle
link.
14
Loosen the upper shock absorber mounting bolt
and remove the shock absorber by lifting it up-
wards.
6
7
9
8
12
15
Fit the Öhlins shock absorber in reverse order.
First fit the lower shock absorber mounting bolt.
16
Then fit the upper shock absorber mounting bolt
and tighten. Bring the droplink back in position
again and fit the pivot bolt and nut.
17
Attach the new pre-load adjuster bracket to frame
and attach the hose with the tie-rap provided.
18
Refit the fueltank and fix the bolts. Refit the
fuellines and the electrical connections. Refit the
control box.
19
Put the brake fluid reservoir back in position.
20
Refit first the left and then the right silencer.
21
Put the seat back in position and lock it. Close
the toolbox lid.
NOTE!
Make sure that all bolts are tightened to the correct
torque and that nothing fouls or restricts movement
of the shock absorber when the suspension is
being fully compressed or extended.
22
Continue your work according to the Owners
Manual, section adjustments.
17
15
16

Other Ohlins Motorcycle Accessories manuals

Ohlins KA 590 User manual

Ohlins

Ohlins KA 590 User manual

Ohlins TR 807 User manual

Ohlins

Ohlins TR 807 User manual

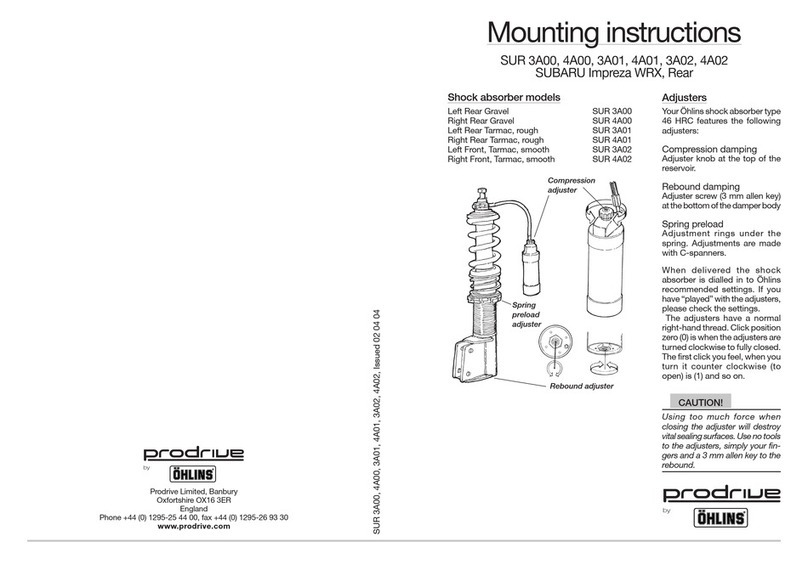
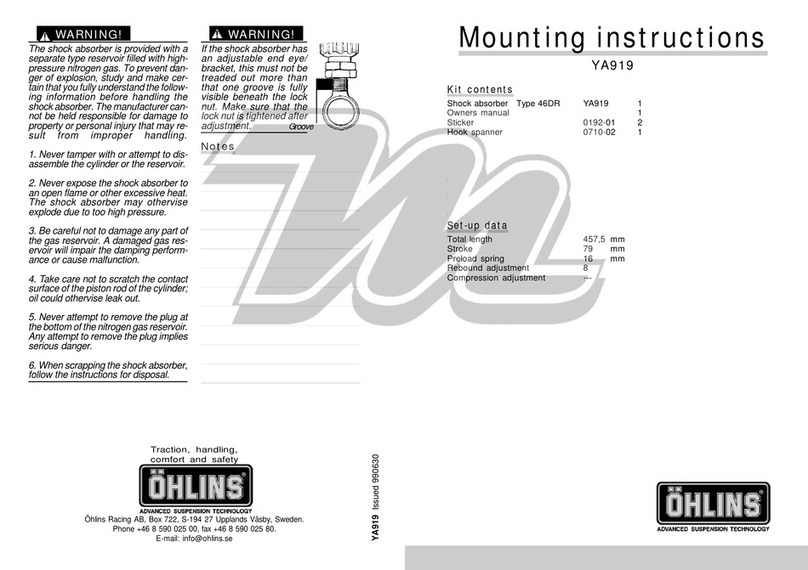
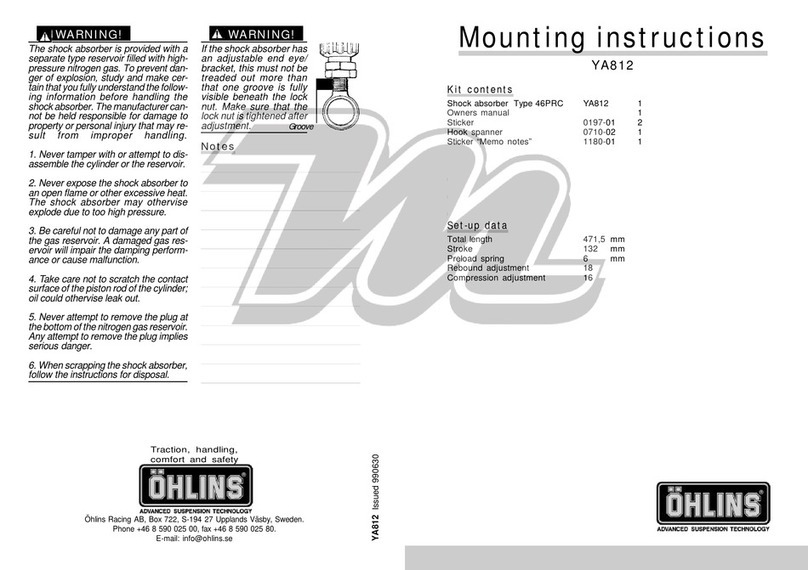
Ohlins YA812 User manual

Ohlins

Ohlins YA812 User manual

Ohlins DU 907 User manual

Ohlins

Ohlins DU 907 User manual

Ohlins YA 559 User manual

Ohlins

Ohlins YA 559 User manual

Ohlins McPherson Strut MIR 1G00 User manual

Ohlins

Ohlins McPherson Strut MIR 1G00 User manual

Ohlins HO009 User manual

Ohlins

Ohlins HO009 User manual

Ohlins KA 216 User manual

Ohlins

Ohlins KA 216 User manual

Ohlins BM 701 User manual

Ohlins

Ohlins BM 701 User manual

Ohlins FCX 0302 User manual

Ohlins

Ohlins FCX 0302 User manual

Ohlins HO 201 User manual

Ohlins

Ohlins HO 201 User manual

Ohlins SD195 User guide

Ohlins

Ohlins SD195 User guide

Ohlins McPherson Strut MIR 5H02 User manual

Ohlins

Ohlins McPherson Strut MIR 5H02 User manual

Ohlins POF5H00 User manual

Ohlins

Ohlins POF5H00 User manual

Ohlins HO 519 User manual

Ohlins

Ohlins HO 519 User manual

Ohlins TR 538 User manual

Ohlins

Ohlins TR 538 User manual

Ohlins RS 562 User manual

Ohlins

Ohlins RS 562 User manual

Ohlins SD 053 User manual

Ohlins

Ohlins SD 053 User manual

Ohlins YA 468 User manual

Ohlins

Ohlins YA 468 User manual

Ohlins BM335 User manual

Ohlins

Ohlins BM335 User manual

Ohlins HO 403 User guide

Ohlins

Ohlins HO 403 User guide

Ohlins TR 538 User manual

Ohlins

Ohlins TR 538 User manual

Ohlins DU 569 User manual

Ohlins

Ohlins DU 569 User manual

Ohlins BM425 User manual

Ohlins

Ohlins BM425 User manual

Popular Motorcycle Accessories manuals by other brands

Shad X0SL12 quick start guide

Shad

Shad X0SL12 quick start guide

Gmax FF49 Installation

Gmax

Gmax FF49 Installation

Arnott MC-2913 installation manual

Arnott

Arnott MC-2913 installation manual

Shark S 600 user manual

Shark

Shark S 600 user manual

hepco & becker 6617569 01 01 manual

hepco & becker

hepco & becker 6617569 01 01 manual

ClearWater Lights Billie Brake Light Operation manual

ClearWater Lights

ClearWater Lights Billie Brake Light Operation manual

Sealey MS062.V2 manual

Sealey

Sealey MS062.V2 manual

Sena X1S user guide

Sena

Sena X1S user guide

ZTechnik VStream Windscreen Z2450 Installation and owner's manual

ZTechnik

ZTechnik VStream Windscreen Z2450 Installation and owner's manual

hepco & becker SPORTRACK 6707564 00 01 quick start guide

hepco & becker

hepco & becker SPORTRACK 6707564 00 01 quick start guide

Costway TL27324 user manual

Costway

Costway TL27324 user manual

hepco & becker 4215 4551 00 05 Mounting instructions

hepco & becker

hepco & becker 4215 4551 00 05 Mounting instructions

Starke TR-2503 Operation manual

Starke

Starke TR-2503 Operation manual

ESAB A20 manual

ESAB

ESAB A20 manual

GIVI TREKKER OUTBACK Mounting instructions

GIVI

GIVI TREKKER OUTBACK Mounting instructions

Deca WM23 instruction manual

Deca

Deca WM23 instruction manual

Suzuki DL250L8 installation instructions

Suzuki

Suzuki DL250L8 installation instructions

hepco & becker 6307577 00 01 manual

hepco & becker

hepco & becker 6307577 00 01 manual

manuals.online logo
manuals.online logoBrands
  • About & Mission
  • Contact us
  • Privacy Policy
  • Terms and Conditions

Copyright 2025 Manuals.Online. All Rights Reserved.