4
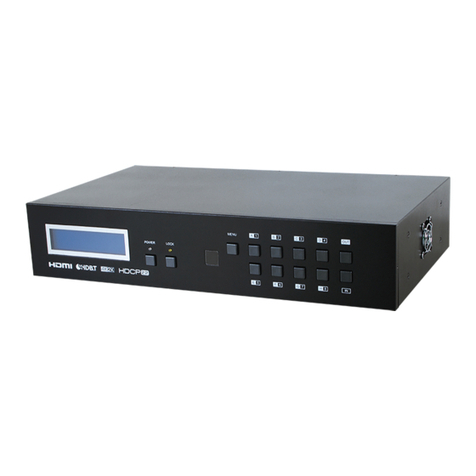
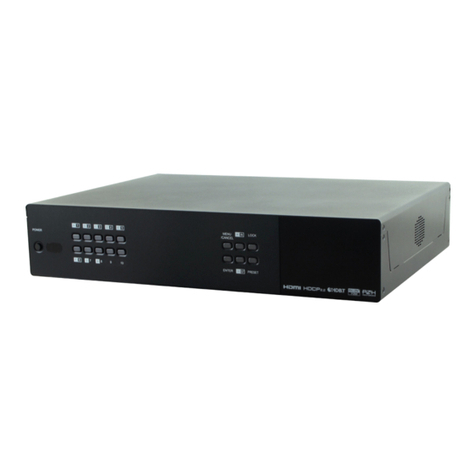
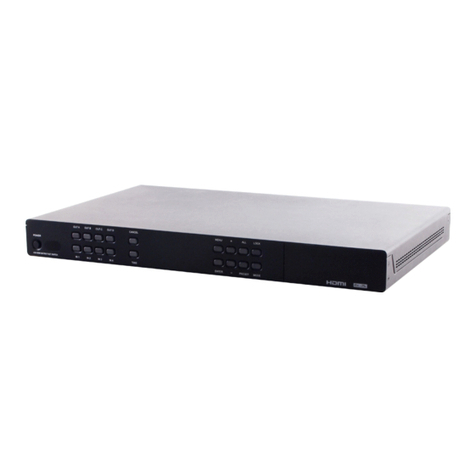
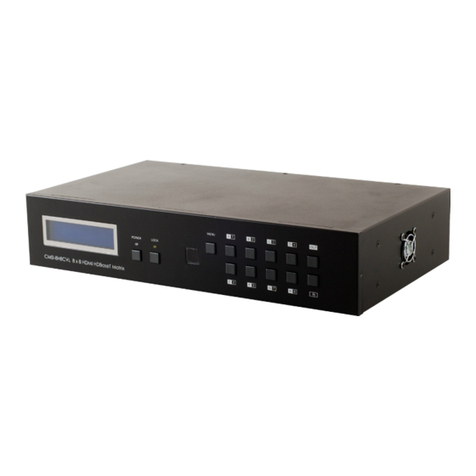
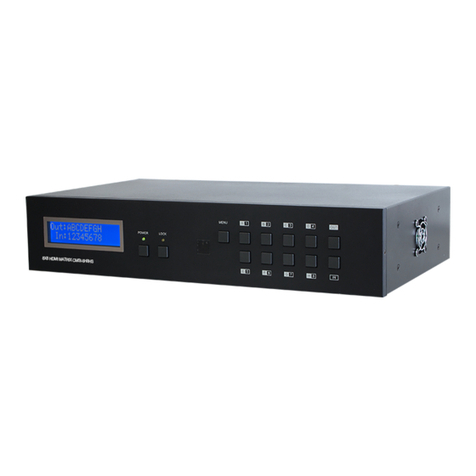
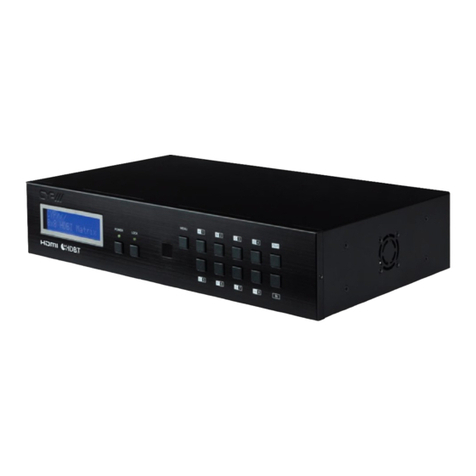
8MENU: Press this button to enter the settings menu. There are total
of 9 functions available.
- Firmware version
- IP Address: Use this address for logging into Telnet and the Web
GUI
- DHCP/AUTO IP ON/OFF (ON: DHCP enable, OFF: Static IP enable)
- STATIC IP
- STATIC NETMASK Setting
- STATIC GATEWAY Setting
- In Slot Info.
- Out Slot Info.
- Exit
9ENTER: Press to conrm the setting or selection.
10 0~9: Press to select the input or output ports.
11 OUT/IN: Press this button to select the which source (Input) to show
on which display (Output). Press 'OUT/IN', then select the desired
output using the number buttons (use the '+' button to add further
outputs if required or 'ALL' to assign all outputs to the same source),
then press 'OUT/IN' again to then select which source you wish
assign.
Note: Only a single source can be selected at any one time but
multiple outputs can be assigned to a source.
12 +: Press this button when selecting more than one output for a
source. (This button is only functional in when in Input/Output
entry mode)
13 LOCK: Press and hold this button for 3 seconds to lock all the front
panel buttons to prevent accidental button presses. The Lock
LED will illuminate, to unlock press and hold the button again for 3
seconds.
14 SAVE: Press this button to save the present Input/Output settings.
There are 10 sets available for saving.
15 RECALL: Press this button to recall the saved Input/Output settings
(1~10).
16 ALL: Press this button to directly assign all outputs to the same input.
