Cyron AF106AD User manual

1
AF106AD AUXILIARY LIGHT USER MANUAL
Thank you for choosing CyronMotor products! Please read instructions
completely before starting installation.
TOOLS AND ACCESSORIES NEEDED
Some basic metric tools are included. More metric tools maybe needed. Installing auxiliary
lights on motorcycles and vehicles has many possibilities. Tools needed are dependent on
complexity of the job. Although several types of hardware are included, in some cases
additional hardware such as SAE screws could be helpful in the installation process.
CAUTION: HOT SURFACES. DO NOT TOUCH THE METAL
SURFACES OF THE HEADLIGHT. THEY CAN BE
EXTREMELY HOT.
CAUTION: Local laws vary regarding additional light and/or utilizing auxiliary lights. Make
yourself familiar with such laws before adding or deciding on how to utilize such lights.
INSTRUCTIONS
AF106AD has a precision rectangular beam pattern which makes it well suited for on-road
applications as well as off road. It can be used as an added auxiliary light to an existing low
beam setup on your ride. Just as easily by aligning the light upward it can be utilized as an
auxiliary high beam. If space is available, two AF106AD can be installed, one for low beam
and other for high bream.
INSTALLATION
Wiring AF106A will depend on your riding preferences and what aspect of night vision you
are intending to improve.
Option A. Connection to an ignition-controlled wire: This will turn on the lights every time
ignition is turned on. Use a 5A inline fuse if the supply wire is not fused.
Option B. Connection to headlight: Connected to low beam or high beam will turn on
AF106A at the same time as the headlight. Whether you choose low beam or high beam
depends on which needs more improvement in your application. Setting up one AF106A for
low beam and one for high beam is ideal.
IMPORTANT: Approximately 2A power draw will be added to headlight wiring. Normally
this is acceptable by most powersports and automotive applications. As a first step in
upgrading your lighting CyronMotor suggests converting your headlight low/high beam
bulbs to a low power draw LED technology. This will leave ample power for addition of
auxiliary lights such as AF106A.
Option C. Connection to fog/passing lights. This option gives control to turn on/off the
auxiliary lights along with fog/passing lamps. Local laws vary on usage of fog lights.
1. Choose the mounting location for the lights. Slider brackets and “L”brackets are
included. If they do not quite fit your application please ask your dealer or visit
CyronMotor.com for other mounting bracket styles.
2. Connect the wires before mounting the light in place. Account for moving parts
such as handlebar to determine the length of wire to reach the lights. If needed
extend the wires with 16AWG wires. Do not secure the wires yet. Leave some
slack in the wires.

2
3. Secure the light in place. Do not tighten the adjustment screws until the lights
have been aligned.
4. Secure the wires with zip ties. If mounted to lower forks or other moving parts
avoid leaving too much loose wires which could fray or get caught to other
objects. Leave just enough to clear the max extension of the moving parts.
5. Align the light. For proper operation it is vital to check the aim of the light. Use the
diagram below as a starting guide.
NOTE: For low beam applications the goal is to keep the light on the road as far
forward as possible without disturbing the oncoming traffic.
During testing make sure:
a. The vehicle is on level surface
b. There are no excessive loads in the vehicle affecting its leveling
c. For motorcycles it is a good idea to align with the rider on the bike
d. After alignment do a road test to assure proper visibility has been achieved.
Further adjustment may be necessary to get the optimum performance.
6. Tighten all the screws.
HINT: Check the alignment of the light again after a few hours on the road. To
facilitate mark the position of the light beam on garage wall after the initial
alignment. Compare at a later point to make sure the lights have remained
aligned.

3
WARRANTY
Cyron warrants this product against any defects in materials or workmanship for a period of 1 year from the date of purchase. The
warranty covers normal usage as intended by the factory and does not cover misuse, abuse, accidents, or damages caused due to the
acts of God. Proof of purchase is required.
ANY IMPLIED WARRANTIES, INCLUDING WITHOUT LIMITATION THE IMPLIED WARRANTIES OF
MERCHANTABILITY AND FITNESS FOR A PARTICULAR PURPOSE, SHALL BE LIMITED TO THE DURATION OF THIS
LIMITED WARRANTY, OTHERWISE THE REPAIR, REPLACEMENT, OR REFUND AS PROVIDED UNDER THIS EXPRESS
LIMITED WARRANTY IS THE EXCLUSIVE REMEDY OF THE CONSUMER, AND IS PROVIDED IN LIEU OF ALL OTHER
WARRANTIES, EXPRESS OR IMPLIED. IN NO EVENT SHALL CYRON, INC. BE LIABLE, WHETHER IN CONTRACT OR
TORT (INCLUDING NEGLIGENCE) FOR DAMAGES IN EXCESS OF THE PURCHASE PRICE OF THE PRODUCT,
ACCESSORY OR FOR ANY INDIRECT, INCIDENTAL, SPECIAL OR CONSEQUENTIAL DAMAGES OF ANY KIND, OR
LOSS OF REVENUE OR PROFITS, LOSS OF BUSINESS, OR OTHER FINANCIAL LOSS ARISING OUT OF OR IN
CONNECTION WITH THE ABILITY OR INABILITY TO USE THE PRODUCTS OR ACCESSORIES TO THE FULL EXTENT
THESE DAMAGES MAY BE DISCLAIMED BY LAW.
CUSTOMER AGREES TO INDEMNIFY AND HOLD HARMLESS CYRON INC, ITS OFFICERS, DIRECTORS, EMPLOYEES
AND SUCCESSORS FROM AND AGAINST ANY AND ALL LOSS, LIABILITY, DAMAGES, COSTS, ATTORNEYS’ FEES
OR OTHER EXPENSES ON ANY KIND, ON ACCOUNT OF ANY AND ALL CLAIMS, SUITS JUDGMENTS AND COSTS
ARISING OUT OF ANY ACTUAL OR ALLEGED (I) BODILY INJURY OR DEATH TO ANY PERSON; (II) LOSS, DAMAGE
OR DESTRUCTION OF PROPERTY; (III) DEFECTS IN THE PRODUCTS OR SERVICES; (IV) CLAIMS THAT A PRODUCT
OR THE SALE OF THAT PRODUCT VIOLATED ANY LOCAL, STATE OR FEDERAL LAW OR REGULATION.
Some LED products are not DOT/SAE approved. Although efforts have been made to maximize road visibility and safety, all risks are
sole responsibility of the user. For warranty claims please visit cyronmotor.com Support link or email [email protected]. Thank
you.
Other quality automotive lighting accessories from CyronMotor
Part Number Description/Application
ABxxD LED bulb Standard Mini, Fitment with ease
ABxxE LED bulb ELITE-II, all models, Cars, Trucks, Bikes
ABIG4.5-A6K Driving Lamp, Integrated LED, 4.5" Harley fog lamp
ABIG7-RNG Mounting trim ring, 7" integrated, Chrome
ABIG7-RNG-B Mounting trim ring, 7" integrated, Black
ABIGC3A Adapter H9/11 to H4, Roadking 2016+
AC1156 /57A 2" Harley turn signal LED insert, avail in Red, Amber, White Halo
AC1156 /57PF Pancake Harley turn signal LED insert, avail in Red, Amber, White Halo
ACT1156/7 Torch 2" Harley turn signal LED insert, avail in Red, Amber, White or Gold Halo
AB1157H2 Light bulb Ultra High Power 8W LED, single and dual circuits
AB1157E Light bulb High Power 6W LED, single and dual circuits
ABFT100-xx Canbus and EMI noise filter for LED headlights, H4/H7/H9 and more
RC3A12 Tri-Zone accent lighting remote
MLKP7CZ Accent light kit Platinum, Pro grade for mid size cruisers, avail in all 6 solid colors
MLKT10C2FZ Accent light kit Titanium, Pro grade for large cruisers, avail in all 6 solid colors
Ensuring undisturbed visibility of other drivers is vital to your safety.
Drive & Ride Safe!
4
HEADLIGHT FOGGING UP?
Fogging or condensation in the
headlight is a temporary condition
and does not cause a problem with
normal operation of your headlight.
This condition is NOT a defect. In
fact our lights are designed to allow
moisture to slowly escape the
housing, therefore minimizing
reoccurrence of condensation. The
evaporation process may take some
time.
WHY IS THIS HAPPENING?
Often times during the
manufacturing process polymers as
resins absorb small amounts of
moisture. Once the light heats up
the moisture is released and shows
up as condensation on the lens
which is the coolest part of the light.
WHY STOCK LIGHTS NEVER DID
THIS?
LEDs do not run as hot as halogen
or HIDs lamps so the moisture takes
longer to evaporate.
SIGNS OF FUTURE DAMAGE?
If large droplets or pooling of water
is present then this is a sign of
damage and can lead to a system
failure. If a pool of liquid water is
clearly visible and was NOT the
result of physical abuse and or
misuse please contact your local
dealer or Cyron tech support.
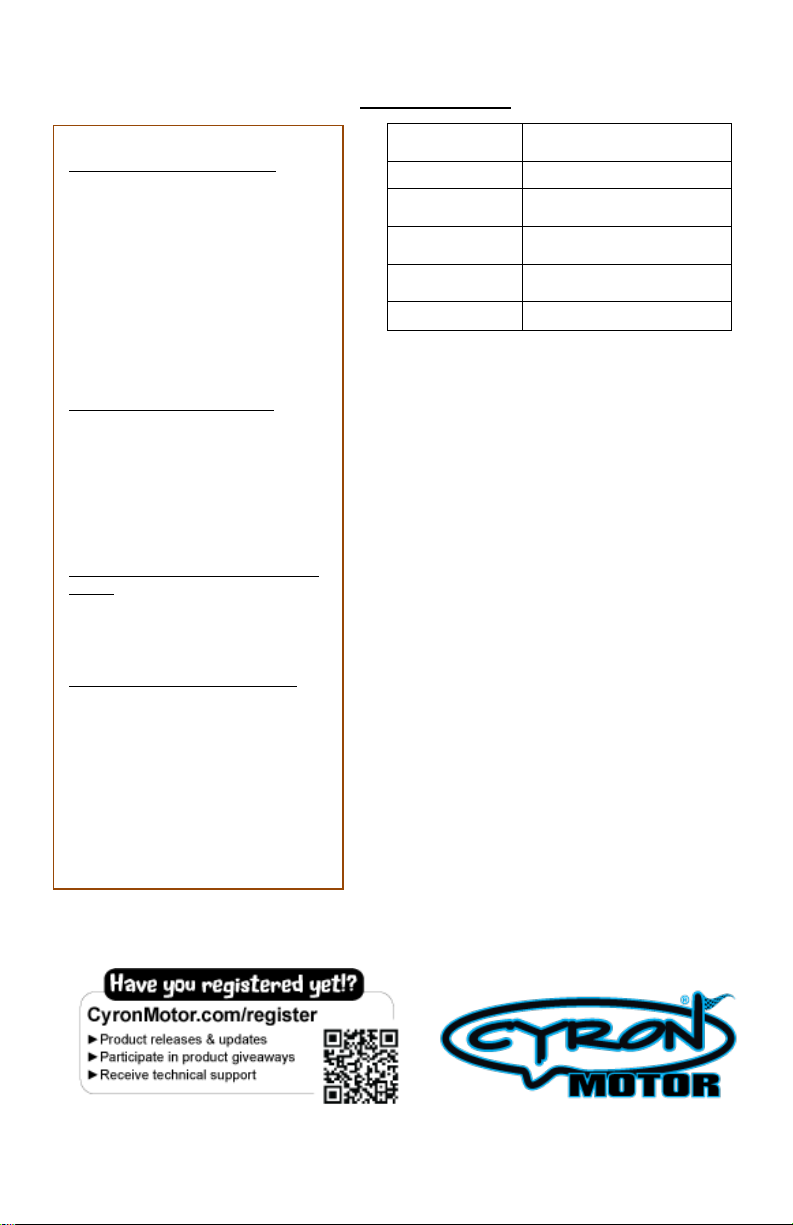
Operating
Voltage
10-VDC
Socket
D2 / Male+Female
Peak LED
Power, Watts
40W
Nominal Power,
High Beam
22W
Nominal Amp
Draw
1.7A
No EMI Noise
Yes, E9 Approved
Other Cyron Lighting Equipment manuals


