7
5.Repeat steps 1 thru 4 until you get the desired amount of sag. The exact air pressure required to achieve the correct
sag depends on your weight and the leverage ratio of the frame design. Generally, the range of air pressure needed falls
between 100psi and 250psi. Do not exceed 300psi. Make note of the air pressure for easy set up next time.
: Negative Spring
Note: The negative spring air pressure for all X-Fusion Air Shocks is set automatically at the time of assembly. There is
no need or provision for adjustment.
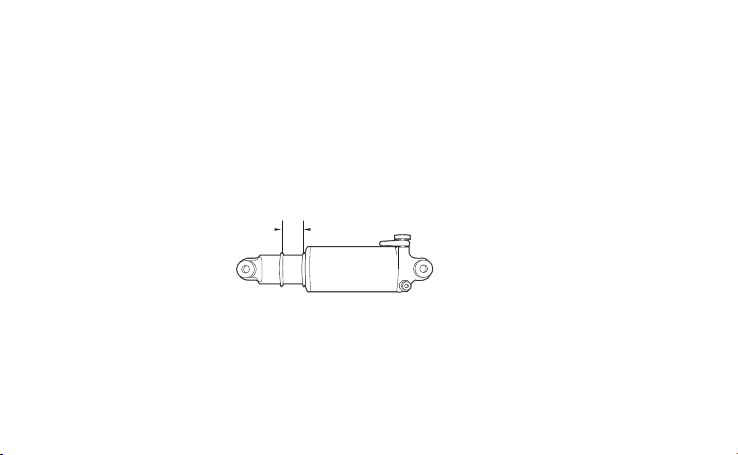
: Measuring Shock Sag, Coil Shocks (Glyde-Rpv, Glyde-RL, Vector-Rpv, Vector-RC, Vector-DH)
First, while the bike is in an unloaded state, measure the distance between the shock’s mounting bolts. Now sit on the
bike in your normal riding position. Measure the distance between the mounting bolts again. The difference between the
rst and second measurement is the amount of rider sag.
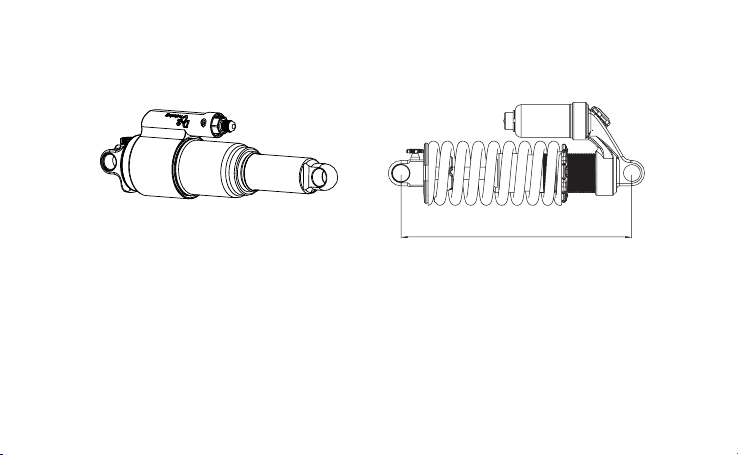
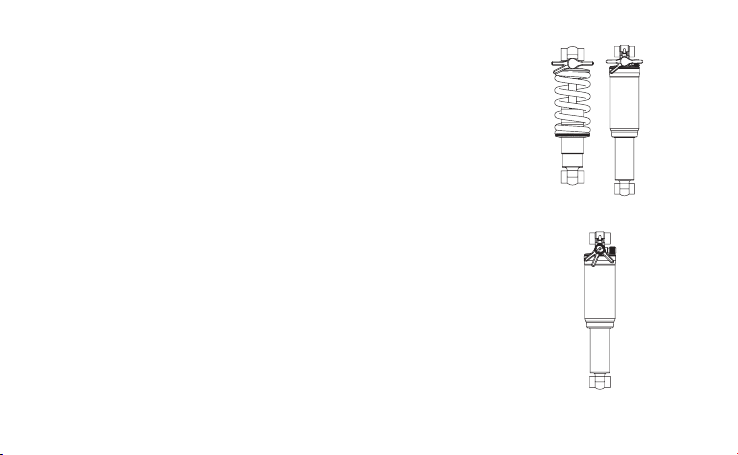
: Dual Chamber (DC) Shocks
02 Shocks can be equipped with a Dual Chamber air sleeve. This is called DC Technology. DC Technology pro-
vides several advantages over conventional air sleeves.
: Setting up a shock with DC Technology is easy.
1. Follow the instructions for setting sag found on page 6.
2. When the correct sag is set, attach the pump to the Schrader valve on the minor chamber.
3. Start with an air pressure about half of the pressure in main chamber. Check for full travel.
4. If full travel is achieved too easily, add air pressure in 5psi increments until full travel is just barely
achieveable.
5. Next, adjust where in the stroke the spring ramp occurs by rotating the hex behind the Schrader valve with a
13mm open end wrench. Turn it clockwise to cause the ramp to occur earlier, counterclockwise for later.