DALCNET DTDMXRGBW Release Note

DALCNET SRL
Registered Office: via Bassone, 22 - 37139 Verona (VR) - Italy
eadquarters: via Natta, 55 - 36040 Brendola (VI) - Italy
Tel. + 39 0444 1836680/1867452 Fax. + 39 0444 1867453
VAT: IT-04023100235
[email protected] www.dalcnet.com
DTDMXRGBW
Technical handbook
Rev. 2017-10-05
pag. 1/9
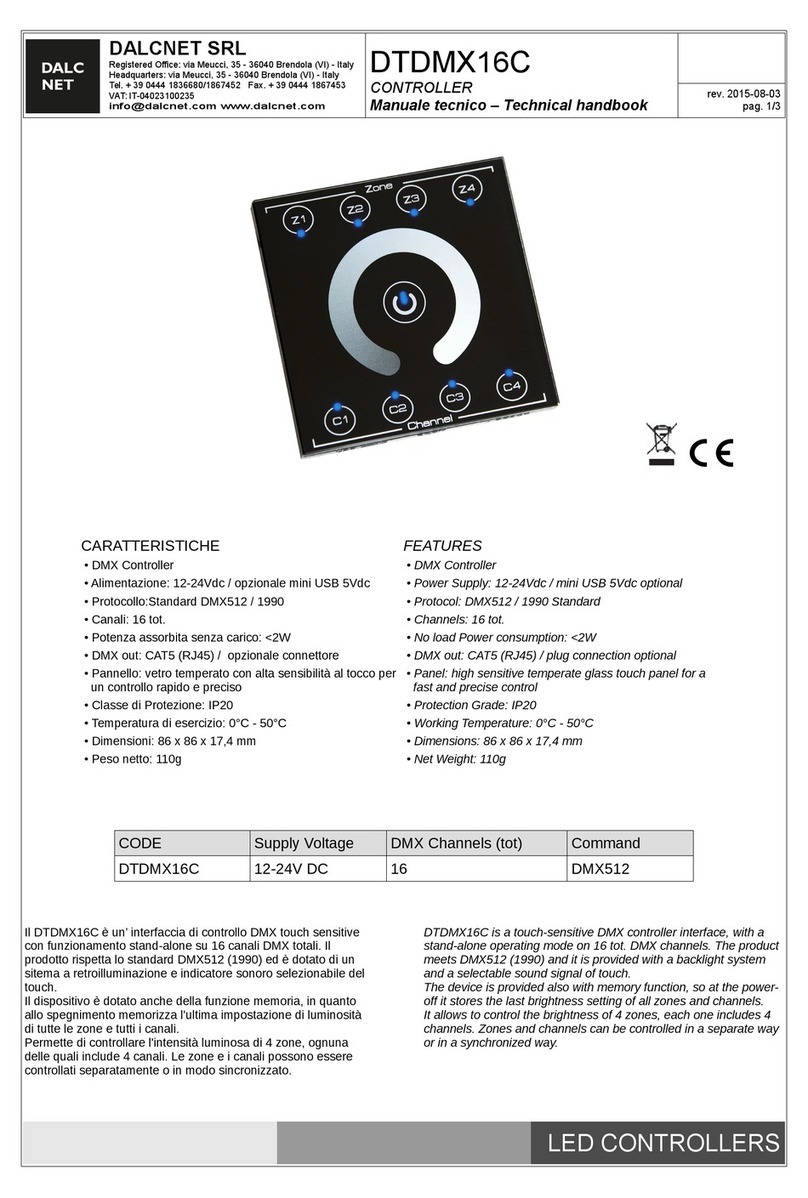
FEATURES
• DC Input 12-24 Vdc
• Loading: 2A/channel, 6A tot.
• Coating: Pol carbonate (black/white/gra )
• DMX out: 4-terminal orange connector
• Power In & D-PWM Out: 7-terminal green connector
• Operation Temperature: 0°C ÷ +40°C
• Storage Temperature: -20°C ÷ +70°C
• Weight: 100g
• Dimensions: 86 x 86 x 15.5 mm
Product Description
–Touch interface
–DMX512/D-PWM output
–DTDMXRGBW uses three RGBW channels, 2A per channel, A total.
–Red is controlled by channel 1,5,9...
–Green is controlled by channel 2, , 10...
–Blue is controlled by channel 3, 7, 11…
–White is controlled by channel 4, 8, 12...
–LED indicator to display the current output
–Four function menus
–To record and play back upto 4 scenes and 4 colors
–To set fade-time for Power on/off and color exchange in the range of 0 to 4s
–To assign key tone ON/OFF
–To select input voltage in DC12-24V according to the output loading voltage
–Function memory and power failure protection
LED DRIVERS

DALCNET SRL
Registered Office: via Bassone, 22 - 37139 Verona (VR) - Italy
eadquarters: via Natta, 55 - 36040 Brendola (VI) - Italy
Tel. + 39 0444 1836680/1867452 Fax. + 39 0444 1867453
VAT: IT-04023100235
[email protected] www.dalcnet.com
DTDMXRGBW
Technical handbook
Rev. 2017-10-05
pag. 2/9
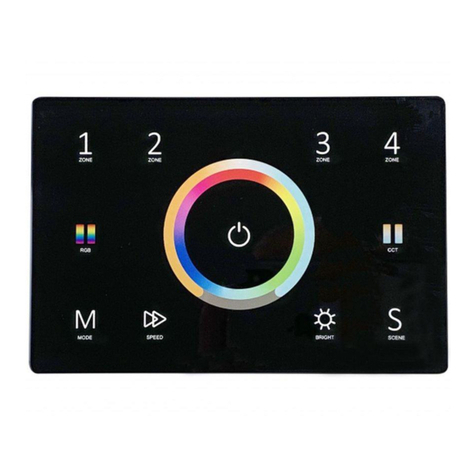
Control Panel and Functions
1. Power key
Used to power on/off DTDMXRGBW.
2. C key (color)
Used to set color.
3. P key (program)
Used to set built-in program.
4. S key (speed)
Used to adjust speed.
5. B key (brightness)
Used to adjust brightness.
6. Output indicator
Used to display the current output.
. Touch toggle
Used to adjust color, brightness and speed, and select built-in programs.
8. Figure keys (1-4)
Used to record scene and color, as well as set fadetime.
LED DRIVERS

DALCNET SRL
Registered Office: via Bassone, 22 - 37139 Verona (VR) - Italy
eadquarters: via Natta, 55 - 36040 Brendola (VI) - Italy
Tel. + 39 0444 1836680/1867452 Fax. + 39 0444 1867453
VAT: IT-04023100235
[email protected] www.dalcnet.com
DTDMXRGBW
Technical handbook
Rev. 2017-10-05
pag. 3/9
Rear Panel View
DTDMXRGBW features one group DMX OUT with 4-pin terminal connector, one group
POWER IN & D-PWM OUT with -pin terminal connector, a Link In and Link Out for online
operation. The configuration of the terminal is the following (figure 2):
Figure 2
➢Link In: 4 pin terminal
➢DMX Out: 4 pin terminal
➢DC IN – PWM OUT: 7 pin terminal
➢Link Out: 4 pin terminal
LED DRIVERS

DALCNET SRL
Registered Office: via Bassone, 22 - 37139 Verona (VR) - Italy
eadquarters: via Natta, 55 - 36040 Brendola (VI) - Italy
Tel. + 39 0444 1836680/1867452 Fax. + 39 0444 1867453
VAT: IT-04023100235
[email protected] www.dalcnet.com
DTDMXRGBW
Technical handbook
Rev. 2017-10-05
pag. 4/9
Operation Guide
1. ON/OFF
DTDMXRGBW can be connected to a DC power supply at any voltage from 12V to 24V. When the
indicator of POWER button lights up, the unit powers on and resumes the output setting of last time.
In normal mode, to touch POWER key and hold on for 2s, DTDMXRGBW switches to the state
of standby. At this time, the output is shut down. Touch the power key once again and hold on
for 2s, the unit is powered on.
Setting Shortcut for Power ON/OFF
–Touch “P” key and “Power” key simultaneously and hold on for about 10 seconds until all keys
flash momentarily once.
–Touch “Power” key once, DTDMXRGBW changes to standby conditions. Directly touch any key
on the panel, DTDMXRGBW starts up.
–To delete power shortcut, touch “P” key and “Power” key simultaneously and hold on for about
10 seconds until all keys flash once.
Setting Fadetime for Power ON/OFF
To set power on/off fadetime, follow the procedures below:
–Touch “Power” key and hold on for 5 seconds till all LED indicators flash once. Then release the
Power key and the key flashes repeatedly.
–Touch any one of these keys: 1, 2, 3, 4, P, C, B, or S.
–All indicators flash momentarily once to confirm the setting.
–The existing mode ends and changes to normal mode automatically.
Different keys represent different fadetime. The table1 details the fadetime information.
Table 1
Keys 1 2 3 4 P/C/B/S
Fadetime 1s 2s 3s 4s 0s (no fadetime)
LED DRIVERS

DALCNET SRL
Registered Office: via Bassone, 22 - 37139 Verona (VR) - Italy
eadquarters: via Natta, 55 - 36040 Brendola (VI) - Italy
Tel. + 39 0444 1836680/1867452 Fax. + 39 0444 1867453
VAT: IT-04023100235
[email protected] www.dalcnet.com
DTDMXRGBW
Technical handbook
Rev. 2017-10-05
pag. 5/9
2 – Built-in Program
Hold on pressing “P” key for about 1s to enable built-in Program Menu, the keys clicks and the indicator
in lit. Then rotate the touch toggle to select a desire built-in program. There are 10 built-in programs plus
an Auto Program for user selection (“Auto Program” is the sequential running of these 10 built-in
programs).
The process of selecting the built-in programs produces clicks and each click will activate one
program.
3 – Brightness
To enable Brightness Menu, hold on pressing “B” key for about 1s, the key clicks and the indicator lights
up. Then rotate the touch toggle to adjust brightness as you wish. In clockwise, the brightness increases;
in anti-clockwise, the brightness decreases
NOTE: The value of brightness can be adjusted in the range of 0 to 255..
4 – Speed
To enable Speed Menu, hold on pressing the “S” key for about 1s, the key clicks and the indicator lights
up. Then rotate the touch toggle to adjust the running speed of built-in programs in the range of 2s-
10min. In clockwise, the speed will increase; in anti-clockwise, the speed will decrease.
When you rotate the toggle to reach 10min, the click disappears and all the four figure keys
flash repeatedly. Then you select the speed you wish by pressing any of the figure keys.
Different figure keys stand for different speed: “1” for 10min, “2” for 20min, “3” for 30min, “4”
for 40min.
* NOTE:
In the process of adjusting brightness and speed, the toggle produces clicks. However, the click
disappears when the toggle reaches the maximum/minimum value.
LED DRIVERS

DALCNET SRL
Registered Office: via Bassone, 22 - 37139 Verona (VR) - Italy
eadquarters: via Natta, 55 - 36040 Brendola (VI) - Italy
Tel. + 39 0444 1836680/1867452 Fax. + 39 0444 1867453
VAT: IT-04023100235
[email protected] www.dalcnet.com
DTDMXRGBW
Technical handbook
Rev. 2017-10-05
pag. 6/9
5 – Color
To enable Color Menu, hold on pressing the “S” key for about 1s, the key clicks and the
indicator lights up. Then rotate the touch toggle to adjust the RGB value until you get the
desired color.
5.1 Recording Color
Up to 4 colors can be recorded in manual mode. Each figure key corresponds to one color. The procedure
to record a color is described below:
a. Touch “S” key to enable Manual Mode, the key clicks and the indicator is lit.
b. Rotate the touch toggle to adjust RGB value until you get desired color.
c. Touch any of the figure keys to which you wish to record the color, and hold on for more than 2
seconds.
d. All indicators flash momentarily once to indicate the current parameters, including color and
brightness value, have been saved into the key.
e. Repeat step a-d to save more colors to the other 3 figure keys.
5.2 Playback Color
Touch “C” key to enable Manual Mode. Then touch the corresponding button of 1-4 to raise the color
which you' e stored in the key. The LED indicator lights up and it starts to display the recorded color.
5.3 Setting Fadetime for Color Exchange
To set the fadetime for color exchange, you take the following procedures:
–Touch “C” key and hold on for 5 seconds till all LED indicators flash once. Then release the key
and the “C” key flashes repeatedly.
–Touch any one of these keys: 1, 2, 3, 4, P, C, B, or S.
–All indicators flash momentarily once to confirm the setting.
–The existing mode ends and changes to normal mode automatically.
Different keys represent different fadetime. The table2 details the fadetime information.
Table 2
Keys 1 2 3 4 P/C/B/S
Fadetime 1s 2s 3s 4s 0s (no fadetime)
LED DRIVERS

DALCNET SRL
Registered Office: via Bassone, 22 - 37139 Verona (VR) - Italy
eadquarters: via Natta, 55 - 36040 Brendola (VI) - Italy
Tel. + 39 0444 1836680/1867452 Fax. + 39 0444 1867453
VAT: IT-04023100235
[email protected] www.dalcnet.com
DTDMXRGBW
Technical handbook
Rev. 2017-10-05
pag. 7/9
6 – SCENE
6.1 Recording SCENE
Up to 4 scenes can be recorded and played back in this mode. Each figure key corresponds to one scene.
The procedure to record a scene is described below:
a. Touch “P” or “S” key to enable Auto Mode, the key clicks and the LED indicator lights up.
b. Rotate the touch toggle to select the built-in program or adjust the speed.
c. Touch any of the figure keys to which you wish to record the scene, and hold on for more than 2
seconds.
d. All indicators flash momentarily once to indicate the current parameters (including the built-in
program and the value of speed and brightness) have been recorded and saved into the key.
e. Repeat step a-d to save more scenes to the other figure keys.
6.2 Playback SCENE
Touch “P” or “S” key to enable Auto Mode. Then touch the corresponding button of 1-4 to raise the
scene which has been stored in it. The LED indicator lights up and it starts to display the recorded scene.
6.3 SCENE Record Lock/Unlock
To lock scene record, touch “S” key and “P” key simultaneously and hold on for about 10 seconds. At
this time, the “S” key is not valid. Besides, the figure keys 1-4 can play back saved scenes only, but can
not record scenes.
To unlock scene record, touch “P” key and “S” key and hold on for about 10 seconds until all keys flash
once.
* NOTE:
Each figure key can have a color, or a scene, or both elements recorded.
– Key Tone
To turn on or turn off key tone, keep the four figure keys “1”, “2”, “3” and ”4” touched simultaneously
until all keys flash momentarily once to confirm the setting, then release them.
With key tone ON, when you rotate the touch toggle to the maximum or minimum value, the key click
disappears.
With key tone OFF, when you rotate the touch toggle to the maximum or minimum value, all
keys flash repeatedly 3 times.
LED DRIVERS

DALCNET SRL
Registered Office: via Bassone, 22 - 37139 Verona (VR) - Italy
eadquarters: via Natta, 55 - 36040 Brendola (VI) - Italy
Tel. + 39 0444 1836680/1867452 Fax. + 39 0444 1867453
VAT: IT-04023100235
[email protected] www.dalcnet.com
DTDMXRGBW
Technical handbook
Rev. 2017-10-05
pag. 8/9
8 – Default Setting
Touch “P” key and “B” key simultaneously and hold on for about 10s until all keys flash once to
resume default setting. All user settings are deleted. The fadetime for color change and power
ON/OFF is 2 seconds, and the recorded scenes will be replaced by default setting.
9 – Online Control
Each DTDMXRGBW can be linked via the “Link IN/OUT” port on the rear panel that allows the users
to implement the online control for multi-device accordingly. Please be noted that maximum of 32
devices are allowed to be connected on a link.
In the status of online operation, touch a color figure 1-4 or program 1-4 of any on-line
DTDMXRGBW, all the on-line devices will trigger the same funcion..
10 – Data Sending
In the status of online operation, the user may make all the on-line devices to possess the same data as
the current DTDMXRGBW. The process is detailed as following.
Simultaneously press the key “P”, ”C”, ”B” and ”S” and hold on for 5 seconds until all keys are
blinking which means the device is ready to send data; at this time touch “S” key once to send
data to the other on-line devices from the current one. During the process of data sending, those
four keys will light in the sequence and this process will take 10 seconds. The devices will back
to the normal working state after the data sending is completed.
LED DRIVERS

DALCNET SRL
Registered Office: via Bassone, 22 - 37139 Verona (VR) - Italy
eadquarters: via Natta, 55 - 36040 Brendola (VI) - Italy
Tel. + 39 0444 1836680/1867452 Fax. + 39 0444 1867453
VAT: IT-04023100235
[email protected] www.dalcnet.com
DTDMXRGBW
Technical handbook
Rev. 2017-10-05
pag. 9/9
Physical Dimensions
Technical Specification
Power Supply............................................. DC 12-24V
Loading...................................................... 2A/ch, A tot.
Housing...................................................... Polycarbonate (Black)
DMX out.................................................... green connector - 4 terminals
Power in & D-PWM out............................ green connector - 7 terminals
Operating Temperature.............................. 0°C ÷ +40°C
Storage Temperature.................................. -20°C ÷ +70°C
Weight........................................................ 100g
Dimensions................................................ 8 (L)x8 (W)x15.5(H)mm
Technical Notes
• Installation and maintenance must be performed only by qualified personnel.
• To perform DMX512 connections, refer to A SI E1.11 and A SI E1.20 normative.
• Keep 230V cables separate from circuits to low voltage (SELV).
LED DRIVERS
Table of contents
Other DALCNET Controllers manuals
Popular Controllers manuals by other brands

Hiltron security
Hiltron security TWIN quick start guide

HS-Technik
HS-Technik NetBee operating instructions

Zennio
Zennio MAXinBOX 16 Plus Technical documentation

TechGrow
TechGrow Clima Micro Day/Night Fan Control user manual

TECshow
TECshow NAVIGATOR 3 user manual

Mitsubishi Electric
Mitsubishi Electric MELSEC Q Series Programming manual