manuals.online logo
Brands
  1. Home
  2. •
  3. Brands
  4. •
  5. Danby
  6. •
  7. Wine Cooler
  8. •
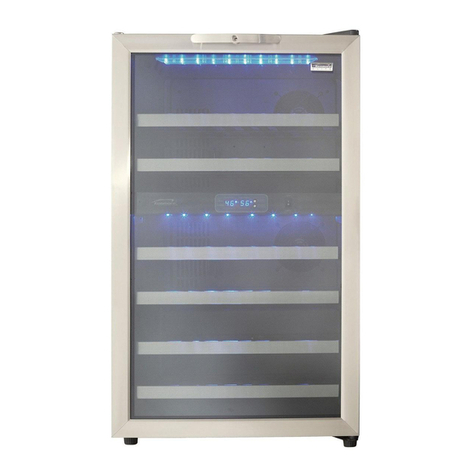
  9. Danby DWC040A3BSSDD User manual

Danby DWC040A3BSSDD User manual

3
INSTALLATION INSTRUCTIONS
LOCATION
• Two people should be used when moving the
appliance.
• Remove interior and exterior packaging prior to
installation. Wipe the outside of the appliance
with a soft, dry cloth and the inside with a
lukewarm wet cloth.
• Place the appliance on a floor that is strong
enough to support it when it is fully loaded.
• Do not place the appliance in direct sunlight or
near sources of heat, such as a stove or heater,
as this can increase electrical consumption.
Extreme cold ambient temperatures may also
cause the appliance to perform improperly.
• Do not use the appliance near water, for
example in a wet basement or near a sink.
• This appliance is intended for household use
only. It is not designed for outside installation,
including anywhere that is not temperature
controlled (garages, porches, vehicles, etc.).
• Before connecting the appliance to a power
source, let it stand upright for approximately
6 hours. This will reduce the possibility of a
malfunction in the cooling system from handling
during transportation.
• This appliance is 19.4 inches (49.3 cm) wide
by 33.3 inches (84.6 cm) high by 25 inches
(63.5 cm) deep. Make sure that you leave
the minimum amount of space between the
appliance and all surrounding walls and vents.
• Allow 5 inches (12.7 cm) of space between the
back, sides and top of the appliance and all
adjacent walls.
• This appliance is intended for free-standing
installation only and is not intended to be
built into a cabinet or counter. Building in this
appliance can cause it to malfunction.
DOOR HANDLE INSTALLATION
The door handle is not pre-attached to the
appliance, it is shipped seperately to protect it from
damage and it must be installed by the end user.
If the appliance is placed on its back or side for any
length of time during this process, it must be allowed
to remain upright for 6 hours before plugging it in
to avoid damage to the internal components.
1. Remove the door handle and hex key from the
hardware bag inside the appliance.
2. Place the handle on the mounting studs on the
outside of the door. Set screws are pre-installed
in the handle. The set screws should face down
when installed correctly. There are two extra set
screws in the hardware bag.
3. Push the door handle tightly against the door.
4. Insert the short end of the hex key into the set
screw and tighten 1/4 turn past snug. Set screw
will not be recessed into the handle.
5. Repeat step 4 for the other set screw.
6. Keep the hex key and installation instructions for
future use.
A
B
D
C
A: Mounting stud
B: Door handle
C: Set screw
D: Hex key
4
INSTALLATION INSTRUCTIONS
1. Rubber Screw Covers
2. Screws
3. Hinge Cover
4. Upper Hinge
5. Hole Plugs
6. Lower Hinge
7. Solid Foot
8. Actuator
DOOR REVERSAL INSTRUCTIONS
If the appliance is placed on its back or side for any
length of time during this process, it must be allowed
to remain upright for 6 hours before plugging it in
to avoid damage to the internal components.
1. Remove the two screws securing the hinge cover
and remove the hinge cover. See figure A.
2. Remove the three screws securing the upper
hinge and remove the upper hinge. Remove the
door from the chassis. See figure B.
3. Remove the hole plugs from the left side of the
chassis and place them in the screw holes on the
right side of the chassis. See figure C.
4. Remove the solid foot from the left side of the
chassis and remove the three screws securing
the lower hinge on the right side of the chassis.
Install the solid foot on the right side of the
chassis and the lower hinge on the left side of
the chassis. See figure D.
5. Before reinstalling the door, remove the two
screws securing the actuator to the bottom of
the door. Flip the door 180°from its original
position and use two screws to reinstall the
actuator. Screw holes cane be found by gently
pulling back the rubber gasket. See figure E.
6. Install the door on the lower hinge and then
install the upper hinge on the left side of the
chassis. Before tightening the screws in the
upper hinge, ensure that the top of the door is
properly aligned with the top of the cabinet and
that the rubber gasket makes a good seal with
the cabinet all the way around. Use two screws
to install the hinge cover. See figure F.
1
2
3
2
4
2
6
7
5
2
8
A
B
C
D
E
F

Other manuals for DWC040A3BSSDD

3

Other Danby Wine Cooler manuals

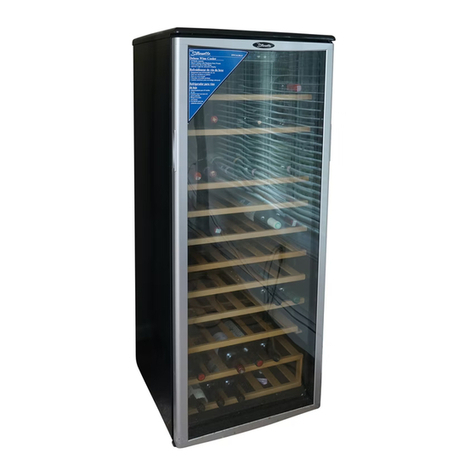
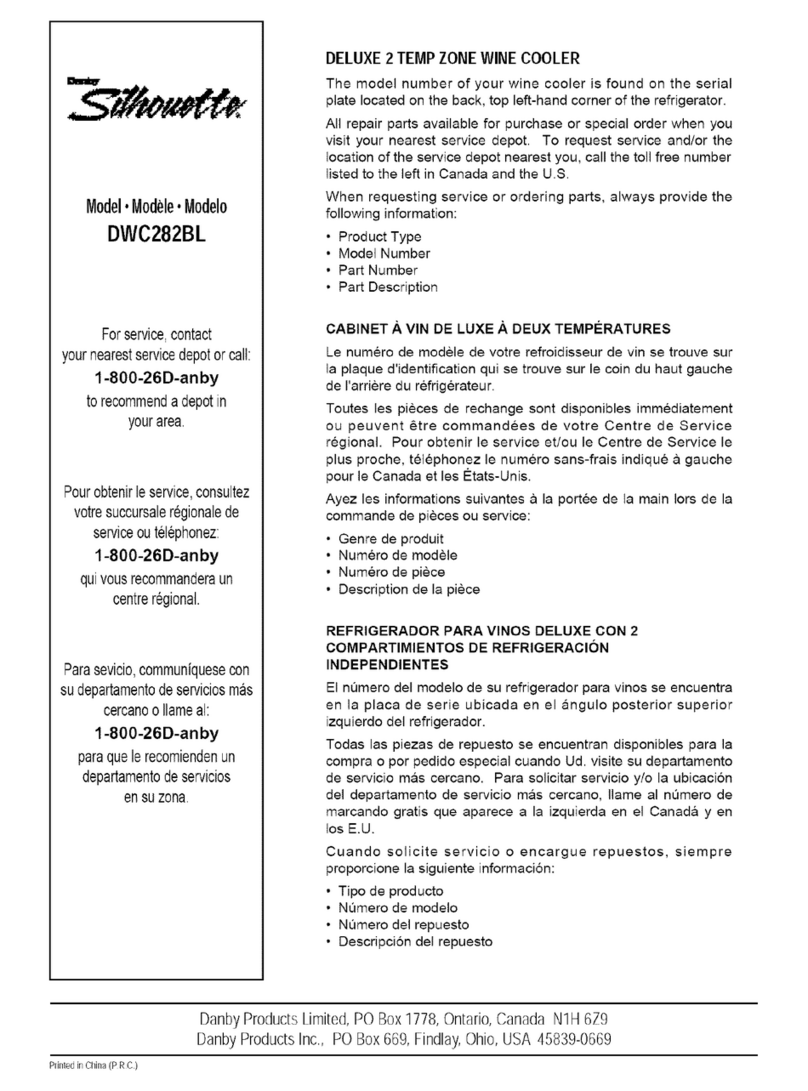
Danby Silhouette DWC282BL User manual

Danby

Danby Silhouette DWC282BL User manual

Danby DWC93BLSDB Assembly instructions

Danby

Danby DWC93BLSDB Assembly instructions

Danby Silhouette DWC276BLS User manual

Danby

Danby Silhouette DWC276BLS User manual

Danby Millenium DWC440BL User manual

Danby

Danby Millenium DWC440BL User manual

Danby DWC398KD1BSS User manual

Danby

Danby DWC398KD1BSS User manual

Danby Designer DWC610BL User manual

Danby

Danby Designer DWC610BL User manual

Danby Millenium DWC172BL User manual

Danby

Danby Millenium DWC172BL User manual

Danby Designer DWC286BLS User manual

Danby

Danby Designer DWC286BLS User manual

Danby DWC310BLSDD Assembly instructions

Danby

Danby DWC310BLSDD Assembly instructions

Danby DWC040A1BDB Assembly instructions

Danby

Danby DWC040A1BDB Assembly instructions

Danby DWC1132BLSDB Assembly instructions

Danby

Danby DWC1132BLSDB Assembly instructions

Danby Millenium DWC172BL User manual

Danby

Danby Millenium DWC172BL User manual

Danby Millenium DWC440BL User manual

Danby

Danby Millenium DWC440BL User manual

Danby DKC644BLS User manual

Danby

Danby DKC644BLS User manual

Danby DWC040A2BDB Assembly instructions

Danby

Danby DWC040A2BDB Assembly instructions

Danby DWC018A1BDB Assembly instructions

Danby

Danby DWC018A1BDB Assembly instructions

Danby Silhouette Select DPC6012BLS Assembly instructions

Danby

Danby Silhouette Select DPC6012BLS Assembly instructions

Danby Silhouette Select DWC153BLSST User manual

Danby

Danby Silhouette Select DWC153BLSST User manual

Danby Silhouette DWC512BLS-1 User manual

Danby

Danby Silhouette DWC512BLS-1 User manual

Danby Millenium DWC450W User manual

Danby

Danby Millenium DWC450W User manual

Danby Millenium DWC172BL User manual

Danby

Danby Millenium DWC172BL User manual

Danby DWC350BLP User manual

Danby

Danby DWC350BLP User manual

Danby DWC044 User manual

Danby

Danby DWC044 User manual

Danby Silhovette DWC282BL User manual

Danby

Danby Silhovette DWC282BL User manual

Popular Wine Cooler manuals by other brands

Cavavin S-050WSZ instruction manual

Cavavin

Cavavin S-050WSZ instruction manual

Climadiff CBU18S2B User instructions

Climadiff

Climadiff CBU18S2B User instructions

Sub-Zero 424HAG/O-2 Service manual

Sub-Zero

Sub-Zero 424HAG/O-2 Service manual

Summit Commercial SCR321LWC2 instruction manual

Summit Commercial

Summit Commercial SCR321LWC2 instruction manual

ARDES 5I12V Instructions for use

ARDES

ARDES 5I12V Instructions for use

John Lewis JLWF451 instruction manual

John Lewis

John Lewis JLWF451 instruction manual

Electrolux Dometic CS 110 instruction manual

Electrolux

Electrolux Dometic CS 110 instruction manual

Caple WF1547 instruction manual

Caple

Caple WF1547 instruction manual

EAS Electric EMR44VNI1 instruction manual

EAS Electric

EAS Electric EMR44VNI1 instruction manual

Sub-Zero ICB424 installation instructions

Sub-Zero

Sub-Zero ICB424 installation instructions

SPT WC-3302US owner's manual

SPT

SPT WC-3302US owner's manual

Caso WineChef Pro 126-2D Original operating manual

Caso

Caso WineChef Pro 126-2D Original operating manual

LG LRV410TT Features

LG

LG LRV410TT Features

Thermador T18IW900SP installation instructions

Thermador

Thermador T18IW900SP installation instructions

Avintage AVI47XDZA use instructions

Avintage

Avintage AVI47XDZA use instructions

Liberty BVFTB40DPABB user manual

Liberty

Liberty BVFTB40DPABB user manual

Howard Miller 695015 instructions

Howard Miller

Howard Miller 695015 instructions

CONTINENTAL EDISON LA NOUVELLE CAVE CECWC14BC Instruction booklet

CONTINENTAL EDISON

CONTINENTAL EDISON LA NOUVELLE CAVE CECWC14BC Instruction booklet

manuals.online logo
manuals.online logoBrands
  • About & Mission
  • Contact us
  • Privacy Policy
  • Terms and Conditions

Copyright 2025 Manuals.Online. All Rights Reserved.