Daub D/ Compact Slicer User manual

D / COMPACT-SLICER Table Top
Date: 30-4-2015
Ver ion: 01
USERS MANUAL
ENGLISH

D / COMPACT-SLICER Table Top
Date: 30-4-2015
Ver ion: 01
USERS MANUAL
Page 1
General
It i important to read thi manual and to comply with the ugge tion , recommendation and / or
regulation when unpacking, in talling, u ing and maintaining the machine. If the machine i old on,
thi manual hould be handed over to the new owner.
Only employee who have been in tructed concerning the u e of thi machine and who have read thi
manual may operate thi machine.
Daub Bakery Machinery B.V. will accept no liability for defect which have occurred becau e of the
incorrect u e of the machine. Neither will Daub Bakery Machinery B.V. be held re pon ible for any
damage or injurie to operator or to third per on if deemed to be cau ed by the incorrect u e of the
machine.
No part of thi publication may be reproduced, duplicated or di tributed without the prior written
permi ion of the manufacturer.
Daub Bakery Machinery B.V. can not be held re pon ible for any mi take and / or mi print in thi
manual.
It i recommended that you keep thi manual clo e to, or with the machine at all time .

D / COMPACT-SLICER Table Top
Date: 30-4-2015
Ver ion: 01
USERS MANUAL
Page 2
Table of contents
GENERAL .................................................................................................................................................. 1
TABLE OF CONTENTS ............................................................................................................................... 2
1 PRODUCT INFORMATION ................................................................................................................ 3
2 DEFINITIONS .................................................................................................................................... 4
2.1 Warning ................................................................................................................................. 4
2.2 De cription of part of the machine ........................................................................................ 5
2.3 Error notification on diplay freq.converter (option).............................................................. 5
3 SAFETY ............................................................................................................................................. 6
3.1 Safety regulation .................................................................................................................... 6
3.2 Danger becau e of mechanical component . ........................................................................ 6
3.3 Danger becau e of electrical component . ........................................................................... 6
3.4 Danger becau e of lack of hygiene. ....................................................................................... 6
4 TRANSPORT AND UNPACKING ........................................................................................................ 7
4.1 Tran port ................................................................................................................................. 7
4.2 Unpacking ................................................................................................................................ 7
5 INSTALLATION ................................................................................................................................. 8
5.1 Placing and maintenance ........................................................................................................ 8
5.2 Condition ................................................................................................................................ 8
5.3 Electrical connection ............................................................................................................... 8
5.4 Carrying off material ............................................................................................................... 9
5.5 Taking out of operation ........................................................................................................... 9
6 PRODUCT DESCRIPTION ................................................................................................................ 10
6.1 Purpo e of the machine ........................................................................................................ 10
6.2 Inadmi ible u e of the machine ........................................................................................... 10
6.3 De cription of the control panel ........................................................................................... 11
6.4 Working of the control panel ................................................................................................ 11
7 WORKING WITH THE MACHINE .................................................................................................... 12
7.1 Taking u e of the machine .................................................................................................... 12
7.2 How to u e the machine ....................................................................................................... 12
8 MAINTENANCE .............................................................................................................................. 13
8.1 Cleaning ................................................................................................................................. 13
8.2 Periodically maintenance ...................................................................................................... 13
8.3 In truction changing knive ................................................................................................. 14
9 OPTIONS ........................................................................................................................................ 16
9.1 Oil-lubrication of the knive .................................................................................................. 16
10 FAULT FINDING .......................................................................................................................... 17
10.1 Trouble hooting .................................................................................................................... 17
10.2 Errorcode frequency controller ........................................................................................... 18

D / COMPACT-SLICER Table Top
Date: 30-4-2015
Ver ion: 01
USERS MANUAL
Page 3
1Product information
Manufacturer: Daub Bakery Machinery B.V.
Nieuwkerk edijk 10
5051 HT Goirle
P.O. box 51
5050 AB Goirle
The Netherland
Tel: +31 13 5308700
Fax: +31 13 5308729
After ale ervice: Your upplier
Machine naming: D / COMPACT-SLICER Table Top
Machine number: ee machine plate
Date of manufacturing: ee machine plate
Power: ee machine plate
Voltage: ee machine plate
Current: ee machine plate
Weight: 120 kg
Sound: <65 dB(A)
Po ible execution :
Voltage: 3*400V/50Hz+N, 3*230V/50Hz, 3*440V/60Hz+N, 3*230V/60Hz
Other voltage on reque t
Technical information:
Option :
-Electronic oil lubrication of the knive
-Safety cover for infeed
-Emergency top button
D / COMPACT-SLICER Table Top
Date: 30-4-2015
Ver ion: 01
USERS MANUAL
Page 4
2Definitions
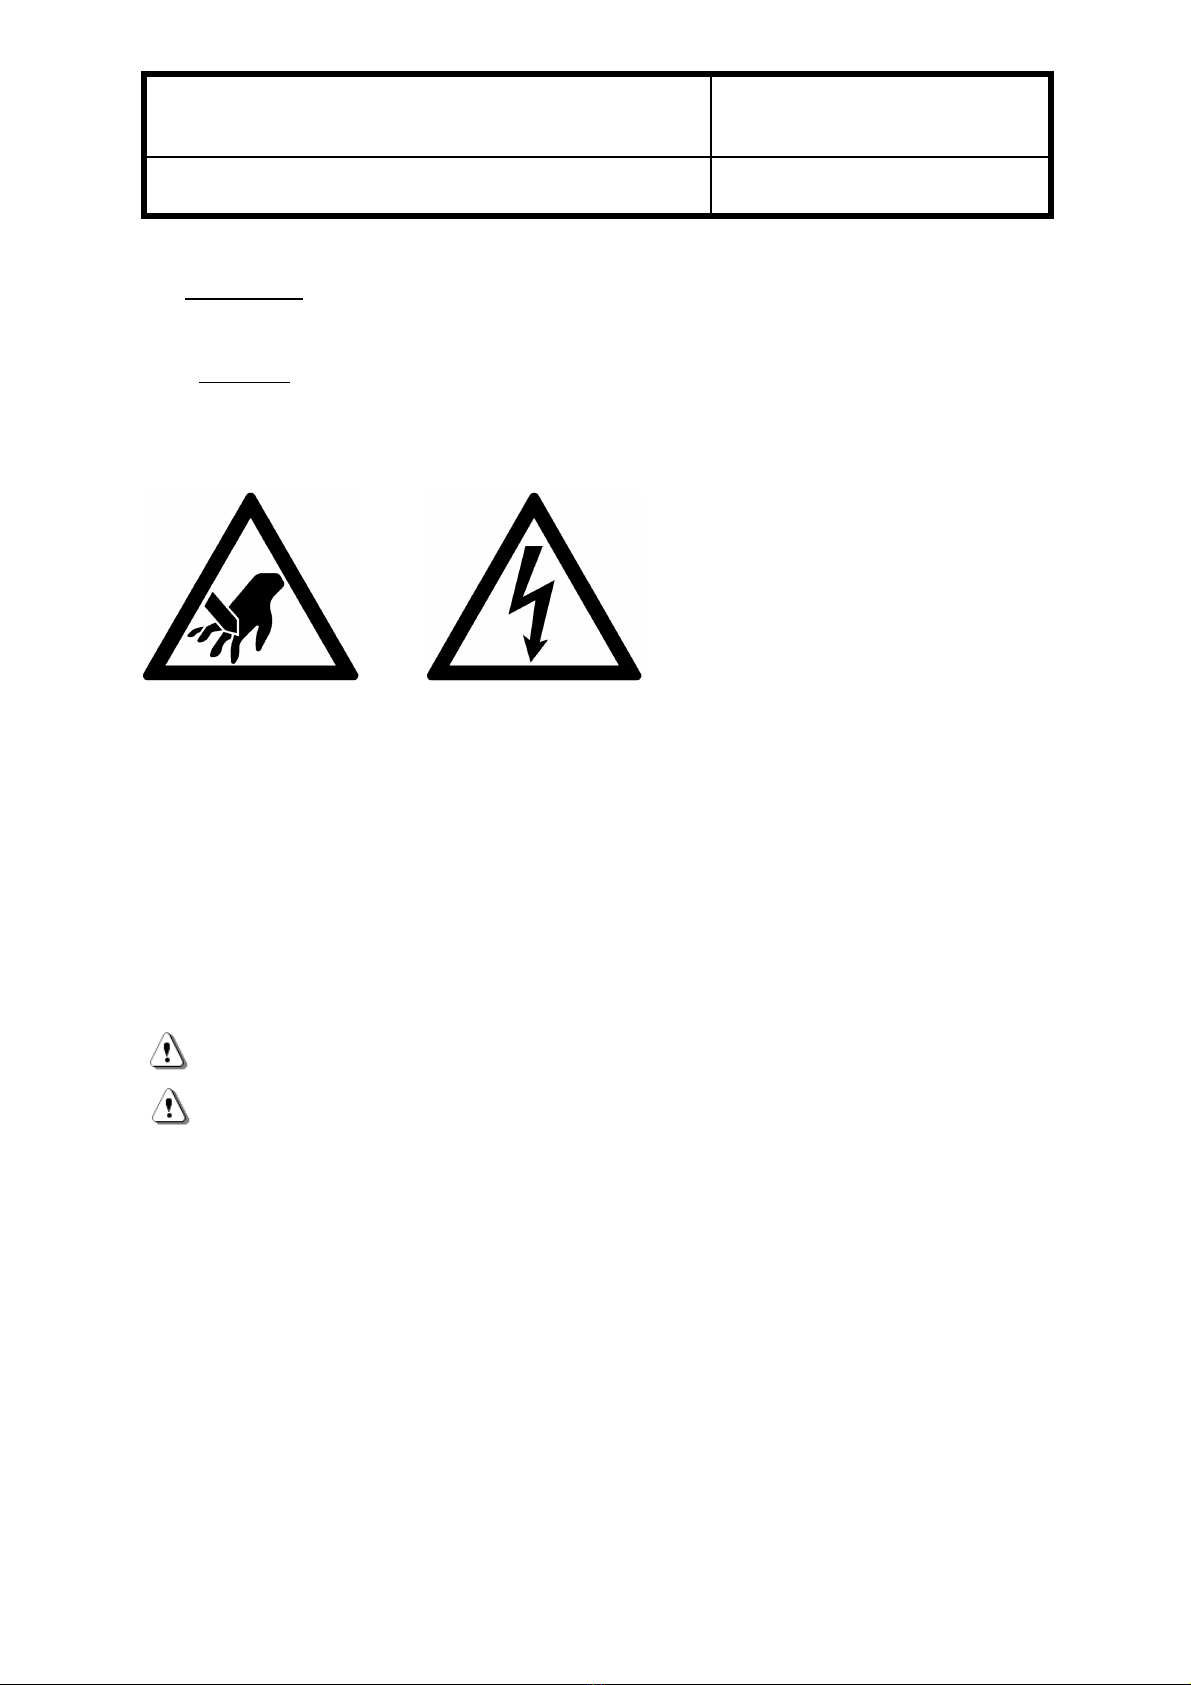
2.1 Warning
The following ign warn the operator for a po ible danger becau e of mechanical or electrical
component .
Figure 2.1.1 Figure 2.1.2
Figure 2.1.1 i a ticker which i u ed on the machine indicating the harpne of the knive . Do not
come near the knive when machine i running.
Figure 2.1.2 i a ticker which i u ed on the machine indicating where electrical power i pre ent.
Before taking in u e of the machine, you hould carefully read thi manual and follow the in truction .
Make ure that the warning ticker tay in good condition, and if nece ary replace them. When you
u e the machine for the fir t time, follow the in truction in thi manual carefully, o that you will not
be urpri ed.
Do not allow unqualified employee to operate the machine.
Only qualified employee may operate the machine.
Be ure the machine i witched off during cleaning, maintenance and lubrication.
After maintenance of the machine do not forget to replace the afety cover and the crumbtray.
Qualified employee mu t do all repair , mechanical a well a electrical.
Table of contents
Other Daub Commercial Food Equipment manuals


Popular Commercial Food Equipment manuals by other brands


Diamond
Diamond AL1TB/H2-R2 Installation, Operating and Maintenance Instruction

Salva
Salva IVERPAN FC-18 User instructions

Allure
Allure Melanger JR6t Operator's manual

saro
saro FKT 935 operating instructions

Hussmann
Hussmann Rear Roll-in Dairy Installation & operation manual

Cornelius
Cornelius IDC PRO 255 Service manual

Moduline
Moduline HSH E Series Service manual

MINERVA OMEGA
MINERVA OMEGA DERBY 270 operating instructions

Diamond
Diamond OPTIMA 700 Installation, use and maintenance instructions

Diamond
Diamond G9/PLCA4 operating instructions

Cuppone
Cuppone BERNINI BRN 280 Installation

Arneg
Arneg Atlanta Direction for Installation and Use