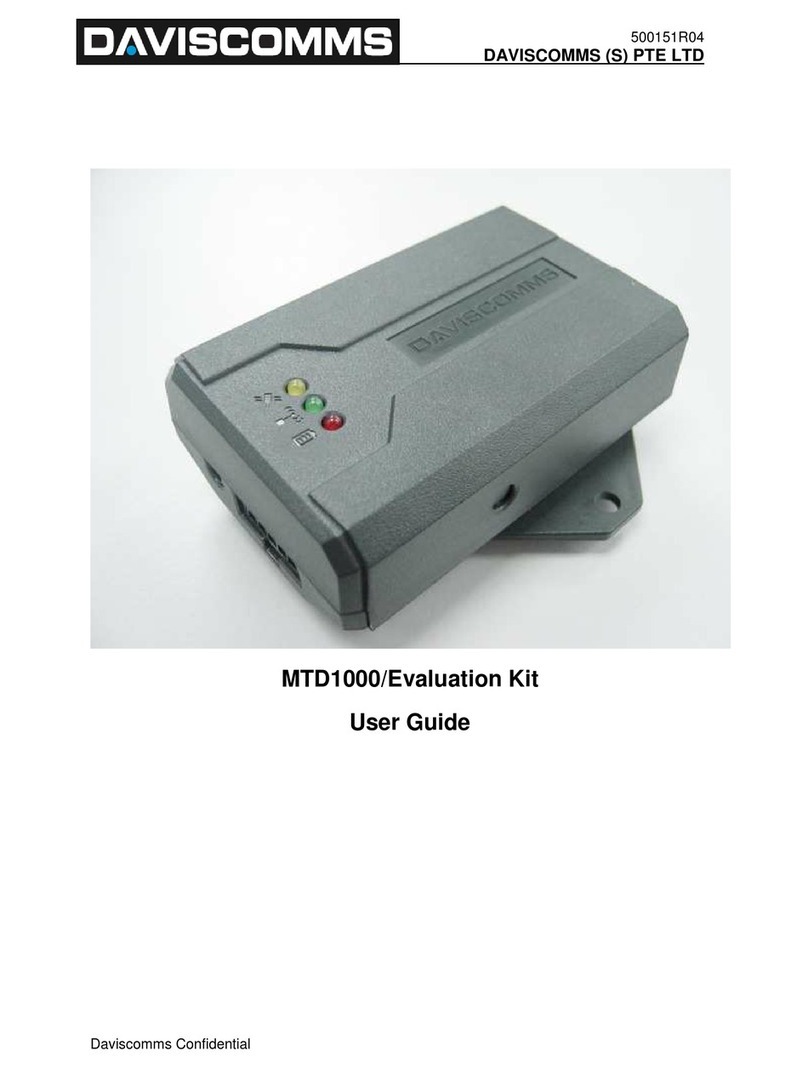
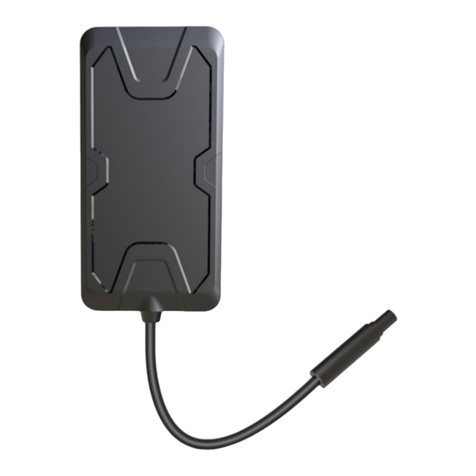
Daviscomms MTD1000 User guide

1
MTD1000
P
ersonal
Tracking System
Start up Guide
500
206
R01

2
a. MTD1000 tracking device (GSM/GPRS/ GPS)
The communication device that processes the GSM/GPRS and GPS functions.
c. GPS antenna (SMA connector) for the MTD1000 device
The receiver component required to receive GPS data to the MTD1000 device for
a location fix.
b. Power Adapter
1X Power adaptor (100 – 240V~ 50/60Hz 650mA Max) for the MTD1000 tracking
device
d. Li- Polymer battery for MTD1000
An alternative solution to power up the MTD1000 without a power adaptor up to
24 hours.
Voltage/ current specification: (3.7V/ 780mAh)
e. Communications cable
The cable that interfaces from the MTD1000 tracking device to a serial comport
connection of your PC.
f. Cigarette Lighter Adapter (CLA)
The cable that powers up the MTD1000 tracking device from the cigarette lighter socket
of your vehicle.
PTS start up guide
Package description
Tracking Device
Power adaptor
GPS active antenna
Li-Polymer battery
Communications cable
CLA adaptor
500206
R01

3
500206
R01

4
Setup
1 Determine if you have the RS232 port available on your PC
2 Setting up as a tracking device
3 Installation of Microsoft NET ver 1 1
4 Installation steps for MTS application
5 Setting up as a modem
6 Google Earth Plus installation
7 Appendix
1. Hardware setup of the tracking device
2. Determine if you have the RS232 port avai ab e on your PC
Fig 1 Fig 2
Using serial communication Connect the communication cable to the
RS232 port of your PC
By default, it is recommended to use the communication cable to interface from the tracking device/modem to your PC It is not required to
install any software drivers to your computer when using this method
If the RS232 port is a ready avai ab e on your PC, connect it as in fig.2.
If the RS232 port is not avai ab e on your computer, p ease go to page 5 to and refer to fig.3.
Step 2
Tracking device
Power adaptor
Step 1
Communications
cable to PC
Connect the device as disp ayed in the
picture
Power up the device
SIM card
Tracking device
Li-Polymer
Battery
Insert the SIM card (Not included in the package)
Connect the Li-Polymer battery
Place the back cover to the tracking device
*Important:
Take note of the SIM card number of the
tracking device
500206
R01

5
3. Software driver for ATEN USB to seria converter cab e
Fig 3
Using USB to Serial converter cable
with the communication cable
If your computer does not have a RS232 port for the serial communication cable, you may purchase the ATEN USB-Serial converter cable to
connect to your computer
Connect the USB-Seria converter cab e to the communications cab e as in Fig.3
Important*:
Down oad the ATEN seria -to USB converter cab e driver from www.daviscomms.com.sg
Please refer to steps below to install the ATEN USB-Serial driver to your PC
The new hardware wizard will appear on your computer when
you connect the USB to serial cable to your computer
Select “No, not this time” and click “Next”
Step 1
Step 2
Selec
t
“Insta from a ist or specific ocation
(Advanced)
”
500206
R01

6
Select “Search for the best driver in these ocations”
and check on “Inc ude this ocation in the search”
Click “Browse”
Step 4
Step 3
Click
“Next”
Click
“Continue Anyway”
Step 5
Step 6
Locate the folder “Winxp V1.5”
and
click “OK”
500206
R01

7
Click “Finish” to complete the USB driver installation
Please wait while the computer installs the driver files
Step 7
Step 8
Step 9
In your PC, go to START/CONTROL
PANEL/SYSTEM/HARDWARE/DEVICE
MANAGER/PORTS to detect the comport
number of the ATENS USB driver installed in
your computer
Take note of the USB comport number for
easy reference ater.
Go
to www.daviscomms.com.sg to
down oad Microsoft.Net Framework 1.1.
Refer to page 8 for insta ation of
Microsoft.NET program.
500206
R01

8
4. Setting up Microsoft.NET ver 1.1
Download the Microsoft NET ver 1 1 from
www.daviscomms.com.sg
Double-click on the “dotnetfx exe” and “Run” the
installation on your PC
Step 1
Step 3
Step 4
Step 2
Click
“Yes”
The program will extract the installation
files
Select
“I agree”
and click
“Insta ”
Step 5
Please while your computer installs the program
Step 6
Click “OK” to complete the installation of the program
Important*:
Down oad and insta the MTD1000 PTS 3.00
app ication from www.daviscomms.com.sg
Proceed to next page
500206
R01

9
5. Setup and insta ation steps for PTS app ication
Step 3
Click
“Next”
Click
“Next”
Step 2
Step 1
Down oad and i
nsta the PTS app ication the app ication to
your PC
Back to setup
Step 5
Step 4
Click
“Next”
Click
“Next”
500206
R01

10
Click “Insta ”
Step 6
Step 7
Please wait while Setup installs the program
Step 8
Check “Launch MTD1000 PTS 3.00” and click “Finish”
Step 9
Select “Device” and click on “Seria port”
500206
R01

11
Step 10
Step 11
Select “Device” and click on “Device Setup”
Key in the comport number of the e g COM1 if
using the serial communications cable
Refer to page 7 step 9 if using the ATEN Seria
to USB cab e converter to find out the comport
number.
Step 13
Uncheck Internet channel
Key in the Device ID, phone number of the GSM modem
Click on
Write
Step 14
Tracking device
GPS antenna
CLA adaptor
Connect the GPS active antenna and the
CLA power
adaptor to the tracking device as above
Connect the CLA power adapter
from the tracking device
to your car
and the setup for the tracking device is
complete
C ose the PTS app ication
500206
R01

12
6. Hardware setup of the modem
6. Goog e Earth P us insta ation
Communications
cable to PC
Power adaptor
Modem
Step 2
Step 1
Insert the SIM card (Not included in the package)
Connect the Li-Polymer
Place the back cover to the modem
*Important:
Take note of the SIM card number of the modem
Modem
Li
-
Polymer battery
SIM card
Click “Run” to install the Google Earth
installation program
Click
“Insta ”
Step 1
Step 2
Connect the power adaptor and power it up
Connect the communications c
able from the modem to your
PC
Purchase the Goog e earth p us icense key from
https://registration keyhole com/choice_lt_initial html
Down oad Goog e earth from www daviscomms com sg
to your PC
500206
R01

13
Please wait while your computer prepares to installs the
program
Uncheck all boxes except launch “Google Earth” and click
“Finish” to complete the installation
Important*:
When Goog e earth is aunched, go to He p->
Goog e Earth P us License and enter the icense
key which you have a ready purchased on ine from
step 31 and c ick activate.
C ose the Goog e earth app ication
Step 3
Step 4
Step 5
Step 6
Open the PTS program
Select “System” and click on “SMS Channe ”
Key in the comport number of the e g COM1 if
using the serial communications cable
Important*:
Refer to page 7, step.9 if usi
ng the ATEN Seria
to USB cab e converter to find out the USB
comport number
500206
R01

14
Click on the tracking tab
Key in the device ID of the tracking device e g “Device”
Key in the phone number of the tracking device
e g
“912345678”
Click on “Add”
Click on “SMS channe ” under
“communications
channe ”
Step 8
Step 7
After the PTS has successfully initialize the modem, Select
“instant ocate” of “Tracking mode” and click “Start”
The Google Earth Plus application will appear on the desktop to
display the location of the tracking device
For more information please visit www daviscomms com sg
500206
R01

15
Appendix
LEDs status indication of the tracking device and modem
When the red LED is lighted up, it means the uni
t is
charging up the Li-polymer battery
When the red LED is not lighted up, it means the
Lithium polymer battery is fully charged or the Li-
polymer battery is not connected to the battery and
charging is not active.
When the green LED is lighted up, it means the
unit
does not detect the presence of a SIM card.
When the
green LED is flashing slowly, it means the
unit has detected the presence of the SIM card and has
registered to the GSM network
When the green LED is flashing quickly, it means the
unit
has connected to the PTS application in internet
mode.
When the orange LED is lighted up, it means the
unit
has a valid GPS signal from the satellite.
When the orange LED is not
lighted up, it means the
unit does not have a valid GPS signal from the satellite.
Red
Green
Yellow
500206
R01
Other manuals for MTD1000
1
Other Daviscomms GPS manuals
