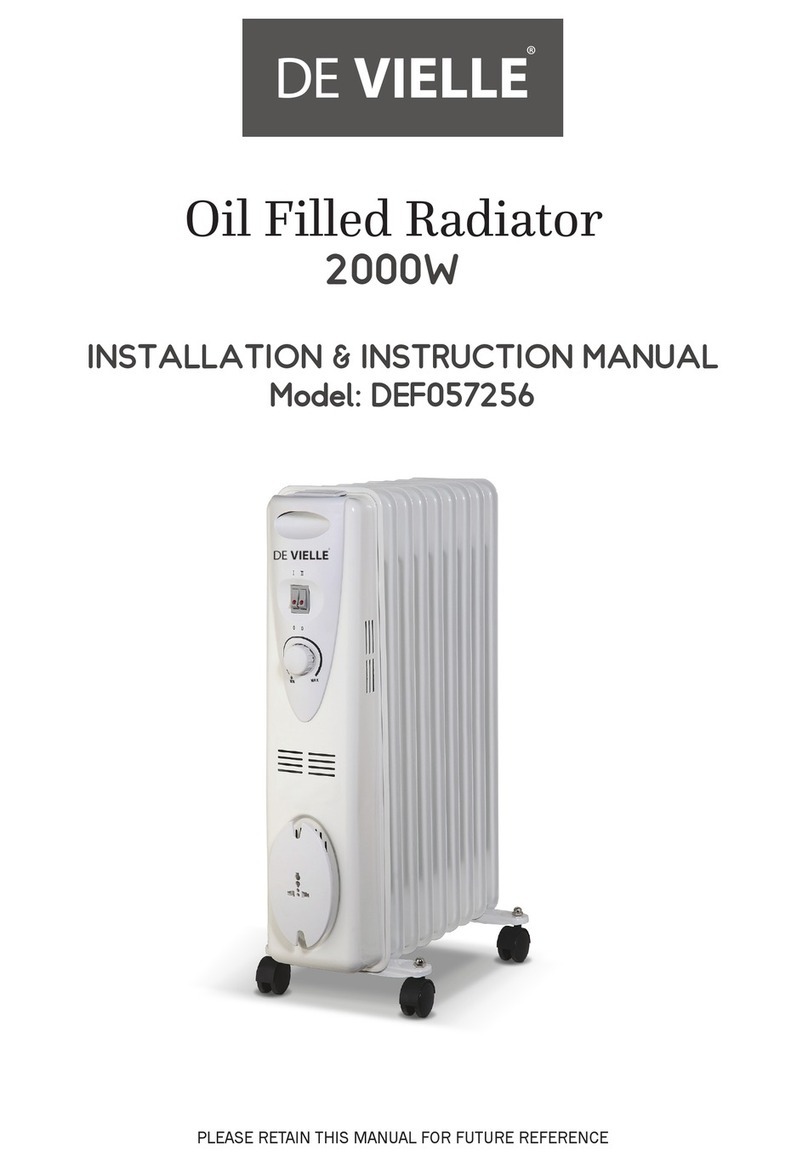
De Vielle DEF057232 Service manual

PLEASE RETAIN THIS MANUAL FOR FUTURE REFERENCE
INSTALLATION & INSTRUCTION MANUAL
Model: DEF057232
7Fin Oil Filled Radiator
1500W

2
Important Safety Instructions
Please keep this instruction manual in a safe place, along with the purchase receipt and carton
for future reference. The safety precautions enclosed herein reduce the risk of re, electric
shock and injury when correctly adhered to.
• If the supply cord is damaged, it must be replaced by the manufacturer or its service agent or a
similarly qualied person in order to avoid hazard.
• Before turning on, ensure the electrical voltage and frequency of the circuit correspond to
those indicated on the appliance.
• The appliance is not intended for use by young children or inrm persons without supervision.
• Young children should be supervised to ensure that they do not play with the appliance.
• Do not operate the appliance outdoors
• Power plug must be removed from power socket before cleaning, servicing, maintenance or
moving the appliance.
• When the appliance is not in use, switch it o and unplug it.
• The appliance should be placed on a at surface when operating to avoid overturning.
• To reduce the risk of electrocution, never operate this product with wet hands, submerge in
water or spill liquids into the product.
• Do not insert any objects into the appliance.
• Do not kink or damage the power cord.
• Improper installation may result in the risk of re, electric shock and or injury to persons.
• The manufacturer is not responsible for any eventual damages caused by improper or faulty
use.
• The unit has no user-serviceable parts contained within. Do not attempt to repair, disassemble
or modify the appliance.
• This appliance can be used by children aged from 8 years and above and persons with reduced
physical, sensory or mental capabilities or lack of experience and knowledge if they have been
given supervision or instruction concerning use of the appliance in a safe way and understand
the hazards involved. Children shall not play with the appliance. Cleaning and user mainte-
nance shall not be made by children without supervision.

3
Care and Cleaning Instructions
The appliance is not designed to be dismantled without special tools. Please do not
attempt to separate the unit.
1. Ensure appliance is disconnected from the power supply and switched o before
attempting to clean.
2. Cleaning the exterior of the unit should only be attempted with a slightly damp, soapy cloth. After
wiping down the unit with the soapy cloth, dry any wet spots with a dry cloth.
3. When not in use, pack the heater into its original box for best protection and store
in a cool, clean and dry location.
Caution: Never immerse the heater in water for cleaning.

4
Using your Heater
Assembly
Ensure the power cord is not plugged in before attempting to assemble the heater.
The only assembly required for the oil heaters are attaching the wheels onto the
main unit. Follow these procedures:
1. Turn the unit upside down so that the wheels can be attached. The heater should only ever be in the
upright position unless the wheels are being removed or put on.
2. The packaging should come with 2 U-bolts. Fit one of the U-bolts between the last two ns on one of
the sides.
3. The unit should also come with 2 wheel brackets. Fit the wheel bracket over the U-bolt ensuring that
the corresponding holes line up so that they can be screwed tightly.
4. Use the wingnuts provided to secure the wheel bracket to the U-bolt by turning it
reasonably tightly with your hands. No tools are necessary.
5. Repeat the process to attach the wheel onto the other side.
6. Turn the heater to the upright position and let the oil settle for at least 15 minutes
before turning on.
NB: Please ensure heater is in the upright position with the wheels attached to the bottom.
The heater is tted with a safety device and will only operate in the upright position.
Using your Heater
1. Place the heater on a at surface, away from ammable objects.
2. Plug the power cord into the wall socket when ready to use.
3. Press the power switch to turn the heater on. The indicator light on the switch will turn on if the heater
is on. Use the rst switch for a low heat, the second switch for a medium heat and have both switches
on for high heat. The maximum heating power output is 1500W.
4. Use the variable heat thermostat to regulate the desired heating temperature. The
temperature increases as you move the dial clockwise towards the MAX direction.
Note: The indicator lights on the switches may turn on and o as the heater regulates the temperature.

5
Using your Heater
• Use the appliance only for the mentioned purpose, namely as a heater for domestic use. Do not use it as
any other application as it could be dangerous.
• Do not operate the heater near ammable objects (furniture, curtains, shelves etc).
• Do not operate the heater near liquids (bath-tubs, showers, water basins, swimming pools etc).
• Do not cover the appliance when it is operating to avoid overheating.
• Never attempt to remove the front grille of the heater.
• Do not put the cable on the appliance when it is still warm.
• Do not connect the appliance to extension cords or multiple outlets.
• Never operate the appliance immediately below an outlet.
• Never connect the appliance to a thermal control device or a time switch to avoid
overheating risks when the radiator is moved or covered.
Caution: This appliance gets extremely hot during operation and should be handled with care. Be careful of
getting burnt. Never put ammable objects on or near the appliance as they could set alight.

6
Important Features
Whisper-quiet operation
The heater operates in silence as there are no moving parts.
Variable heat thermostat
Use the dial to adjust the temperature setting to your desired comfort level.
Turn clockwise to increase heat.
Convenient cord storage
Power cord can be wound and clipped at base of heater when not in use.
Wheels
The wheels form the base of the heater and allow the unit to be moved
freely around the room.
Heating ns
All 7 ns will heat up when the unit has been switched on.
PLUG REPLACEMENT
If the plug is damaged and requires replacement,
follow the wiring instructions supplied with the new plug.
• The green and yellow wire must be connected to the terminal marked with the letter
E or the earth symbol.
• The blue wire must be connected to the terminal marked with the letter N.
• The brown wire must be connected to the terminal marked with the letter L.
• A 13 amp plug to BS 1363 must be tted a 13 Amp fuse to BS 1362.
* For your safety and protection, this unit is earthed through the power cord plug
when plugged into a matching wall socket. If you are not sure whether the wall sock-
ets in your home are properly earthed, consult a qualied electrician. Do not use plug
adaptors or extension cords with this unit.
GUARANTEE
Please keep your receipt as this will be required for any claims under this guarantee. This
appliance is guaranteed for 2 years after your purchase as described in this document.
During this guaranteed period, if in the unlikely event the appliance no longer functions
due to a design or manufacturing fault, please take it back to the place of purchase, with
your till receipt and a copy of this guarantee.
DeVielle undertakes within the guarantee period to repair or replace the appliance, or any
part of appliance found to be not working properly free of charge provided that:
• you promptly notify the place of purchase or DeVielle of the problem; and
• the appliance has not been altered in any way or subjected to damage, misuse, abuse,
repair or alteration by a person other than a person authorised by DeVielle
Faults that occur through, improper use, damage, abuse, use with incorrect voltage, acts of
nature, events beyond the control of DeVielle, repair or alteration by a person other than
a person authorised by DeVielle or failure to follow instructions for use are not covered
by this guarantee. Additionally, normal wear and tear, including, but not limited to, mi-
nor discoloration and scratches are not covered by this guarantee. The rights under this
guarantee shall only apply to the original purchaser and shall not extend to commercial or
communal use. If your appliance includes a country-specic guarantee or warranty insert
please refer to the terms and conditions of such guarantee or warranty in place of this
guarantee or contact your local authorized dealer for more information.
1
2
3
4
5

7
1
2
3
4
5

Thecrossedout wheelie binsymbolon thisitemindicatesthat
this appliance needs to be disposed of in an environmentally
friendly way when it becomes of no further use or has worn
out. Contact your local authority for details of where to take
the item for re-cycling.
www.devielle.ie
De Vielle,
Unit 5, Northern Cross Business Park, North Road, Finglas, Dublin 11, Ireland
TEL: +353 1 823 9200
EC Declaration of Conformity
We herewith declare, De Vielle, Unit 5, Northern Cross Business Park, North Road, Finglas, Dublin 11, Ireland, that
the following product complies with the appropriate basic safety and health requirements of the EC Directive
based on its design and type, as brought into circulation by us.
In case of alteration of the product, not agreed upon by us, this declaration will lose its validity
Description: Oil Filled Radiator
Model: DEF057232/ OR02-7 Fins
Serial Number: N/A
Rated input voltage: 220-240 V AC 50 Hz
Rated power input: 1500 W
Applicable EC Directives: EC Directive of Electromagnetic Compatibility 2004/108/EC
Tested acc.ording to: EN 55014-1:2006
EN 55014-2:1997+A1+A2
EN 61000-3-2:2006
EN 61000-3-3:2008
Table of contents
Other De Vielle Heater manuals
Popular Heater manuals by other brands

REMKO
REMKO CLK Series Operating and installation instructions

Generac Power Systems
Generac Power Systems MAC 550F owner's manual

EINHELL
EINHELL FW 500 operating instructions

IntelliHeat
IntelliHeat DEKO operating instructions

BOMANN
BOMANN HL 1095 CB instruction manual

Toyotomi
Toyotomi Zibro LC-140 operating manual

EUROM
EUROM 333299 instruction manual

Haverland
Haverland ECO-DRY GPS Series Instruction & installation manual

Imetec
Imetec TH1 100 ECO operating instructions

Hyco
Hyco Zephyr DF20 instruction manual

Webasto
Webasto DBW 2010 operating instructions

THE RADIATOR COMPANY
THE RADIATOR COMPANY BDO 25 Fitting instructions