Decor Walther STONE HTLA User guide

L=320
8x
16x
3
4
22x 3x
MONTAGEANLEITUNG
WICHTIG! BITTE VOR BEGINN DER MONTAGE AUFMERKSAM LESEN!
Bitte beachten Sie, dass die STONE HTLA nur an geraden Wand-/ Bodenflächen optimal zu montieren ist.
Als Erstes müssen die Wandanker montiert werden. Markieren Sie eine senkrechte Mittellinie und bohren Sie
zwei Löcher entsprechend den Abbildungen 1 und 2 . Fixieren Sie die Anker 3 , und haken Sie die Leiter ein 4 .
Die große Ablage muss an den Seitenwänden der Leiter fixiert werden und in einer waagerechten Position an der
Wand anliegen 5 . Markieren Sie die Regalposition an der Wand, entfernen Sie die Ablage und die Leiter, und
bohren Sie zwei Löcher für die Wandhalterung 6 .
Bringen Sie nun die untere Wandhalterung an, und montieren Sie die Leiter sowie die untere Ablage 7 . Diese muss
mit der Wandhalterung fest montiert sein und an der Wand anliegen. Die komplette Struktur muss fest sein. Wenn
erforderlich, korrigieren Sie die Position der oberen Anker, um eine Verschiebung der Leiter zu vermeiden.
Hängen Sie die obere Ablage an den Seitenwänden der Leiter ein und legen Sie diese waagerecht an der Wand
an 8 . Markieren Sie die Position der Ablage.
Führen Sie das gleiche Verfahren mit der mittleren Ablage durch. Entfernen Sie beide Ablagen und markieren die
Lochpositionen 9 . Montieren Sie die Wandbefestigungen 10 . Hängen Sie die mittlere und obere Ablage in die
Leiter ein und schieben diese dann nach hinten. Vergewissern Sie sich, dass die Leiter mit Ablagen fest an der
Wand montiert ist 11 .
ACTHUNG! Die mittlere sowie obere Ablage werden durch Magnete an der Wandplatte gehalten!
56x
MONTAGEANLEITUNG
MOUNTING INSTRUCTION
INSTRUCTION DE MONTAGE
STONE HTLA
Art. 0932050
INSTRUZIONI DI MONTAGGIO
4531
026

MOUNTING INSTRUCTIONS
IMPORTANT! READ BEFORE INSTALLATION!
Due to possible inaccuracies and discrepancies during construction works in the bathroom, such as the uneven surface of the wall or the floor
surface under an angle, it is necesary to mount the ladder with shelves on appropriate way.
First, the top wall anchors have to be mounted. Mark a vertical center line on the wall (use a spirit level!), and drill two holes according to the
drawings 1 and 2 . Fix the anchors 3 and hook the ladder under them 4 .The big shelf has to be hooked onto the side pins of the ladder and
leaning against the wall in horizontal position 5 (use a spirit level!). Mark position of the shelf on the wall, move away the shelf and the ladder and
drill two holes for the wall holder 6 according to the drawing.
Attach the bottom wall holder on the wall (a "tooth" up!), and mount the ladder and the bottom shelf 7 . The shelf must be firmly hooked on the
wall holder and leaning against the wall surface. The whole structure must be strong and not be wobble while shaked by hand. If necessary, adjust
position of the upper wall anchors again to avoid movement of the ladder.
Hook the top shelf onto the side pins of the ladder and adjust the shelf to be horizontal while leaning against the wall 8 (use a spirit level!). Mark
the position of the shelf on the wall.
Do the same procedure with the middle shelf. Move away both shelves andmark drilling positions according to the drawing 9 . Attach wall holders
onto the wall (a "tooth" down!) 10. Hook one of the shelves onto the side pins of the ladder and place the back side of the shelf on the wall
holders. Be sure that the shelf is firmly atrracted against the wall surface 11. Do the same procedure with the second shelf.
ATTENTION! The upper shelf and the middle shelf are held by magnets.
INSTRUCTION DE MONTAGE
IMPORTANT! MERCI DE LIRE ATTENTIVEMENT AVANT LE MONTAGE!
Le STONE HTLA ne peut être monté que sur des surfaces de mur ou sol droits et propres.
Fixer tout d’abord les ancres murales. Marquer une ligne de centres verticale (à l’aide d’un niveau) et percer deux trous dans le mur 1 2 . Fixer
les ancres 3 . Accrochez l’échelle sur les ancres 4 . La grande étagère doit être fixée sur les panneaux latéraux de l’échelle et être posée
horizontalement contre le mur 5 . Marquer la position de l’étagère sur le mur, déplacer l’échelle et l’étagère et percer deux trous pour la fixation
murale 6 .
Attacher la fixation murale inférieure et monter l’échelle, ainsi que l’étagère 7 , qui doit être solidement fixée à l’échelle et appuyée contre le mur.
La structure complète doit être résistante. Si nécessaire, corriger la position de l’ancre supérieure pour éviter un déplacement de l’échelle.
Accrocher l’étagère supérieure sur les panneaux latéraux de l’échelle et poser la horizontalement contre le mur 8 . Marquer la position de
l’étagère.
Faire la même procédure avec l’étagère centrale. Détacher les deux étagères et marquer les positions des trous 9 . Monter les fixations
murales 10 .
Accrocher les étagères en les poussant vers l’arrière. Vérifier que l’échelle avec les étagères sont solidement fixés au mur 11.
ATTENTION: L’étagère centrale et l’étagère supérieur sont tenues par des aimants sur le panneau mural!
ISTRUZIONI DI MONTAGGIO
IMPORTANTE! SI PREGA DI LEGGERE ATTENTAMENTE QUESTE ISTRUZIONI PRIMA DELL´INSTALLAZIONE!
Nota bene che, per ottenere ottimi risultati, la superficie (parete/pavimento) di montaggio della STONE HTLA deve essere piana.
Per prima cosa si devono fissare i tasselli con i ganci alla parete. Segnare una linea mediana verticale e forare la parete come illustrazione
1 e 2 . Fissare i ganci 3 e agganciare la scaletta 4 . La mensola grande deve essere fissata sui lati della scaletta e poggiarla contro la parete in
posizione orizzontale 5 . Segnare la posizione della mensola alla parete, rimuovere la mensola come anche la scaletta e forare i buchi per il
supporto murale 6 .
Fissare quindi il supporto murale inferiore e montare la scaletta, in seguito la mensola 7 . Questa deve essere solidamente montata con il
supporto e appoggiata verso il muro. La struttura completa deve essere stabile. Se necessario, correggere la posizione dei ganci superiori per
evitare uno spostamento della scaletta.
Appendere la mensola superiore sui lati della scaletta e disporlo orizzontalmente alla parete 8 . Segnare la posizione della mensola.
Eseguire la stessa procedura con il ripiano centrale. Rimuovere entrami le mensole e segnare le posizioni dei fori 9 . Fissare i supporti murali 10.
Appendere la mensola superiore e quella centrale nella scaletta e spingerla verso la parete. Assicurarsi che la scaletta con le mensole è
saldamente fissata alla parete 11.
ATTENZIONE: La mensola superiore e quella centrale sono tenute da supporti magnetici!
MONTAGEANLEITUNG
MOUNTING INSTRUCTION
INSTRUCTION DE MONTAGE
STONE HTLA
Art. 0932050
INSTRUZIONI DI MONTAGGIO

!2
12
Ø8 mm
60
1
565
==
5971
1
3
1
2
=
565
=
4
5
13
6
22
230
Ø
8 mm
60
1
115 115
1
2
2
~4 mm
=
=
230
345
1
25
5
22
MONTAGEANLEITUNG
MOUNTING INSTRUCTION
INSTRUCTION DE MONTAGE
STONE HTLA
Art. 0932050
INSTRUZIONI DI MONTAGGIO
652~
1

Ø8 mm
60
1
34
115 115
230
9
02
02
10
1
1
2
1
4
1
3
2
2
11
7
1
2
3
8
4
1
3
3
6
1
5
2
4
SILICONE
SILICONE
OPTION
02
MONTAGEANLEITUNG
MOUNTING INSTRUCTION
INSTRUCTION DE MONTAGE
STONE HTLA
Art. 0932050
INSTRUZIONI DI MONTAGGIO
026~
1354~
This manual suits for next models
1
Table of contents
Popular Ladder manuals by other brands

Alice's Garden
Alice's Garden Vega manual
zarges
zarges ZAP Safemaster S Instructions for assembly and use

INNOVAPLAS
INNOVAPLAS BILTMOR 5015 quick start guide

FVC
FVC ProMaster PM0201B installation guide
Jefferson
Jefferson MINI TIWER PRO T99 quick start guide
Trigano
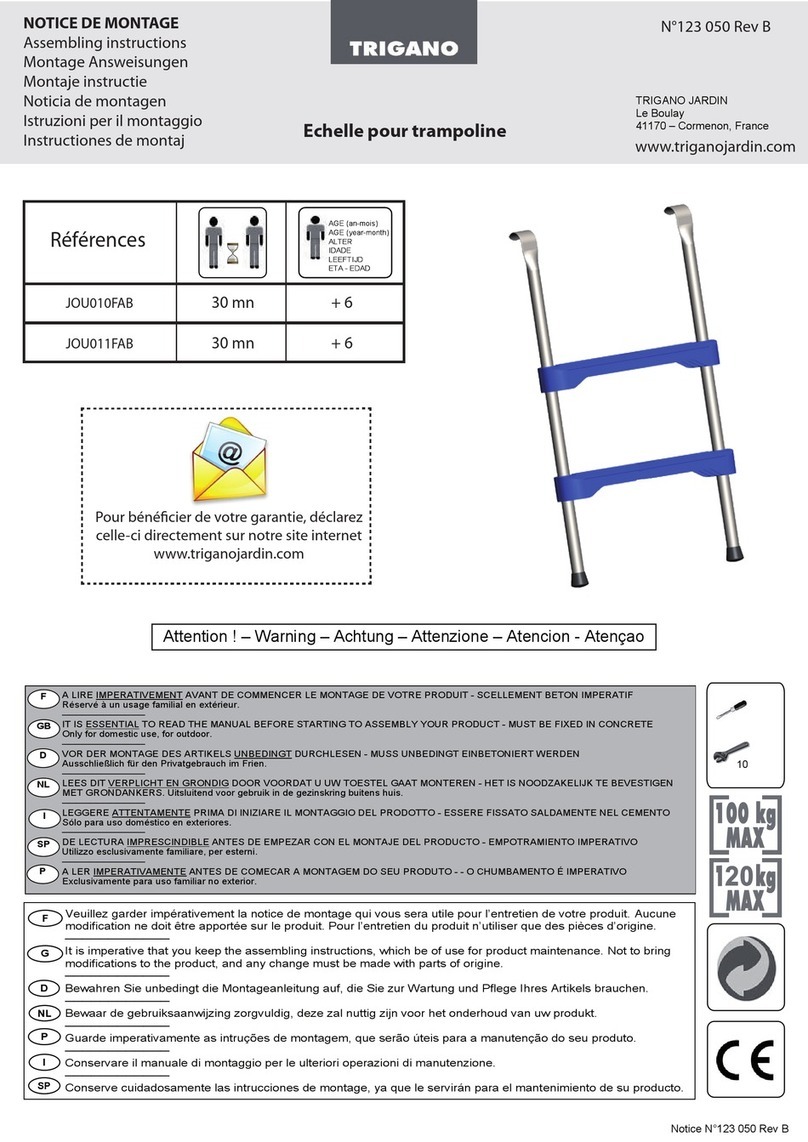
Trigano JOU010FAB Assembling instructions
