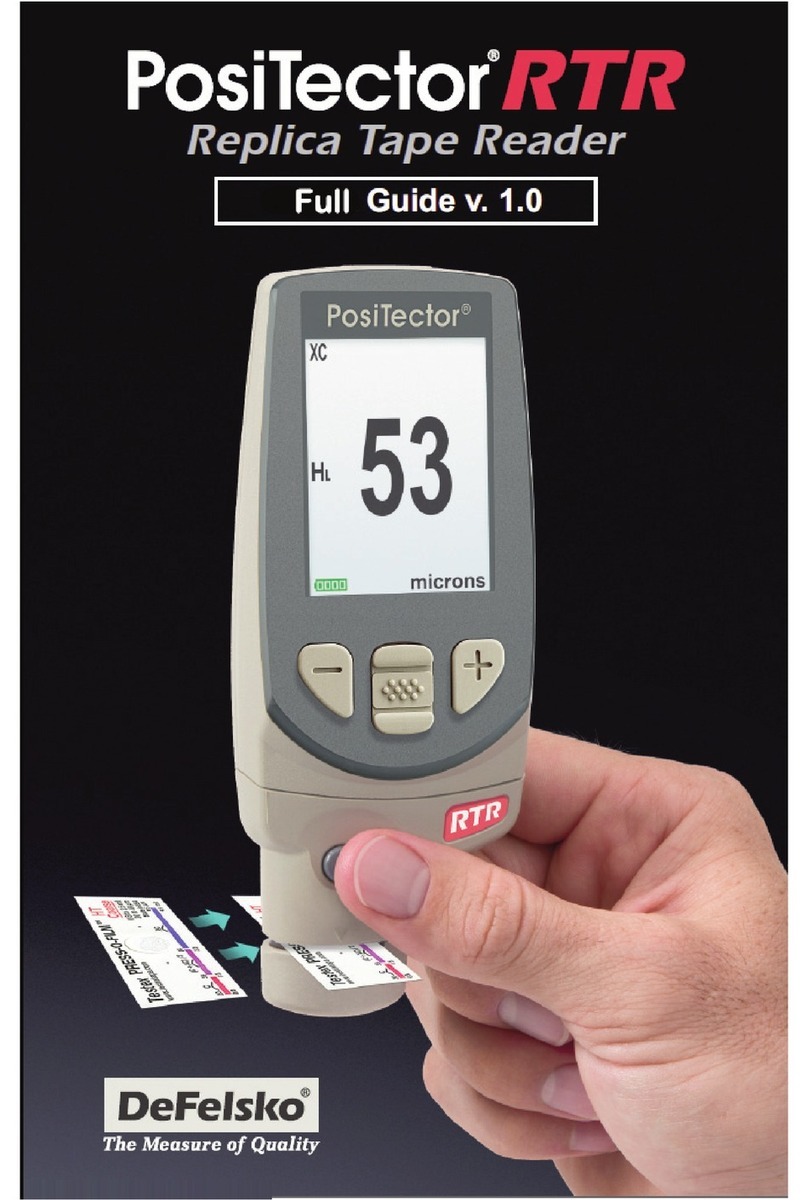
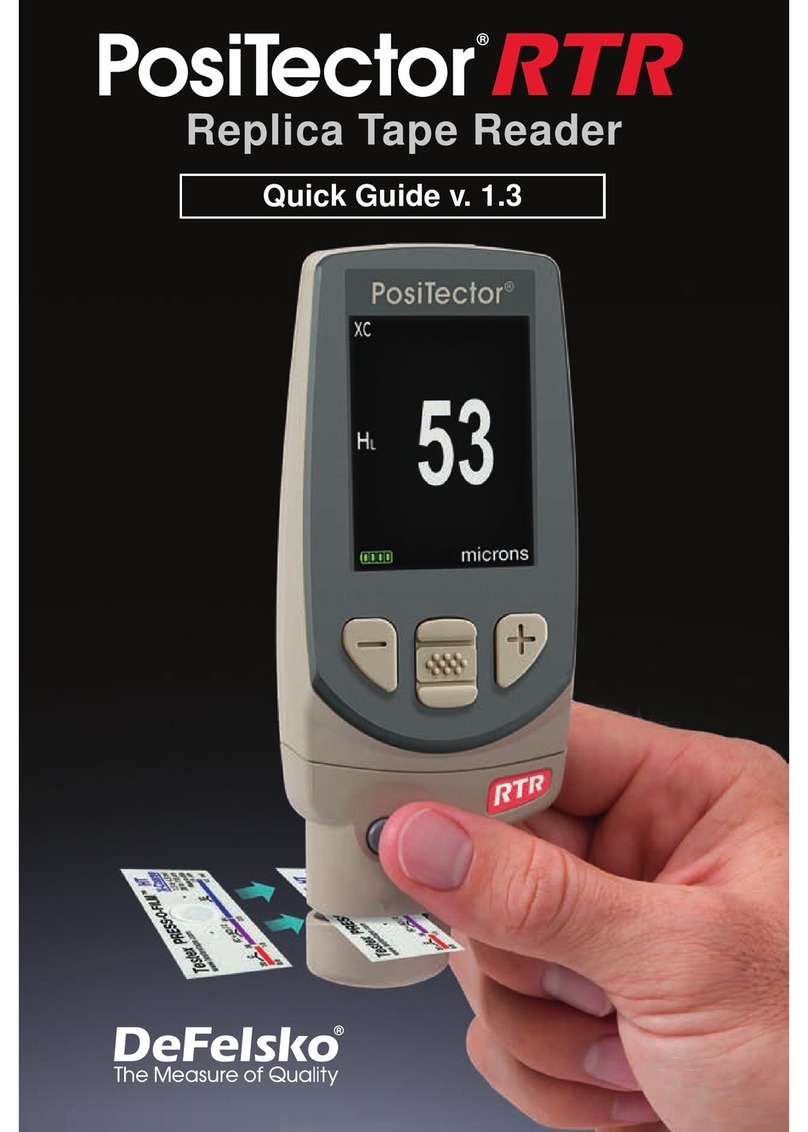
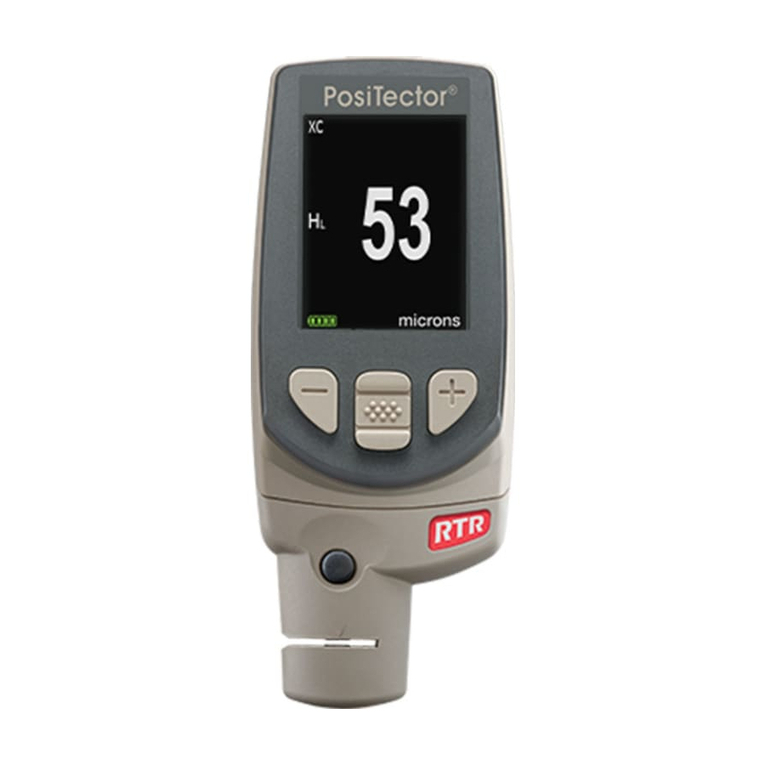
DeFelsko PosiTector RTR 3D User manual

Instruction Manual v.1.0
Replica Tape Reader
3D
3D


1
Table of Contents
Introduction 2
Quick Start 2
PosiTector Body 3
Probes 4
Certification 4
Press-O-Film Replica Tape 5
How to Measure 6
Cleaning the Probe
Opening (Anvils) 9
Calibration & Verification
of Accuracy 10
Menu Operation 11
Cal Settings Menu 12
Zero 12
Tape Grade 12
Linearize 12
Setup Menu 13
Reset 13
Gage Info 13
Peak Density (Spd) 22
2D Images 14
3D Images 14
Sound 15
Units 14
Language 15
Memory Management 16
Standard Models 16
Advanced Models 17
Annotate 18
Display 19
Summaries 19
Screen Capture 19
Save SDF 20
Accessing Stored
Measurement Data 24
PosiSoft.net 24
PosiSoft 4.0 Desktop Software 24
PosiTector App 24
Connect Menu 24
WiFi 24
Access Point 25
USB 26
USB Serial Streaming 26
Sync.net Now 27
Bluetooth Smart 27
Bluetooth 28
Updates 28
Technical Data 30
Power Supply / Battery Indicator 29
Returning For Service 30
Warranty 30

2
Introduction
The PosiTector Replica Tape Reader (RTR-3D) is a hand-held
electronic instrument that measures burnished Testex Press-O- FilmTM
replica tape and uses a light intensity versus thickness algorithm to
produce three-dimensional (3D) images of the replicated surface.
Images generated within the gage are analyzed to produce 2D and 3D
parameters that represent specific characteristics of a surface.
Quick Start
The PosiTector RTR-3D powers-up when the center navigation
button is pressed. To preserve battery life, the Gage powers
down after approximately 5 minutes of no activity. All settings are
retained.
To ensure best accuracy, the user will be prompted to zero the probe
every time the Gage is powered-up. It is therefore good practice to clean the
probe regularly with the included cleaning card and microfiber cloth. Cleaning is
best performed when the Gage is powered down.
NOT :
Measurement RTR-3D
Peak Height H & Linearized Peak Height HLl
2D/3D Parameters* l
2D/3D images (pg. 14)* Advanced model only
Save SDF surface data file (pg. 20)* Advanced model only
With the Gage powered down...
1. Clean the probe with included cleaning card and microfiber
cloth. (pg. 9)
2. Power-up Gage by pressing the center button.
3. Zero the probe. (pg. 12)
4. Verify Gage accuracy. (pg. 10)
5. Measure the burnished replica tape. (pg. 8)
* Optical Grade Replica Tape is required for measuring 2D/3D parameters (pg. 5)
Tape Selection (pg. 5)
Tape Grade Height Measurement 2D/3D Parameters
Coarse (C) l
X-Coarse (XC) l
Optical Grade
Coarse (C) l
Optical Grade
X-Coarse (XC) l l

3
Typical Display
By Default, the PosiTector
RTR-3D displays a three-
dimensional (3D) image of
the replicated surface, HL,
Spd, Ra and Sa parameters.
Displayed parameters and
images may be modified from
the Analysis Setup (pg. 21)
and Setup (pg. 13) menus.
PosiTector body
PosiTector bodies accept all interchangeable probes including
surface profile (RTR/SPG), coating thickness (6000/200),
environmental (DPM), Shore Hardness (SHD), soluble salt (SST), and
ultrasonic wall thickness (UTG) probes.
Updates: Keep your PosiTector current with software updates
containing the latest features, functionality and
probe compatibility (see Updates pg. 28).
Wrist Strap: We recommend attaching and
wearing the supplied wrist strap.
Protective ens Shield: The PosiTector display is covered with a
thin plastic film for protection against fingerprints and other marks
during shipment. This film, while usually removed before using the
Gage, can be left in place to protect against paint overspray or debris.
Replacements can be purchased.
USB Port
Display
Probe
connector
Connected probe
type is displayed
during power-up
1
2
Tape Grade
Areal Peak
Density
3D Image
Linearized
Peak Height
Roughness
Average 3D Roughness
Average 2D
Default Display
T

4
When powered-up, the PosiTector automatically determines which
probe is attached and does a self-check.
To disconnect a probe from a body, slide the plastic probe connector
horizontally (in the direction of the arrow) away from the body.
Reverse these steps to attach a new probe.
Probes
It is not necessary to power-down the gage when
interchanging probes.
NOT :
Probe
Connector
Measurement
Opening
(Anvils)
Camera
Button-Operated
Spring Micrometer
applies constant
anvil pressure
PosiTector RTR 3D probe
Certification
PosiTector RTR probes include a Certificate of Calibration.
For organizations with re-certification requirements, instruments may
be returned at regular intervals for calibration.
DeFelsko recommends that customers establish calibration intervals
based upon their own experience and work environment. Based on
our product knowledge, data and customer feedback, a one year
calibration interval from either the date of calibration, date of
purchase, or date of receipt is a typical starting point.

5
Press-O-Film Replica Tape
Press-O-Film provides a simple way to obtain an impression of a
surface for analysis. It consists of a layer of crushable plastic micro
foam affixed to a 50.8 µm (2 mils) incompressible polyester film. When
compressed against a surface, the foam collapses and acquires an
accurate impression, or reverse replica, of the surface.
Several grades of replica tape are available:
Tape Grade H Range 2D/3D Range Order Code
Coarse (C) 20 to 64 µm
0.8 to 2.5 mils ---------- R-PR SS
X-Coarse (XC) 40 to 115 µm
1.5 to 4.5 mils ---------- R-PR SSX
Optical Grade
Coarse (C)
20 to 64 µm
0.8 to 2.5 mils R-PR SSOG
Optical Grade
X-Coarse (XC)
40 to 115 µm
1.5 to 4.5 mils
10 to 115 µm
0.4 to 4.5 mils R-PR SSXOG
If only the maximum peak-to-valley height is needed, then
conventional Coarse or X-Coarse can be used. Placing the
compressed tape (replica) into the PosiTector RTR-3D gives a
measure of the average maximum peak-to-valley height (H) of the
surface roughness profile. The Gage automatically subtracts the
thickness of the polyester substrate from all measurements. Press-
O-Film is available in Coarse (C) and X-Coarse (XC) grades to
accommodate measurements in different profile ranges.
Optical Grade Press-O-Film Replica Tape for 2D/3D Measurements:
When measuring 2D and 3D parameters, it is recommended to use
optical grade Press-O-Film. Optical grade tape provides higher
resolution images than conventional Press-O-Film replica tape. It is
available in both Coarse (C) and X-Coarse (XC). Choose the tape
grade that most closely matches the intended maximum peak to
valley height of the surface being measured.

6
Operating Principle
The PosiTector RTR-3D uses two measurement principles: a digital
micrometer to measure the overall height of the burnished replica
tape, and an optical system that projects light through the replica tape
and captures a two-dimensional black and white image.
The digital micrometer is used to measure the overall thickness of the
burnished replica tape. After subtracting the thickness of the
incompressible polyester film and linearizing the result (pg.12), this
thickness corresponds to the average maximum peak-to-valley height
(H).
It is known that replica tape transmits light proportionally to the degree
to which it is compressed. Peaks in the surface profile compress the
replica tape and result in bright spots, while valleys compress the
replica tape less, and result in dark spots. By recording the amount
of light transmission at each point on the burnished replica tape, a
precise 3D map of the surface can be generated. 2D and 3D surface
profile parameters can be measured.
The PosiTector RTR-3D uses a light intensity versus thickness
algorithm to produce three dimensional (3D) images of the replicated
surface burnished using Replica Tape. The image sensor produces a
1024x1024 pixel image that represents an approximate 3.8 mm x 3.8
mm image area. Images generated within the gage are analyzed to
produce 2D and 3D parameters that represent specific characteristics
of a surface.
How to Measure
1. Prepare the test surface
2. Burnish the replica tape
3. Prepare the Gage
4. Measure
1. Prepare the Test Surface
Locate a representative site for measurement. Clean the surface to
be tested. DeFelsko recommends the use of the included putty to
remove dust, debris, or residual blast media from the surface. Firmly
press the putty onto the surface using your fingers, and remove.
nsuring a clean surface is especially important when using
the PosiTector RTR-3D to measure 2D and 3D parameters or
generating SDF files for post processing.
NOT :

7
2. Burnish the replica tape (create a replica)
Select the appropriate grade of replica tape based on the target pro-
file. See tape instructions for assistance (pg. 5).
Pull a single adhesive-backed replica tape free of its release paper.
A “bull’s eye” circle of paper should remain on the release paper (it
is not used for measurement).
Apply replica tape to the surface. Press the adhe-
sive-backed ends of the tape to hold it firmly in
place during the burnishing process.
Firmly compress the foam using the rounded end of the included
stainless steel burnishing tool. Apply sufficient pressure in a
circular and x-y rubbing motion to produce a
replica with a uniform appearance.
Excessively hard rubbing should be avoided
because the polyester film could become
distorted. It normally takes 30 to 60 seconds to
fully compress all parts of the foam on most surfaces. After
burnishing is complete, remove the replica tape from the surface.
It is important to clean the anvils and camera lens before
each measurement of 2D and 3D parameters or generating SDF files.
(pg. 9).
NOT :
3. Prepare the Gage
Power-up the Gage by pressing the center navigation button. An
image appears indicating that the probe requires zeroing.
Simultaneously press and hold both probe buttons
firmly until the Gage beeps and the arrows point
outward. Do not place anything in the measurement
opening during this procedure.
nsure the correct grade of replica tape, C or XC, is
displayed in the upper left corner of the display (pg. 12).

8
4. Measure
Insert the burnished replica tape into the
measurement opening. nsure the tape is
properly positioned so that the burnished
region is centered within the opening in the
probe with the adhesive (sticky) side down.
To position the tape, move the tape to the back of the probe and align
the two dots (printed on replica tape) with arrows on both sides of the
measurement opening.
If you are using older tape that does not have the printed dots, simply
align by centering the tape within the measurement opening.
During measurement, a constant anvil pressure is applied to the
replica tape regardless of how hard the two buttons are pressed.
1. a) Firmly press both probe buttons simultaneously and hold
until the Gage beeps and the arrows point outward.
b) Remove your fingers from the tape and release both
probe buttons (do not hold or remove tape from gage).
c) Hold the gage steady while the probe measures the
compressed foam until the following graphic disappears.
Several images of the foam surface are captured during
each measurement. Image blurring will occur if the tape is
touched or removed during this time.
2. The surface profile height (HL) measurement is
immediately displayed. The tape can now be removed.
An hour glass will display while 2D and 3D parameters
are calculated.
Align dots with arrows on probe

9
Cleaning the probe opening (anvils)
The probe contains two measuring surfaces (anvils) and a camera
lens that can become contaminated with dust particles and residual
tape adhesive. It is therefore recommended to clean the probe
regularly with the included cleaning card and microfiber cloth. Cleaning
is essential prior to performing a probe zero (pg. 12) or a verification
of accuracy (pg. 10). It is best performed when the Gage is powered
down.
With the Gage powered-down, swipe the card through the opening a
few times while pressing both probe buttons. Then insert the included
microfiber cloth and gently wipe the surfaces of the anvils several
times by sliding the cloth back and forth with the probe buttons
pressed.
The cleaning card can also be used to clean the surfaces of analog
spring micrometers. Replacement cards and microfiber cloths are
available.
Cleaning the anvils is especially important when using the
PosiTector RTR-3D to measure 2D and 3D parameters or generating
SDF files.
xample of a 2D surface image taken with a PosiTector RTR-3D
Advanced before and after cleaning the anvils with the cleaning card
NOT :
Bef re Cleaning After Cleaning

10
Calibration & Verification of Accuracy
Calibration
Gage calibration is typically performed by the manufacturer or
accredited lab. All probes include a Certificate of Calibration.
Verification of Accuracy
nsure that the probe has been cleaned with the included cleaning
card (pg. 9) and that the probe has been zeroed (pg. 10).
Verify accuracy of the digital micrometer measuring system
Place the P siTect r RTR Check Shim into the probe opening. The
average of several measurements should be within the combined
tolerance of both the Gage and the shim. If not, the Gage may need
to be returned to your dealer for service.
The check shim is specifically intended for all PosiTector RTR
probes. The Gage is designed to measure burnished replica tape
within a limited measuring range and automatically subtracts 50.8
µm (2 mils) from height measurements to account for the
incompressible polyester film. Therefore plastic shims intended for
other instruments such as coating thickness gages will not be
measured properly.
Verify the optical measuring system
Place the Peak Density Check Tape into the probe opening. The peak
density (Spd) result should be within tolerance specified on the tape.
If not, the Gage may need to be returned to your dealer for service.
Ignore the peak height (H) result when using the Peak Density Check
Tape.

11
Menu Operation
Gage functions are menu controlled. To access the Menu, power-up
the Gage, then press the center navigation button.
Below is a sample menu for a PosiTector RTR-3D Advanced model:
RTR
Memory
Cal Settings
Setup
Analysis Setup
Connect
Power Off
Exit
Memory
Statistics
Cal Settings
Setup
Connect
Power Off
Exit
Sync Now
USB Drive
Auto Sync
Bluetooth
WiFi
Powder Probes
Updates
Exit
To navigate, use the Up and Down buttons to scroll vertically and
to SE ECT.
Press the (+)button to switch
pages in a multipage menu.
Press the (
-
)button to return to
the previous menu or page.
Select Exit to exit from any menu.
Previous Page
( xit) Up Next Page
Access the Menu
(Center/Select)
Down
Current selection is displayed
with white background
Some buttons have a tick box
to their right to indicate current
status. An empty box indicates
that feature is not active.

12
Tape Grade
Cal Settings Menu
The probe should be zeroed regularly to ensure best accuracy. The
user will be prompted to zero the probe every time the Gage is
powered-up. The
Zero
menu item allows the procedure to be
performed at more regular intervals. It is particularly useful during
long measurement sessions.
Important:
Clean the probe with the included cleaning card (pg. 9)
before performing a probe zero.
1. Select
Zero
from the
Cal Settings
menu
2. Simultaneously press and hold both probe buttons firmly until the
Gage beeps and the arrows point outward. Do not place anything in
the measurement opening during this procedure.
Zero
Selects a replica tape grade. Required when
inearize
mode (HL) is ON.
C - Coarse XC - xtra Coarse (default)
Simultaneously press and hold both probe buttons
firmly until the Gage beeps and displays “0”. This can be performed
from the main measurement screen without having to access the menu.
SHORTCUT:
inearize
nWhen the Linearize box IS ticked, the PosiTector RTR displays a
more accurate peak-to-valley height measurement HLthat has been
adjusted for the non-linearity of replica tape. There is no need to
average 2 or more replicas from different grades of tape AND there is
no need to subtract the 50.8 µm (2 mils) of incompressible polyester
film. nsure the proper tape grade, C or XC, has been selected (pg.
12) and appears in the upper left corner of the display.
nWhen the Linearize box is NOT ticked, the PosiTector RTR
displays a height value of H comparable to the value an analog
spring micrometer would display after the 50.8 µm (2 mils) of
incompressible polyester film has been subtracted. In other words, it
is the average of the maximum peak-to-valley distances obtained by
measuring the thickness of the replica tape without any correction.
During measurement, if the linearized measurement falls outside of
the selected tape grade's range, the Gage will suggest a more
suitable tape grade to perform the measurement.

13
Reset
Reset (menu reset) restores factory settings and returns the Gage to
a known condition. The following occurs:
- All batches and stored datasets, batch names and screen
captures are erased.
- Menu settings are returned to the following:
Memory = OFF
Memory Display = ON
2D* = ON
Bluetooth = OFF
WiFi = OFF
3D* = ON
Date, Time and WiFi are not affected by either Reset.
Units = microns
Flip Display = Normal
Sound = ON
anguage = nglish
Battery Type = Alkaline
Backlight = Normal
USB Drive = ON
Auto Sync = ON
Setup Menu
Tape Grade = XC
inearize = ON
NOT :
*PosiTector RTR-3D models only
Perform a more thorough Hard Reset as follows:
1. Power down the Gage and wait 5 seconds.
2. Simultaneously press and hold the (+) and center
buttons until the Reset symbol appears.
This returns the Gage to a known, “out-of-the-box” condition.
It performs the same function as a menu Reset with the addition of:
- Bluetooth Pairing info is cleared.
- Alarm settings are set to defaults.
- Menu settings are returned to the following:
Gage Info
Displays gage body/probe details including serial numbers,
PosiSoft.net registration key, remaining memory capacity for storage
of readings, date and time and software packages.
For security purposes, the serial number and registration key are
required to add the Gage to your PosiSoft.net account.

14
2D
Displays a two-dimensional (2D) black and white image of the
replicated surface. When Memory is on, this thumbnail image is
stored with each reading for inclusion into inspection reports.
Advanced models only
3D
Displays a low-resolution color three-dimensional (3D) image of the
replicated surface. When Memory is on, this thumbnail image is
stored with each reading for inclusion into inspection reports.
Advanced models only
Press the Up navigation button to toggle between 2D and
3D images if the image does not automatically appear on the
display.
NOT :
Units
Converts the display from inch to metric or vice versa. Stored
measurements in memory are not converted. Switching units will turn
off Statistics view and closes Memory.

15
Flip Display
This option causes the display to rotate 180°. Ideal for right-side
up viewing when the sensors are pointed away from the user.
Backlight
Selects display brightness (Sun, Normal or Night). All settings will dim
slightly after a period of no activity to conserve battery life.
Press the Down button to brighten the display.
Sound
When checked (default), the gage will emit various sounds for
activities such as successful measurement and for button presses.
Untick to turn sound off.
Set Clock
All measurements are date and time stamped (24 hour format) when
stored into memory. It is therefore important to keep both the date and
time current using this menu option. Use the Up and Down buttons
to scroll, and the (-) and (+) buttons to adjust a value. The Gage’s
date and time can also be viewed in Gage Info (pg. 13).
Selects the type of batteries used in the Gage from a choice of
“Alkaline”, “Lithium”or“NiMH” (Nickel-metal hydride rechargeable).
If NiMH is selected, the Gage will trickle charge the batteries while
connected via USB to a PC or optional AC charger. The battery
state indicator icon is calibrated for the selected battery type. No
damage will occur if the wrong battery type is selected.
Battery Type
DeFelsko recommends the use of eneloop (NiMH)
rechargeable batteries.
NOT :
anguage
Converts displayed and printed words to the selected language.

16
Memory Management
The PosiTector RTR has internal memory storage for recording
measurement data. Stored measurements can be reviewed on-
screen or accessed via computers, tablets and smart phones.
Measurements are date and time-stamped.
Button functions with Memory ON:
Create a new batch
(Advanced only)
Restore brightness
after dimming
Scroll through display
modes (Advanced only)
Delete last reading
Access the Menu
# of readings
in memory
Current Batch
Tape Grade Cutoff FilterShort Filter
Spd - Areal
peak densitiy
Ra - Roughness
Average 2D
H - Average
maximum peak-
to-valley height
Sa - Average
Roughness 3D
Default Memory Screen

17
Standard models store up to 250 readings in one batch. The
Memory Menu includes the following options...
On: turns memory on and begins recording
Off: stops recording (stored readings remain in memory)
Clear: removes all readings from memory
View: lists group statistics and all stored readings on the display. It
will begin by showing statistics based on all readings in memory. Use
the Up and Down buttons to scroll through all readings. Press
to exit.
Advanced models store 100,000 readings in up to 1,000 batches.
2D/3D images are stored if checked within the Setup menu. The
Memory Menu includes the following options:
New Batch
Closes any currently opened batch and creates a new batch name
using the lowest available number. For example, if only Batch 1 and
Batch 3 exist, then Batch 2 would be created and made the current
batch. The icon appears. ach measurement will be displayed
and stored into this new batch. New batches are date stamped when
they are created. ach reading is also data/time stamped.
When a batch is open, press (+) to create a new batch
SHORTCUT:
lRemove the last reading from the current open batch by pressing (-).
lIf memory is ON, continuous measurements can be taken and stored
in memory.
lach batch can contain a maximum of 10,000 readings.
NOT :

18
Open
Selects a previously created batch name to open and make current.
If it contains measurements, onscreen statistics will immediately
reflect values calculated from this batch.
Close
Stops the recording process, closes the current batch, and removes
batch information from the display.
Delete
Permanently removes a batch from Gage memory. The name is
deleted and all measurements are erased.
View
Scroll using the Up or Down buttons through information, statistical
summary, and a list of each reading in the currently opened batch.
Press to exit.
Annotate
Create meaningful batch names and enter
notes directly on the Gage using a familiar
onscreen QWERTY keyboard.
Use the Gage’s navigation and (-)(+)
buttons to enter annotations.
Annotations can be synchronized with
PosiSoft.net and are included in all PosiSoft
reports (see Accessing Stored
Measurement Data, pg. 24).
Annotations can also be created using PosiSoft.net (pg. 24)
or the PosiTector App (pg. 24).
NOT :
Other manuals for PosiTector RTR 3D
1
Table of contents
Languages:
Other DeFelsko Card Reader manuals
Popular Card Reader manuals by other brands

Welch Allyn
Welch Allyn SCANTEAM 6920 user guide

Rosslare
Rosslare AY-K6255 Installation and user manual
G4S
G4S S880 Installation and user instructions

Dot Origin
Dot Origin VTAP100 installation guide

Clas Ohlson
Clas Ohlson MCR20I52D0S quick start guide
Magtek
Magtek IntelliStripe 60 Technical reference manual
