www.dejero.com
!
4|LIVE+ GoBox User Guide
!
Warranty and Liability
Reasonable care has been taken in
preparing the information in this
document. However, this document
may contain omissions, technical
inaccuracies, or typographical errors.
Dejero Labs Inc. does not accept
responsibility of any kind for
customers’ losses due to the use of
this document. Product specifications
are subject to change without notice.!
!!
Due to the nature of wireless
communication, transmission and
reception of data can never be
guaranteed. While Dejero strives to
provide high-quality video
transmission without significant
delays, environmental and cellular
network conditions beyond Dejero’s
control may result in data delay,
corruption, or loss.
Dejero accepts no responsibility for and is not liable for any loss or damage, including, but not limited to,
revenue or personal injury, resulting from delays in, errors in, or failure to transmit or receive data using
the Dejero LIVE+ Platform.
Warranty on the Dejero LIVE+ GoBox is voided if the case is opened. For details, see Handling and
Operating Conditions below.
Safety Warnings and Hazards
Read this section in its entirety before operating the LIVE+ GoBox.
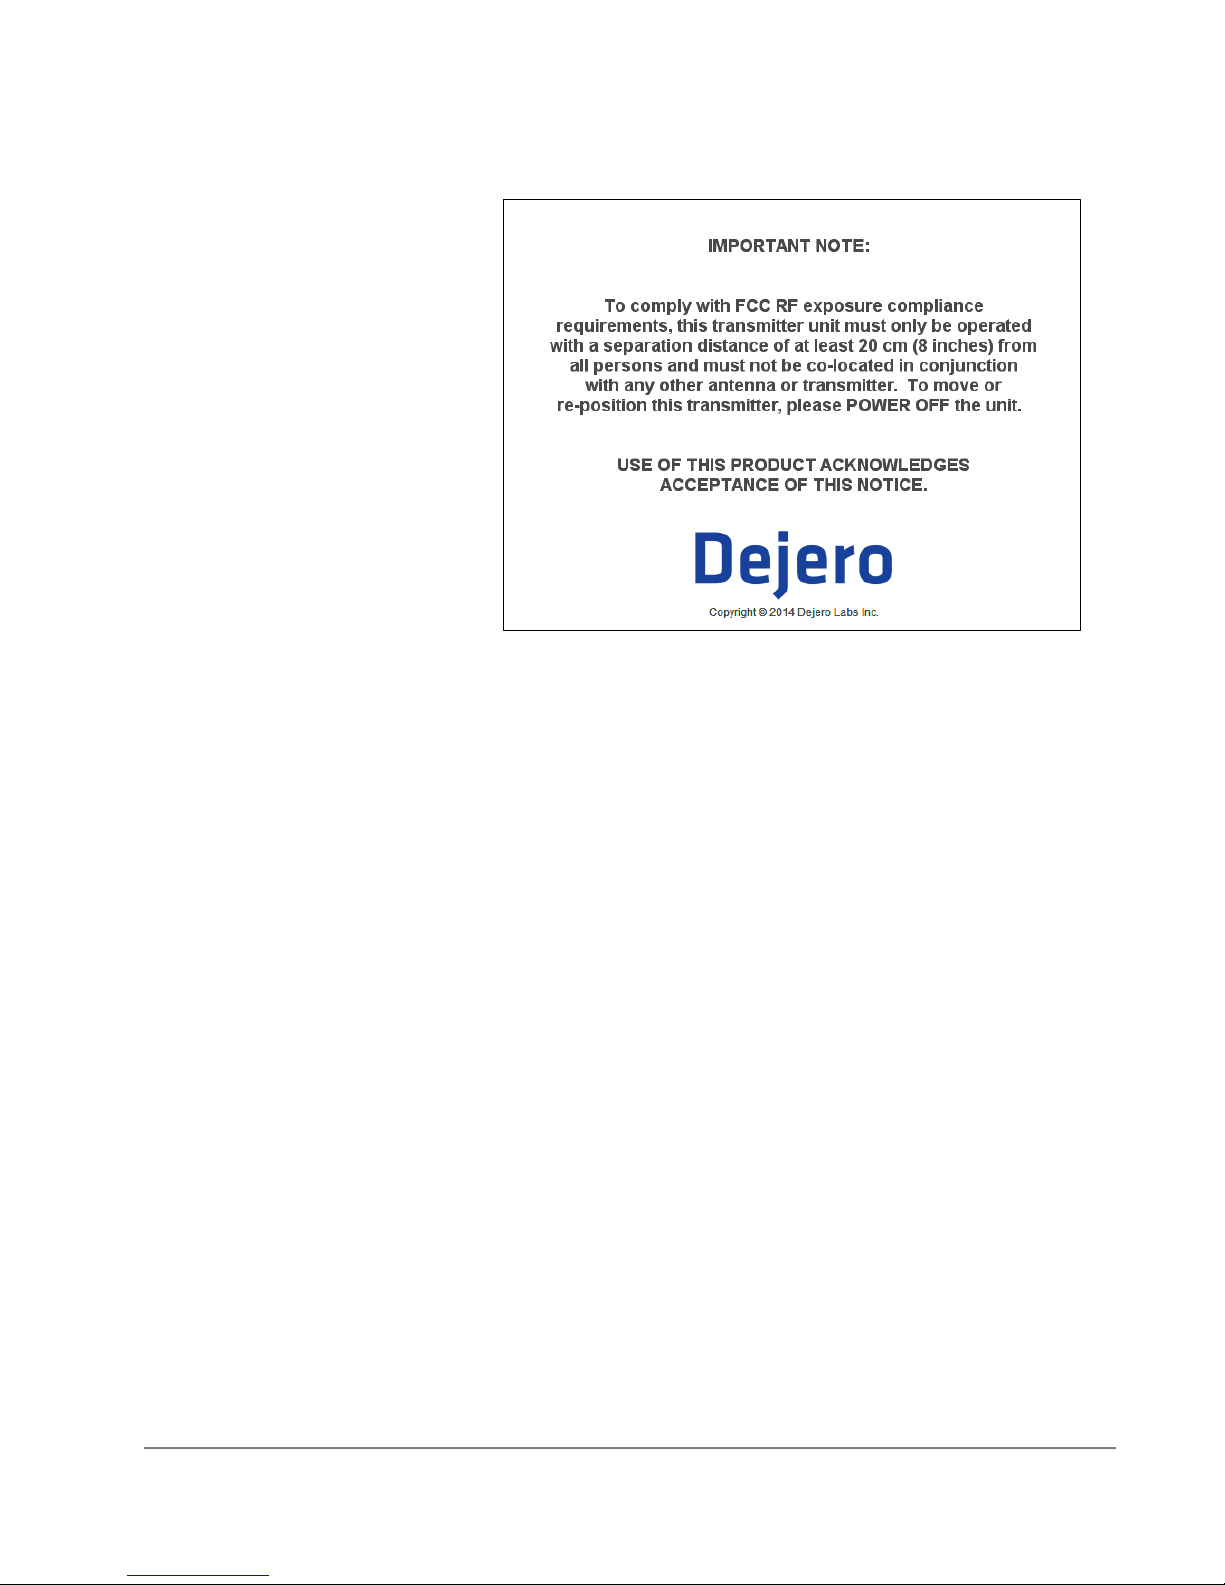
RF Exposure Notice
The LIVE+ GoBox wireless modems are subject to the same RF exposure compliance requirements and
FCC safety regulations as other radio modems that are approved for laptop use.
Explosive Atmosphere
The LIVE+ GoBox should be powered off in an area with a potentially explosive atmosphere; such as
fuelling areas, fuel or chemical transfer or storage areas, below deck on boats, or in areas where the air
contains chemicals or particles; such as grain, dust or metal powders. It is rare, but there is potential for
PC-like devices, such as the LIVE+ GoBox to generate sparks, which could trigger an explosion. Do not
store the LIVE+ GoBox in the compartment of a vehicle that contains flammable gas, liquid, or explosives.
Blasting or Construction Sites
The Dejero LIVE+ GoBox should be powered off in areas where blasting is in progress, where explosives
may be present, or near any other equipment that is susceptible to radio interference.
Hospitals
The Dejero LIVE+ GoBox should be powered off near medical equipment or life support systems, or near
any other equipment that is susceptible to radio interference. Hospitals or other medical facilities often