manuals.online logo
Brands
  1. Home
  2. •
  3. Brands
  4. •
  5. Dell
  6. •
  7. Storage
  8. •
  9. Dell PowerVault DL2000 Manual

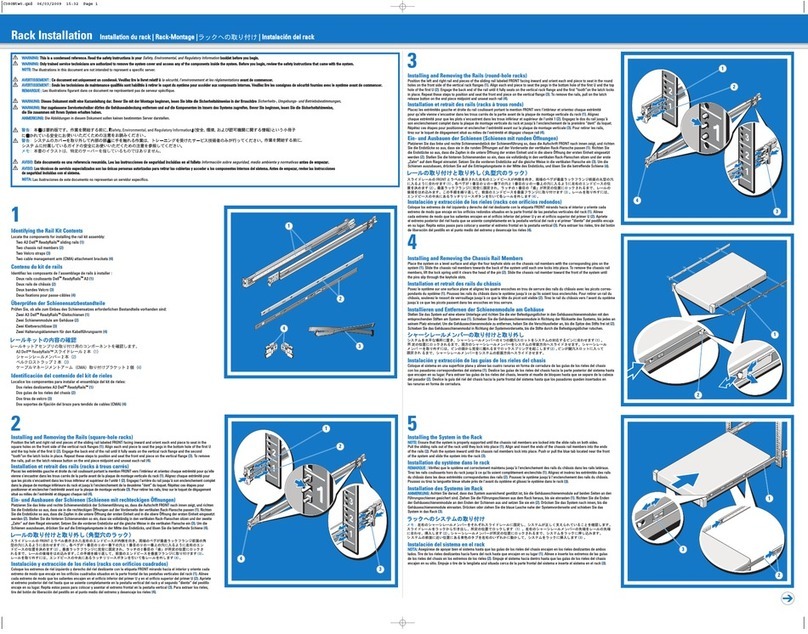
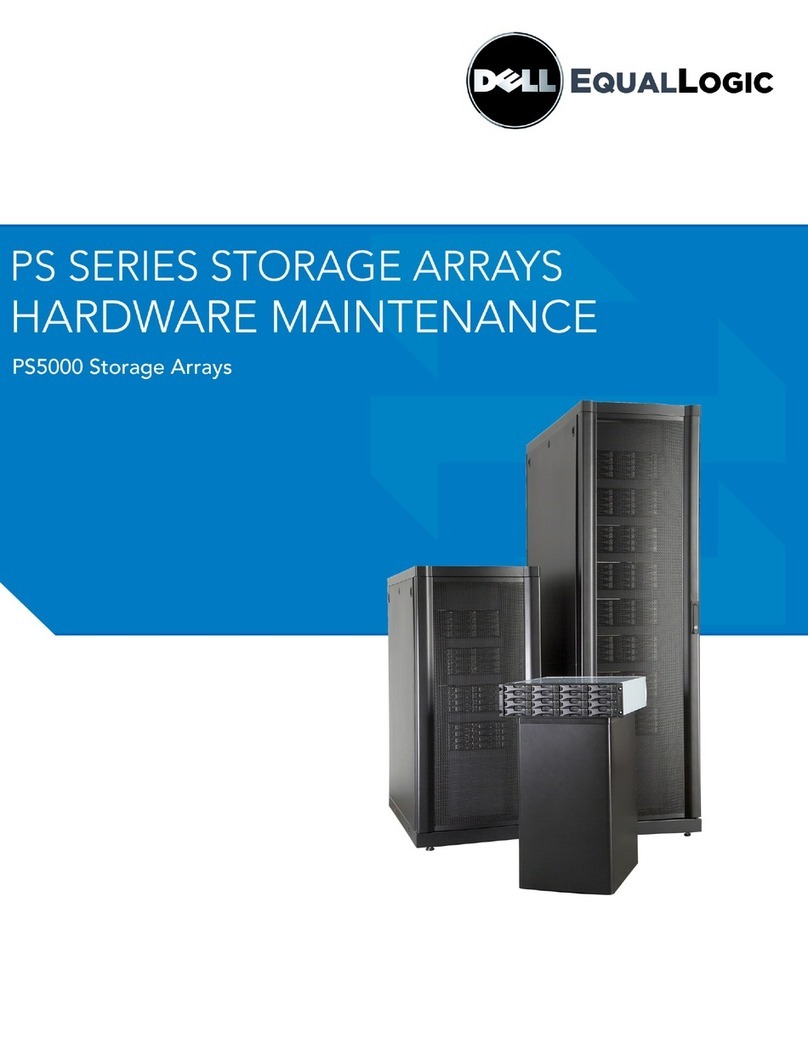
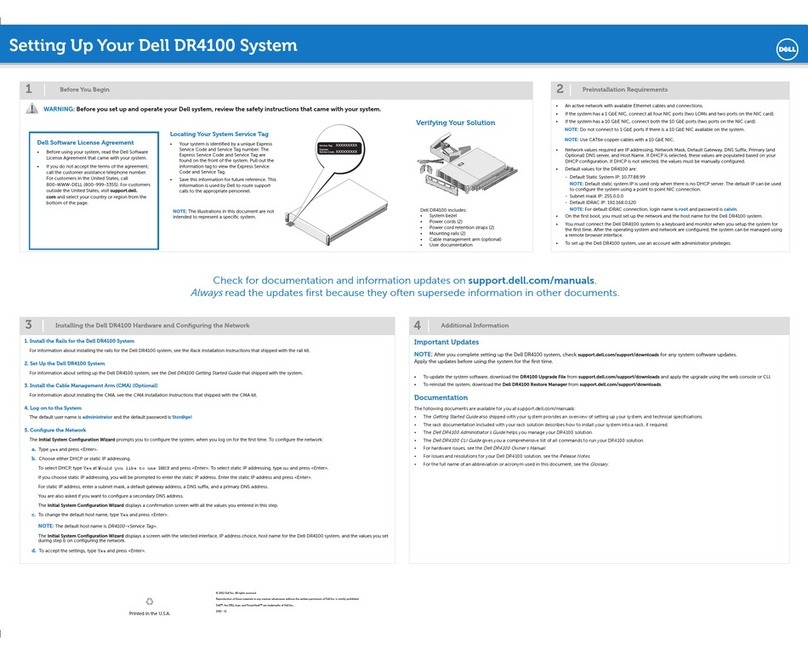
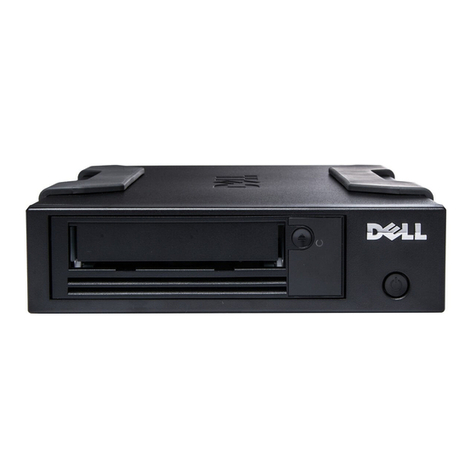
Dell PowerVault DL2000 Manual

Other manuals for PowerVault DL2000

4

This manual suits for next models

1

Other Dell Storage manuals

Dell PowerVault 735N User manual

Dell

Dell PowerVault 735N User manual

Dell PowerVault MD3260 Series Quick reference guide

Dell

Dell PowerVault MD3260 Series Quick reference guide

Dell PowerVault MD3000i Technical manual

Dell

Dell PowerVault MD3000i Technical manual

Dell SC5020 User instructions

Dell

Dell SC5020 User instructions

Dell EMC AX4-5 User manual

Dell

Dell EMC AX4-5 User manual

Dell PowerVault MD3260i Series Operating instructions

Dell

Dell PowerVault MD3260i Series Operating instructions

Dell EMC ML3 User manual

Dell

Dell EMC ML3 User manual

Dell PowerVault MD3000i User manual

Dell

Dell PowerVault MD3000i User manual

Dell PowerVault NX300 User manual

Dell

Dell PowerVault NX300 User manual

Dell PowerVault JU892 User manual

Dell

Dell PowerVault JU892 User manual

Dell PowerProtect DD6900 User manual

Dell

Dell PowerProtect DD6900 User manual

Dell PowerVault MD3200 Series Installation instructions

Dell

Dell PowerVault MD3200 Series Installation instructions

Dell PowerVault MD3200 Series Quick reference guide

Dell

Dell PowerVault MD3200 Series Quick reference guide

Dell PowerVault MD1000 User manual

Dell

Dell PowerVault MD1000 User manual

Dell AMP01 User manual

Dell

Dell AMP01 User manual

Dell PowerVault MD3200i Series User manual

Dell

Dell PowerVault MD3200i Series User manual

Dell PowerScale OneFS User manual

Dell

Dell PowerScale OneFS User manual

Dell PowerVault 750N User manual

Dell

Dell PowerVault 750N User manual

Dell PowerVault 2385P User manual

Dell

Dell PowerVault 2385P User manual

Dell PowerVault DL2000 User manual

Dell

Dell PowerVault DL2000 User manual

Dell PowerVault G225N User manual

Dell

Dell PowerVault G225N User manual

Dell PowerVault TL2000 How to use

Dell

Dell PowerVault TL2000 How to use

Dell DX6000 User manual

Dell

Dell DX6000 User manual

Dell EMC VNXe Series Owner's manual

Dell

Dell EMC VNXe Series Owner's manual

Popular Storage manuals by other brands

IBM 40/80 GB HH DLTVS user guide

IBM

IBM 40/80 GB HH DLTVS user guide

Synology DiskStation DS716+II Quick installation guide

Synology

Synology DiskStation DS716+II Quick installation guide

Vantec NexStar-HX4 user manual

Vantec

Vantec NexStar-HX4 user manual

LaCie Christofle Galet datasheet

LaCie

LaCie Christofle Galet datasheet

LaCie Rugged Thunderbolt user manual

LaCie

LaCie Rugged Thunderbolt user manual

OCZ IBIS datasheet

OCZ

OCZ IBIS datasheet

Transcend JetFlash 110 Brochure & specs

Transcend

Transcend JetFlash 110 Brochure & specs

QNAP TS 32PXU Series user guide

QNAP

QNAP TS 32PXU Series user guide

LaCie RUGGED RAID user manual

LaCie

LaCie RUGGED RAID user manual

Freecom CLS DOCK Quick install guide

Freecom

Freecom CLS DOCK Quick install guide

PNY Attache P-FD64MBATT3 install guide

PNY

PNY Attache P-FD64MBATT3 install guide

OWC Mercury Elite Pro Dual mini Assembly manual

OWC

OWC Mercury Elite Pro Dual mini Assembly manual

OLT 6x6 Maximizer Assembly manual

OLT

OLT 6x6 Maximizer Assembly manual

Transcend JetFlash 160 Specifications

Transcend

Transcend JetFlash 160 Specifications

Thunderbolt 600 user manual

Thunderbolt

Thunderbolt 600 user manual

Intel RAID High Availability user guide

Intel

Intel RAID High Availability user guide

LaCie 12big Thunderbolt 3 Quick install guide

LaCie

LaCie 12big Thunderbolt 3 Quick install guide

Spectra Logic T-Series Spectra T50e quick start guide

Spectra Logic

Spectra Logic T-Series Spectra T50e quick start guide

manuals.online logo
manuals.online logoBrands
  • About & Mission
  • Contact us
  • Privacy Policy
  • Terms and Conditions

Copyright 2025 Manuals.Online. All Rights Reserved.

1Review preinstallation requirements. 2Verify that your solution is complete.
5Connect the power and attach the power cord retention brackets. Install the cable management arm and ramp
assembly, then route and secure the cables. For more information, see the documentation included with your rail kit.
4Install the MD1000 in the rack and connect the power cords and power cord retention brackets.
Dell™PowerVault™DL Backup to Disk Appliance —Powered by CommVault
®
Setup Diagram
CAUTION:
Before you set up and operate your Dell hardware, review the safety instructions that came with your system.
Before You Begin
Before setting up your hardware, make sure you have met the necessary site requirements:
Network requirements
– Depending on your IP addressing scheme, at least one IPv4 address is required.
– An active network with available LAN cabling and connections is required.
– If not provided via Dynamic Host Control Protocol (DHCP), a static IP address is required.
– If not provided via DHCP, a DNS Server IP address is required.
– If setting up a CommVault CommServe®, a Windows Domain Controller is required.
– A username and password with administrator privileges are required.
Licenses
– Refer to the
Register Your Software
document in the enclosed media kit for instructions on registering your software and obtaining
additional licenses. You may also visit ccoommmmvvaauulltt..ccoomm//ddeellll//ssuuppppoorrttto register your software. Registered users will have access to the
latest software patches, downloadable service packs, and the CommVault Knowledge Base.
Before adding a Dell PowerVault DL Backup to Disk Appliance to an existing CommCell®purchased from Dell
– Email ddeellllrreegg@@ccoommmmvvaauulltt..ccoomm(include the ID number of the CommCell) to acquire the required licenses. You will receive a response
within 24 hours.
– Follow the instructions provided in the email response to install the supplied licenses to the CommCell. If you need assistance, contact
CommVault at 1-888-304-3008.
NNOOTTEE::TThheeCCoommmmCCeellllmmuussttbbeevveerrssiioonn77..00SSPP44aaoorrhhiigghheerr..IIffnneecceessssaarryy,,uuppggrraaddeetthheeCCoommmmCCeellll..
Solution Components
3Install the DL2000 system in the rack. For information on specific rail type (RapidRails or VersaRails),
see the documentation included with your rail kit.
Install the RapidRails
Install the VersaRails
Install the System in the Rack
4. Install the Cable Management Arm 5. Attach the Cable Management
Arm Ramp Assembly
6. Route the Cables Through
the Cable Management Arm
3. Connect the Keyboard, Mouse,
Monitor, and Ethernet Cables
1. Connect the Power 2. Connect the Power Cord
Retention Brackets
6Connect the SAS cable from the DL2000 PowerEdge Expandable RAID Controller (PERC) to the primary Enclosure
Management Module (EMM) SAS In port on the MD1000.
1. DL2000 PowerEdge Expandable RAID
Controller (PERC)
2. MD1000 expansion enclosure
3. Primary Enclosure Management
Module (EMM)
4. Secondary EMM
5. Primary EMM SAS In port
NOTE:
If more than one MD1000 is used (up
to three per PERC connection is supported),
connect the SAS Out port on the primary EMM
to the SAS In port of the next down-chain
enclosure.
1
2
3
5
(optional)
(optional)
NOTE:
If a SCSI, SAS or Fibre Channel host adapter has been
installed for use with an optional tape device, see the Dell
PowerVault DL Backup To Disk Appliance Quick Start Guide for
information on adding the tape device.
Dell™ PowerVault™MD1000 Storage Enclosure
Includes:
- System bezel
- SAS cable
- Power cords (2)
- Power cord retention brackets (2)
- Mounting rails (2)
Dell™ PowerVault™DL2000 System
Includes:
- System bezel
- Power cords (2)
- Power cord retention brackets (2)
- Mounting rails (2)
- Cable management arm
- Status indicator cable (optional)
- System media and user documentation
PowerVault MD1000 Storage Enclosure(s)
PowerVault DL2000 System
4
End-User License Agreement (EULA)
• Before using your system, please read the Dell End-User Software License Agreement (EULA) that came with your system. This agreement is also located at support.dell.com under "Terms of Sale."
• You must consider any CD, DVD, or diskette set of Dell-installed software as BACKUP copies of the software installed on your system’s hard-disk drive.
• If you do not accept the EULA terms, please call the customer assistance telephone number. For customers in the United States, call 800-WWW-DELL (800-999-3355). For customers outside the United States, visit
ssuuppppoorrtt..ddeellll..ccoomm, specify your country or region in the CChhoooosseeaaCCoouunnttrryy//RReeggiioonndrop-down menu, and click CCoonnttaaccttUUss.
Y563Ham2.qxd 12/30/2008 11:53 AM Page 1
7Power on the system components.
Information in this document is subject to change without notice.
© 2008– 2009 Dell Inc. All rights reserved.
Reproduction of these materials in any manner whatsoever without
the written permission of Dell Inc. is strictly forbidden.
Dell
,
PowerVault
,
PowerEdge
, and the
DELL logo
are trademarks of
Dell Inc.
Microsoft
,
Windows
, and
Windows Server
are either
trademarks or registered trademarks of Microsoft Corporation in the
United States and/or other countries;
CommVault
,
CommServe
,
CommCell
, and
CommVault Galaxy
are either trademarks or registered
trademarks of CommVault Systems, Inc. Dell disclaims proprietary
interest in the marks and names of others.
January 2009
Printed in the U.S.A. www.dell.com |support.dell.com
0Y563HA02
9Using the DL Backup to Disk Appliance. 10 Advanced backup operations, keeping software up to date, and finding help.
8Enter the default password to log into Windows and configure the DL Backup to Disk Appliance.
Turn on components in the following order:
1. MD1000 expansion enclosure(s)
2. DL2000 system and monitor
You’ve Installed the Hardware. What’s next ?
When the system is powered on for the first time, you are prompted for a Windows password. This default password is:
Stor@ge!
Enter this password to log on to your system for the first time. The Dell PowerVault DL Backup to Disk Appliance Configuration Wizard will
automatically launch. Click NNeexxttto begin installing the CommVault Backup and Recovery software.
Advanced Backup Operations
For information on advanced backup operations, such as planning, creating and scheduling backup jobs, managing
backup to disk folders, customizing backup options, implementing policies and templates, setting up alerts and
notifications, viewing reports, and disaster preparation and recovery, see ddooccuummeennttaattiioonn..ccoommmmvvaauulltt..ccoomm//ddeellll.
Important Updates
For the latest operating system updates, go to uuppddaattee..mmiiccrroossoofftt..ccoomm.
The Dell Backup to Disk Appliance Application Recovery and Update Utility at ssuuppppoorrtt..ddeellll..ccoommcan be used to
reinstall or update Dell software.
If You Need Help
• A complete list of solution documents is contained in the
Dell Backup to Disk Appliance - Powered by CommVault
Quick Reference Guide
at ssuuppppoorrtt..ddeellll..ccoomm//mmaannuuaallss.
• For hardware issues, refer to the PowerVault documentation set that shipped with your
system. These documents are also available at ssuuppppoorrtt..ddeellll..ccoomm//mmaannuuaallss.
Locating Your System Service Tag
• When you contact technical support, the Express Service Code helps route your call to the
appropriate support area and the Service Tag number helps identify your system.
• In the figure, the location of the Service Tag number and Express Service Code is shown.
Write down this information and store it in a safe place.
Using the DL Backup to Disk Appliance
After the Dell PowerVault DL Backup to Disk Appliance
Management Console automatically launches, click LLaauunncchh
CCoommmmVVaauullttSSooffttwwaarree(right).
When prompted for the CommCell User Name, enter ccvvaaddmmiinn. The
default password is also ccvvaaddmmiinn.
NNOOTTEE::This default password should be changed after your first
login.
To configure your first backup, use the EZ Operations Wizard
(left) to create a Storage Policy. A Storage Policy will:
1. Create a backup job.
2. Select client machines containing the backed up data.
3. Choose what data you want to back up and create a backup
schedule.
4. Select the storage target.
NOTE: Installation of the CommVault Backup and
Recovery software takes approximately 10 minutes.
Y563Ham2.qxd 12/30/2008 11:53 AM Page 2