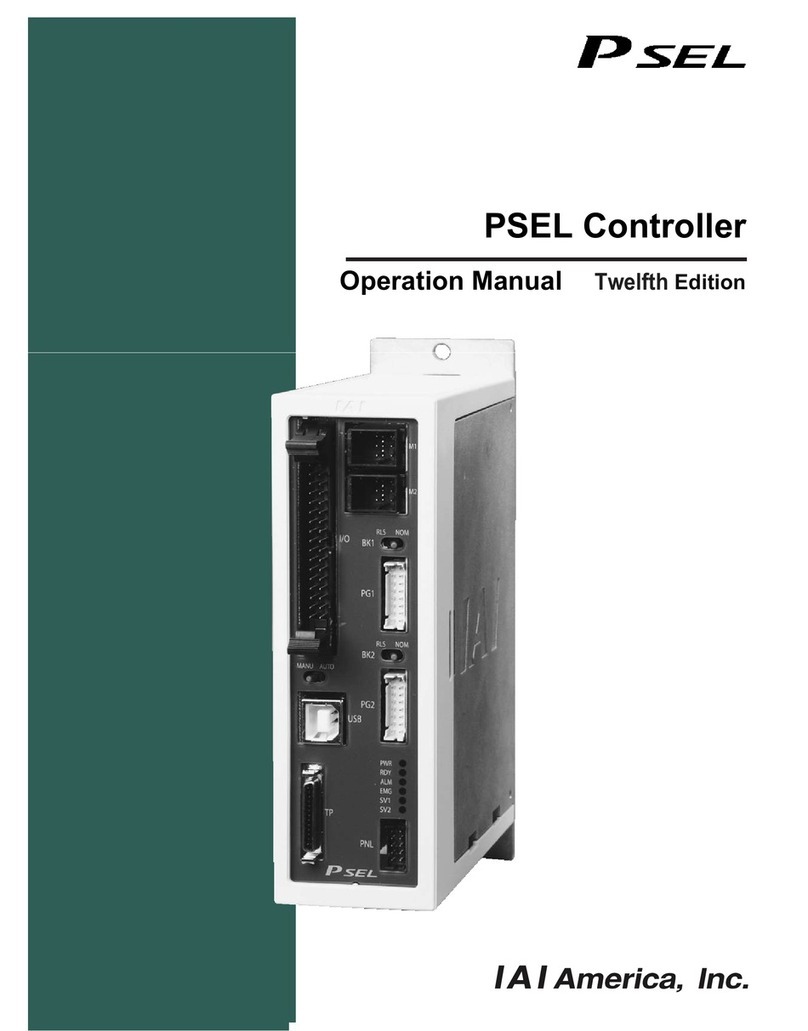
DELTA DORE TYBOX 1010 WT User manual

TYBOX 1010 WT
www.deltadore.com
User guide

- 2 - - 3 -
TYBOX
1
Ti1 Ti2 Ti3
3 5 7 9
T
C
BUS A
246810
11
4VA
230V~50Hz
N
16 17 19 2018
12
L
Ref. : 4100795
BUS
T
C
3A - 230V
~
1- AUTO mode
1- AUTO mode................................................................................ 3
2- Technical unit indicator lights...................................................... 3
3- Home automation functions........................................................ 4
4- Date and time settings................................................................ 4
5- Setting the temperature settings ................................................ 5
6- Consumption data display .......................................................... 7
7- Programming.............................................................................. 8
8- ‘i’ information button ................................................................ 10
9- Days home ............................................................................... 11
10- Absence ................................................................................. 11
11- Heating override ..................................................................... 12
12- DHW override......................................................................... 12
13- AUTO mode............................................................................ 13
14- Help ........................................................................................ 14
Contents
TYBOX controls the heating depending on the active programme (P1 to P6)
and required temperature (settings).
• Heating and DHW (Domestic Hot Water) overrides possible,
• Access to consumption data ( ),
- Access to the system status ('i' button) and to any faults,
• Changeover to standby after a 30 seconds time-out period
2- Technical unit indicator lights
Bus indicator light
Blinks in sync with the data
Steady blinking = Bus fault
Off = Power supply failure
Electronic meter indicator light
On = Normal operation
Blinking = remote-info fault
DHW load control indicator light
On = Load control in progress
DHW (Domestic Hot Water) indicator
light
On = ON
Off = OFF
"Control output" indicator light
On = ON
Off = OFF
Override
(/ )
Information
button
Consumption
data display
Hot water tank
override
Temperature
measured
Profile of active
programme
Time
Control output
start
Day of the
week

- 4 - - 5 -
4- Date and time settings
3- Home automation functions
JJ/MM/AA HH/MM
1
2 4 5
3
EXIT
Enter the date, then the time.
Confirm with OK.
These settings are only available if the control output is used and declared
(configuration menu 2-08 > 0, installation instructions).
The Heat/Cool option will only be available if the presence of a cooling
system has been declared (installer menu, 0-06).
Press '+' or '-'. Confirm with OK.
Turn the
selector
knob to exit
the mode
Turn the selector
knob
to exit the mode
5- Setting the temperature settings
Return to
the previous
setting
5 30°C
1
2
4
3
5
EXIT5 30°C
6
7
5 16°C
The home automation functions control the following functions either locally
or remotely via a tablet or a smartphone:
- heating control (heat/cool mode, Auto/Off/Absence/override mode),
- display of the consumption data over the current month and the history of
previous months (electricity, gas, etc.).
To get this service, you have to associate the room unit with the TYDOM
home automation gateway.
ADSL BOX
Wi (local)
or
Internet (remote)
Smartphone
Tablet
OR
TYDOM 2000
Wireless
Ethernet cable
TYDOM 1000
1
Volets
Alarme
Autres
Eclairages
Garage
Scénarios
Chauffage
Portail
Pièces
TYDOM 2000
1
Volets Alarme
Autres
Eclairages Garage
Scénarios
Chauffage Portail
Pièces
Example with the TYDOM 2000 home automation gateway

- 6 - - 7 -
From the AUTO, or modes.
: Total gas consumption
: Total electric consumption
: Cooling consumption
: Heater consumption
: Domestic Hot Water consumption (DHW)
: Consumption of devices connected to the mains
- To change over to a different consumption, turn the selector knob.
- Depending on the system's configuration, some symbols will not be avail-
able.
- To exit the "Consumption data display" mode, press .
Example: To view the total electric consumption of your system
turn the selector knob to select the symbol.
Displays the con-
sumption for the
current month
History: Press '+' to display the overall consump-
tion history from the beginning of the current year,
then for the previous year
History:
Press '-' to display the
consumption history for the12 previous months
Press
.
• If you own a "hybrid" boiler, the heating and DHW consumption data will
be displayed for each type of energy used (gas and electricity).
• The consumption indices and the history can be reset (menu 2-24,
installation instructions).
6- Consumption data display
Gas
Elec.
Cooling
DHW
Others
Heating
Plugs

- 8 - - 9 -
7- Programming
6h 24h0h 23h
6h 8h 24h0h 23h17h
6h 8h 24h0h 13h11h 23h17h
24h0h
24h0h
4
5
6
P1
P2
P3
P4
P5
3
OK
OK
OK
+ +
+ +
6h 24h0h 21h
EXIT
OK OK OK
7h 9h 0h0h 23h18h
OK
OK
OU
22
1
OK
+
Non editable P1 to P5
Editable P6
Editable P0
Select with '+' and '-'. Confirm with OK.
Example: Comfort mode from 7 to 9am and 6
to 11pm
Press the following buttons as many times as necessary:
- to create the economy periods
- to create the comfort periods.
Repeat the
procedure for the
other zone, where
necessary.
• Programme P6 can be viewed. Press >> to scroll the programme steps.
Modifications to programme P6 are applied to all the days when the
programme is assigned.
This menu enables the following functions:
- assigning a daily programme P1 to P6 for each day of the week, and appli-
cable in AUTO mode,
- modifications to programme P6 (P1 to P5 are not editable),
- modifications to programme P0 (Days home) applicable in mode.
You have to set the start (Start) and
(Stop) time for the Comfort period (e.g.
6am to 9pm).
Day 1
Day 2
Select the programme to be applied on day 1.
Select the programme to be applied on day 2.

- 10 - - 11 -
8- 'i' information button
From the AUTO, or modes, you can view the system status
('i' button) and any faults (refer to the "Help" section).
h (ON)
023
4
5
Operating hours
meter (boiler).
Temperature
setting
Time to
boiler
maintenance
• The operating hours meter is only active if the menu 2-08 (refer to instal-
lation instructions) is not 0 or PROG.
• The operating hours meter can be reset (menu 2-17).
• The period before maintenance must be initialised after each mainte-
nance operation (menu 2-20).
JJ/MM/AA
18/02 00:00
Example: You are away from Friday 10/02 to Saturday 18/02.
The heating is on 'Frost Protection' mode over this period.
The DHW system is off (modifiable, installer menu 1-05).
Automatic return
to AUTO mode on
Saturday 18/02 at
00:00h.
Set the Frost Protection
temperature (except for
Cool mode).
9- Days home
6h 24h0h 21h
This menu monitors programme
P0 (refer to the "Programming"
section).
• Heating and DHW overrides
possible.
• Access to consumptions
• Switch to stand-by after a 30
seconds time-out period
Turn the selector knob to
then enter the date of return
with '+' and '-'.
Confirm with OK.
10- Absence

- 12 - - 13 -
E.g. it is 3.30pm and you want to run the
Comfort mode before the set time (5pm)
on zone 1.
At 5pm, the programme will resume its
normal cycle.
From the AUTO mode.
The symbol blinks.
The DHW is restarted
for 6 hours.
Restart may be suspended when
changing to Off-Peak times or by
pressing again.
From the AUTO, or modes.
Press .
11- Heating override
12- DHW override
6h 8h 0h0h 17h15h30 23h
Press the 'i' button several times,
to view the system's status
In this mode:
- the heating is off.
- the DHW override is possible
- the consumption data is displayed (button ).
- the system status ('i' button)
and any faults (refer to the "Help" section) are displayed.
Number of days to
maintenance
Boiler
operating hours meter
13- Stop mode
hON
023
4
5
When you apply a 'Stop' or 'Frost Protection' override from a tablet or
smartphone, the and symbols are not displayed on the room unit.

- 14 - - 15 -
14- Help
Nothing is displayed on the room unit screen.
There is no power supply.
Check the circuit breaker.
You cannot set the Frost Protection temperature in absence mode.
Cool mode is active.
The Frost Protection mode settings are not available in this mode.
The symbol does not appear.
The DHW is not managed by the device.
Refer to menu 1-04, installation instructions.
The symbol blinks.
Boiler maintenance is due in less than 30 days.
OR
A system fault has been identified.
From the AUTO, or , modes press the 'i' button to display the type of
"Fault".
dEF 6:
There is a communication fault between TYBOX and the technical unit (Bus
A).
Check the system.
dEF 7:
There is a communication fault with the electronic meter.
Check the connection with the meter.

2004/108/EC - 2006/95/EC
EN
Table of contents
Other DELTA DORE Controllers manuals

