manuals.online logo
Brands
  1. Home
  2. •
  3. Brands
  4. •
  5. DELTA DORE
  6. •
  7. Thermostat
  8. •
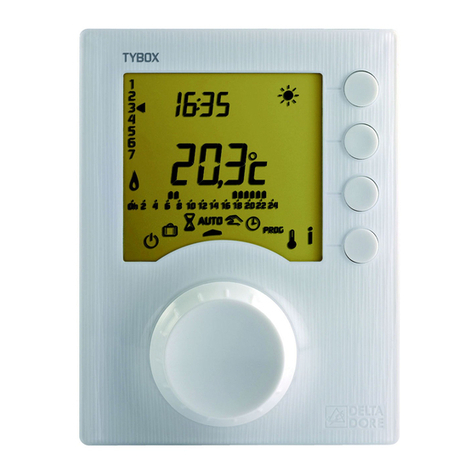
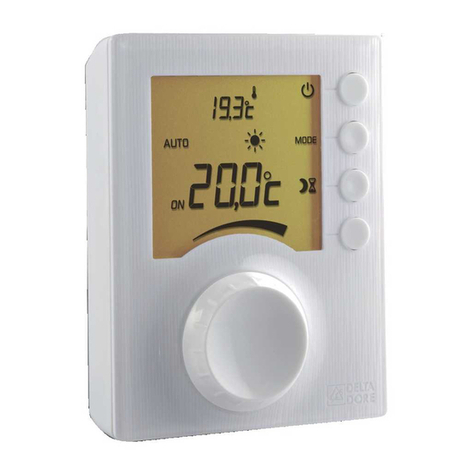
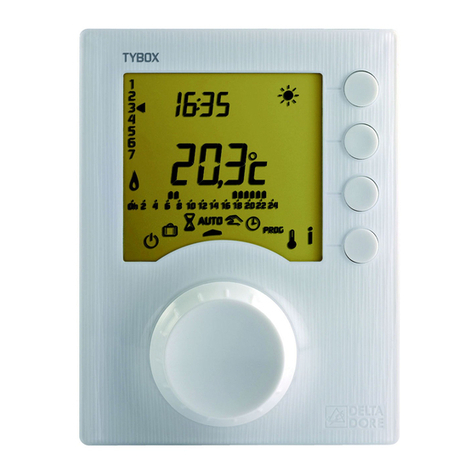
  9. DELTA DORE Tybox 1117 User manual

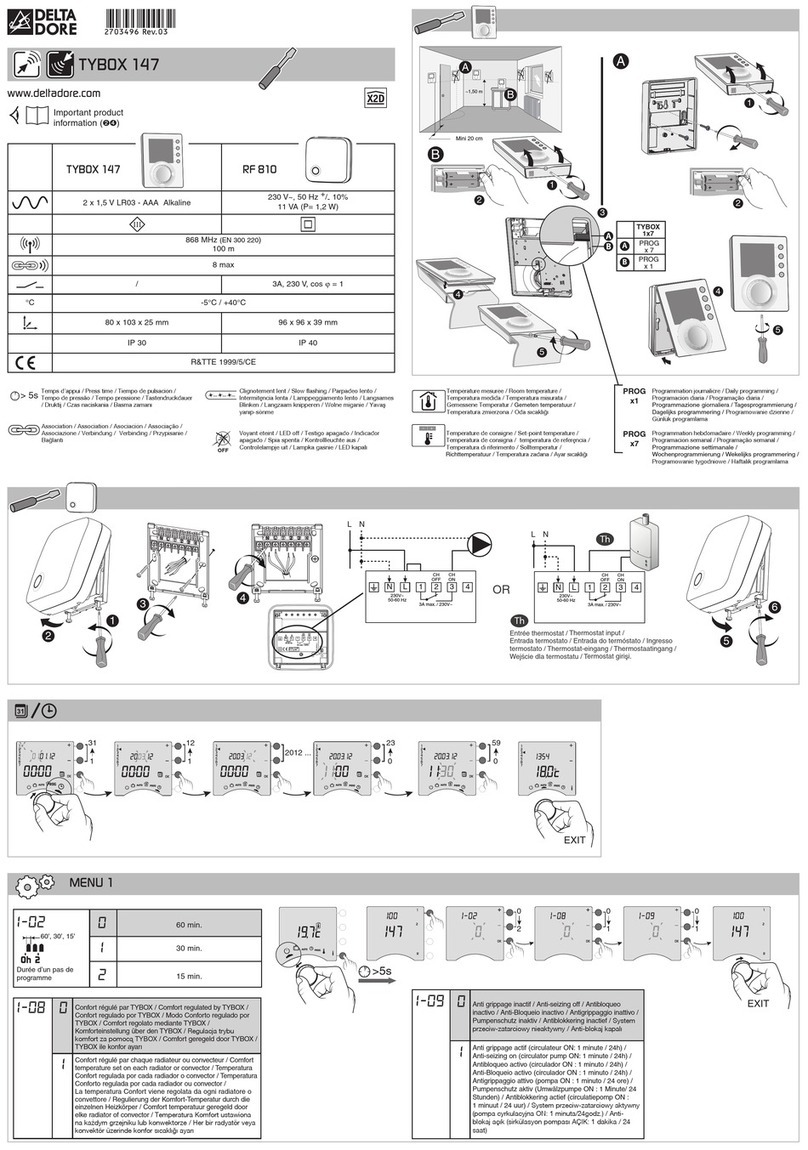
DELTA DORE Tybox 1117 User manual

1
~1,50 m
> 20 cm
PROG x 1
PROG x 7
NL 123
RCT
123
RCT
Th
Ø max. 1,5 mm²
OFF
ON
www.deltadore.com
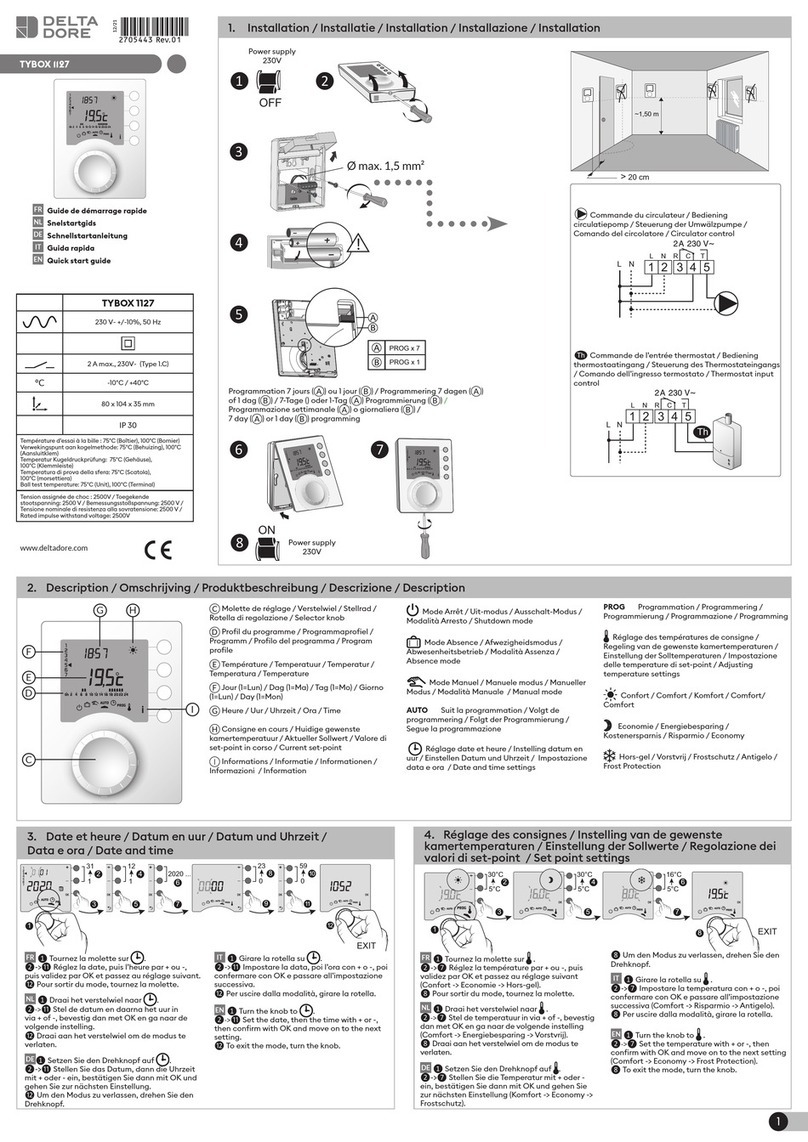
1. Installation / Installatie / Installation / Installazione / Installation
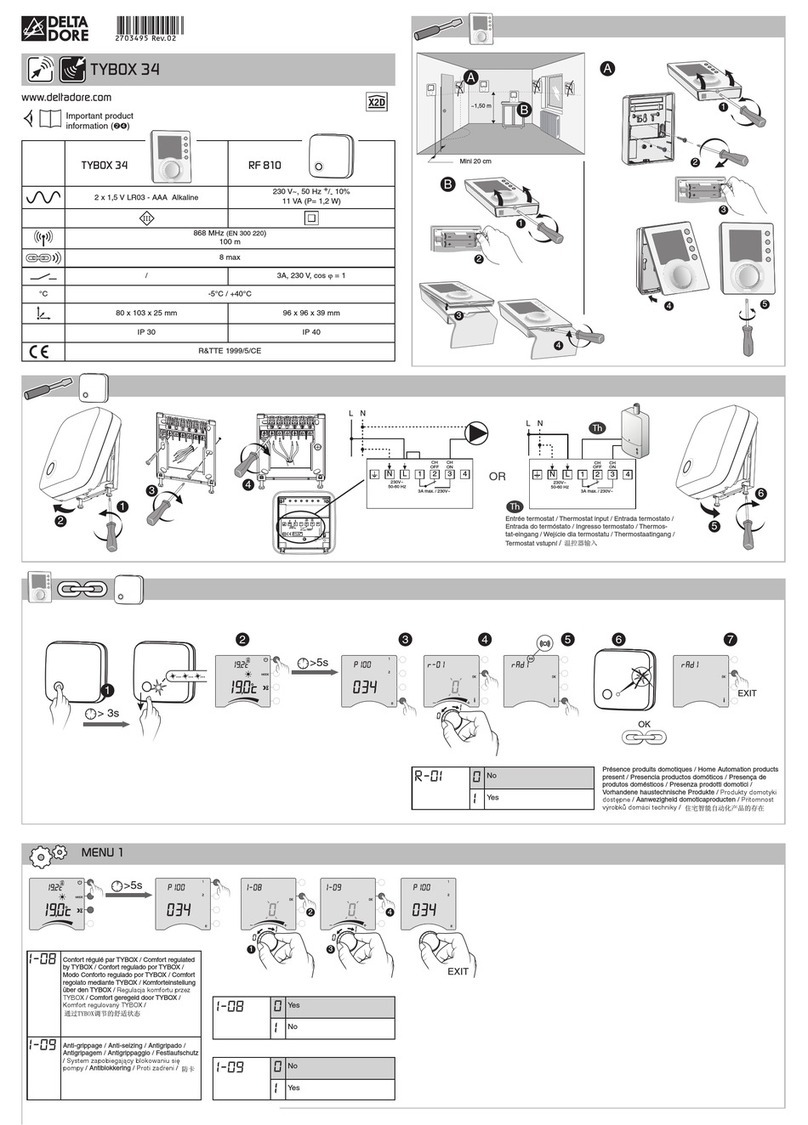
TYBOX 1117
12/21
TYBOX 1117
2 x 1,5V LR03 - AAA Alkaline
2 A max., 230V~ (Type 1.C)
°C -10°C / +40°C
80 x 104 x 35 mm
IP 30
Température d’essai à la bille : 75°C (Boîtier), 100°C (Bornier)
Verwekingspunt aan kogelmethode: 75°C (Behuizing), 100°C
(Aansluitklem)
Temperatur Kugeldruckprüfung: 75°C (Gehäuse),
100°C (Klemmleiste)
Temperatura di prova della sfera: 75°C (Scatola),
100°C (morseiera)
Ball test temperature: 75°C (Unit), 100°C (Terminal)
Tension assignée de choc : 2500V / Toegekende
stootspanning: 2500 V / Bemessungsstoßspannung: 2500 V /
Tensione nominale di resistenza alla sovratensione: 2500 V /
Rated impulse withstand voltage: 2500V
FR Guide de démarrage rapide
NL Snelstartgids
DE Schnellstartanleitung
IT Guida rapida
EN Quick start guide
Commande du circulateur / Bediening
circulatiepomp / Steuerung der Umwälzpumpe /
Comando del circolatore / Circulator control
Commande de l’entrée thermostat /
Bediening thermostaatingang / Steuerung des
Thermostateingangs / Comando dell’ingresso
termostato / Thermostat input control
Programmation 7 jours ( ) ou 1 jour ( ) / Programmering 7 dagen ( )
of 1 dag ( ) / 7-Tage () oder 1-Tag ( ) Programmierung ( ) /
Programmazione seimanale ( ) o giornaliera ( ) /
7 day ( ) or 1 day ( ) programming
Power supply
230V
Power supply
230V
Molee de réglage / Verstelwiel / Stellrad /
Rotella di regolazione / Selector knob
Prol du programme / Programmaproel /
Programm / Prolo del programma / Program
prole
Température / Temperatuur / Temperatur /
Temperatura / Temperature
Jour (1=Lun) / Dag (1=Ma) / Tag (1=Mo) / Giorno
(1=Lun) / Day (1=Mon)
Heure / Uur / Uhrzeit / Ora / Time
Consigne en cours / Huidige gewenste
kamertemperatuur / Aktueller Sollwert / Valore di
set-point in corso / Current set-point
Informations / Informatie / Informationen /
Informazioni / Information
Piles basses / Lage baerijspanning / Baerien
schwach / Baerie scariche / low baeries
Mode Arrêt / Uit-modus / Ausschalt-Modus /
Modalità Arresto / Shutdown mode
Mode Absence / Afwezigheidsmodus /
Abwesenheitsbetrieb / Modalità Assenza /
Absence mode
Mode Manuel / Manuele modus / Manueller
Modus / Modalità Manuale / Manual mode
AUTO Suit la programmation / Volgt de
programmering / Folgt der Programmierung /
Segue la programmazione
Réglage date et heure / Instelling datum en
uur / Einstellen Datum und Uhrzeit / Impostazione
data e ora / Date and time seings
PROG Programmation / Programmering /
Programmierung / Programmazione / Programming
Réglage des températures de consigne /
Regeling van de gewenste kamertemperaturen /
Einstellung der Solltemperaturen / Impostazione
delle temperature di set-point / Adjusting
temperature seings
Confort / Comfort / Komfort / Comfort/
Comfort
Economie / Energiebesparing /
Kostenersparnis / Risparmio / Economy
Hors-gel / Vorstvrij / Frostschutz / Antigelo /
Frost Protection
1
31
1
12
0
23
0
59
2020 ...
1
2
3
4
5
8
9
10
11
12
EXIT
6
7
FR ❶Tournez la molee sur .
❷->⓫Réglez la date, puis l’heure par + ou -,
puis validez par OK et passez au réglage suivant.
⓬ Pour sortir du mode, tournez la molee.
NL ❶ Draai het verstelwiel naar .
❷->⓫ Stel de datum en daarna het uur in
via + of -, bevestig dan met OK en ga naar de
volgende instelling.
⓬ Draai aan het verstelwiel om de modus te
verlaten.
DE ❶Setzen Sie den Drehknopf auf .
❷->⓫Stellen Sie das Datum, dann die Uhrzeit
mit + oder - ein, bestätigen Sie dann mit OK und
gehen Sie zur nächsten Einstellung.
⓬Um den Modus zu verlassen, drehen Sie den
Drehknopf.
IT ❶Girare la rotella su .
❷->⓫Impostare la data, poi l’ora con + o -, poi
confermare con OK e passare all’impostazione
successiva.
⓬ Per uscire dalla modalità, girare la rotella.
EN ❶ Turn the knob to .
❷->⓫ Set the date, then the time with + or -,
then conrm with OK and move on to the next
seing.
⓬ To exit the mode, turn the knob.
2. Description / Omschrijving / Produktbeschreibung / Descrizione / Description
C
I
G H
D
E
F
3. Date et heure / Datum en uur / Datum und Uhrzeit /
Data e ora / Date and time
4. Réglage des consignes / Instelling van de gewenste
kamertemperaturen / Einstellung der Sollwerte / Regolazione dei
valori di set-point / Set point settings
5°C
30°C
5°C
30°C
5°C
16°C
2
3
4
5
6
7
8
EXIT
1
FR ❶Tournez la molee sur .
❷->❼Réglez la température par + ou -, puis
validez par OK et passez au réglage suivant
(Confort -> Economie -> Hors-gel).
❽ Pour sortir du mode, tournez la molee.
NL ❶ Draai het verstelwiel naar .
❷->❼ Stel de temperatuur in via + of -, bevestig
dan met OK en ga naar de volgende instelling
(Comfort -> Energiebesparing -> Vorstvrij).
❽ Draai aan het verstelwiel om de modus te
verlaten.
DE ❶ Setzen Sie den Drehknopf auf .
❷->❼Stellen Sie die Temperatur mit + oder -
ein, bestätigen Sie dann mit OK und gehen Sie
zur nächsten Einstellung (Komfort -> Economy ->
Frostschutz).
❽ Um den Modus zu verlassen, drehen Sie den
Drehknopf.
IT ❶Girare la rotella su .
❷->❼Impostare la temperatura con + o -, poi
confermare con OK e passare all’impostazione
successiva (Comfort -> Risparmio -> Antigelo).
❽ Per uscire dalla modalità, girare la rotella.
EN ❶ Turn the knob to .
❷->❼ Set the temperature with + or -, then
conrm with OK and move on to the next seing
(Comfort -> Economy -> Frost Protection).
❽ To exit the mode, turn the knob.
J
2
5. Programmation / Programmering / Programmierung / Programmazione / Programming
6. Plus d’informations / Meer informatie / Mehr Informationen / Maggiori informazioni / More information
FR NL DE IT EN PROG x7 PROG x1
P1
7.00 8.00
0.00 17.00 23.00
7.00 8.00
0.00 12.00 14.00 17.00 23.00
0.00
7.00
0.00 23.00
Lundi -> Dimanche Maandag -> Zondag Montag -> Sonntag Lunedì -> Domenica Monday -> Sunday 4 4
P2
7.00 8.00
0.00 17.00 23.00
7.00 8.00
0.00 12.00 14.00 17.00 23.00
0.00
7.00
0.00 23.00
7.00 8.00
0.00 17.00 23.00
7.00 8.00
0.00 12.00 14.00 17.00 23.00
0.00
7.00
0.00 23.00
Lundi -> Vendredi
+
Samedi, Dimanche
Maandag -> Vrijdag
+
Zaterdag, Zondag
Montag -> Freitag
+
Samstag, Sonntag
Lunedì -> Venerdì
+
Sabato, Domenica
Monday -> Friday
+
Saturday, Sunday
4
P3
7.00 8.00
0.00 17.00 23.00
7.00 8.00
0.00 12.00 14.00 17.00 23.00
0.00
7.00
0.00 23.00
7.00 8.00
0.00 17.00 23.00
7.00 8.00
0.00 12.00 14.00 17.00 23.00
0.00
7.00
0.00 23.00
Lundi -> Vendredi
+
Samedi, Dimanche
Maandag -> Vrijdag
+
Zaterdag, Zondag
Montag -> Freitag
+
Samstag, Sonntag
Lunedì -> Venerdì
+
Sabato, Domenica
Monday -> Friday
+
Saturday, Sunday
4
P4
7.00 8.00
0.00 17.00 23.00
7.00 8.00
0.00 12.00 14.00 17.00 23.00
0.00
7.00
0.00 23.00
7.00 8.00
0.00 17.00 23.00
7.00 8.00
0.00 12.00 14.00 17.00 23.00
0.00
7.00
0.00 23.00
Lundi, Mardi, Jeudi,
Vendredi
+
Mercredi, Samedi,
Dimanche
Maandag, Dinsdag,
Donderdag, Vrijdag
+
Woensdag, Zaterdag,
Zondag
Montag, Dienstag,
Donnerstag, Freitag
+
Miwoch, Samstag,
Sonntag
Lunedì, Martedì,
Giovedì, Venerdì
+
Mercoledì, Sabato,
Domenica
Monday, Tuesday,
Thursday, Friday
+
Wednesday,
Saturday, Sunday
4
P5
7.00 8.00
0.00 17.00 23.00
7.00 8.00
0.00 12.00 14.00 17.00 23.00
0.00
7.00
0.00 23.00
Lundi -> Dimanche Maandag -> Zondag Montag -> Sonntag Lunedì -> Domenica Monday -> Sunday 4 4
5.1 Programmation rapide / Snelle programmering / Schnellprogrammierung / Programmazione rapida / Quick programming
5.2 Personnaliser un programme / Een programma aanpassen / Ein Programm individuell einstellen / Personalizzare un programma / Customising
a program
FR ❶Tournez la molee sur PROG.
❷Choisissez la pré-programmation à appliquer
(voir tableau) par appuis successifs sur + ou -.
❸Validez par OK.
❹Pour sortir du mode, tournez la molee.
NL ❶Draai het verstelwiel naar PROG.
❷Kies de toe te passen voorprogrammering
(zie tabel) door achtereenvolgens op + of - te
drukken.
❸Bevestig met OK.
❹Draai het verstelwiel om de modus te verlaten.
DE ❶ Setzen Sie den Drehknopf auf PROG.
❷Wählen Sie die anzuwendende
Vorprogrammierung (siehe Tabelle), indem Sie
nacheinander + oder - drücken.
❸ Bestätigen Sie mit OK.
❹ Um den Modus zu verlassen, drehen Sie den
Drehknopf.
IT ❶Girare la rotella su PROG.
❷Scegliere la pre-programmazione da applicare
(vedi tabella) premendo successivamente su + o -.
❸Confermare con OK.
❹Per uscire dalla modalità, girare la rotella.
EN ❶Turn the knob to PROG.
❷Select the pre-programming to apply
(see table) by repeatedly pressing + or -.
❸Press OK to conrm.
❹To exit the mode, turn the knob.
EXIT
1
2 3
4
FR Notice web détaillée : scannez le QR Code.
- Menus conguration (ex : anticipation, correction T°,
paramètres de régulation,…),
- Réglages et fonctions avancées,
- Utilisation (recopie des programmes),
- Aide...
NL Gedetailleerde gebruiksaanwijzing online: scan de
QR-code.
- Conguratiemenu’s (bijv.: anticiperen, T° aanpassen,
afstellingsparameters,…),
- Instellingen en geavanceerde functies,
- Gebruik (kopiëren van programma’s),
- Hulp ...
DE Detaillierte Web-Anleitung: Scannen Sie den QR-
Code.
- Kongurationsmenüs (z. B. Antizipation, T°-Korrektur,
Regelparameter,...),
- Einstellungen und erweiterte Funktionen,
- Verwendung (Kopie der Programme),
- Hilfe...
IT Istruzioni web deagliate: scansiona il codice QR.
- Menu di congurazione (es.: anticipazione, correzione
della T°, parametri di impostazione,...),
- Impostazioni e funzioni avanzate
- Utilizzo (copia dei programmi),
- Aiuto...
EN For detailed instructions: scan the QR code.
- Setup menus (e.g. optimisation, temp. correction,
seings, etc.),
- Advanced seings and functions,
- Use (program copying),
- Help...
FR Vous pouvez modier le prol du programme appliqué à
un jour (P1 à P5), en fonction de vos besoins.
❶Tournez la molee sur PROG.
❷Appuyez sur + ou - pour choisir le programme à modier.
Validez par OK (❸).
❹Appuyez sur OK pour choisir le jour à modier.
❺Composez votre programme en appuyant sur pour
les périodes d’économie, sur pour les périodes de
Confort. Validez par OK (❻) et passez au jour suivant.
❼Pour sortir du mode, tournez la molee.
NL Naargelang van uw behoeen, kunt u het programma
proel, dat aan een dag toegepast is (P1 tot P5), wijzigen.
❶Draai het verstelwiel naar PROG.
❷Druk op + of - om het te wijzigen programma te kiezen.
Bevestig met OK (❸).
❹Druk op OK om de te wijzigen dag te kiezen.
❺Stel uw programma door op voor de
besparingsperiodes en voor de Comfortperiodes te
drukken. Bevestig met OK (❻).
❼Draai het verstelwiel om de modus te verlaten.
DE Sie können das auf einen Tag angewendete
Programmprol (P1 bis P5) nach Ihren Bedürfnissen
ändern.
❶ Setzen Sie den Drehknopf auf PROG.
❷ Drücken Sie + oder -, um das zu ändernde Programm
auszuwählen. Bestätigen Sie mit OK (❸).
❹ Drücken Sie OK, um den zu ändernden Tag auszuwählen.
❺Stellen Sie Ihr Programm zusammen, indem Sie für
Sparzeiten, für Komfortzeiten drücken. Bestätigen Sie
mit OK (❻) und fahren Sie mit dem nächsten Tag fort.
❼Um den Modus zu verlassen, drehen Sie den Drehknopf.
IT È possibile modicare il prolo del programma applicato
a un giorno (da P1 a P5), in base alle proprie esigenze.
❶Girare la rotella su PROG.
❷Premere + o - per selezionare il programma da
modicare. Confermare con OK (❸).
❷Premere OK per selezionare il giorno da modicare.
❺Comporre il programma premendo per i periodi
Risparmio, per i periodi Comfort. Confermare con OK
(❻) e passare al giorno successivo.
❼Per uscire dalla modalità, girare la rotella.
EN You can change the program prole applied to a day (P1
to P5), depending on your needs.
❶Turn the knob to PROG.
❷Press + or - to select the program to modify.
Press OK to conrm (❸).
❹Press OK to select the day to modify.
❺Create your program by pressing on for Economy
periods, and on for Comfort periods.
Press OK to conrm (❻).
❼To exit the mode, turn the knob.
Accès aux menus de conguration / Toegang
tot de conguratiemenu’s / Zugang zu den
Kongurationsmenüs / Accesso ai menu di
congurazione / Access to the setup menus
>5s
1
2
3
PROG x1
PROG x7
EXIT
1
23
4
5
67
TYBOX 1x7
INFO
TYBOX 1x7
INFO
TYBOX
1117
Other manuals for Tybox 1117
1

This manual suits for next models

1

Other DELTA DORE Thermostat manuals

DELTA DORE TYBOX 117 User manual
DELTA DORE

DELTA DORE TYBOX 117 User manual
DELTA DORE TYBOX 811 W RF User manual

DELTA DORE

DELTA DORE TYBOX 811 W RF User manual

DELTA DORE TYBOX 1127 User manual
DELTA DORE

DELTA DORE TYBOX 1127 User manual

DELTA DORE DRIVER 230 CPL User manual

DELTA DORE

DELTA DORE DRIVER 230 CPL User manual

DELTA DORE TYBOX 117 User manual

DELTA DORE

DELTA DORE TYBOX 117 User manual

DELTA DORE DELTA 8000 TAP RF User manual

DELTA DORE

DELTA DORE DELTA 8000 TAP RF User manual

DELTA DORE MINOR 11 User manual

DELTA DORE

DELTA DORE MINOR 11 User manual

DELTA DORE TYBOX 117 User manual

DELTA DORE

DELTA DORE TYBOX 117 User manual

DELTA DORE TYBOX 34 User manual

DELTA DORE

DELTA DORE TYBOX 34 User manual

DELTA DORE TYBOX 147 User manual

DELTA DORE

DELTA DORE TYBOX 147 User manual

DELTA DORE PACK TYBOX 5000 User manual

DELTA DORE

DELTA DORE PACK TYBOX 5000 User manual

DELTA DORE TYBOX 417 User manual

DELTA DORE

DELTA DORE TYBOX 417 User manual

DELTA DORE Diana D20 User manual

DELTA DORE

DELTA DORE Diana D20 User manual

DELTA DORE Tybox 137+ User manual

DELTA DORE

DELTA DORE Tybox 137+ User manual

DELTA DORE TYBOX 5101 User manual

DELTA DORE

DELTA DORE TYBOX 5101 User manual

DELTA DORE TYBOX 31 User manual

DELTA DORE

DELTA DORE TYBOX 31 User manual

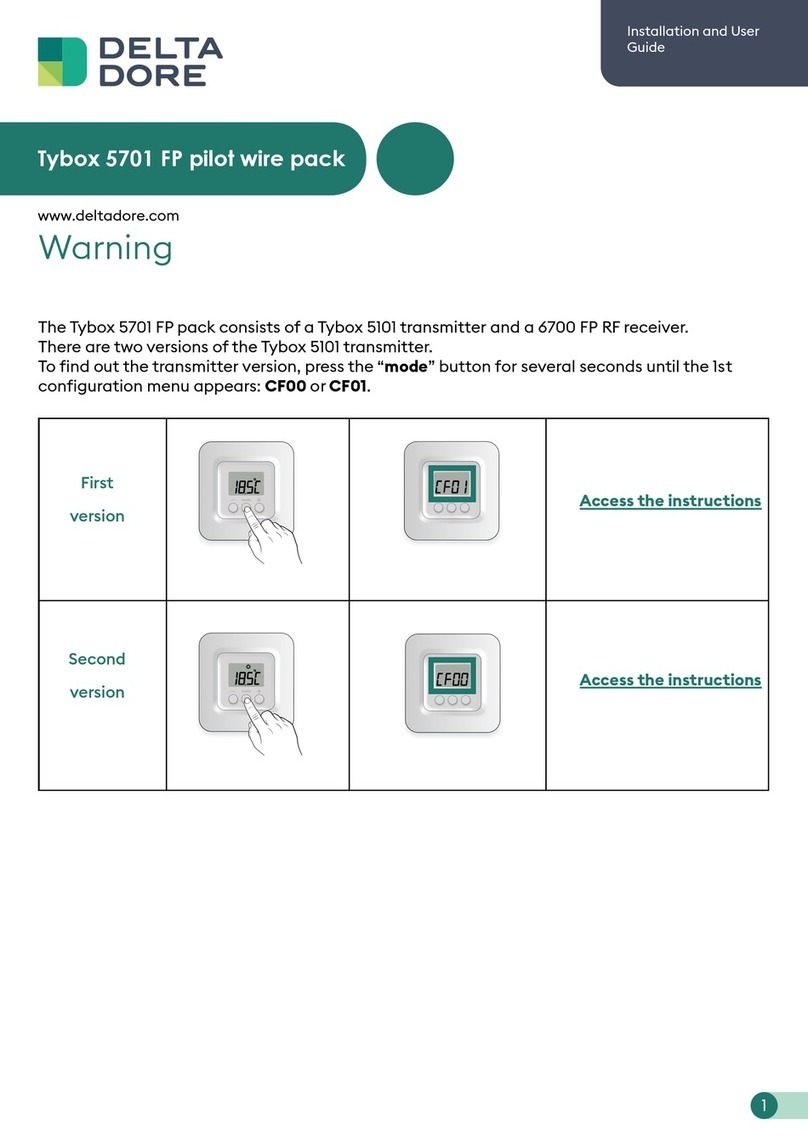
DELTA DORE Tybox 5701 FP User manual

DELTA DORE

DELTA DORE Tybox 5701 FP User manual

DELTA DORE D10 W RF User manual

DELTA DORE

DELTA DORE D10 W RF User manual

DELTA DORE TYBOX 127 User manual

DELTA DORE

DELTA DORE TYBOX 127 User manual

DELTA DORE D10 W RF User manual

DELTA DORE

DELTA DORE D10 W RF User manual

DELTA DORE TYBOX 5101 User manual

DELTA DORE

DELTA DORE TYBOX 5101 User manual

DELTA DORE TYBOX 5200 User manual

DELTA DORE

DELTA DORE TYBOX 5200 User manual

DELTA DORE TYBOX 5150 User manual

DELTA DORE

DELTA DORE TYBOX 5150 User manual

DELTA DORE DELTA 8000 TAP BUS User manual

DELTA DORE

DELTA DORE DELTA 8000 TAP BUS User manual

Popular Thermostat manuals by other brands

Honeywell Home TrueZONE HZ311K installation guide

Honeywell Home

Honeywell Home TrueZONE HZ311K installation guide

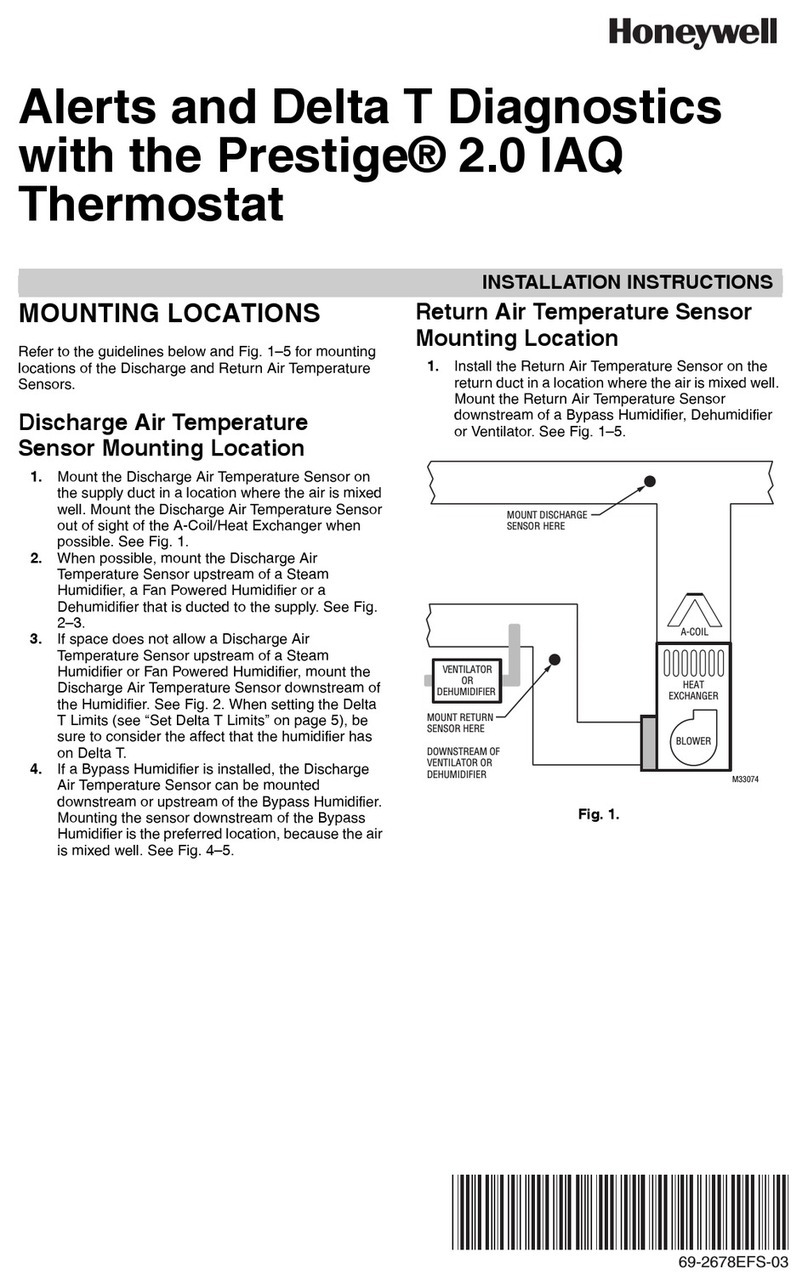
Honeywell Prestige 2.0 IAQ installation instructions

Honeywell

Honeywell Prestige 2.0 IAQ installation instructions

Netmostat N-1 quick start guide

Netmostat

Netmostat N-1 quick start guide

Celect CC816WHB-0-DF manual

Celect

Celect CC816WHB-0-DF manual

Drayton 30002 installation guide

Drayton

Drayton 30002 installation guide

Trane SENS-IN-1D18-HD60D29-4 Installer's guide

Trane

Trane SENS-IN-1D18-HD60D29-4 Installer's guide

Siemens RDE100.1 instruction manual

Siemens

Siemens RDE100.1 instruction manual

EUROSTER 4040TXC6 Installation and operation manual

EUROSTER

EUROSTER 4040TXC6 Installation and operation manual

Johnson Controls T2000 series installation instructions

Johnson Controls

Johnson Controls T2000 series installation instructions

Bravo GLAM 93003112 manual

Bravo

Bravo GLAM 93003112 manual

Yolink YS4002-UC user guide

Yolink

Yolink YS4002-UC user guide

REMEHA iSense Installation and service manual

REMEHA

REMEHA iSense Installation and service manual

Robertshaw 9725i2 Addendum

Robertshaw

Robertshaw 9725i2 Addendum

Aprilaire 8532 operating instructions

Aprilaire

Aprilaire 8532 operating instructions

noken SMART ECO manual

noken

noken SMART ECO manual

Carrier Thermidistat Homeowner's guide

Carrier

Carrier Thermidistat Homeowner's guide

Radio Thermostat CT101 install guide

Radio Thermostat

Radio Thermostat CT101 install guide

Honeywell WebStat T7350 Features

Honeywell

Honeywell WebStat T7350 Features

manuals.online logo
manuals.online logoBrands
  • About & Mission
  • Contact us
  • Privacy Policy
  • Terms and Conditions

Copyright 2025 Manuals.Online. All Rights Reserved.