DeltaTRAK FlashCheck 12217 User manual

Model 12217
User Guide
Min/Max Alarm Thermometer


Table of Contents
Before you begin ..................................................................
Check Inside the Box ......................................................
Installing New Battery .....................................................
The Liquid Crystal Display (LCD) ...................................
Control Buttons ...............................................................
Basic Features .....................................................................
Display Modes ................................................................
Changing the Display Modes ..........................................
Resetting the Min-Max Readings ....................................
Clearing the Alarm Indication ..........................................
Conguring the Thermometer ..............................................
Entering the Conguration Mode ....................................
Navigating the Conguration Menu ................................
Battery replacement ........................................................
Product Specication ......................................................
1
1
2
2
2
3
3
3
3
4
4
4
4
5
6

1www.deltatrak.com
Before you begin
Check Inside the Box Qty
Thermometer 1
Alkaline 1.5v AA Battery 1
Suction Cup 1
Velcrow Strap 1
Install a New Battery
• Open the battery door located on the back side of the enclosure by
removing the retaining screw
• Observe and follow the battery polarity (+/-)
• Insert the battery into the battery holder
The LCD will light up and you will hear a beep. Then the device displays
the temperature reading from the sensor and the current Max and Mi
readings.
• Close the battery door and tighten the retaining screw

2www.deltatrak.com
Control Buttons
The device has four buttons from left to right in this order:
• Clear Button
Use to clear the Alarm indication, the Max-Min memory or a setpoint
value during device conguration
• Mode
Use to switch between Max-Min and High-Low view modes or enter the
Conguration menu
• Up Arrow
Use to increase a set point value or recall the last alarm trigger reading
• Down Arrow
Use to decrease a set point value
Note: The instrument has no power off button, so if it needs to be stored
without power then the battery must be removed
1. Conguration Menu Index
2. Max-Min Reset Icon
3. Alarm Icon
4. Battery Level Indicator
5. Current Temperature Reading
6. Temperature Scale Icons
7. Max-Min, High-Low Icons
8. Max-Min, High-Low Readings
Liquid Crystal Display (LCD)
Display Modes
• Max-Min Reading
The LCD displays the current temperature reading, the maximum
reading and minimum readings. This is the default operation mode.
Basic Features

3www.deltatrak.com
•High-Low Alarm
The LCD displays the current temperature reading and the High and Lo
alarm set points.
Note: High-Low Display Mode is only available when the Alarm option
is enabled in the Conguration menu (see below)
Changing the Display Mode
Click the Mode button to switch between the two display modes.
Resetting the Max-Min Memory
While in Max-Min display mode with no Alarm indication click the Clear button.
The Max-Min memory is cleared and the
Reset icon is displayed until the next sensor
reading is taken.
Note: During Alarm indication the rst click of
the Clear button will cancel the Alarm indication.
Click again to reset Max-Min memory.
Alarm Indication
Alarm indication must be enabled in the conguration
menu and the High Low Alarm set points must be
set. When the sensor’s reading exceeds the Alarm set
points, Alarm condition occurs. The device will indicate
Alarm by displaying the Bell icon and a ashing red
LED behind the icon. At the same time the HIGH or
LOW icon text will be ashing, showing which set point
was violated. If the alarm sound option is enabled in
the conguration menu, the device will also beep when the red LED ashes.
Note: The Alarm indication will continue until it is canceled by the Clear button.
Clearing the Alarm Indication
During Max-Min or High-Low display mode click the Clear button. The Alarm indica-
tion is reset until the sensor reading is again above or below the High or Low alarm
setpoints respectively.
Conguring the Thermometer

4www.deltatrak.com
Entering the Conguration Mode
When the Alarm option is disabled(default) click the Mode button to see the rst option of
the Conguration menu. If the Alarm option is enabled then click and hold the button until
you enter the Conguration mode (~3 sec).
Navigating the Conguration Menu
Once in the Conguration menu, click the Mode button again to see the next conguration
option. These have the following conguration options:
• High Alarm Setting (Menu # 1)
The High Alarm setting is displayed ashing. Click or press and hold
the Up or Down buttons to adjust the default High Alarm setting or
click the Clear button to set it to zero.
• Low Alarm Setting (Menu # 2)
The Low Alarm setting is displayed ashing. Click or press and hold
the Up or Down buttons to adjust the default Low Alarm setting or
click the Clear button to set it to zero.
• Alarm Delay (Menu #3)
The alarm indication can be delayed after a number of consecutive
readings in alarm (up to 199 readings). The delay setting is displayed
ashing with default value of zero.
Click or press and hold the Up or Down buttons to adjust the setting
or click the Clear button to set it to zero.
• Enable Alarm Option (Menu #4)
The setting is displayed ashing as “On” or “Off”. Click any of the
Up or Down buttons to switch between On and Off.
Note: Low-High Display Mode is only available when the Alarm option
is enabled (see Display Modes above)
• Enable Sound Alarm (Menu #5)
The setting is displayed ashing as “On” or “Off”. Click any of the
Up or Down buttons to switch between On and Off. When the
option is “On”, the bell icon ashes every 3 seconds with a beeping
sound.

5www.deltatrak.com
• Temperature Scale Setting (Menu #6)
The setting is displayed ashing as “C” or “F”. Click any of the
Up or Down buttons to switch between C or F. The last sensor
reading is displayed in the lower right corner of the LCD in
the currently seleced scale.
• Exiting the Configuration Menu
After menu # 6, click the Mode button again to exit the
Conguration mode or leave it to expire after 1 minute and return
to the previous display mode.
Battery replacement
The Thermometer can operate with low battery indication for at least 10 days. During
that time only one bar is visible on the battery level indicator. When no battery life
is left the indicator is empty and ashing. The battery must be replaced when this
condition occurs. The conguration settings will be preserved when the battery is
replaced with in 1 min after removing it from the instrument.

6www.deltatrak.com
Summary
MAX Maximum Temperature reading since last reset.
MIN Minimum Temperature reading since last reset.
HIGH
High alarm set point. Upper limit at which the Alarm
will be triggered.
LOW
Low alarm set point. Lower limit at which the Alarm
will be triggered.
Default Screen
The LCD displays the current temperature, the Max-
Min readings and if the alarm was triggered, a ashing
HIGH or LOW indicator.
Mode Screen Pressing MODE toggles six menu options
Glossary Denition
Control Button Functionality
Control
Button
Default Screen Conguration Mode
Screen
CLEAR
If an Alarm has been
triggered, pressing
CLEAR, resets the
Alarm indicator (Bell
icon) and clears the
High/Low flashing
indicator from the
display.
If no Alarm has been
triggered, Pressing or
holding down CLEAR,
resets the Max-Min
memory. The Reset
indicator icon appears
for 30 seconds.
Clears entry value.
MODE
Pressing MODE
once, switches
between Max-Min
and High-Low views
if High-Low values
were entered. Oth-
erwise, it moves to
Configuration Menu
Mode.
Hold down MODE for
3 seconds to enter
Conguration Menu
Mode.
Pressing MODE, changes
screen to the next menu
option.
Only used during conguration Mode.
Increase a set point value.
Decrease a set point
value.

7www.deltatrak.com
Conguration Menu Options
Menu
Option Mode Setting Default Description
1High Alarm Higest
Point
Enter upper temperature limit. This mode
to operate requires Alarm to be enabled
(Menu option 4).
2Low Alarm
Lowest
Point
Enter lower temperature limit. This mode
to operate requires Alarm to be enabled
(Menu option 4).
3Alarm Delay 0 Select up to 199 consecutive 30 second
delay intervals.
4
Enable Alarm
(On or Off) Off
On: Alarm is enabled. The Menu Options
1 & 2 become operational. When an Alarm
is triggered, the bell icon with ashing red
light appears.
______________________________
Off: Alarm is disabled. The Menu Option
Settings 1 & 2 are not operational.
5
Sound Alarm
(On or Off) Off
On: when alarm is triggered, a beeping
sound will be activated.
6
Temperature
Scale
(°C or °F) °C
Use Up & Down arrows to select Celcius or
Farenheit scale.

8www.deltatrak.com
Notes:

DeltaTrak manufactures products under an ISO 9001:2015 registered quality management system
Limited Warranty
DeltaTrak instruments have a limited warranty period of 1 year against defects in materials and
workmanship from the date of purchase. Accessory items and sensors have a limited warranty
of 3 months. Repair services have a limited warranty period of 3 months against defects in
materials and workmanship. DeltaTrak shall, at its option either repair or replace hardware
products that prove to be defective, if a notice to that effect is received within the warranty
period. DeltaTrak makes no other warranties or representations of any kind whatsoever,
expressed or implied, except that of title, and all implied warranties including any warranty of
merchantability and tness for a particular purpose are hereby disclaimed.
Contact Tech Support at:
Phone: 925-249-2250 Ext 5120 Toll Free: 800-390-0804 US & Canada
Email: [email protected]
6230_12217_19I1
P.O. Box 398 Pleasanton, CA 94566 USA
p (925)249-2250 |(800)962-6776 |f (925)249-2251 |www.deltatrak.com
Table of contents
Other DeltaTRAK Thermometer manuals
DeltaTRAK
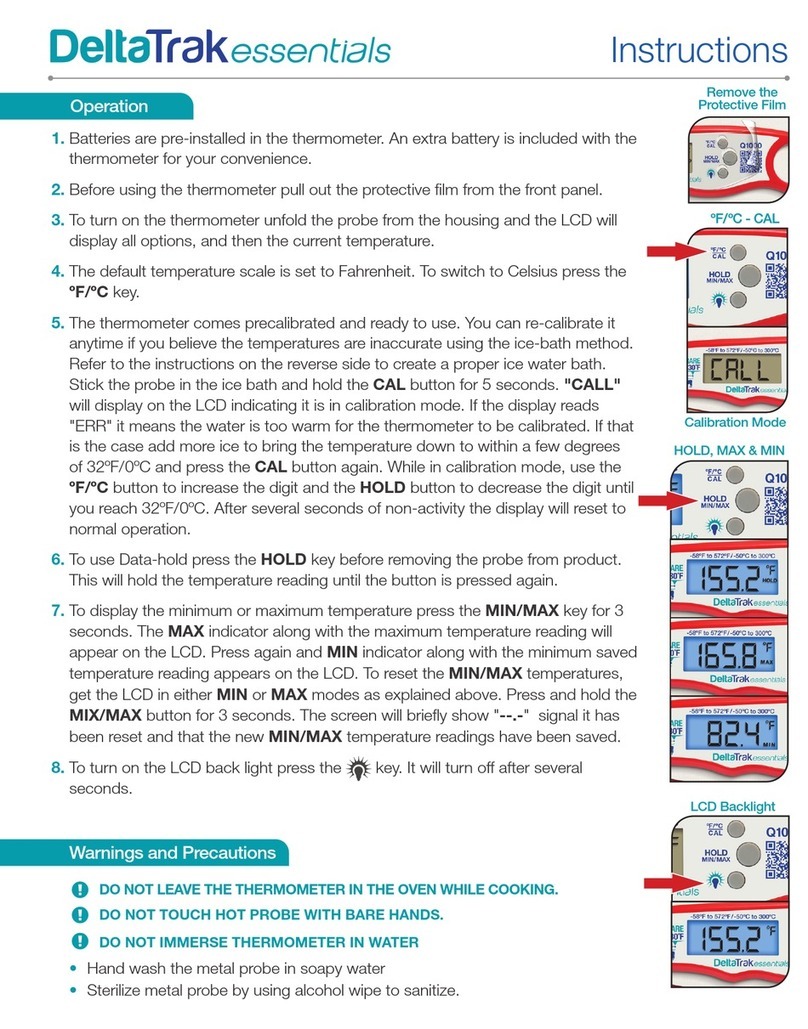
DeltaTRAK Essentials Q1000 User manual
DeltaTRAK
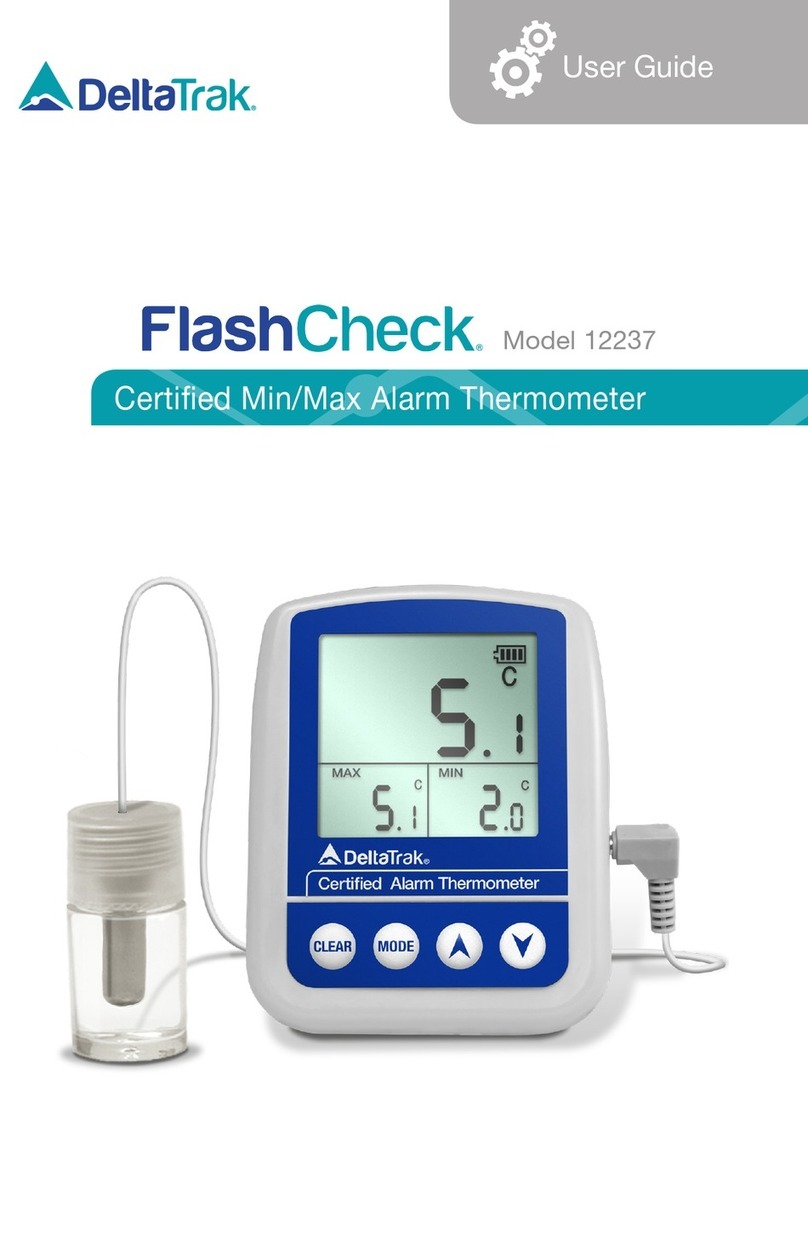
DeltaTRAK FlashCheck 12237 User manual

DeltaTRAK
DeltaTRAK ThermoTrace 15053 User manual
DeltaTRAK
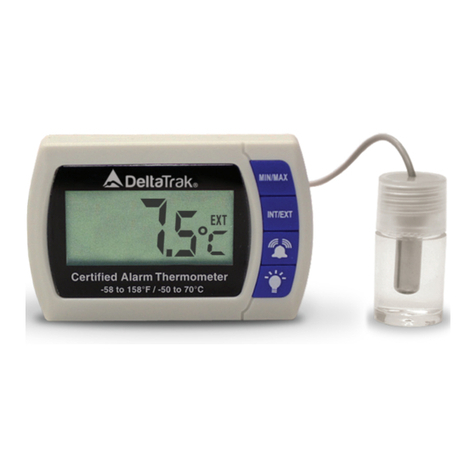
DeltaTRAK FlashLink 12215 User manual
DeltaTRAK
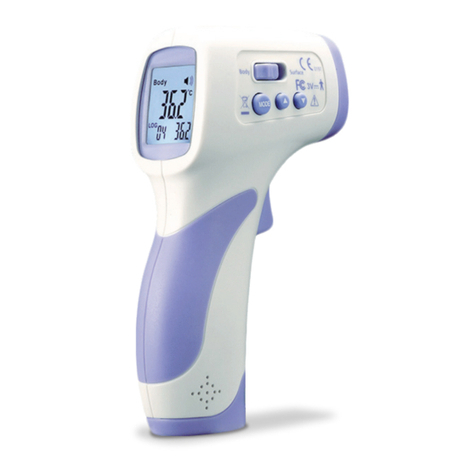
DeltaTRAK DT-8806H User manual
DeltaTRAK
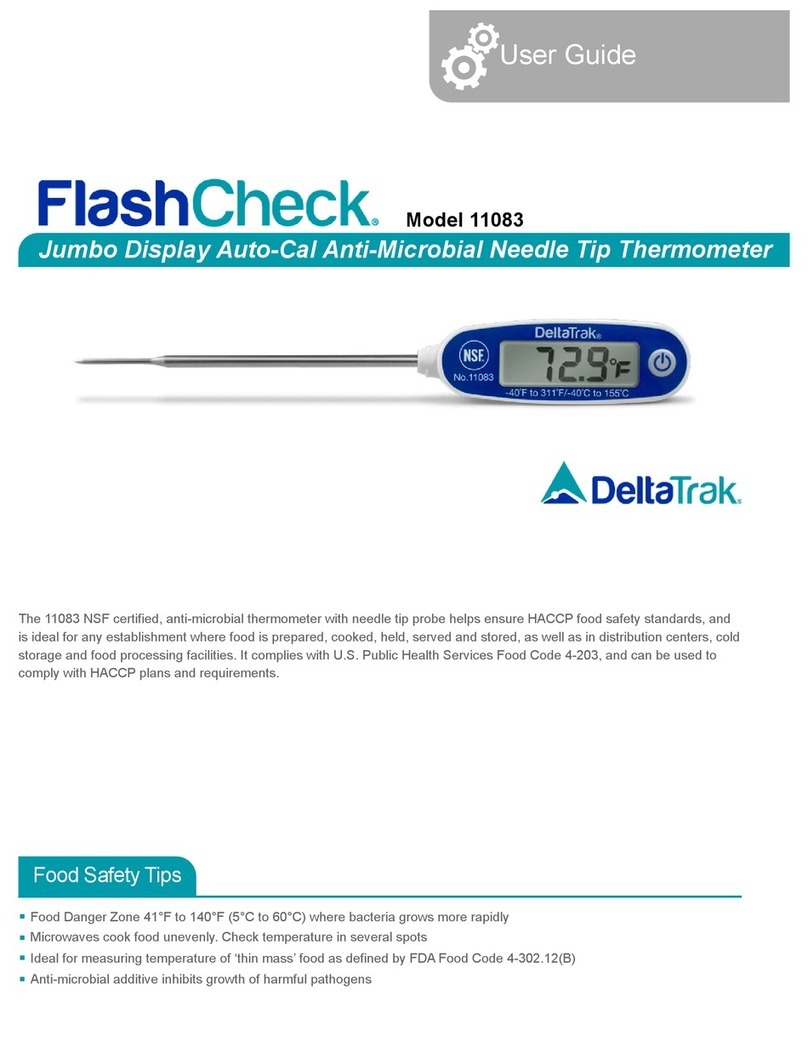
DeltaTRAK FlashCheck 11083 User manual
DeltaTRAK
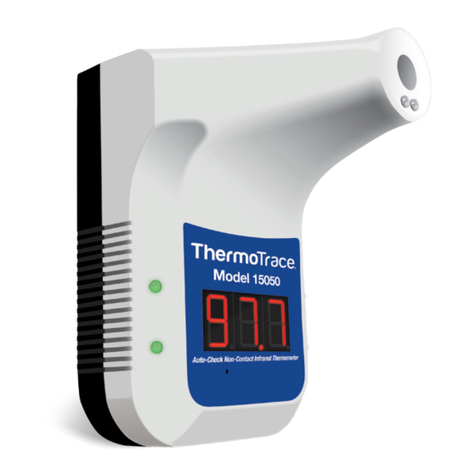
DeltaTRAK ThermoTrace 15050 User manual
DeltaTRAK
DeltaTRAK ThermoTrace 15050 User manual
DeltaTRAK
DeltaTRAK CK-T1501 User manual

DeltaTRAK
DeltaTRAK ThermoTrace 15039 User manual

