EN9
LISTENING TO RADIO
Band (BD)
Pressingthiskeyrepeatedlywilltogglecyclicallybetweeneachband.FM1---FM2---FM3.
LOCAL (Loc)
PressLocbuttononremotecontrolandtuningsearchwillstoponlyatstrongstations.
Stereo / Mono (ST)
PressSTbuttononremotecontroltoswitchbetweenstereoandmonosoundforFMradioreception.Whenreception
ofanFMstationisweak,listeningqualitycanbeimprovedbyswitchingtomonosound.
Automatic or Manual tuning (SEEK UP / SEEK DN)
Whenpressedshort,thesekeysareoperatedasMANUALtuningmode.
Whenpressedlongerthan1sec.,theyareoperatedasAUTOMATICtuningmode.
Auto Seek/Preset scan (AS/PS)
Preset Scan (PS) -Bypressingshortly,theradioplayseachpresetstationfor5seconds.
Auto Seek (AS) -Bypressinglongerthan1sec,autoseekisactivated.The6strongeststationsarepresetandstored
inthecorrespondingpresetnumber.WhenAutoSeekoperation
isnished,theradioexecutesthepresetscan.
Storing and Recalling Frequencies
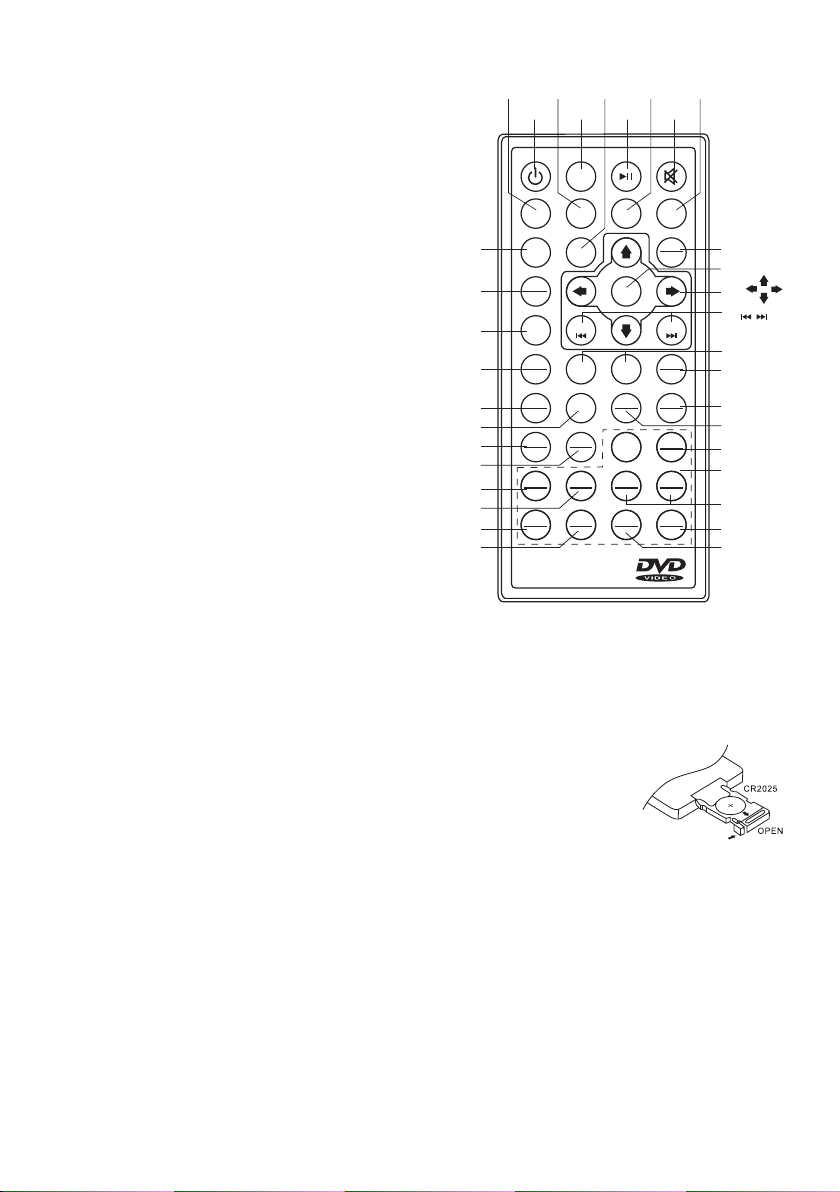
If you press any of the NUMBER (1-6) you can easily store
upto sixbroadcastfrequenciesforlaterrecallwith thetouch
ofabutton.
1. ChooseadesiredBAND.
2. Whenyoundafrequencythatyouwanttostoreinmemory,
press a NUMBER (1-6) and hold until the preset number
showsandlitinthedisplay.
3. The selected radio station frequency has been stored in
memory.ThenexttimeyoupressthesameNUMBER(1-6)
theradiostationfrequencyisrecalledfrommemory.
Note: Up to 18 FM stations can be stored in the memory.
USING THE RDS FUNCTION
What is RDS?
TheRDS(Radio DataSystem)is a digitalinformation system developedbythe EBU(EuropeanBroadcast Union).
Piggy-backedonnormalFMbroadcasts,RDSoffersavarietyofinformationservicesandautomaticretuningfunctions
forRDS-compatiblecarstereos.In1988,RDSbecameavailableintheUnitedKingdom,France,WestGermany,Ireland
andSweden.
‘AF’ Function (Alternative Frequencies)
- Whenpressedshort,AFswitchingmodeisselected.
- TheradiochecksthesignalstrengthoftheAFallthetime,whenitbecomestooweak,theunitdetectsffromtheAF
signalonwhichfrequenciesitmustsearchforabettertransmitter.
‘TA’ Function (Trafc Announcement)
Whenpressedshort,itisactivatedasTAmodeonoroff.WhenTAmodeisonandtrafcannouncementistransmitted.
– WhentheunitisitCD/MP3mode,itwillswitchtoradiomodetemporarily.
– Ifthevolumelevelwasunderthethresholdpoint,itwillberaisedtothethresholdpoint.
‘PTY’ Function (Program Type)
1. PressandholdPTY buttontoturnONProgramtype.
2. RotateVOLknobtoselectprogramtype.
3. Oncedesiredprogramshows,simplypressPTYbuttononcemoreandunitstartsearchingforavailablestations.
Note: Program type will ash when searching for stations.
OPERATIONS COMMON FOR CD/MP3/VCD/DVD/MP4
-10 Tracks Down / +10 tracks Up
1.Press-10buttontojump10tracksbackwardstartingfromcurrentlyplayedtrack.
2.Press+10buttontojump10tracksforwardstartingfromcurrentlyplayedtrack.
Specifying particular track
During playback, all track le names under a folder will be displayed on the screen with their corresponding track
number.Youcanusethenavigationkeypadontheremotecontroltoaccessthele.
CurrentlyTunedStationPresetMemoryStation1-6